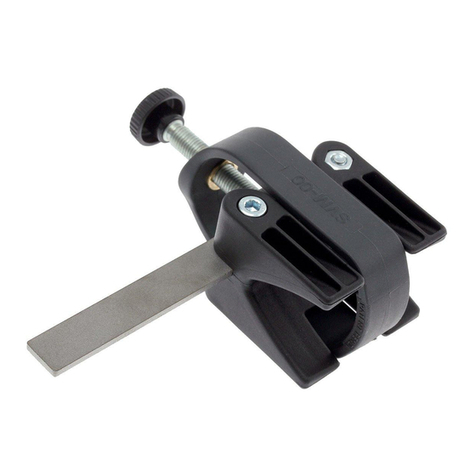
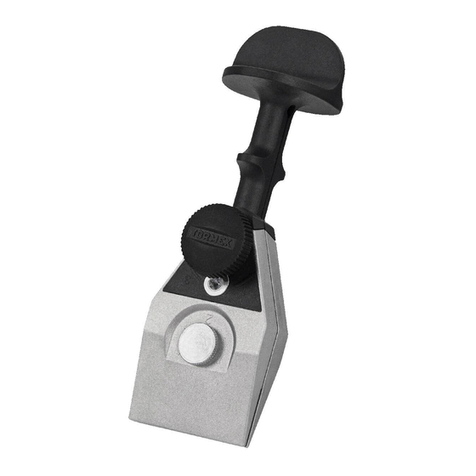
tormek DBS-22 User manual

DBS-22 Instruction
Drill Bit Sharpening Attachment ..........3
Jigg för borrslipning ..........................18
Vorrichtung für Bohrerschleifen.........32
Dispositif pour affûtage de forets ....... 46


EN
3
Drill Bit Sharpening Attachment
With the patented Tormek Drill Bit Sharpening Attachment DBS-22, you can sharp-
en your drill bits with the highest accuracy. It copes with drills from 3 mm (") to
22 mm (") and with point angles from 90° to 150°. The optimal clearance angle
can be set to 7°, 9°, 11°or 14° according to the drill size and type of material to be
drilled. Water cooling eliminates overheating and micro cracks and at the low RPM
you have full control over the grinding operation. No dust or sparks are produced.
The drill is ground with a 4-facet point, which
gives very good cutting performance. The chisel
edge gets a point instead of being almost at as
on many drills. A 4-facet point will not walk and
the thrust force required is considerably reduced
compared to a conventional cone point drill.
It generates less heat and the life of the drill is
therefore prolonged. The 4-facet geometry causes
the drill to bore a straighter and rounder hole with
closer tolerances.
All the components are made with high precision
which ensures that the lengths of the two cutting
edges will be equal within close tolerances. This
is an essential requirement so that the two edges
will work in the same way and so that the drill will
bore a round, straight hole, which is not larger
than the drill diameter.
Parts
Template for setting the lip clearance angle
Inställningsmall för släppningsvinkeln
Einstelllehre für den Freiwinkel
Gabarit de réglage de l’angle de dépouille
9°
14°
1 1 °
7°
Patents pending
Base Plate Guide Drill Holder Setting
Template
Magnifier Instruction

EN
4
Grinding, Shaping and Sharpening
The word sharpening is usually used for the nal nishing of edge tools. Like all edge
tools, a drill bit needs to have the right shape before you can start to sharpen it.
Creating the initial shape often means that quite a lot of steel needs to be removed
when for example, you change the point angle of a drill or you shape a broken or
heavily worn drill. Once the geometry of the point is established, you maintain the
sharpness by sharpening. With the Tormek system you can exactly replicate an
existing shape and therefore you just need to touch up the edges.
The word grinding usually stands for both shaping and sharpening. In some opera-
tions, these slide into each other. With the Tormek System you can both shape and
sharpen your drill bits. Throughout this manual we use the word grinding, which
can mean both shaping and sharpening depending upon how much steel needs to
be removed.
Drill Point Geometry
Drill bits usually have a point angle of 118° or 130°.
There are also 120°, 135°, 140° and 150° point an-
gles. Hard steel and stainless steel require larger
point angles. Also aluminium is best drilled with a
larger point angle. When drilling plexiglass, the risk
of cracks when the drill goes through the mate-
rial is reduced with a larger point angle. Centering
drills usually have a 90° point angle.
A drill bit needs to have the right lip clearance
angle to cut the material. The clearance angle
varies from 7° to 14°. A drill with a larger clear-
ance angle cuts more easily, but if the angle is too
large, vibrations will occur and the drill will cut
irregularly and quickly become dull. If the clear-
ance angle is too small, the drill will not cut at all,
but will become hot and rapidly destroyed.
The optimal clearance angle for the job depends on the material – a harder material
requires a drill with a smaller clearance angle while a softer material can have a larger
angle. The size of the drill is also a determinant for the selection of the optimal clear-
ance angle. A larger drill should have a smaller clearance angle while a smaller should
have a larger one.
Many new drill bits are ground with a basic cone
point. The two cutting lips meet in the centre and
form a chisel edge, C. This point geometry is not
ideal, since the chisel edge needs to be pressed
into the material without cutting. The friction of the
chisel edge creates much heat, which decreases
the life of the drill bit. Since the chisel edge has no
tip, the drill walks when drilling a new hole, which
is not pre-drilled.
More expensive drill bits are ground with special points of various types. These
drills must be re-sharpened in their original production machines or in special ma-
chines, which are available only at a few specialist sharpening shops. They can also
be re-shaped to a 4-facet point with the Tormek attachment.
�

EN
5
After grinding the primary facets, the drill
holder is moved forward to a second stop
Sfor grinding the secondary facets, which
gives the drill a 4-facet point.
The drill is ground to a 4-facet point.
The Primary facets, P and the
Secondary facets, S meet in the
centre and form a point.
The high precision drill holder consists
of two identical parts. The drill will be
exactly centered and both of the cutting
edges will be sharpened exactly to the
same shape.
�
�
The drill is mounted in a Drill Holder (3)
on a Guide (2), which in turn runs on a
Base (1). You move the drill across the
grindstone – the grinding automatically
takes place on the highest spot of the
stone.
The grinding depth for the first two
facets is determined by adjusting a
setting screw which has a stop, P.
These initial facets are called
primary facets.
After grinding one facet, the drill holder
is turned 180° and the other facet is
ground to an identical shape. Now both
of the two primary facets are ground.
This is How the Attachment Works

EN
6
The point angle can be set at any angle
by turning the guide. The jig copes with
all point angles from 90° to 150°.
The clearance angle (α) is set by tilting
the base. It can be set at 7°, 9°, 11° or
14°.
With the Setting Template you set the selected lip clearance angle. The picture
shows 7°. The Setting Template works on any grindstone diameter.
Mount the Grinding Attachment
Mount the Universal Support
horizontally (5).
Lock it on a distance of approx. 14 mm
(
9/16
") from the stone. The template gives
you the right distance.
Slide the Base Plate (1) onto the
Universal Support and lock it
temporarily with the wheel (6).
Slide the Guiding Plate (2)
into the base plate.

EN
7
Mount the drill with the protrusion L
indicated by the stop on the Guide.
Lock the drill temporarily.
Loosen the wheel and rotate the drill so that the cutting edges are aligned parallel
to the horizontal lines on the Drill Holder. Tighten the wheel. The protrusion Ldoes
not need to remain exact.
Mount the Drill Bit
For small drills, up to approx. 8 mm (
5/16
") you can use the special Tormek Magnifier.
�
�
Turn the drill holder so the bevelled
side points towards the machine.
The cutting edges should be
parallel to the pin in the Magnifier.
Note! Here it is shown how to mount and grind a slightly blunt drill.
Heavily worn and broken drills need a different setting in the Drill Holder.
This is because the direction of the cutting edges changes gradually
during the grinding. See page 13.

EN
8
The clearance angle. Place the Setting
Template according to the image and tilt
the base (1) so that the corners of the
Setting Template touch the grindstone.
Lock it securely with the wheel (6).
The point angle. Set the point angle at
118°. Lock securely with the wheel (8).
Clearance angle 11°. Point angle 118°.
Set the Clearance Angle
and the Point Angle
A. Standard Drills
Standard drills have a clearance angle of 11° and a 118° point angle.
These work well for most drilling work.
Clearance angle. With the Tormek Setting Template you can set the clearance angle
to 7°, 9°, 11°or 14°. The Template recommends a suitable angle based upon the drill
size and the material to be drilled.
B. Drills for Optimal Function
With the Tormek Drill Bit Attachment you can grind your drill so it works in the optimal
way for each drilling task. This is especially benecial for series production, where
the selection of the point angle and clearance angle are determining factors for the
life of the drill. The choice of clearance angle depends on the material to be drilled
and the size of the drill.
Original for printing
10-01-27
Recommended lip clearance angles
Rekommenderade släppningsvinklar
Empfohlene Freiwinkel
Angles de dépouille conseillés
9°
14°
11°
7°
Template for setting the lip clearance angle
Inställningsmall för släppningsvinkeln
Einstelllehre für den Freiwinkel
Gabarit de réglage de l’angle de dépouille
9°
14°
11°
7°
Patents pending
Drill bit diameter
Borrdiameter
Bohrer
Diamétre de forêt
Mild steel, NF metal, wood
Mjukt stål, metall och trä
Weicher Stahl, Metall, Holz
Acier, NF métaux et bois
14°
11°
9°
11°
9°
7°
Hard steel
Hårt stål
Harter Stahl
Acier dur
3-6 mm
6-12 mm
12-22 mm ½-¾"
-½"
-"
Template for setting the lip clearance angle
Inställningsmall för släppningsvinkeln
Einstelllehre für den Freiwinkel
Gabarit de réglage de l’angle de dépouille
9°
14°
1 1 °
7°
Patents pending

EN
9
The clearance angle, α.Here 7°.
Tilt the Base (1) so that both corners
of the Setting Template touch the grind-
stone. Lock it securely with the wheel (6).
The point angle. Measure the existing
point angle in the grooves on the Guide
or select the angle which is most
suitable for the job.
Set the guide on the selected point
angle and lock with the wheel (8).
Set the cutting depth to zero by adjust-
ing the stop Ptowards the grindstone
until you hear the drill lightly touching
the grindstone. Stop the machine.
Grind the Primary Facets
Place the Drill Holder (3) on the guide (2) so that the lug (11) touches the stop P.
Adjust the setting screw (13) so that
the drill is approx. 1 mm (0.04") from
the grindstone. Start the machine.

EN
10
Grind alternately both the primary
facets until they reach over the
centre of the drill.
Press the drill holder towards the
grindstone and grind one of the primary
facets. Move the guide back and forth
across the grindstone.
Grind until the lug (11) touches the stop P.
Lift and turn the drill holder 180° and grind
the other primary facet in the same way.
Screw the stop Pfurther downwards
(a) by as much as the tip should be
ground. One turn is equal to 0.5 mm
(0.02") cutting depth.
Lock the stop Pwith the locking nut (14).
Start the machine.
You can tell by the decreasing sound when the primary facets Pare ground equally.
How far they are ground over the centre does not matter. It is important that they are
ground symmetrically. The primary facets should meet and form a flat chisel edge, C.

EN
11
Screw the stop nut Sforwards.
Start with 1½ turn for a 6 mm (¼") drill.
The setting screw should still be
locked with the locking nut (14).
Start the machine. Press the drill holder
towards the grindstone and start grinding
the first secondary facet. Move the guide
back and forth across the stone.
Tilt the base until the heel of the drill
touches the grindstone and lock it with
the wheel (6).
Loosen the wheel (6) and tilt the base
to an approx. horizontal position.
Lift and move the drill holder forwards so
that the lug (11) rests on the stop nut S.
Grind the Secondary Facets
and Create a 4-Facet Point
The stop nut Smust be screwed
to touch the stop P.
The two primary facets meet and form a horizontal and at chisel edge without a
tip. This chisel edge is not the best since the drill will walk when you start drilling.
The chisel edge will also take a great deal of the axial force without actually cut-
ting and therefore creates much heat.
By grinding two secondary facets, the drill gets a 4-facet shape and a tip, which is
benecial for the function. The thrust force required is reduced as well as the heat
development which is most detrimental to the life of the drill bit. Furthermore a
4-facet point drills a straighter hole and will not walk.

EN
12
Now the 4-facet shape will start to
develop, but the secondary facets S
need to be ground further so that they
meet in the centre and form a point.
Grind the two secondary bevels alternately until the lug (11) touches the stop
nut Son both sides. Make the final grindings carefully and check that the facets
are symmetrical and form a point.
Feed the nut Sa bit further. Try with ¼
of a turn. One turn is equal to 0.5 mm
(0.02").
This is how a ground drill should look like. The secondary facets Smeet the primary
facets Pin the centre. The flat chisel edge has been shaped to a point, F.
Continue grinding until the lug (11)
touches the stop nut S.
Turn the drill holder 180°and grind the
other secondary facet in the same way.

EN
13
Thicker Drills
When grinding thicker drills (over approx. 10 mm or ") for the rst time, quite a
lot material needs to be ground away to achieve the right secondary bevels. If you
start by grinding away the heel on a bench grinder, you can save time. The heel has
no inuence on the function of the drill.
Grind away the heel
on a bench grinder.
The heel H, is ground
away.
Finished ground drill
on the Tormek machine.
P
S
H
Some Advice and Tips
Heavily Worn Drills
If the drill is heavily worn, quite a lot material needs to be ground away to obtain
new cutting edges. In this case you need to mount the drill turned anticlockwise
towards the slanting lines. How much depends upon the degree of wear. As the drill
is ground the cutting edges change direction. When the grinding is completed, the
edges should be parallel to the horizontal lines.
Mount a heavily worn drill turned
anticlockwise.
When the grinding is finished the
primary facets Pshould be parallel
to the horizontal lines.
Continue grinding until the
primary facets Pare paral-
lel to the horizontal lines.
Mount the drill so that the
edges Eare parallel to the
slanting lines.
After a few minutes the pri-
mary facets P are ground.
It takes approx. 4 minutes
for a 10 mm (
") drill.
�
�
Broken Drills
When mounting these are turned anticlockwise so that the edges Eare parallel to
the slanting lines. The primary facets are developing during the grinding and when
the grinding is nished they should be parallel to the horizontal lines.

EN
14
Drill mounted clockwise.
Thinner primary facets at
the periphery.
Drill mounted anticlock-
wise. Wider primary facets
at the periphery.
Drill mounted correctly.
The width of the primary
facets are even.
Deviations from the Ideal Point Geometry
The drill bit does not necessarily need to be mounted with the edges exactly par-
allel to the horizontal lines. These two examples show the result if the drill is a bit
misaligned. The drill still works, but you should strive to get the edges parallel to
maximize the life of the drill. It is preferable if the primary facets are wider towards
the periphery than thinner.
The secondary facets Shave been
ground too much leaving primary
facets too small.
Replication of the Primary Facets
If you have ground the secondary facets too much, then go back and grind carefully
on the primary facets again.
Lift and move the drill holder so the lug
(11) touches the stop P.
Loosen the wheel (6) and tilt the base
to an approx. horizontal position.
Tilt the base until the primary facet
touches the grindstone. Lock it securely.

EN
15
Reaming an Existing Hole
If you need to make an existing hole larger, you do not need to grind the secondary
facets. However the existing hole ∅Dmust be larger than the chisel edge, C.
Turn the setting screw (13) lightly towards the grindstone and grind carefully
until the 4-facet point is established again.
Re-Sharpen Before the Drill Stops Working
Do not allow the drill to be worn so much that it starts to perform badly. Instead,
grind as soon as you notice that it does not work as it should, otherwise you need
to re-shape the point instead of just touching it up.
Keeping the Grindstone Active
If the efciency of the grindstone decreases during sharpening, you can easily
re-active it by using the coarse side of the Tormek Stone Grader SP-650. It brings
new grinding grains into operation and increases the efciency of the stone. The
Stone Grader can be especially useful when grinding thicker drills which have a
large grinding area.
Finer Surface
The Original Tormek Grindstone is 220 grit and gives a smooth cutting edge, ner
than from conventional high speed grinding. After you have ground the drill bit to
the right shape, you can use the ne side of the Tormek Stone Grader SP-650 to
grade the stone so that it corresponds to 1000 grit. Then you can further rene
the primary facets. The ner the surface of the edge – the better it will cut and the
longer it lasts.
When grinding smaller drills (up to approx. 6 mm or ¼") it is recommended that
you rene the grindstone from the beginning, since the stone otherwise can cut
too aggressively on a small drill.

EN
16
The facets are honed on
the standard flat honing
wheel.
The flute is honed on one of the profiled leather honing
wheels. Select the wheel according to the size of drill.
Honing on the Leather Honing Wheels
You can further improve the cutting performance by using the Leather Honing
Wheels. By honing away the burr which has developed during grinding, you also
polish the edges and increase the durability of the drill bit.


SV
18
Jigg för borrslipning
Med Tormeks patenterade slipjigg för borrar, DBS-22 slipar du dina borrar med
högsta precision. Den klarar borrar från 3 till 22 mm och spetsvinklar från 90° till
150°. Släppningsvinkeln kan ställas in på 7°, 9°, 11° eller 14° så att den blir optimal
med hänsyn till borrstorlek och typ av material. Eftersom borren kyls kontinuerligt
med vatten under slipningen, nns det ingen risk för att stålet överhettas och förlorar
härdningen eller får mikrosprickor.
Borren slipas till en 4-fasettform som ger mycket
bra skäregenskaper. Tväreggen får en spets istället
för att vara i det närmaste plan, som på konven-
tionella borrar. En 4-fasettspets vandrar inte och
halverar det erforderliga borrtrycket jämfört med
en konventionell konmantelspets. Värmeutveck-
lingen minskar väsentligt och borren håller därför
längre. 4-fasettslipningen gör att borren borrar ett
rakare och rundare hål med snäva toleranser.
Borrhållaren liksom styrgejderna är precisionstill-
verkade, vilket gör att skären blir lika långa inom
snäva toleranser. Det är en förutsättning för att
de båda skären ska arbeta lika mycket och för att
borren ska borra ett runt, rakt hål och som inte är
större än borrens diameter.
Ingående delar
Template for setting the lip clearance angle
Inställningsmall för släppningsvinkeln
Einstelllehre für den Freiwinkel
Gabarit de réglage de l’angle de dépouille
9°
14°
1 1 °
7°
Patents pending
Basplatta Styrplatta Borrhållare Inställningsmall Lupp Instruktion

SV
19
Slipning, formning och skärpning
Med skärpning menar man vanligen den slutliga nslipningen av eggverktyg. Liksom
för alla eggverktyg, måste du först ge borren den rätta formen innan du kan börja
skärpa den. När du skapar den första formen behöver du slipa bort mycket material,
till exempel när du ändrar spetsvinkeln eller när du slipar en hårt sliten eller avbruten
borr. När du en gång har format borren till den rätta geometrin håller du eggen vass
genom skärpning. Med Tormeksystemet kan du exakt upprepa en bentlig form och
du behöver därför oftast bara putsa upp eggen.
Ordet slipning används vanligen för både formning och skärpning. Vid en del slipar-
beten går dessa begrepp i varandra. Med Tormeksystemet kan du både forma och
skärpa dina borrar. I den här instruktionen används ordet slipning genomgående,
som alltså kan betyda både formning och skärpning beroende på hur mycket
material som slipas bort.
Spiralborrens geometri
Borrar har en spetsvinkel på vanligtvis 118° eller
130°. Det förekommer även 120°, 135°,140° och
150° spetsvinklar. Hårdare stål och rostfritt stål
kräver större spetsvinkel. Även aluminium bor-
ras bäst med en större spetsvinkel. För plexiglas
minskar risken för sprickor, när borren går igenom
materialet, om spetsvinkeln är större, 140°–150°.
Centrerborrar har i regel 90° spetsvinkel.
En borr måste ha rätt släppningsvinkel för att
kunna skära i materialet. Släppningsvinkeln varie-
rar från 7° till 14°. En borr med större släppnings-
vinkel skär lättare, men är vinkeln för stor uppstår
vibrationer och borren skär ryckigt och blir snabbt
slö. Är släppningsvinkeln för liten, skär inte borren
alls utan blir het och förstörs snabbt.
Den optimala släppningsvinkeln för borrarbetet beror på materialet – ett hårdare
material kräver en borr med en mindre släppningsvinkel medan ett mjukare material
kan ha en större vinkel. Borrens dimension är också avgörande vid val av släpp-
ningsvinkel. En grövre borr ska ha en mindre släppningsvinkel medan en klenare
borr skall ha en större.
Konventionella borrar slipas med en så kallad
konmantelspets. De två skäreggarna möts i mitten
och bildar en tväregg, C. Denna borrgeometri är
inte idealisk, eftersom tväreggen måste pressa
sig ner i materialet utan att skära. Tväreggens frik-
tion orsakar hög värmeutveckling, vilket minskar
livslängden. Eftersom tväreggen saknar en spets,
vandrar borren när den skall borra ett nytt hål, som
inte är förborrat.
Dyrare borrar är slipade med specialspetsar av olika slag. Dessa borrar måste
omslipas i sina ordinarie produktionsmaskiner eller i specialmaskiner, som endast
nns hos ett fåtal slipverkstäder. De kan även omslipas till en 4-fasettspets med
Tormeks slipjigg.
�

SV
20
Efter slipningen av primärfaserna, fram-
flyttas borrhållaren till ett andra anslag S
för slipning av sekundärfaserna, som ger
borren en 4-fasettspets.
Borren slipas till en 4-fasettspets.
Primärfaserna Poch Sekundär-
faserna S möts i centrum och bildar
en spets.
Borrhållaren är precisionstillverkad och
består av två identiskt lika delar. Borren
blir exakt centrerad och båda skären
slipas alltid exakt lika.
�
�
Borren monteras i en borrhållare (3) på
en styrplatta (2), som i sin tur löper på
en basplatta (1). Man för borren tvärs
över slipstenen – slipningen sker då
alltid på stenens högsta punkt.
Slipdjupet för de första slipfaserna
bestäms av en ställskruv, som har ett
anslag P. Dessa första faser kallas
primärfaser.
Efter slipning av den ena primärfasen
vändes borrhållaren 180° och den andra
slipas exakt lika. Nu är de båda primär-
faserna slipade.
Så fungerar jiggen
Table of contents
Languages:
Other tormek Tools manuals
Popular Tools manuals by other brands

DeWalt
DeWalt DCS386 Original instructions

Bench Dog Tools
Bench Dog Tools PROFENCE instructions
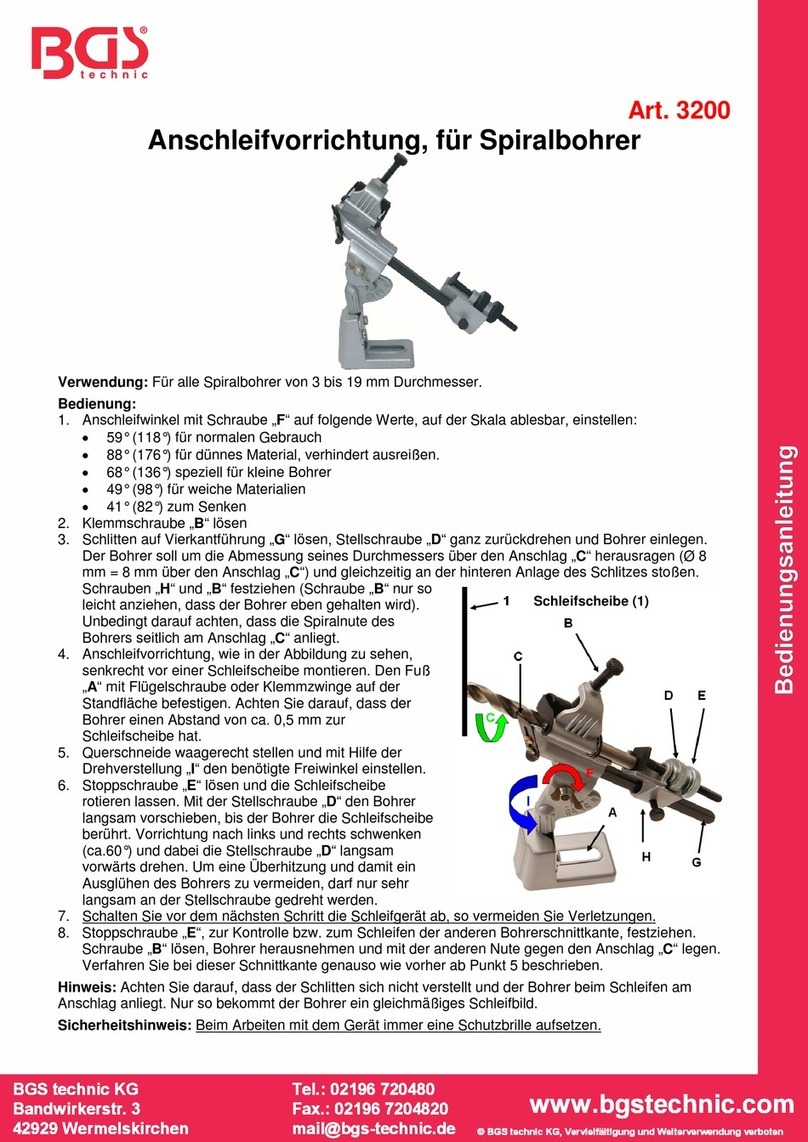
BGS technic
BGS technic BGS 3200 instruction manual
Nederman
Nederman 886 Service and cleaning instructions
Grange
Grange Crane Safety, Operation & Parts Manual
FAR
FAR RAC 2500 P TRANSLATION OF ORIGINAL INSTRUCTIONS
