manuals.online logo
Brands
  1. Home
  2. •
  3. Brands
  4. •
  5. Toro
  6. •
  7. Utility Vehicle
  8. •
  9. Toro Workman 137-2883 User manual

Toro Workman 137-2883 User manual

Other Toro Utility Vehicle manuals

Toro 7299 User manual

Toro

Toro 7299 User manual

Toro Workman 3300-D User manual

Toro

Toro Workman 3300-D User manual

Toro 7280 User manual

Toro

Toro 7280 User manual

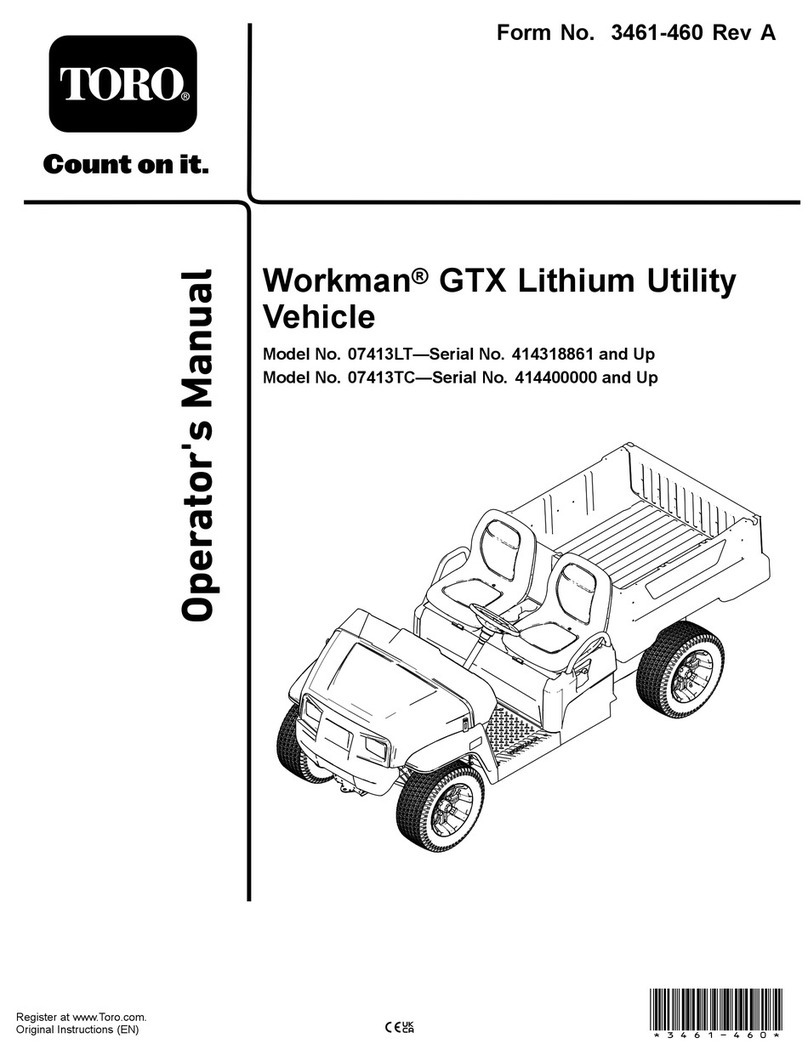
Toro Workman GTX Series User manual

Toro

Toro Workman GTX Series User manual

Toro 7253 User manual

Toro

Toro 7253 User manual

Toro Groundsmaster 7210 User manual

Toro

Toro Groundsmaster 7210 User manual

Toro MH-400 User manual

Toro

Toro MH-400 User manual

Toro 7362 User manual

Toro

Toro 7362 User manual

Toro workman HDX-D 07368 User manual

Toro

Toro workman HDX-D 07368 User manual

Toro 7280 User manual

Toro

Toro 7280 User manual

Toro Workman 3000 Series User manual

Toro

Toro Workman 3000 Series User manual

Toro Workman HDX-D 07385 User manual

Toro

Toro Workman HDX-D 07385 User manual

Toro 07287TC User manual

Toro

Toro 07287TC User manual

Toro Groundsmaster 7210 User manual

Toro

Toro Groundsmaster 7210 User manual

Toro 12004 User manual

Toro

Toro 12004 User manual

Toro 130-5615 User manual

Toro

Toro 130-5615 User manual

Toro 07059TC User manual

Toro

Toro 07059TC User manual

Toro Workman GTX 07413LT User manual

Toro

Toro Workman GTX 07413LT User manual

Toro Workman 07143 User manual

Toro

Toro Workman 07143 User manual

Toro Workman GTX Series User manual

Toro

Toro Workman GTX Series User manual
Toro Workman GTX User manual

Toro

Toro Workman GTX User manual

Toro 07390H Workman HDX-Auto User manual

Toro

Toro 07390H Workman HDX-Auto User manual

Toro 07390 Workman HDX-Auto User manual

Toro

Toro 07390 Workman HDX-Auto User manual

Toro MB-1600 User manual

Toro

Toro MB-1600 User manual

Popular Utility Vehicle manuals by other brands
Strautmann Giga-Trailer 1840 operating instructions

Strautmann

Strautmann Giga-Trailer 1840 operating instructions

FORS MW FARMA T 10 Instruction book

FORS MW

FORS MW FARMA T 10 Instruction book

pronovost PUMA-10000 Operator's manual

pronovost

pronovost PUMA-10000 Operator's manual

Polaris ACE 900 SP owner's manual

Polaris

Polaris ACE 900 SP owner's manual

TrailMax T-12-UR manual

TrailMax

TrailMax T-12-UR manual

Floe Cargo Max 9.5-73 Assembly instructions

Floe

Floe Cargo Max 9.5-73 Assembly instructions

Taylor-Dunn B0-050-00 Operation, t roubleshooting and replacement parts manual

Taylor-Dunn

Taylor-Dunn B0-050-00 Operation, t roubleshooting and replacement parts manual

Taylor-Dunn ET 3000 manual

Taylor-Dunn

Taylor-Dunn ET 3000 manual

Kayo S70 Assembly manual

Kayo

Kayo S70 Assembly manual

Cushman Turf Truckster 84069 Parts & maintenance manual

Cushman

Cushman Turf Truckster 84069 Parts & maintenance manual

Landoll 900D Series Operator's manual

Landoll

Landoll 900D Series Operator's manual

Westward Go-4 XTR Operator's manual

Westward

Westward Go-4 XTR Operator's manual

Club Car Carryall I 1999 owner's manual

Club Car

Club Car Carryall I 1999 owner's manual

Etnyre Street Flusher operation, maintenance, parts and safety manual

Etnyre

Etnyre Street Flusher operation, maintenance, parts and safety manual

Landoll 340 Operator's manual

Landoll

Landoll 340 Operator's manual

Range Road RR608 Assembly manual

Range Road

Range Road RR608 Assembly manual

SSI SCHAEFER WEASEL LITE user manual

SSI SCHAEFER

SSI SCHAEFER WEASEL LITE user manual

Cub Cadet Volunteer 4 x 2 Utility Vehicle brochure

Cub Cadet

Cub Cadet Volunteer 4 x 2 Utility Vehicle brochure

manuals.online logo
manuals.online logoBrands
  • About & Mission
  • Contact us
  • Privacy Policy
  • Terms and Conditions

Copyright 2025 Manuals.Online. All Rights Reserved.

FormNo.3419-183RevA
GloveBoxCoverKit
Workman®GTXUtilityVehicle
ModelNo.137-2883
InstallationInstructions
WARNING
CALIFORNIA
Proposition65Warning
ThisproductcontainsachemicalorchemicalsknowntotheStateofCalifornia
tocausecancer,birthdefects,orreproductiveharm.
Installation
LooseParts
Usethechartbelowtoverifythatallpartshavebeenshipped.
ProcedureDescriptionQty.Use
1Nopartsrequired–Preparethemachine.
Gloveboxcover1
Latchassembly1
Thumbpull1
Lockwasher1
Nut1
Hinge1
Rivets6
2
Foamstrip1
Installthehingeandcover.
Strikeplate1
Bolt2
3Hexnut2
Installthestrikeplate.
1
PreparingtheMachine
NoPartsRequired
Procedure
1.Parkthemachineonalevelsurfaceandengage
theparkingbrake;ensurethatthetractionpedal
isintheneutralposition.
2.Shutofftheengineandremovethekey.
CAUTION
Ifyouleavethekeyintheignition
switch,someonecouldaccidentlystart
theengineandseriouslyinjureyouor
bystanders.
Removethekeyfromtheswitchbefore
youdoanymaintenance.
©2017—TheToro®Company
8111LyndaleAvenueSouth
Bloomington,MN55420
Registeratwww.Toro.com.OriginalInstructions(EN)
PrintedintheUSA
AllRightsReserved*3419-183*A
2
InstallingtheHingeand
Cover
Partsneededforthisprocedure:
1Gloveboxcover
1Latchassembly
1Thumbpull
1Lockwasher
1Nut
1Hinge
6Rivets
1Foamstrip
Procedure
1.Installthelatchassembly,thumbpull,lock
washer,andnuttothegloveboxcoverwiththe
latchfacingupasshowninFigure1.
g233662
Figure1
1.Latchassembly3.Lockwasher
2.Thumbpull4.Nut
2.Installthehingetothebackoftheglovebox
coverusing3rivetsasshowninFigure2.
g233663
Figure2
3.Alignthegloveboxcovertotheglovebox;using
thebottomofthehingeasatemplate,markthe
locationofthecenterandouterholesonthe
bottomofthedash.
4.Usingtheouterandcentermarksmadeinstep
3asatemplate,drill3holeswith3/16inch
diameterstottherivets.
5.Cleananyburrsfromthedrilledholes.
6.Installthebottomhingetothedashusing3
rivetsasshowninFigure3.
g233684
Figure3
1.Rivet2.Foamstrip
7.Removethetapefromtheadhesivebackofthe
foamstripandadherethestriptotheborderof
thegloveboxcover(Figure3).
2
3
InstalltheStrikePlate
Partsneededforthisprocedure:
1Strikeplate
2Bolt
2Hexnut
Procedure
1.Closethegloveboxcover,andmarkthelocation
ofthenotchatthetopoftheglovebox.
2.Alignthenotchonthefrontofthestrikeplate
withthemarkmadeinstep1.
3.Markthelocationoftheholesonthestrikeplate.
4.Usingthemarksmadeinstep3asatemplate,
drill2holeswith3/16inchdiameterstotthe
bolts.
5.Cleananyburrsfromthedrilledholes.
6.Removethehoodfromthemachine,referto
yourOperator’sManual.
7.Installthestrikeplatetotheceilingoftheglove
boxusing2screwsandhexnutsFigure4and
Figure5.
g233685
Figure4
g233793
Figure5
1.Backofglovebox3.Nut
2.Screw
Note:Youmayalsoremovethedash
reinforcementtoimproveclearance.
3