EN
– 4 – 4-EN
Owner’s Manual
11
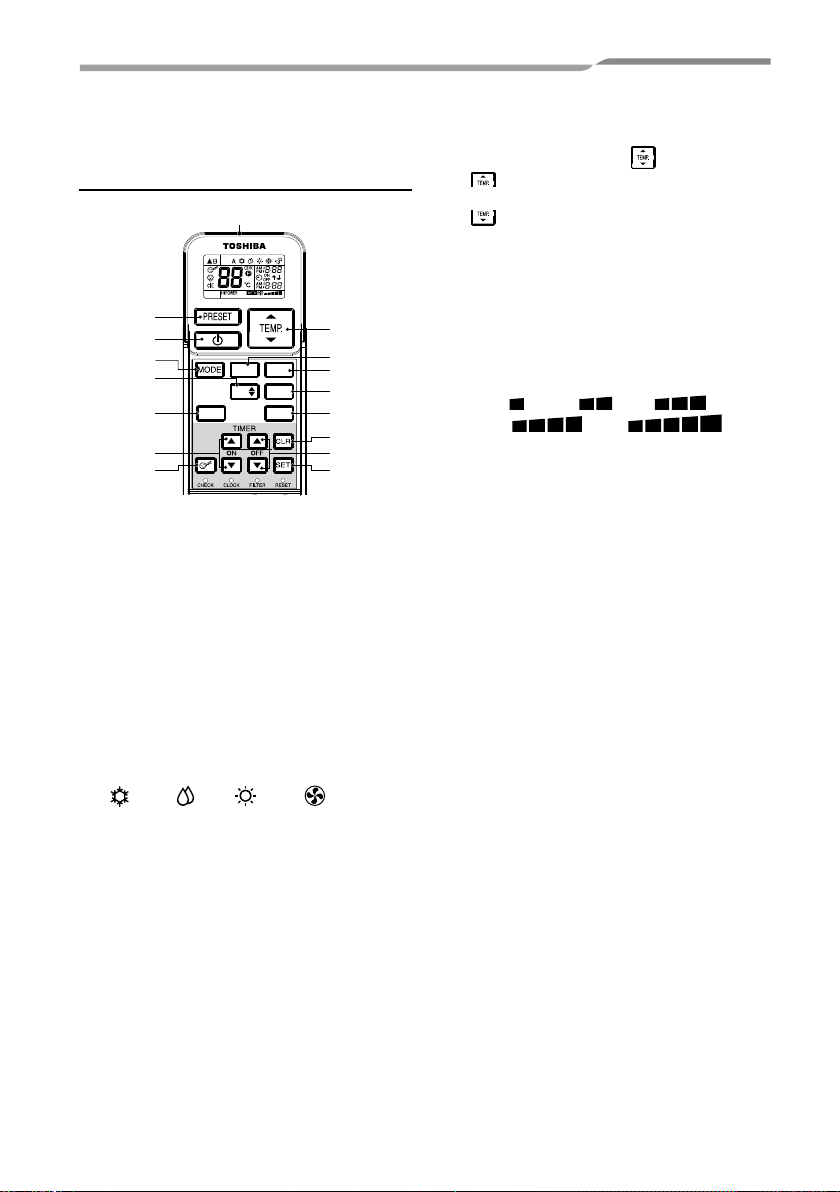
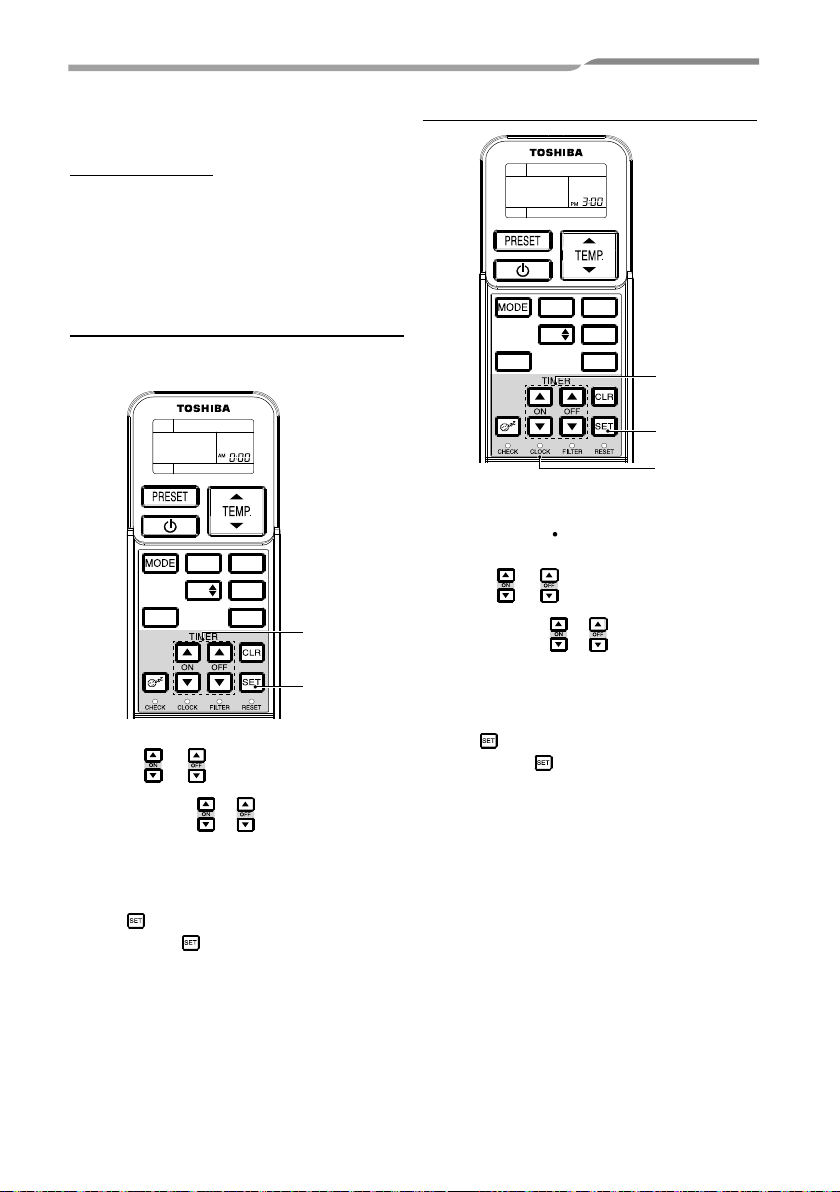
Cancel button (CLR)
Press this button to cancel ON timer and OFF
timer. (A receiving beep is heard.)
12
High power button (Hi POWER)
Press this button to start the high power
operation.
This function is not operated group control.
13
PRESET button
Press this button to change the operation mode
to the preferred operation mode memorized
previously. To memorize the operation mode,
press this button for at least 3 seconds during
the preferred operation mode.
P
is displayed
and the operation mode is memorized.
14
COMFORT SLEEP button
Press this button to start the OFF timer
operation that automatically adjusts the room
temperature and the fan speed. You can select
the OFF timer time from four durations
(1, 3, 5 or 9 hours).
During group control operation, the set
temperature and the fan speed are not
automatically adjusted.
Only off timer function is activated.
15
QUIET button
Press this button to start quiet operation.
Pressing this button again will restore normal
operation.
16
PURE button
Press this button to start air purifier operation.
Pressing this button again will stop air purifier
operation.
■
Names and functions of indications
on wireless remote controller
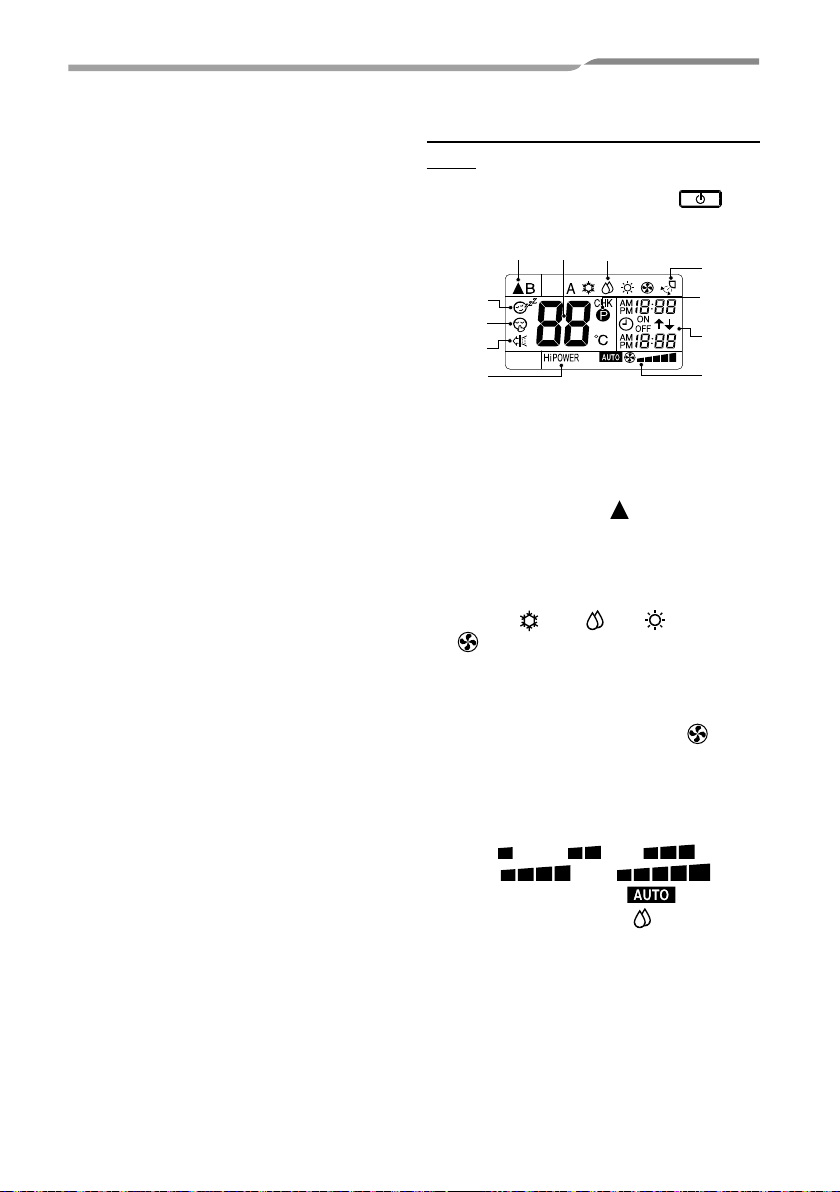
Display
All indications, except for clock time indication, are
indicated by pressing the START/STOP
button.
10
7
5
4
6
9
8
12
3
11
• In the illustration, all indications are indicated for
explanation.
During operation, only the relevant indications will
be indicated on the remote controller.
1
Transmission mark
This transmission mark ( ) indicates when the
remote controller transmits signals to the indoor
unit.
2
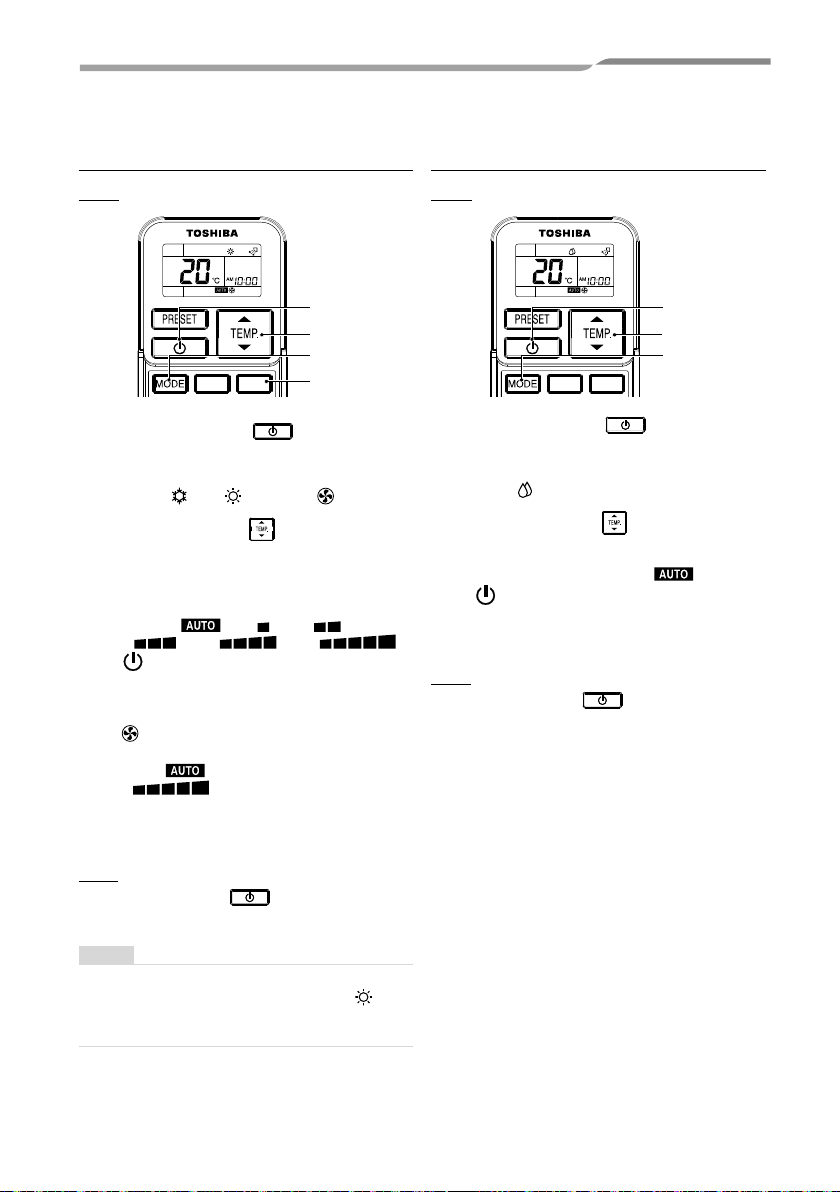
Mode display
Indicates the current operation mode.
(A : Auto, : Cool, : Dry, : Heat,
: Fan only)
3
Temperature display
Indicates the temperature setting
(17°C to 30°C).
When you set the operating mode to : Fan
only, no temperature setting is indicated.
4
FAN speed display
Indicates the selected fan speed. AUTO or one
of five fan speed levels
(LOW , LOW+ , MED ,
MED+ , HIGH )
can be indicated. Indicates
when the operating mode is : Dry.


 User manual")