manuals.online logo
Brands
  1. Home
  2. •
  3. Brands
  4. •
  5. Toshiba
  6. •
  7. Barcode Reader
  8. •
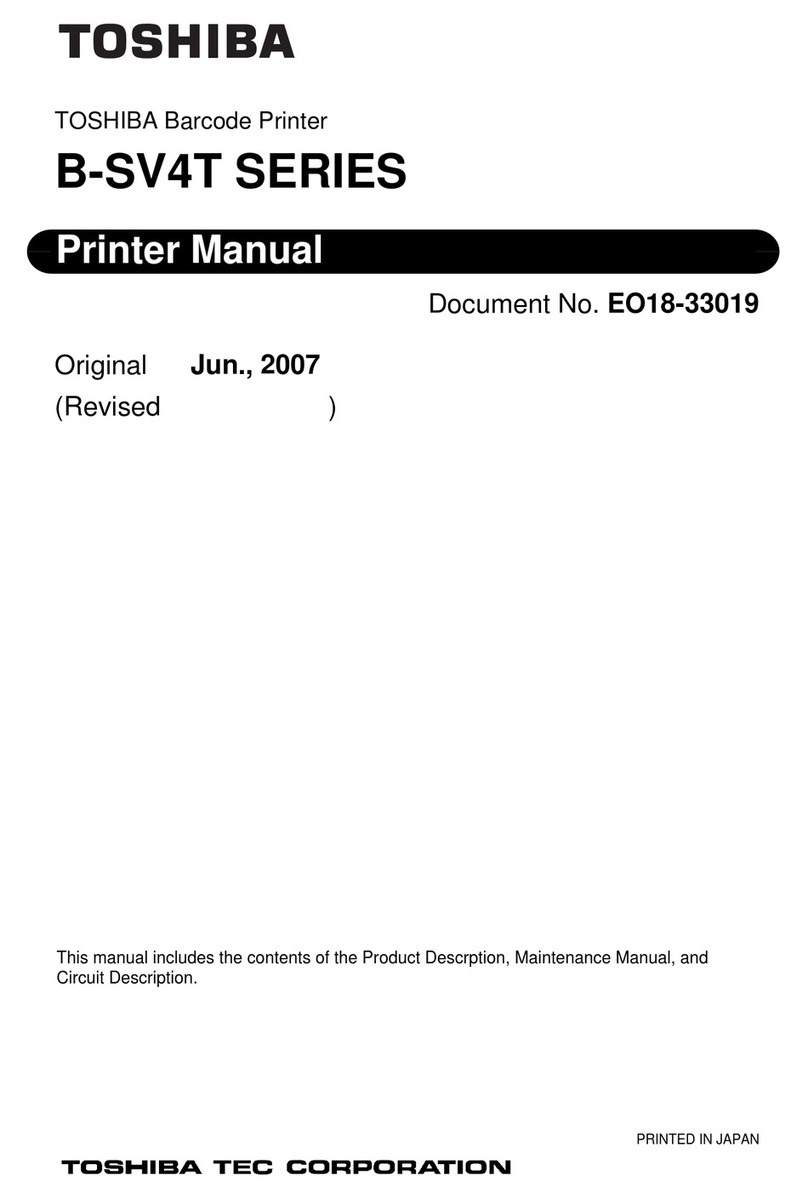
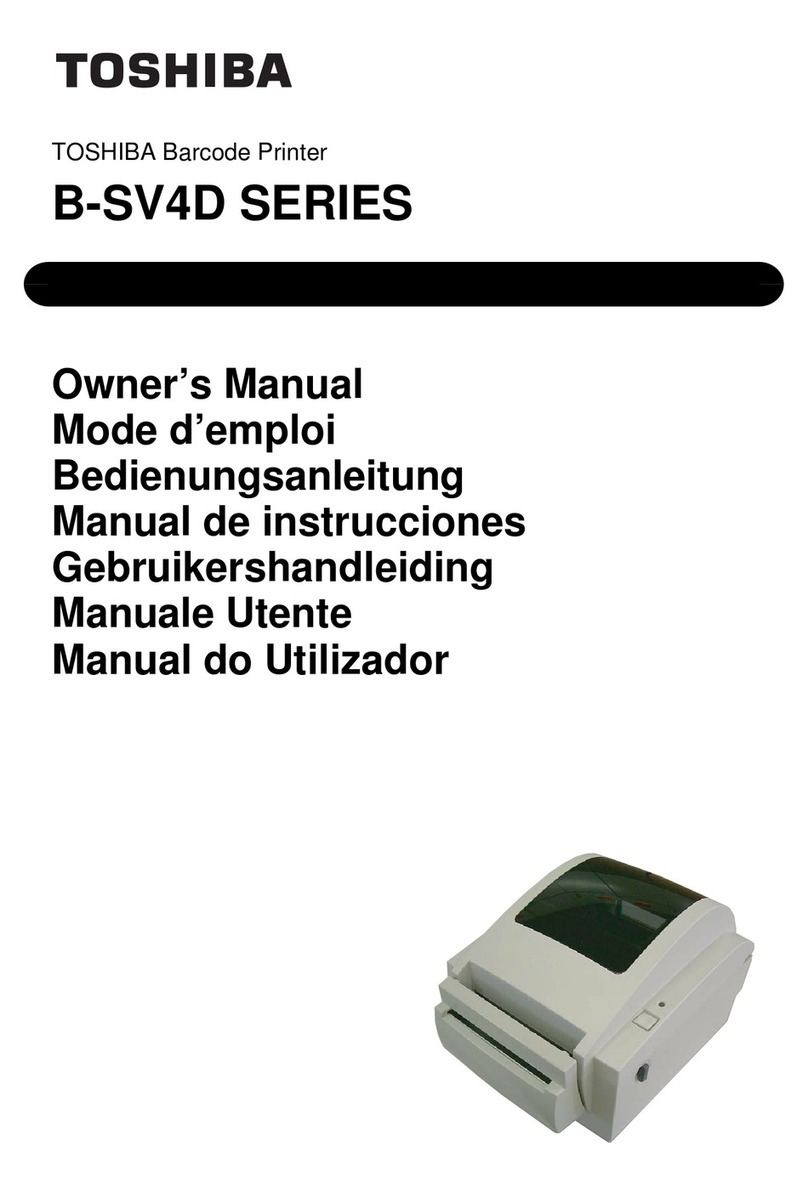
  9. Toshiba B-SV4T User manual

Toshiba B-SV4T User manual

1
TOSHIBA Barcode Printer
B-SV4T SERIES
SUPPLY LOADING INSTRUCTIONS
This sheet contains only the supply loading procedures. Please be sure to read the Owner’s Manual in the
CD-ROM for further information about this printer.
1. Loading the Media
This section describes in detail how to load a media roll.
1. Turn OFF the printer.
2. Turn the Cover Open Levers frontward, and open
the Top Cover.
3. When the inner core diameter of the media roll is
25.4 mm (1”), remove the Media Holder Spacers
from the Media Holders. The Media Holder
Spacers are required to print media rolls with 38.1-
mm (1.5”) inner core diameter.
4. Insert the Media Shaft into the paper core so that the
print side faces up as shown below.
5. Hold the Media Holder with the smooth side facing
the media roll, align the Media Holder’s centre hole
with the Media Shaft, and then install the Media
Holder by sliding it onto the Media Shaft. Make
sure that the media roll is positioned at the centre of
the Media Shaft.
WARNING!
1. Do not touch any moving parts. To reduce the risk of fingers, jewellery, clothing, etc. being drawn
into the moving parts, be sure to load the media once the printer has stopped moving completely.
2. To avoid injury, be careful not to trap your fingers while opening or closing the Top Cover.
CAUTION!
Be careful not to touch the Print Head Element when opening the Top Cover. Failure to do this ma
y
cause
missing dots by static electricity or other print quality problems.
Media Holder
Media Shaft
NOTE:
When the outer roll diameter exceeds 127 mm (5”) or
the inner core diameter exceeds 38.1 mm (1.5”), an
optional External Media Roll Hanger is required.
Media Holder
Spacer
(
Accessor
y)
Media Holder
(Accessory)
Media Shaft
(Accessory)
Media
Cover Open Lever
Top Cover
Cover O
p
en Leve
r
2
6. Insert the both ends of the Media Shaft into the slots
of the printer to place the Media Holder Ass’y into
the printer. Make sure that the media feeds from the
top, as shown in the picture.
7. Insert the leading edge of the media under the Media
Hold Shaft, and feed the media between the Media
Guides.
8. Pull the media until it extends past the Media Outlet.
9. Manually adjust the Media Guide position to the
media width.
10. Make sure that the media path through the printer is
straight, otherwise a skew feeding or a paper jam
may occur.
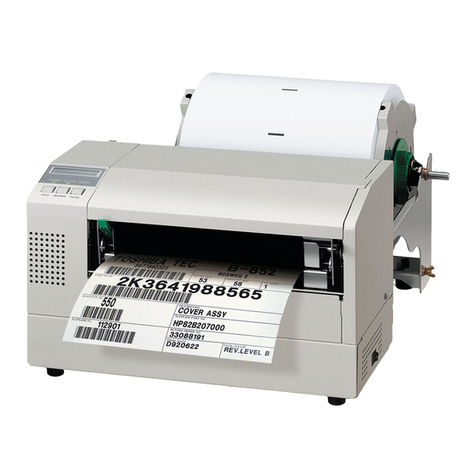
11. After loading the media, manually set the Media
Sensor to the correct position.
The Feed Gap Sensor is included in the right Media
Guide. Position of the Feed Gap Sensor can be set
by fitting the Media Guides to the media ends.
Media Holder Ass’y
Slot
NOTES:
1. The selected sensor type is the one used in the last
print job. The Feed Gap Sensor has been selected
as the factory default. To change the sensor type,
refer to Section 2.9.1 Media Sensor Calibration.
2. When the Media Guides are fitted to the media
edges, the Feed Gap Sensor is positioned at 6 mm
from the right end of media.
Media Shaft
Media Outlet
NOTE: Media path
Platen
Media Hold Shaft
Black mark sensor
6 mm
Feed Gap Sensor
Black Mark Sensor
Feed Gap Sensor
(in the Media Guide)
Media Hold Shaft
Media Guide
Media Guide
Slot
3
NOTE:
The Black Mark Sensor is movable in a range of media
width.
When using the Black Mark Sensor, it should be
positioned in line with the centre of the black
marks on the reverse side of the media.
There are three issue modes available for this printer.
Batch mode:
In the batch mode, the media is continuously printed and
fed until the number of media specified in the issue
command has been printed.
Strip mode (Option):
When issued in the strip mode, labels are automatically
removed from the backing paper each time a label is
printed.
• How to set the media
When issuing labels in the strip mode, set the label in the
following procedure:
1. Load the media as described on the previous pages.
2. Open the Strip Block by pulling it out.
3. Feed the paper through the Media Guide until it
extends past the platen.
4. Remove enough labels from the leading edge of the
media to leave about 200 mm of backing paper free.
CAUTION!
To separate the printed media from the media roll in
batch mode, be sure to tear off the media at the
Media Outlet or cut the media past the Strip Plate. If
you tear off the media at the Print Head by mistake,
be sure to feed one label (10 mm or more) with the
FEED/PAUSE Button prior to a next issue. Failure to
do this may cause a paper jam.
Black Mark Sensor is movable
in the full range.
Black Mark Sensor
Strip Block
4
5. Pass the backing paper over the Platen and the Strip
Plate, and insert the leading edge of the backing paper
into the Backing Paper Slot.
6. Close the Strip Block and Top Cover.
Cut mode (Option):
When the Cutter is installed, the media is automatically
cut.
After loading the media as described on the previous
pages, insert the leading edge of the media through the
Media Outlet of the Cutter Cover.
NOTE:
When the media is correctly set, the backing paper is
supposed to be pinched by the Platen and the Strip Feed
R
oller as shown below.
Strip Plate
Platen
Label
Backing Paper
Strip Feed Roller
CAUTION!
1. Be sure to cut the backing paper of the label. Cutting labels will cause the glue to stick to the cutter which
may affect the cutter quality and shorten the cutter life.
2. Use of tag paper of which thickness exceeds the specified value may affect the cutter life.
The cutter is sharp, so care must be taken not to injure yourself when handling the cutter.
WARNING
!
Media Outlet
Cutter Cover
Strip Plate
Platen
Backing Pape
r
Slot
Strip Feed Roller
Backing Paper
5
2. Loading the Ribbon
When the printer is turned on, it automatically detects whether a ribbon is installed or not and switches the
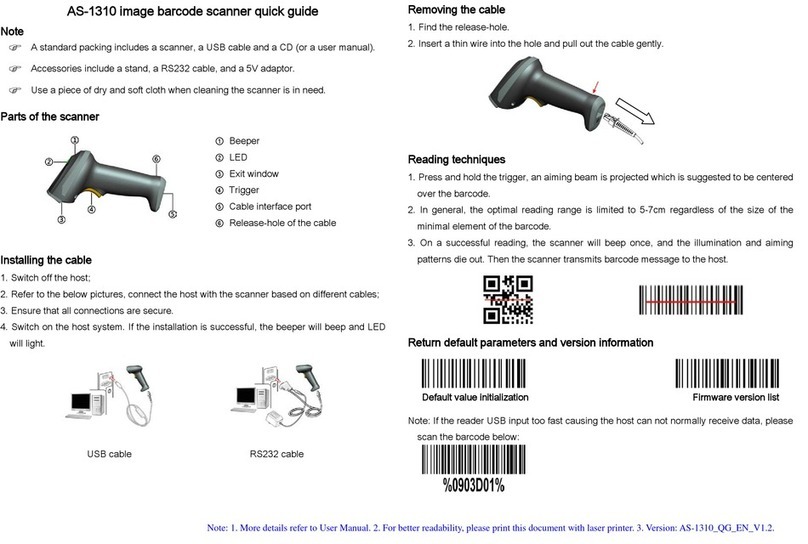
printing method between thermal transfer or direct thermal. If the printer does not detect a ribbon (direct thermal

mode), the motor that drives the ribbon spindles will be turned off.
1. Open the Top Cover.
2. Push down on the Ribbon Access Cover to unlock and
open.
3. Insert one of the Ribbon Spindles into a ribbon core in
the orientation shown below, with the ink side facing
outside. Then, mount it on the Rear Hubs.
4. Insert the other Ribbon Spindle into the Paper Core
supplied with the printer, and mount it on the Front
Hubs.
WARNING
!
1. Do not touch any moving parts. To reduce the risk of fingers, jewellery, clothing, etc. being drawn
into the moving parts, be sure to load the media once the printer has stopped moving completely.
2. To avoid injury, be careful not to trap your fingers while opening or closing the cover.
CAUTION!
Be careful not to touch the Print Head Element when opening the Top Cover. Failure to do this ma
y
cause
missing dots by static electricity or other print quality problems.
NOTE: Inside of the Ribbon Access Cover
Rear Hub
Front Hub
Ribbon Access Cover
Top Cover
Ribbon Roll Ribbon Spindle (Accessory)
Paper Core
(Accessory) Ribbon Spindle (Accessory)
6 E PRINTED IN TAIWAN
EO2-33025
Copyright © 2006
by TOSHIBA TEC CORPORATION
A
ll Rights Reserved
570 Ohito, Izunokuni-shi, Shizuoka-ken, JAPAN
< For EU Only >
TOSHIBA TEC Europe Retail Information Systems S.A.
Rue de la Célidée 33 BE-1080 Brussels
5. Pull the leader tape of the ribbon downward, and
feed it under the Print Head.
6. Attach the leader tape to the Paper Core with
adhesive tape.
7. Rotate the Paper Core to take up the ribbon leader
tape until it is thoroughly covered by the black
section of the ribbon.
8. Close the Ribbon Access Cover and Top Cover.
Print Head
Ribbon Roll
Paper Core
NOTES:
1. Take up any slack in the ribbon.
2. Do not load a ribbon when using a direct thermal

Other manuals for B-SV4T

3

Other Toshiba Barcode Reader manuals

Toshiba B-EX6T Series User manual

Toshiba

Toshiba B-EX6T Series User manual

Toshiba TEC B-442 User manual

Toshiba

Toshiba TEC B-442 User manual

Toshiba B-SV4T User manual

Toshiba

Toshiba B-SV4T User manual

Toshiba B-452-R User manual

Toshiba

Toshiba B-452-R User manual

Toshiba TEC B-SX4T Series User manual

Toshiba

Toshiba TEC B-SX4T Series User manual

Toshiba BV410T-GS02-QM-S User manual

Toshiba

Toshiba BV410T-GS02-QM-S User manual

Toshiba B-SX600 SERIES User manual

Toshiba

Toshiba B-SX600 SERIES User manual

Toshiba B-SX4T Series User manual

Toshiba

Toshiba B-SX4T Series User manual

Toshiba BV410D-GS02-QM-S User manual

Toshiba

Toshiba BV410D-GS02-QM-S User manual

Toshiba B-SX6T Series User manual

Toshiba

Toshiba B-SX6T Series User manual

Toshiba B-SV4T User manual

Toshiba

Toshiba B-SV4T User manual

Toshiba B-SV4D Series User manual

Toshiba

Toshiba B-SV4D Series User manual

Toshiba B-SX4T Series User manual

Toshiba

Toshiba B-SX4T Series User manual

Toshiba B-EX4T3 User manual

Toshiba

Toshiba B-EX4T3 User manual

Toshiba B-SV4T Installation instructions

Toshiba

Toshiba B-SV4T Installation instructions

Toshiba B-443 User manual

Toshiba

Toshiba B-443 User manual

Toshiba B-FV4D SERIES User manual

Toshiba

Toshiba B-FV4D SERIES User manual

Toshiba B-EX Series User manual

Toshiba

Toshiba B-EX Series User manual

Toshiba Bar Code Printer User manual

Toshiba

Toshiba Bar Code Printer User manual

Toshiba B-EX4 SERIES Operating and maintenance instructions

Toshiba

Toshiba B-EX4 SERIES Operating and maintenance instructions

Toshiba B-852 Advance User manual

Toshiba

Toshiba B-852 Advance User manual

Toshiba B-SX8T SERIES User manual

Toshiba

Toshiba B-SX8T SERIES User manual

Toshiba BA410T Series User manual

Toshiba

Toshiba BA410T Series User manual

Toshiba BA400 Series User manual

Toshiba

Toshiba BA400 Series User manual

Popular Barcode Reader manuals by other brands

RIOTEC iLS6302J/KBU Programming Quick Guide

RIOTEC

RIOTEC iLS6302J/KBU Programming Quick Guide

Fujitsu fi-5120C Cleaning and maintenance

Fujitsu

Fujitsu fi-5120C Cleaning and maintenance

Obdmate om520 user manual

Obdmate

Obdmate om520 user manual

Zebex Z-3272 Plus user manual

Zebex

Zebex Z-3272 Plus user manual

TSC TTP-2410M user manual

TSC

TSC TTP-2410M user manual

SICK CLV 490 Series operating instructions

SICK

SICK CLV 490 Series operating instructions

Hand Held Products QUICK CHECK 890 quick start guide

Hand Held Products

Hand Held Products QUICK CHECK 890 quick start guide

Mindeo CS3290 user manual

Mindeo

Mindeo CS3290 user manual

CipherLab 1564 user guide

CipherLab

CipherLab 1564 user guide

KoamTac KDC300 quick guide

KoamTac

KoamTac KDC300 quick guide

Wasp WWS800 Setup instructions

Wasp

Wasp WWS800 Setup instructions

RIOTEC OM7220J Programming Quick Guide

RIOTEC

RIOTEC OM7220J Programming Quick Guide

Star Micronics BCR-POP1 quick start guide

Star Micronics

Star Micronics BCR-POP1 quick start guide

Netum RS-8000 manual

Netum

Netum RS-8000 manual

Possafe LBW200 user manual

Possafe

Possafe LBW200 user manual

Ez One Shot MT8200H user manual

Ez One Shot

Ez One Shot MT8200H user manual

Omron V320-F Series Connection guide

Omron

Omron V320-F Series Connection guide

Symbol LS3408-FZ20005 Specification sheet

Symbol

Symbol LS3408-FZ20005 Specification sheet

manuals.online logo
manuals.online logoBrands
  • About & Mission
  • Contact us
  • Privacy Policy
  • Terms and Conditions

Copyright 2025 Manuals.Online. All Rights Reserved.