manuals.online logo
Brands
  1. Home
  2. •
  3. Brands
  4. •
  5. Toto
  6. •
  7. Toilet
  8. •
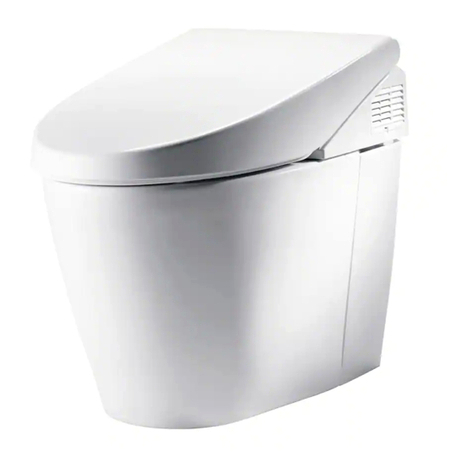
  9. Toto NEOREST MS990CGR User manual

Toto NEOREST MS990CGR User manual

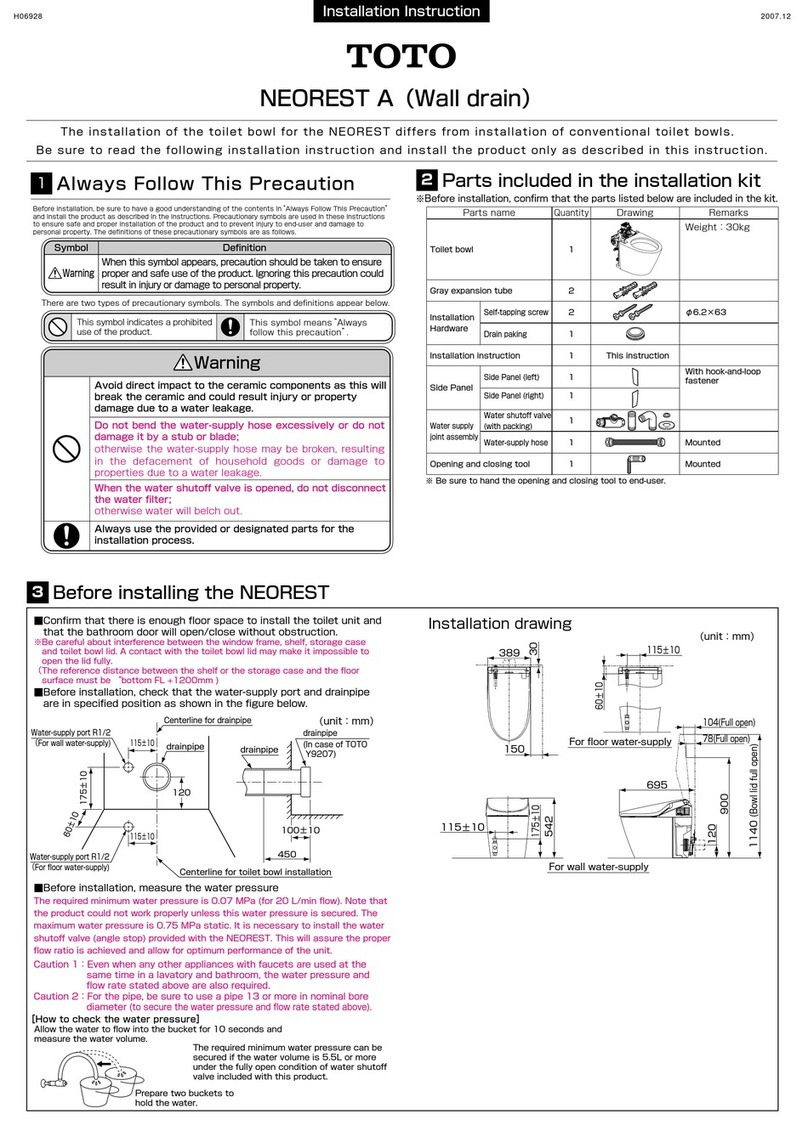
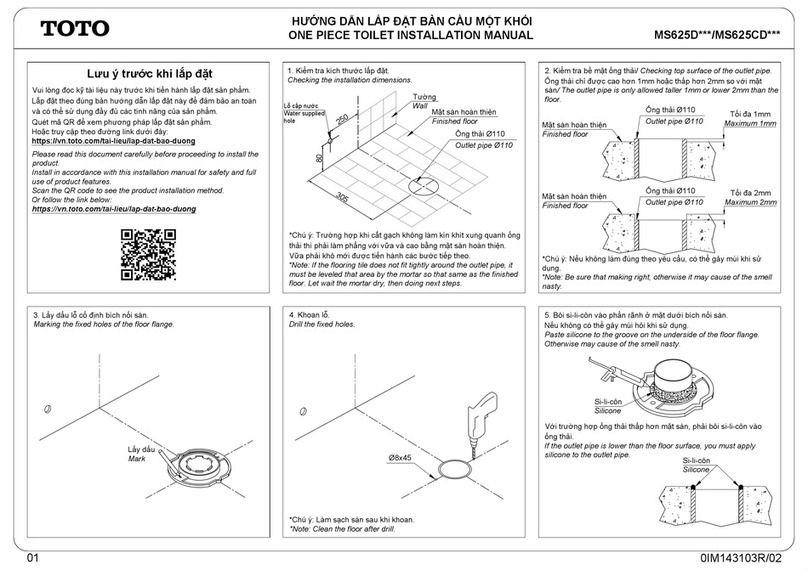
NEOREST Installation Instructions <Bowl>
The installation of the toilet bowl for the NEOREST differs from installation of conventional toilet bowls.
Be sure to read the following installation instructions and install the product only as described in this manual.
Always Follow This Precaution
1
Avoid direct impact to the ceramic components as this will break the
ceramic and could result in injury or property damage due to water
leakage.
Always use the provided or designated parts for the installation
process.
2003.7H06658
Parts Included in the Installation Kit
2
✲ Before installation, confirm that the parts listed below are included in the kit.
Before installing the NEOREST, be sure to read the safety instructions
in “Always Follow This Precaution” and install the product only as
described in the instructions.
4Precautionary symbols are used in these instructions to
ensure safe and proper installation of the product and to
prevent injury to the end-user and damage to personal
property. The definitions of these precautionary symbols
are as follows.
4There are two types of precautionary symbols.
The symbols and definitions appear below.
Symbol Definition
WARNING
When this symbol appears,
precaution should be taken to
ensure proper and safe use of
the product. Ignoring this
precaution could result in injury
or damage to personal property.
The 3symbol indicates a prohibited
use of the product.
This symbol means “Always follow
this precaution”.
WARNING
Part Name Quantity Drawing
Toilet 1 unit
1
2
4
4
4
2
2
2
2
2
1
1
1
Outlet connection
Mounting Blocks
Mounting Pieces
Bag of screws 1
Bag of screws 3
Bag of screws 2
Installation Hardware
Pan head screws
Self- tapping screws
(for Mounting Blocks)
Self- tapping screws
(for outlet connection)
Bolts
Washers
Washers
Gasket
Paper installation template
Water shutoff valve
Screw caps
Installation instructions
Before Installing the NEOREST
3
■ Confirm that there is enough floor space to install the toilet unit and that the bathroom
door will open/close without obstruction.
■ Confirm that the position of the drain hole and pipes are properly lined up as
designated in the drawing.
■ Water Pressure.
The NEOREST is designed to operate under a minimum working pressure of 10 psi
flowing (as detected by a sensor within the unit). It should be noted that the standard
range of working pressures allowed by model codes is 20 to 80 psi static.*
It is necessary to install the water supply valve (angle stop) provided with the NEOREST.
This will assure the proper flow rate is achieved and allow for optimum performance of the unit.
*See warranty for details.
The following water volume will ensure
sufficient water pressure.
If a pressure gauge is unavailable, the fill method
may be used as follows.
Water volume (for 10 sec)
1.5 Gallons (5.5 L) or more
How to check the water pressure:
(Measuring Procedure)
Allow the water to
flow into the bucket
for 10 seconds and
measure the water volume.
Prepare two buckets to
hold the water.
Line designating the center of the
toilet bowl
Closet flange
Drain R1/2
11 3
/
4”
(300mm)
5 7
/
8” (150mm)
12” (305mm)
Installation position
12” (305mm)
Drain pipe installation position
5 7
/
8” (150mm)
Bathroom
door
At least 1 foot (325mm)
11 3
/
4”
(300mm)
5 7
/
8” (150mm)
17 5
/
32”
(436mm)
32 7
/
8” (835mm)
NEOREST water supply valve
fully open condition
Optional:
NEOREST water
supply valve fully
open condition
Parts and Installation Instructions
4
Installation Procedures
5
Install the rear portion of the toilet bowl first.
Be careful not to fasten the screws too tight,
as this may crack or break the unit.(   )
Point 2
4
Use the installation template to determine the
correct positions for the installation hardware.
(   )
Point 1
2
Mounting Blocks
Installation hole
Washer
Toilet bowl drain outlet
Bolt
Bag of screws 2
Bag of screws 1
Washer
Gasket
Pan head screw
Screw cap
Outlet connection
0-ring
Self- tapping screws
(for outlet connection)
Self- tapping screws
(for Mounting block)
Toilet bowl unit
Pan head screw
Screw cap
Mounting bolts
Closet flange
Installing the water shutoff valve
1
Marking off the self-tapping screw holes.
1Draft the center line of a toilet bowl.
2Place paper installation template so that the base line of paper installation
template and the center line of a toilet bowl match.
3Mark off the self-tapping screw holes of the outlet connection and
the mounting blocks.
2
✲ Before inserting the self-tapping screws into the floor, drill a Ø 1/8 inch (3mm)
hole in the floor for easier installation.
Fixing the outlet connection and the mounting blocks
1Fix the outlet connection with self-tapping screw so that the center of outlet
connection and the center line of a toilet bowl match.
2Fix the mounting blocks with self-tapping screws.
3
Water supply inlet
Remove dirt
and sand
Water supply pipe
Water shutoff
valve
Sealing tape
Water shutoff valve
Self-tapping screw
points of the outlet
connection
Self-tapping screw
points for the
mounting blocks
Self-tapping screw
points for the
mounting blocks
The base line of paper installation template and
the center line of a toilet bowl match.
Base line of paper
installation template
Closet flange
1Before installing the water shutoff valve, be
sure to remove any dirt or sand that may
have become lodged inside the valve.
2Wrap the sealing tape around the fitting on
the water supply pipe of the water shutoff
valve.
3Install the water supply connection on the
water shutoff valve so that it is parallel with
the floor.
Pan head screw
Screw cap
Installing the toilet bowl
4
Secure all bolts tightly.
Procedure 1
Use your hands to
perform the final twist of
the bolts to avoid
cracking the toilet bowl
unit.
Procedure 2
1Remove any dirt or dust that may have gotten trapped inside the
toilet bowl drain outlet and insert it into the outlet connection.
2Insert (2 places) the bolts, washers and gasket into the holes on
the rear portion of the toilet bowl unit and attach the toilet bowl to
the outlet connection.
✲Be sure to insert the washer and gasket in
the proper order and direction.
✲Fasten the bolts securely.
3Insert the Pan head screws into the holes on the front portion of the
toilet bowl and attach the toilet bowl unit to the mounting blocks.
Cover the screw heads with the screw caps.
✲Use your hands to perform the final twist of the bolts to avoid
cracking the toilet bowl unit.
Be sure to affix the rear portion of the toilet bowl unit first. If the
side portions are affixed before the rear portion, the toilet bowl
unit may slide to the right and left causing water to leak from the
rubber joint.
Bolt
Gasket
Washer
Holes for affixing the unit
Rubber joint
Toilet bowl drain outlet
Bolt
Washer
Gasket
Bolt
Washer
Gasket
Toilet bowl unit
Mounting block
Pan head screw
Screw cap
Outlet connection
Interior wall of the toilet bowl
Exterior surface of the toilet bowl
Silicone caulking
The manufacturer recommends that silicone caulking be applied around the bottom of the toilet bowl base to prevent
water and urine from seeping under the flooring material, resulting in a stained floor.
For Better Results
Installing the Washlet components
Refer to the installation instructions included in the packaging for the Washlet component.
5
WARNING

Other Toto Toilet manuals

Toto B542E User manual

Toto

Toto B542E User manual

Toto NEOREST NX MS900CUMFG User manual

Toto

Toto NEOREST NX MS900CUMFG User manual

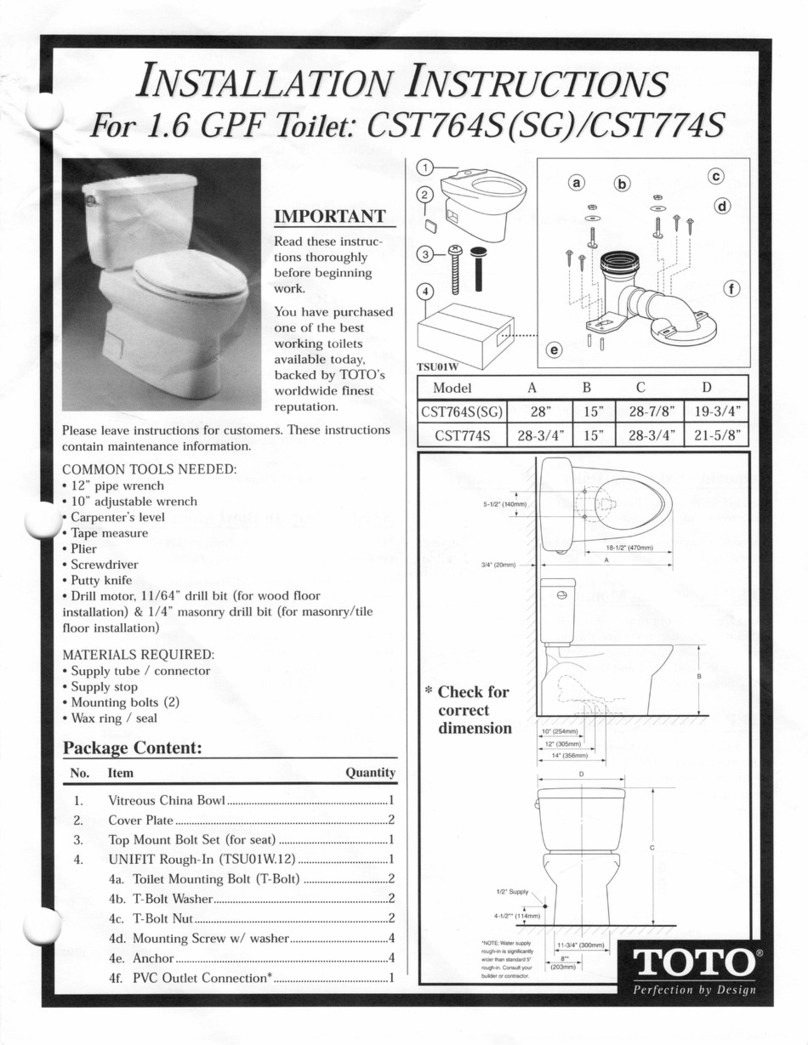
Toto CS985VA User manual

Toto

Toto CS985VA User manual

Toto CST423SF User manual

Toto

Toto CST423SF User manual

Toto MS989CUMFG User manual

Toto

Toto MS989CUMFG User manual

Toto CST412MF 10 Series Installation instructions

Toto

Toto CST412MF 10 Series Installation instructions

Toto MS903CUMFX User manual

Toto

Toto MS903CUMFX User manual

Toto WASHLET TCF803CG User manual

Toto

Toto WASHLET TCF803CG User manual

Toto UT105UV User manual

Toto

Toto UT105UV User manual

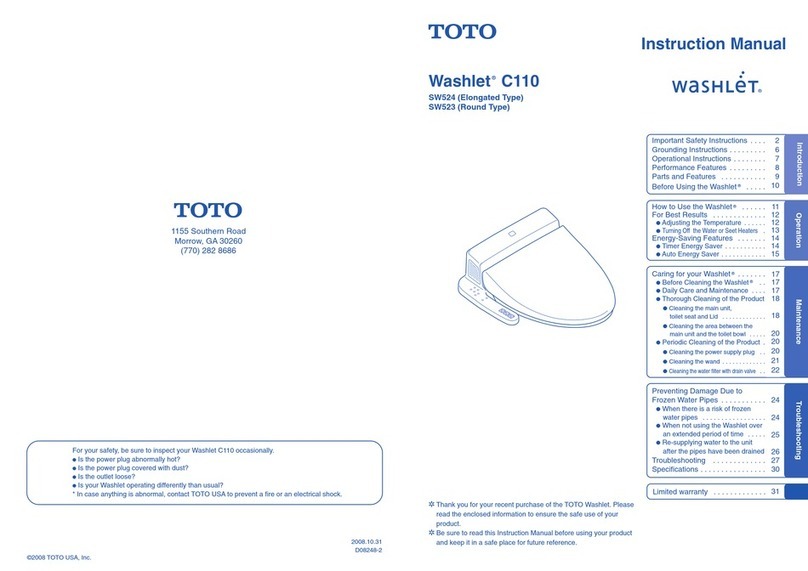
Toto Washlet C110 SW524 User manual

Toto

Toto Washlet C110 SW524 User manual

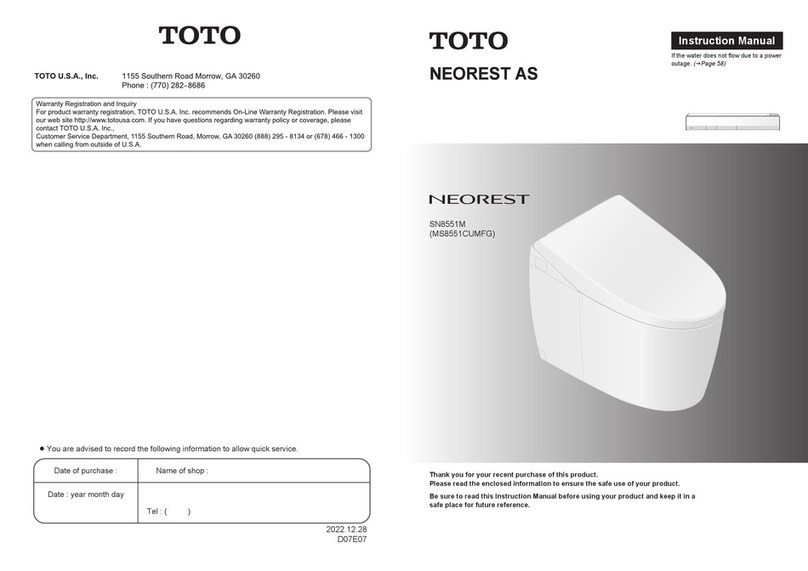
Toto NEOREST User manual

Toto

Toto NEOREST User manual

Toto CS761P Series User manual

Toto

Toto CS761P Series User manual

Toto MS604 Series User manual

Toto

Toto MS604 Series User manual

Toto NEOREST WX2 TCF95280GEU User manual

Toto

Toto NEOREST WX2 TCF95280GEU User manual

Toto NEOREST User manual

Toto

Toto NEOREST User manual

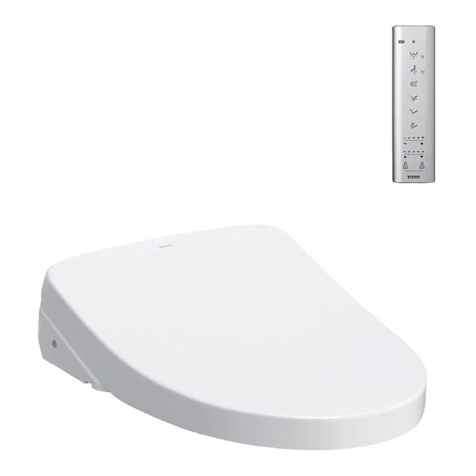
Toto washlet User manual

Toto

Toto washlet User manual

Toto CST243 User manual

Toto

Toto CST243 User manual

Toto NEOREST A User manual

Toto

Toto NEOREST A User manual

Toto Aquia CST412MF Installation instructions

Toto

Toto Aquia CST412MF Installation instructions

Toto washlet User manual

Toto

Toto washlet User manual

Toto washlet User manual

Toto

Toto washlet User manual

Toto Maris CT486FG User manual

Toto

Toto Maris CT486FG User manual

Toto TCW07S User manual

Toto

Toto TCW07S User manual

Toto NEOREST User manual

Toto

Toto NEOREST User manual

Popular Toilet manuals by other brands

nella LOCH NBMU-4062 ADA installation instructions

nella

nella LOCH NBMU-4062 ADA installation instructions

Crosswater US-PRO9005 manual

Crosswater

Crosswater US-PRO9005 manual

Kohler K-77780T-0 installation guide

Kohler

Kohler K-77780T-0 installation guide

Kohler K-6419 quick start guide

Kohler

Kohler K-6419 quick start guide

DENCK PURE-D user manual

DENCK

DENCK PURE-D user manual

Grohe Sensia ARENA user manual

Grohe

Grohe Sensia ARENA user manual

Kohler K-5171K Installation and care guide

Kohler

Kohler K-5171K Installation and care guide

Geberit AQUACLEAN MERA CLASSIC user manual

Geberit

Geberit AQUACLEAN MERA CLASSIC user manual

Kohler K-24097X Installation and care guide

Kohler

Kohler K-24097X Installation and care guide

Better Bathrooms BUN/BeBa 27555/78725 user manual

Better Bathrooms

Better Bathrooms BUN/BeBa 27555/78725 user manual

American Standard CONCEPT Cube TF-2704 installation manual

American Standard

American Standard CONCEPT Cube TF-2704 installation manual

BIOLAN ECO Instructions for installation, use and maintenance

BIOLAN

BIOLAN ECO Instructions for installation, use and maintenance

Thetford C260 Series user manual

Thetford

Thetford C260 Series user manual

KELISS T162A Series instruction manual

KELISS

KELISS T162A Series instruction manual

Silent Venus SVP600 Installation & maintenance

Silent Venus

Silent Venus SVP600 Installation & maintenance

Kohler K-22241K Installation and care guide

Kohler

Kohler K-22241K Installation and care guide

Kohler ESCALE K-32771T-NS installation instructions

Kohler

Kohler ESCALE K-32771T-NS installation instructions

BIOLAN GARDEN TOILET Instructions for installation, use and maintenance

BIOLAN

BIOLAN GARDEN TOILET Instructions for installation, use and maintenance

manuals.online logo
manuals.online logoBrands
  • About & Mission
  • Contact us
  • Privacy Policy
  • Terms and Conditions

Copyright 2025 Manuals.Online. All Rights Reserved.