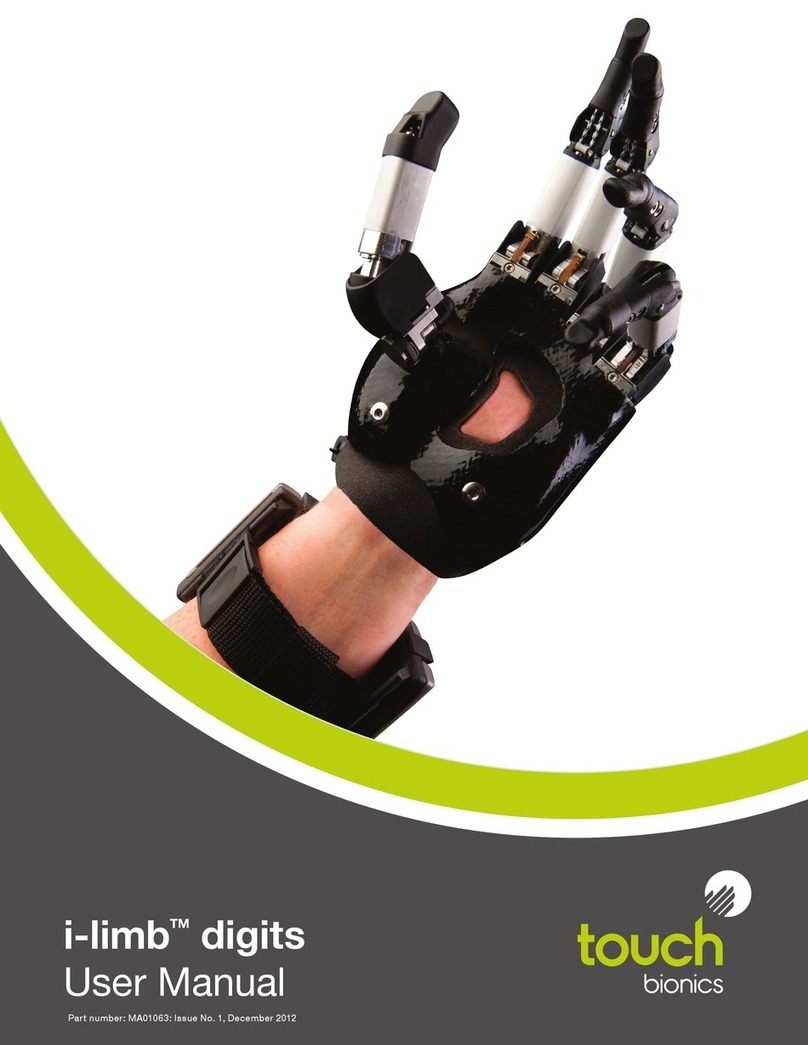
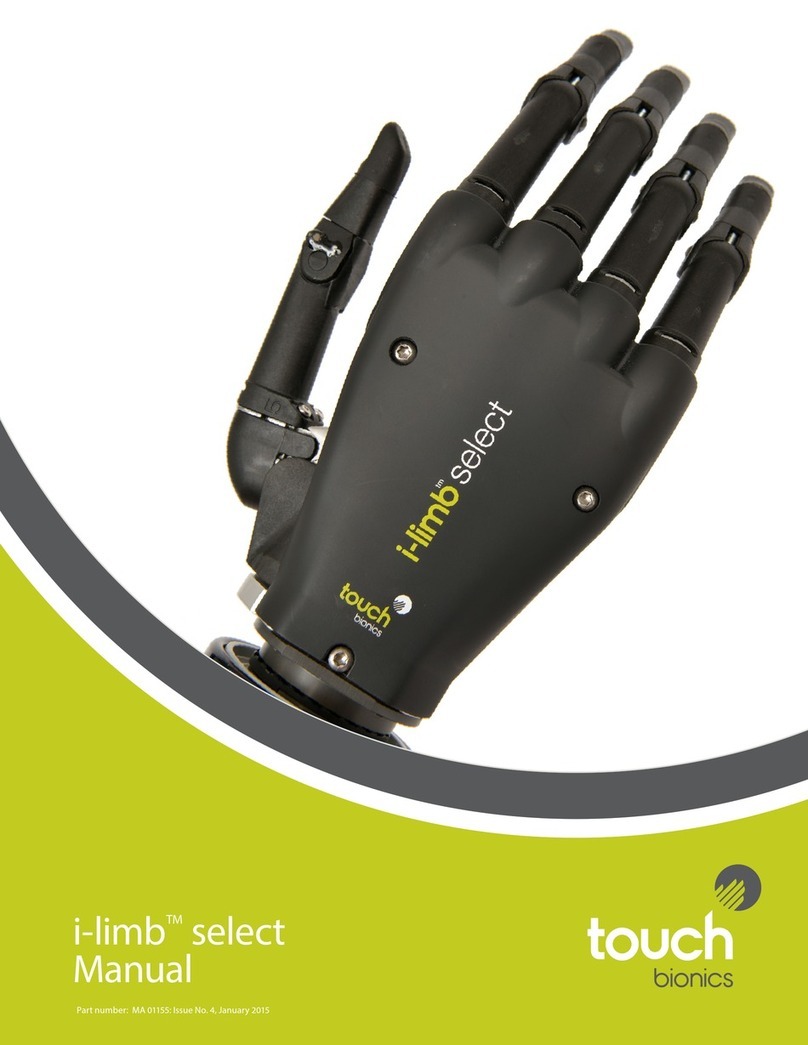
touch bionics i-limb digits User manual

i-limbTM digits
User Manual
Part number: MA01063: Issue No. 3, February 2015

2
This symbol signies important information and is used throughout the manual.
This document provides information for i-limb digits users and should be used in conjunction with
advice from a qualied clinical team with experience of i-limb digits.
Part number: MA01063: Issue No. 3, February 2015
Refer to www.touchbionics.com/downloads/document-library to ensure you have the latest copy of this
document.

3 of 24
Part number: MA01063: Issue No. 3, February2015
2
Table of Contents
1 i-limb digits 1.1 Product Description
1.2 Intended Use
1.3 Know Your Prosthesis
1.4 Wristband
2 Socket Interface 2.1 Socket Interface and Electrodes
2.2 Battery
2.3 Battery Charging
2.4 Storage and Maintenance
3 biosim 3.1 biosim Overview
3.2 biosim Connecting
3.3 Navigating biosim
3.3.1 Features
3.3.2 Training
3.3.3 Hand Health Check
3.3.4 Exit
4 i-limb digits Coverings 4.1 Cover Options
5 Support Information 5.1 Troubleshooting
5.2 Warnings and Precautions
6 Appendix 6.1 Technical Information
6.2 i-limb digits Information
6.3 Component Compatibility
6.3.1 EMC and Electrical Information
6.4 Warranty

4 of 24
Part number: MA01063: Issue No. 3, February2015
1.1 Product Description
i-limb digits is a highly individualized, externally powered, multi-
articulating prosthetic device oering functional enhancement
of the partial hand.
Individually motorized digits work in conjunction with available
anatomy to improve functionality. i-limb digits is externally
powered and oers compliant grip through individually powered
digits with stall out ability. A manually rotating thumb, when
required, in conjunction with vari-grip, auto-grasp and the wide
range of automated grip patterns lead to broad functionality.
Users can choose from a wide selection of automated grips and
gestures to help complete daily tasks, depending on i-limb digits
conguration. Grips and gestures can be customized further for
precise control.
The Wristband design enables the range of movement at the
wrist to be retained, while providing an open forearm to reduce
the build-up of heat and associated sweating. Hand control sites
provide a reliable electrode position facilitating the Wristband
option.
1.0 i-limb digits
1.2 Intended Use
i-limb digits is intended to be used by patients with partial hand
loss or deciency.

4 of 24 5 of 24
Part number: MA01063: Issue No. 3, February2015
1.3 Know Your Prosthesis
Your i-limb digits device is a mechanical device to assist
with everyday tasks. Although the device may look similar to a
natural hand, there are some things that a normal hand can do
that are not possible with the i-limb digits device.
To get the most out of the device do not use the i-limb digits
device where you would not use a natural hand. The i-limb digits
device will limit sensation and so you may not be aware if the
hand is being stressed by excessive weight, temperature or
moisture, or has been struck by an object that would cause pain
in a natural hand. A natural hand and forearm absorb shock, the
i-limb digits device is less able to do this. The i-limb digits device
will not dampen vibration as much as the soft tissues of a natural
hand.
The i-limb digits device will be damaged if the joints are
moved in a way in which they were not designed. Do not apply
forces to the side of the digits, or move the joints in directions
which they are not intended to move.
When carrying a bag or other object protect the hand by resting
the handle or strap toward the center of the hand and away
from the tips of the digits.
For further information contact your prosthetist.
Your device should be treated like any electrical device, it is
important to avoid contact with water or moisture. Wipe your
prosthesis dry quickly if there is any contact (review Warnings
and Precautions for a comprehensive overview).
Maximum
95mm (3.75”)
76mm
(3”)
45mm
(1.75”)
58mm (2.3”)
Minimum
1.4 Wristband
The i-limb digits Wristband has a circumference range of 155mm
(6”) to 270mm (10.5”) and is positioned approximately 50mm
(2”) proximal of the wrist joint, depending on anatomy. If a larger
Wristband is required, an extension piece can be added (contact
Touch Bionics to discuss your needs).
The i-limb digits Wristband contains the PCB and two removable
3.7V batteries. It is connected to the socket and frame by a exible
sheath containing the wiring.
The wristband is designed to t loosely around the distal forearm.
It is not designed to be used for suspension of the prosthesis or to
hold electrodes in position against the skin.

6 of 24
Part number: MA01063: Issue No. 3, February2015
Your i-limb digits device has been designed with a socket
interface which has been specially created by your prosthetist
team. The socket interface should t comfortably and directly to
your residual hand. Some minor redness on your residual hand
may be normal when you rst remove the device. However if
this redness does not go away within 20 minutes or if you have
any skin breakdown from your device, contact your prosthetist
directly.
As part of the tting process, your prosthetist selected the best
2.0 Socket Interface
method for you to provide control of your device. This tells
the processor (the brains of the device) whether you want the
device to open or close. One option is an electrode. Electrodes
pick up on the electrical activity that your body gives o when
you contract a muscle. Another option is called a Force Sensing
Resistor (FSR). These allow you to put pressure against a pad
inside your device using movement from your residual hand.
While gaining good control may take time and practice, your
method of input should not cause pain. Talk with your prosthetist
if you do not understand how your input control is working or if
it is causing discomfort.
2.1 Socket Interface and Electrodes
2.2 Battery
i-limb digits is powered by two, 800mAh, 3.7 Volt batteries which
have been specically designed to meet the power requirements
of i-limb digits devices. Four batteries are provided, two for the
wristband and two spares. Two 3.7v batteries will be needed with
the Wristband (the wristband will not work with only one battery)
Each battery is equipped with a LED display alerting you when
the battery is low on charge. If the battery is low on charge the
LED will illuminate RED. The LED will remain illuminated until the
battery is adequately charged.

6 of 24 7 of 24
Part number: MA01063: Issue No. 3, February2015
Only Touch Bionics batteries are approved for use
with i-limb digits, use of alternative batteries will
invalidate the warranty.
The batteries provided are designed to work specically
with the Touch Bionics i-limb digits Wristband and are
not to be used with any other device.
Batteries are tted into the Wristband battery housing and
secured by the holding catch at the wrist side of the Wristband.
Release the holding catch to remove the battery.
The Wristband is switched on and o via the grey button on the
central panel. The light sequence is as follows:
On : Red light appears for 8 seconds
O : Red light briey ashes

8 of 24
Part number: MA01063: Issue No. 3, February2015
Only use the plug to disconnect the charger, never
pull the cable to remove the lead.
2.3 Battery Charging
Batteries for i-limb digits should only be charged using the
Touch Bionics powerpack and battery charger supplied. Place
the batteries in the charger as illustrated. Insert the charger lead
from the battery powerpack into the charge port. Insert the
charger into the power outlet.
Charging time from full discharge is approximately 2 hours.
On the base plate of the charger you will see the various light
sequences:
• Middle light on: Charger is plugged in
• 2nd and 5th lights blinking Green: Batteries are charging
• 2nd and 5th lights solid Green: Batteries are charged
• 1st and 4th Red lights on: Battery fault, unplug and try again.
If lights continue to illuminate, contact your prosthetist.

8 of 24 9 of 24
Part number: MA01063: Issue No. 3, February2015
As an alternative to charging directly from domestic power, a car
charger is also provided.
2.4 Storage and Maintenance
Always turn o the i-limb digits device when not in use.
Aim to charge the battery each day after use.
Replace the batteries every 12 months.

10 of 24
Part number: MA01063: Issue No. 3, February2015
3.0 biosim
3.1 biosim Overview
3.2 biosim Connecting
All i-limb devices are tted with a Bluetooth® receiver enabling it to work with a sophisticated software package known as biosim.
biosim-i is the version designed for patient users. biosim-i contains access to training and games along and allows you to perform
some basic changes to settings.
For you to access and operate the my i-limb mobile application with i-limb digits, you will need to download the my i-limb application
(downloadable from the Apple® App Store) to the iPod® Touch supplied by Touch Bionics or compatible device: iPhone® (4s or newer),
iPad® (4th generation or newer), iPad® mini, iPod (5 or newer). Users of the mobile application can consult the my i-limb digits Quick
Start Guide available at www.touchbionics.com/downloads/document-library.
The biosim software, working through the Bluetooth“biosim handshake”wireless connection (not supplied, must be ordered), provides
access to a range of control options, training features, real time display of impulses, battery status and health check.
PC requirements are as follows: Window XP, Windows Vista, Windows 7, or Windows 8; Microsoft.NET framework v3.5; USB port for
Bluetooth® connector. Mac requirements are as follows: Mac OS X Lion (10.7) and higher, USB port for Bluetooth connector. Occasionally
updates to the biosim software and application will be available. Your computer will need to have an internet connection to receive
these updates. An automated notication will advise you when this is needed. Follow the steps as advised in the notication.
biosim-i is not contained on the bluetooth handshake device
and must be downloaded from the internet. biosim-i can be
found at http://www.touchbionics.com/biosimdownload. After
downloading, open biosim-i by clicking on the biosim icon (g.
2) which should be clearly visible on the screen. The biosim
Handshake device (available for order, g. 1) must also be inserted
into a USB port to allow the Bluetooth signal to be received by
the i-limb device. The Handshake Bluetooth receiver will pick up
signals within a 10 meter range.
Figure 2
Figure 1
The opening welcome screen will load. The language can now be
changed from the default English to a variety of languages. This
is done by clicking on the language indicator at the bottom right
hand side of the screen and scrolling to the required language.
The rst numerical icon “insert handshake”request will ash. On
insertion of the handshake the icon will be constantly lit, the
“handshake installed and ready”box will then self-tick. The second
icon will now be constantly lit and the third icon “Connecting
to device” will ash. The tab marked “connect” must now be
clicked for the connection to be made, this will take approximately
15 seconds.

10 of 24 11 of 24
Part number: MA01063: Issue No. 3, February2015
If there is more than one device within range of the Bluetooth®
receiver then a box will appear listing all devices by serial
number. In the illustration only one device is listed. The correct
i-limb digits device can then be selected from the list. For devices
using the Wristband, the serial number is located in the battery
housing on the main body of the Wristband, as illustrated. For
devices using the full forearm socket, your prosthetist will be able
to let you know where to nd the serial number.

12 of 24
Part number: MA01063: Issue No. 3, February2015
3.3 Navigating biosim
The “you’re now connected” home screen will now be displayed,
with four options as illustrated. This is the homepage and can be
accessed at any time from subsequent pages.
Features allows the set-up of the i-limb digits and is where
triggers are linked with with grip patterns and gestures.
Training provides access to the training suite and a selection of
games to improve overall control.
Hand health check icon provides a quick and easy diagnostic
check of the hand.
Exit icon draws the session to a close, exiting the program.

12 of 24 13 of 24
Part number: MA01063: Issue No. 3, February2015
3.3.1 Features
Click on the features icon to enter the features
suite. The feature page provides access to all
available features and associated changes.
Features are the actual movements of the
hand and triggers are the muscle action used
to create the movements.
The grip patterns illustrated are:
First row – 4 precision pinch options
Second row – 4 tripod grip options
Third row – 2 thumb park options, lateral grip and index
point options
Fourth row – custom gesture and custom grip options
Features Catalogue
Precision Pinch Grip Options
Tripod Grip Options
Standard Precision Pinch Opened
middle, ring and little nger remain fully
opened and switch o. Index nger and
thumb provide grip.
Standard 3 Jaw Chuck (Tripod) Opened
ring and little nger remain fully opened and
switch o. Thumb, index and middle ngers
move to provide grip.
Thumb Precision Pinch Opened
middle, ring and little nger remain
fully opened and switch o. Thumb
automatically moves to a partially closed
position. Index nger will move to provide
grip against a xed thumb.
Thumb 3 Jaw Chuck (Tripod) Opened
ring and little nger remain fully opened and
switch o. Thumb automatically moves to a
partially closed position. Index and middle
ngers move to provide grip against a xed
thumb.
Standard Precision Pinch Closed
middle, ring and little nger automatically
close and switch o. Index nger and
thumb provide grip.
Standard 3 Jaw Chuck (Tripod) Closed
ring and little nger move to terminal
close. Thumb, index and middle ngers
move to provide grip.
Thumb Precision Pinch Closed
middle, ring and little nger automatically
close and switch o. Thumb automatically
moves to a partially closed position. Index
nger will move to provide grip against a
xed thumb.
Thumb 3 Jaw Chuck (Tripod) Closed
ring and little nger move to terminal
close. Thumb automatically moves to a
partially closed position. Index and middle
ngers move to provide grip against a
xed thumb.

14 of 24
Part number: MA01063: Issue No. 3, February2015
Toward the bottom right of the screen the additional Global
Options box can be used to give access to Vari-grip / pulsating.
1Vari-grip / pulsating: this mode provides additional grip
force with subsequent activation of the closed signal.
The default setting for activation is 500ms (0.5 seconds)
which can be customized between 250 (0.25 seconds) to
3,000ms (3 seconds).
Additional Functioning
Additional Grip and Gesture Options
Thumb Park Continuous
all four ngers remain open and switch o,
only the thumb will move.
Lateral Grip
all four ngers fully close and switch o.
Only thumb will move.
Customer Gesture
all ngers automatically move to a fully
opened or fully closed position, as preset
by the user.
Thumb Park Quick
all four ngers remain open and switch
o, for 1.5 seconds the thumb will close
and then automatically return to an open
position.
Index Point
thumb, little, ring and middle ngers close
and switch o. Only the index nger will
move.
Custom Grip
all ngers automatically move to a user
dened position.

14 of 24 15 of 24
Part number: MA01063: Issue No. 3, February2015
By clicking on any of the features on the features page the
available triggers and example sections will also appear. In order
to preview a feature simply highlight the feature and click on
example to the right of the screen. The section will then enlarge
and provide a demonstration of the feature. The hand image can
be rotated to improve visualization by holding the left mouse key
and moving the curser in the direction of the intended rotation.
In order to link a trigger with a feature simply click on to the
desired feature, the feature will now be highlighted. Select and
click the desired trigger which has been selected to link with
the highlighted feature. Both feature and trigger should now be
highlighted and the descriptive label will now appear under the
feature icon. The illustration indicates the Index Point Feature
linked to the Hold Open Trigger.
Linking Triggers with Features
1Hold open (a prolonged open signal)
Four potential triggers are available to activate features: Hold open, Co-contraction, Double impulse and Triple impulse.
Triggers
2Co-contraction (both open and closed signals activated simultaneously) may have already been customized by your
prosthetist to be suited to your own unique signals.
3Double impulse (two rapid open signals, separated by relaxation below the threshold). Your prosthetist will have pre-set this
at the time of tting.To activate a double impulse the device needs to be fully opened prior to attempting activation.
4Triple impulse (three rapid open signals, separated by relaxation below the threshold). Your prosthetist will have pre-set this
at the time of tting.To activate a triple impulse the device needs to be fully opened prior to attempting activation.
Any of the above four potential triggers can be linked with any of the above features. Some users are able to perform activities of
daily life (ADL’s) without the use of any triggers. In many cases users initially set one or two triggers while familiarity and control is
gained.

16 of 24
Part number: MA01063: Issue No. 3, February2015
3.3.2 Training
The training suite contains a variety of short
training exercises aimed at developing control
of the i-limb digits device. The opening
screen highlights the series of exercises
which can be selected individually and in any
order. Both open and closed signals can be
practiced by selecting the appropriate box to
the right. Click on “Start” to start the exercise and “Done” when
the exercise is complete. An indication of diculty is provided
by the 5 point scale on each module.
Strength Only focuses on generating a smooth strong muscle
signal without concern for the opposing muscle signal. This
exercise helps to strengthen the muscles.
Speed Only focuses on generating quick, strong muscle
signals. Do not be concerned about the opposing muscle in
this exercise.
Strength and Separation focuses on generating a smooth,
strong muscle signal while isolating the opposing muscle. This
exercise helps with separation of signals.

16 of 24 17 of 24
Part number: MA01063: Issue No. 3, February2015
Speed and Separation focuses on generating quick, strong
muscle signals while isolating the opposing muscle. This
exercise lays the foundation for impulse control.
3.3.3 Hand Health Check
Hand Health Check screen provides a
quick and easy check of the hand. Click on
the “Run Hand Health Check” icon and the
health check will begin. There must be an
internet connection to run the Hand Health
Check.
Hold Open focuses on generating a strong open muscle signal
and maintaining it at a high level for several seconds. Mastering
this exercise will enable use of the hold open trigger.
Co-contraction focuses on generating quick, strong
simultaneous contractions with both muscles. Do not be
concerned with relaxing after the contraction.

18 of 24
Part number: MA01063: Issue No. 3, February2015
The i-limb digits device will then go through a series of
movements as each digit is checked, the process will run for
approximately 8 seconds and provide basic feedback on each
step.
3.3.4 Exit
Use the Exit icon to fully exit biosim.

18 of 24 19 of 24
Part number: MA01063: Issue No. 3, February2015
4.0 i-limb digits Coverings
4.1 Cover Options
Silicone digit knuckle covers and tips will be provided for the
i-limb digits device. Digit covers will be ready to t and designed
to cover each digit.
Touch Bionics’approved digit covers must be used with each digit
of the device. The warranty will become void if the device is used
without an approved cover.
General Precautions
•The i-limb digits device must be used with approved Touch
Bionics’digits covers.
•Never put more than one cover on each digit of the i-limb
digits device.
•Always use the digits cover designed for the i-limb digits
device.
•Ensure covers are tted properly.
i-limb digits covers do not provide full protection from moisture,
oil, dust and dirt ingress. Caution should be observed.

20 of 24
Part number: MA01063: Issue No. 3, February2015
5.0 Support Information
5.1 Troubleshooting
P
r
obl
e
m
Act
i
o
n
Prosthesis does not
operate Ensure the prosthesis is switched on
Ensure the battery is connected
Ensure the battery is charged
Prosthesis stops midway
through an action Check the battery cable is not damaged
Check that the i-limb digits device is connected correctly
Prosthesis is dicult to
operate Ensure the battery has good charge
Battery charge does not last
a full day Fully charge the battery, this may take up to 2 hours
Check the battery connection
Ensure that you are not holding a sustained signal to the device
Replace the battery
Digits open when a closed
signal is actioned Contact your prosthetist
Battery is not working Check the battery is connected
Ensure the battery charger is working correctly
Check the battery is charged
Other manuals for i-limb digits
1
Table of contents
Other touch bionics Medical Equipment manuals

touch bionics
touch bionics i-limb ultra revolution User manual

touch bionics
touch bionics i-limb ultra User manual

touch bionics
touch bionics i-digits quantum User manual

touch bionics
touch bionics i-limb select User manual

touch bionics
touch bionics i-limb digits User manual

touch bionics
touch bionics i-Limb Wrist User manual
touch bionics
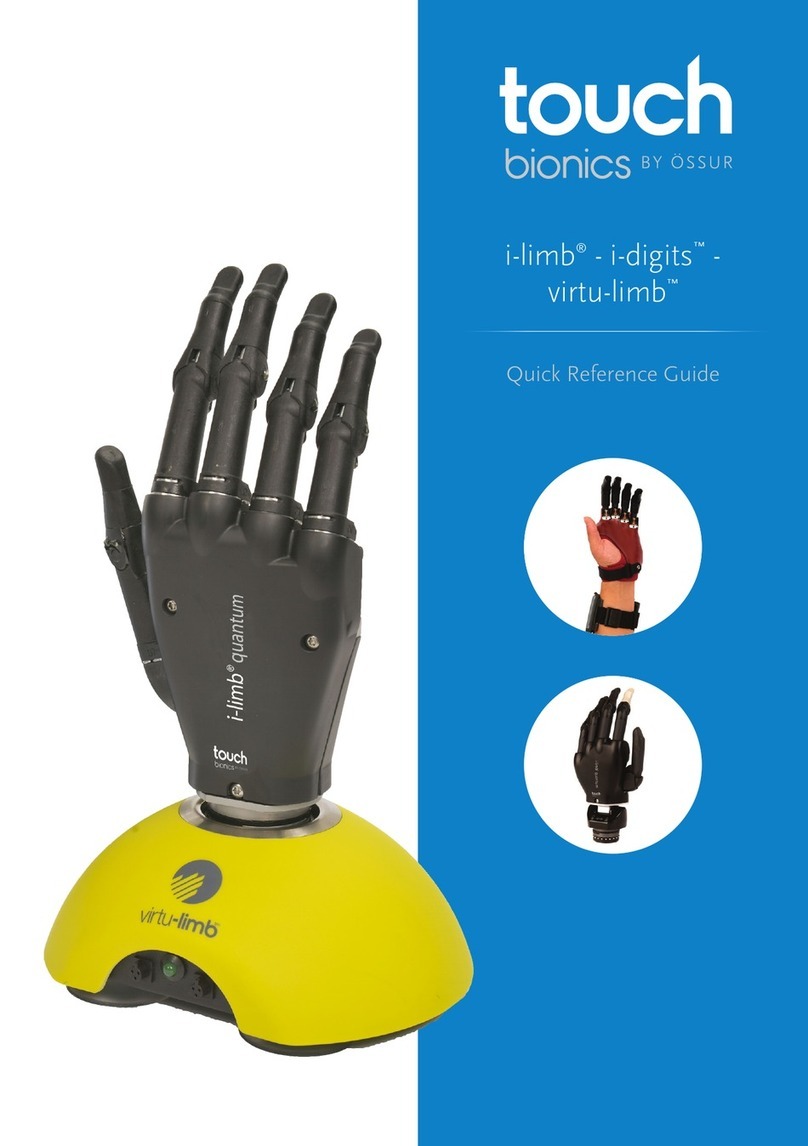
touch bionics i-limb User manual