10
PREPARING FOR USE
1. Read all instructions and safety
information carefully before first use.
Please retain this information for
future reference.
2. Remove your appliance from the
packaging.
3. Check that there is no damage to
the cord or any visible damage to the
body.
4. Dispose of the packaging in a
responsible manner.
5. Remove any stickers or labels from
the appliance. DO NOT remove the
rating label.
6. Clean the cooking basket and crisper
grill plate with some washing-up
liquid and a nonabrasive sponge. Dry
thoroughly.
7. Wipe the inside and outside of the
appliance with a damp cloth.
8. Place the crisper grill plate into the
cooking basket.
9. Do not fill the fryer with oil or frying
fat. This fryer operates using hot air
and requires very little to no oil.
10. Familiarise yourself with the control
panel shown in the Getting to Know
Your Air Fryer section.
11. Situate your appliance according to
the Important Safety Instructions
section.
NOTE: When using the appliance for the
first time, a slight smoke or odour may
be emitted. This is normal and will soon
subside. Ensure that there is sucient
ventilation around the appliance.
BEFORE FIRST USE
USING YOUR AIR FRYER
AIR FRYER COOKING BASKET
SAFETY SWITCH:
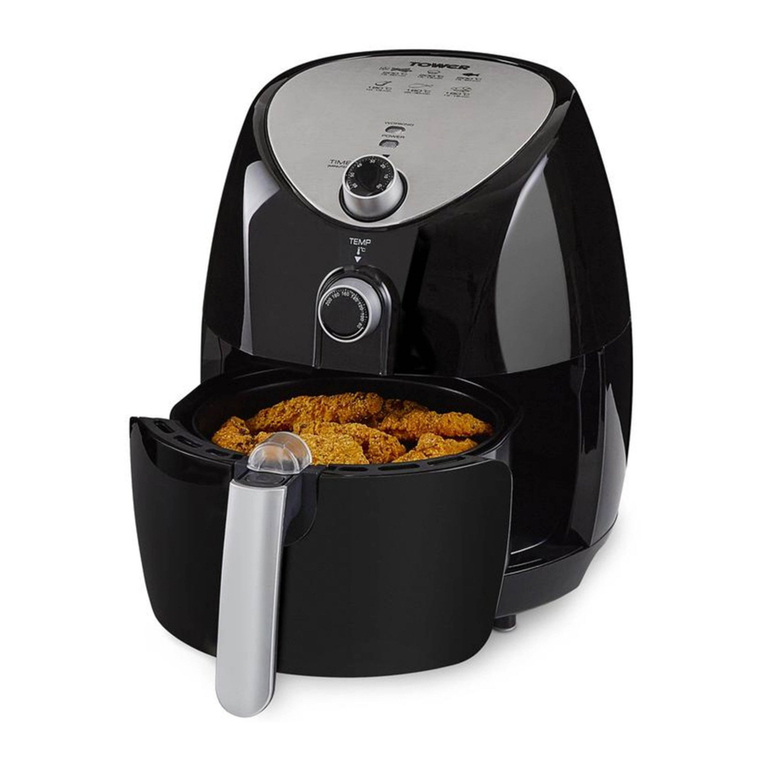
For your safety, this air fryer contains
a safety switch in the cooking basket,
designed to keep if from accidentally
turning on whenever the cooking
basket is not properly situated inside
the appliance or the timer is not set.
Before using your air fryer, please ensure
that the crisper grill plate is inside the
cooking basket and the cooking basket
is fully closed.
REMOVING THE COOKING
BASKET:
Pull the handle to remove the cooking
basket
NOTE: If the cooking basket is removed
from the main body of the fryer when
in operation, the unit will automatically
stop working. When the cooking basket
is re-inserted, the air fryer will resume
operation on the latest selected settings.
TURNING THE APPLIANCE ON/
OFF:
1. To use the appliance, begin by
plugging it into a mains socket,
ensuring the socket switch is in the
ON position.
2. Once the unit is plugged in, press the
Power On/Off key to turn the unit on.
There will be a sound prompt and the
LED display will come on indicate the
unit has been turned on.
3. Press this button again when the unit
is in operation to turn it off. The LED
display will go out and the fan will
stop working.
