8
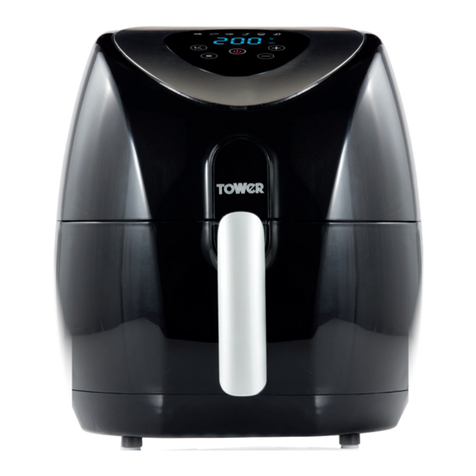
Note: If no keys are pressed or selections made after the control panel is lit, the air fryer
will automatically go into standby mode after 90 seconds of inactivity.
7. Determine the required preparation time for your desired ingredients (refer to the
‘Settings’ section below). Use the keys to adjust the cooking time accordingly.
The time will increase or decrease in increments of 1 minute, from 0 up to 60
minutes.
Note: Preparation times can be changed or adjusted even while the air fryer is in
operation.
8. Adjust to the required temperature. Refer to the ‘Settings’ section in this chapter to
learn how to determine the right temperature. Use the keys to adjust the
temperature accordingly. The temperature will increase or decrease in increments of
5 degrees, from 30 up to 200 degrees.
Note: The temperature can be adjusted or changed at any time, even while the air fryer is
in operation.
9. Once the correct time and temperature have been set, press the key. The electric
heating tube and fan will begin to work, the and indicators will illuminate and
the timer will begin counting down the remaining cooking time.
Note: Press the key again while the fryer is in operation to pause the cooking cycle.
The fan and electric tube will stop working and the corresponding indicators in the touch
control panel will go out to indicate operation has been paused. Press this key again while
the air fryer is in this state to resume cooking.
Note: If the door is opened during cooking, the screen and power light will go off, and the
heating tube and fan will stop working. When the door is closed again, the air fryer will
resume operation in its latest settings. The cooking time countdown will not be affected,
as the air fryer has a memory backup of up to 2 hours.
Note: During the frying process, food will get very hot and steam may escape from the air
fryer.
10. When the set preparation time has elapsed, the fryer will emit a series of beeps, the
screen will display ‘00’, and the screen and the indicator will begin to flash.
Note: You can also switch the appliance off manually by reducing the temperature to zero.
11. Check if the ingredients are ready. If the ingredients are not ready yet, simply
place your food back into the fryer, close the door, then set the timer to a few extra
minutes.
12. To remove ingredients (e.g. fries), open the air fryer door and pull out the food using
the insulated kitchen gloves or other suitable safety accessory such as tongs.
13. Once your food is cooked, the air fryer is instantly ready to be used again, to create
another delicious dish of your choice.
Auto-Cook Menus:
This air fryer is equipped with 8 auto-cook menus, pre-programmed with the ideal
settings to fit some of the most commonly air-fried meals. When one of these menus is
selected, the air fryer will automatically default to that program’s pre-set temperature and
time, and operate accordingly.
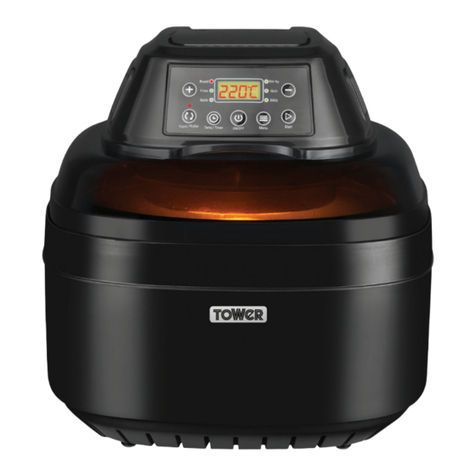
Each of these can be accessed by pressing the corresponding key in the unit’s control
panel. The corresponding indicator will light up to show each menu has been selected.
The full list of auto-cook menus is as follows:
