manuals.online logo
Brands
  1. Home
  2. •
  3. Brands
  4. •
  5. Toyota
  6. •
  7. Automobile Accessories
  8. •
  9. Toyota PC170-0K006 User manual

Toyota PC170-0K006 User manual

This manual suits for next models

1

Other Toyota Automobile Accessories manuals
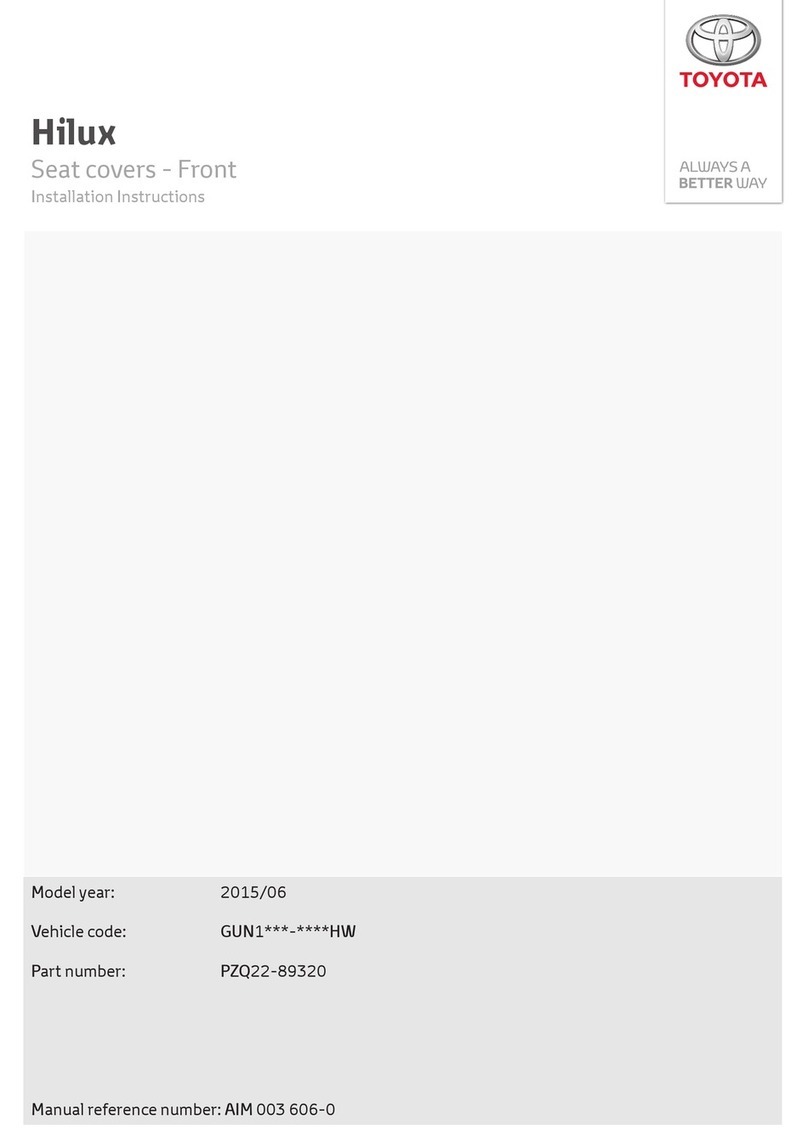
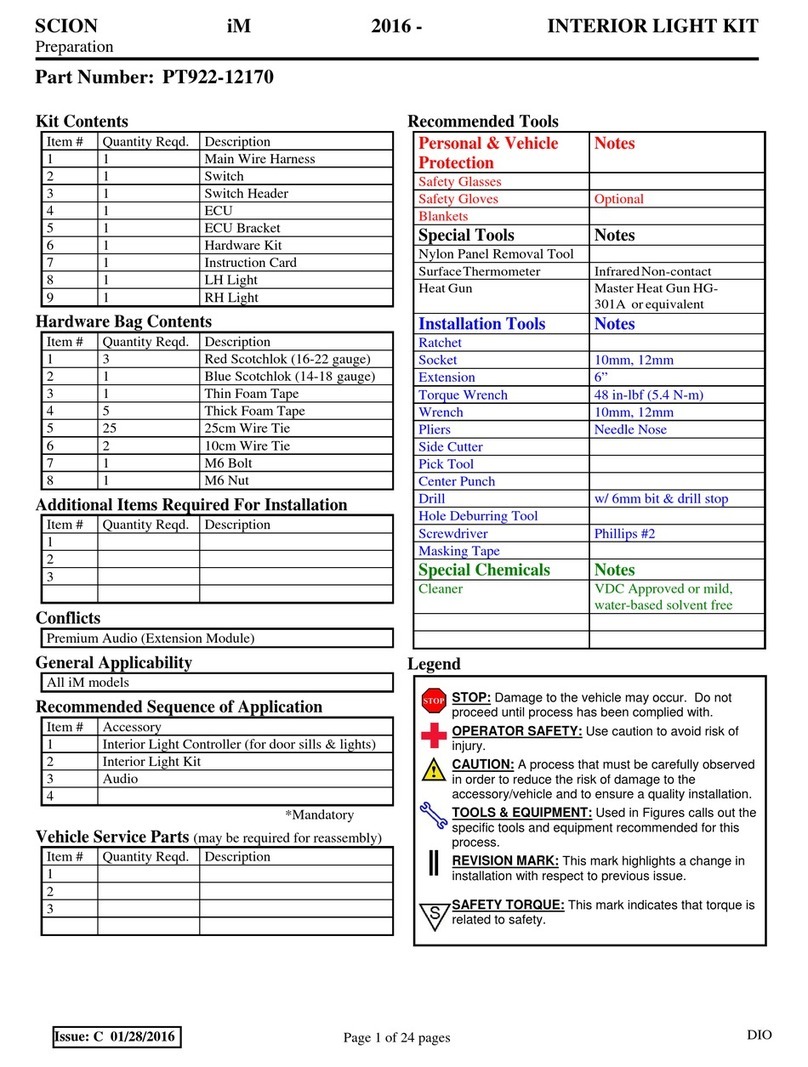
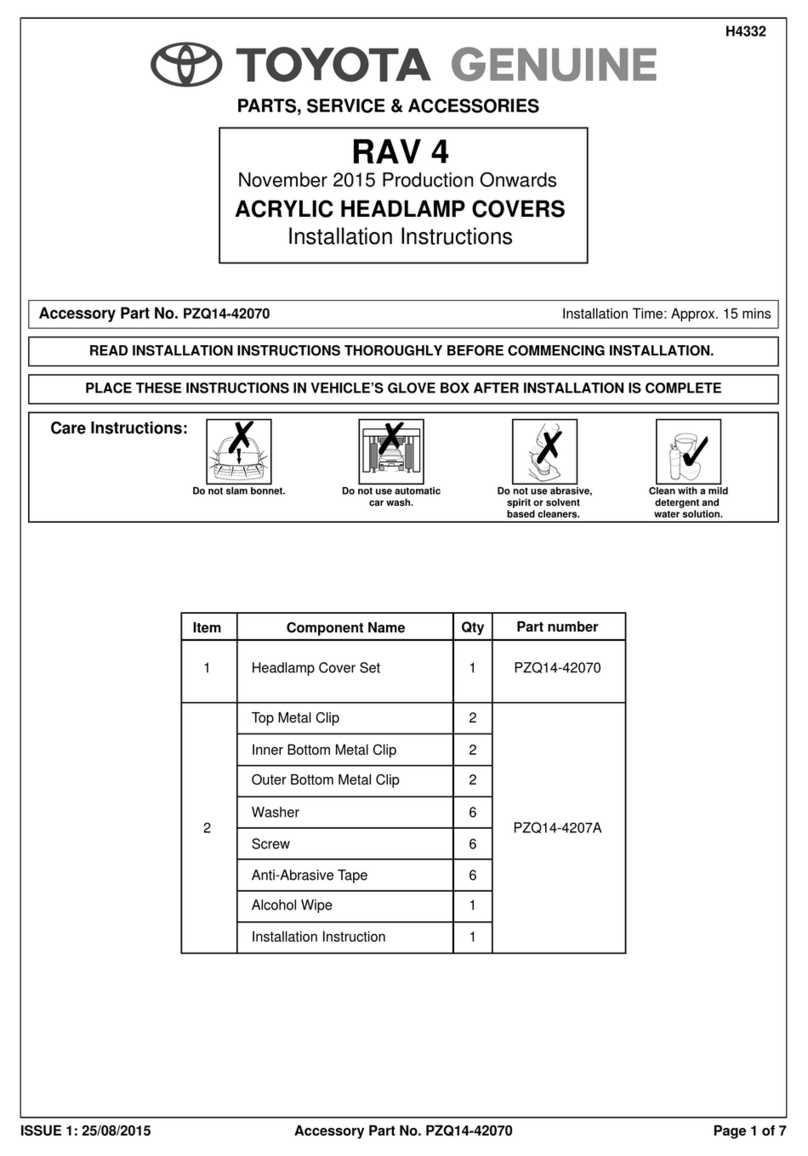
Toyota PZQ14-42070 User manual

Toyota

Toyota PZQ14-42070 User manual

Toyota PC162-0K00H User manual

Toyota

Toyota PC162-0K00H User manual

Toyota Sequoia 2014 User manual

Toyota

Toyota Sequoia 2014 User manual

Toyota PZ473-00261-00 User manual

Toyota

Toyota PZ473-00261-00 User manual

Toyota PZQ22-89320 User manual

Toyota

Toyota PZQ22-89320 User manual
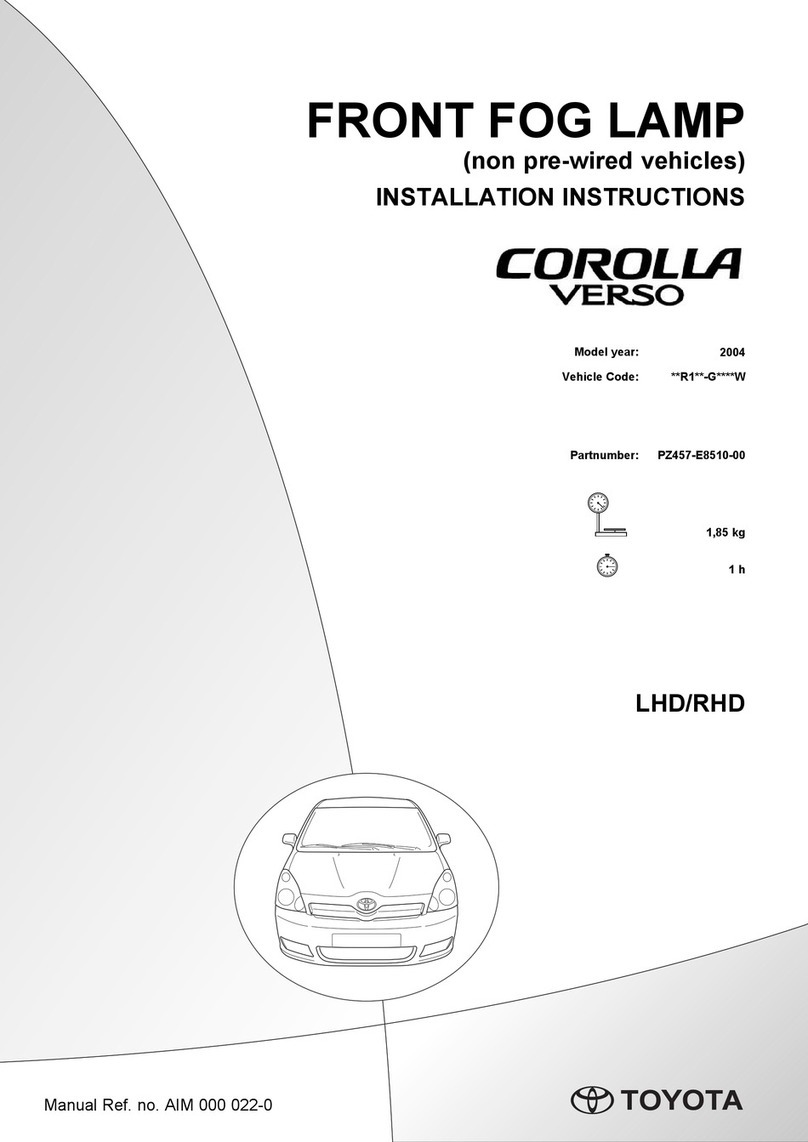
Toyota Tundra 2014 User manual

Toyota

Toyota Tundra 2014 User manual

Toyota 2005 4Runner Navi_U User manual

Toyota

Toyota 2005 4Runner Navi_U User manual

Toyota ADVANCED AVX User manual

Toyota

Toyota ADVANCED AVX User manual

Toyota Prius HSD 2004 User manual

Toyota

Toyota Prius HSD 2004 User manual

Toyota 55405-05160 User manual

Toyota

Toyota 55405-05160 User manual

Toyota Blu Logic User manual

Toyota

Toyota Blu Logic User manual

Toyota PZQ72-48050 User manual

Toyota

Toyota PZQ72-48050 User manual

Toyota PZ457-B056E-00 User manual

Toyota

Toyota PZ457-B056E-00 User manual

Toyota handsfree communication User manual

Toyota

Toyota handsfree communication User manual

Toyota PZ4AH-77917-00 User manual

Toyota

Toyota PZ4AH-77917-00 User manual

Toyota PT925-42160 User manual

Toyota

Toyota PT925-42160 User manual

Toyota PZ451-X0990-ZA User manual

Toyota

Toyota PZ451-X0990-ZA User manual

Toyota PT427-48080 User manual

Toyota

Toyota PT427-48080 User manual

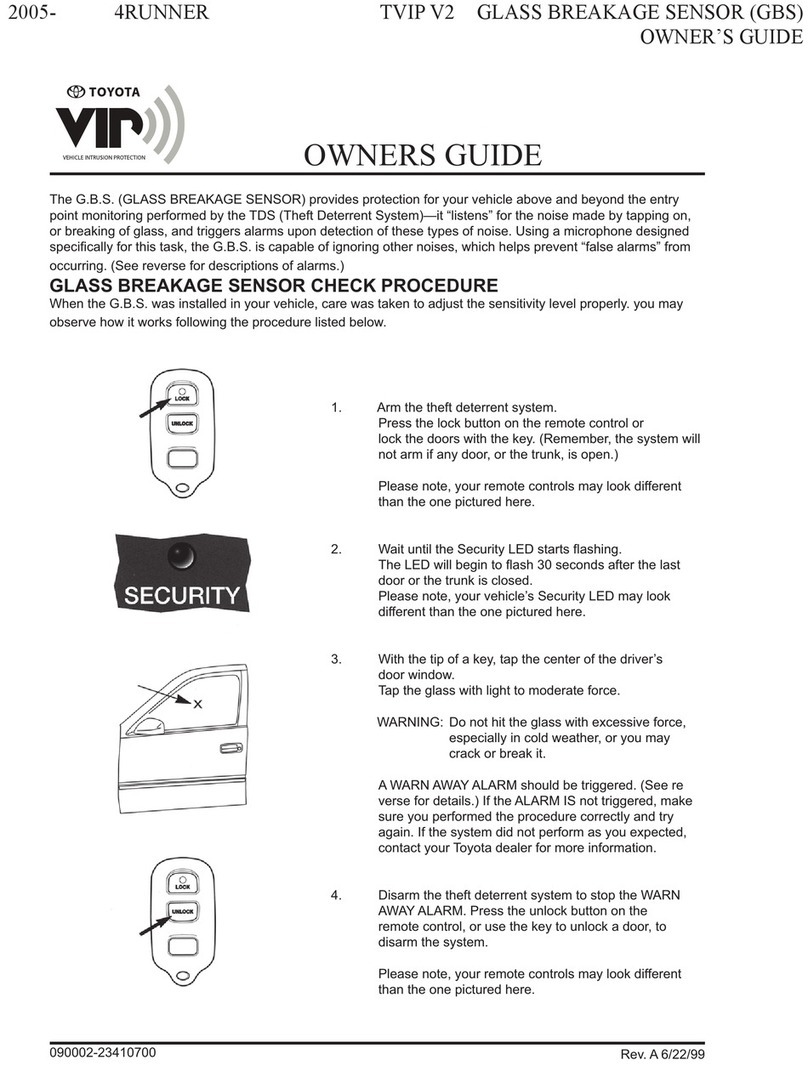
Toyota VIP User manual

Toyota

Toyota VIP User manual

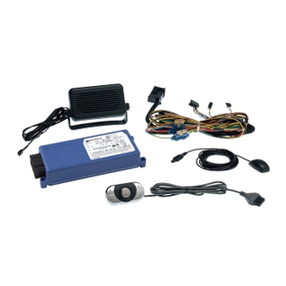
Toyota Bluetooth hands-free system User manual

Toyota

Toyota Bluetooth hands-free system User manual

Toyota RAV4 2011 User manual

Toyota

Toyota RAV4 2011 User manual

Toyota PVM User manual

Toyota

Toyota PVM User manual

Toyota PZ4AG-19060-98 User manual

Toyota

Toyota PZ4AG-19060-98 User manual

Toyota Bluetooth SWC User manual

Toyota

Toyota Bluetooth SWC User manual

Popular Automobile Accessories manuals by other brands

Magneti Marelli AC161 Installation instruction

Magneti Marelli

Magneti Marelli AC161 Installation instruction

FDI uEZ GUI Start here

FDI

FDI uEZ GUI Start here

JCROffroad JT Install instructions

JCROffroad

JCROffroad JT Install instructions

Rostra VOXXElectronics 250-1930 owner's guide

Rostra

Rostra VOXXElectronics 250-1930 owner's guide

TOP VEHICLE TECH GR3FORD5 installation manual

TOP VEHICLE TECH

TOP VEHICLE TECH GR3FORD5 installation manual

Safe Fleet PRIME DESIGN AR-2000-BLK manual

Safe Fleet

Safe Fleet PRIME DESIGN AR-2000-BLK manual

Skoda Fabia Combi 5J Fitting instructions

Skoda

Skoda Fabia Combi 5J Fitting instructions

Camcar 40077 Al Mounting instructions

Camcar

Camcar 40077 Al Mounting instructions

Camcar 40089 AL Mounting instructions

Camcar

Camcar 40089 AL Mounting instructions

Impac Tradesman 2000 installation manual

Impac

Impac Tradesman 2000 installation manual

DVB OFFROAD BRSB-01 installation manual

DVB

DVB OFFROAD BRSB-01 installation manual

Safari Snorkel SS385HF installation guide

Safari Snorkel

Safari Snorkel SS385HF installation guide

ULTIMATE SPEED 279746 Assembly and Safety Advice

ULTIMATE SPEED

ULTIMATE SPEED 279746 Assembly and Safety Advice

SSV Works DF-F65 manual

SSV Works

SSV Works DF-F65 manual

ULTIMATE SPEED CARBON Assembly and Safety Advice

ULTIMATE SPEED

ULTIMATE SPEED CARBON Assembly and Safety Advice

Witter F174 Fitting instructions

Witter

Witter F174 Fitting instructions

WeatherTech No-Drill installation instructions

WeatherTech

WeatherTech No-Drill installation instructions

TAUBENREUTHER 1-336050 Installation instruction

TAUBENREUTHER

TAUBENREUTHER 1-336050 Installation instruction

manuals.online logo
manuals.online logoBrands
  • About & Mission
  • Contact us
  • Privacy Policy
  • Terms and Conditions

Copyright 2025 Manuals.Online. All Rights Reserved.

1
2
3
5
10
4
่
PART NAME
NO.
1 1PC170-0K01C
Q’TY
PART NUMBER
A
1.
6
8 9
7
PART NUMBER ุ
REMARK
APPLICABLE MODEL
-HILUX 2015 (D-CAB ONLY)
PC170-0K006
PC170-0K00Z
Rev.#3 (Eng. 24-08-18)
INSTALLATION MANUAL BODY SIDE MOLDING
Thank you for your purchase of TOYOTA genuine “BODY SIDE MOLDING” This manual explains the procedure
for installation, Please read this manual before installation to ensure correct installation.
1. Clean Cloth
2. Adhesive Tape
3. Degreasing Agent
4. Scissor or Cutter
5. Heat Gun (when temperature is 15 ํC or Lower)
6. Laser Digital Thermometer
INSTALLATION TOOLS/MATERIALS INSTALLATION REQUIREMENTS
9
10
5 - 8
6 - 1
7 - 1
8 - 1
-1
-1
2 1
PC170-0K01F
3 1
PC170-0K01B
4
(Body Side Molding FR LH)
(Installation Manual)
C-LH (Template C-LH)
A (Template A)
B-RH (Template B-RH)
B-LH (Template B-LH)
C-RH (Template C-RH)
(Body Side Molding RR LH)
(Body Side Molding FR RH)
(Body Side Molding RR RH)1PC170-0K01D
Component Parts
Time to installation : 30 min.
1. Temperature Range : 15 ํ - 55 ํ C
2. Installation Force : 49N ±1N
CAUTION : 1. Perform the installation indoors where it is not subjected to dust. If the air temperature is 15 ํC
or lower, the adhesive strength will be reduced. In order to prevent such problems, use a heat
gun to warm up the installation surface of the vehicle and the double-sided adhesive tape to a
temperature between 15 ํC and 55 ํC before performing adhesion work. Failure to do this may
cause the product to drop off or peel off.
2. Using a degreasing agent, thoroughly wipe off dust and oil from the installation surface of
the vehicle. Failure to do this can result in reduced adhesive strength and cause the product to
drop off or peel off. Keep fire away from the vehicle when using a degreasing agent.
3. Avoid touching the double-sided adhesive tape when release liner is peeled away as this can
cause adhesive strength to decrease.
4. All sticker templates must be used before product installation. Failure to do this may cause
the product to drop off or peel off.
5. It is recommended that these parts are installed at installer chest height to ensure accurate
alignment of product.
6. Please do not remove the product once installation completed as this can cause the adhesive
strength to decrease.
7. Please do not allow your vehicle to get wet (car wash or left in rain) for at least 24 hours
after installation.
8. Please avoid driving car more than 90km/h for at least 24 hours after installation
9. If washing vehicle with high pressure washer, please ensure nozzle is greater than 50 cm from
product. Failure to do this may cause the product to drop off or peel off
Rev.#3
2.
3.
Installation Method
1
2. Position of sticker template.
2.1 Attach sticker template on front and rear door by using edge of door as reference point and as show on fig 2.1
Rev.#3
2.1
A
C-RH B-RH
AA
FR
1. Clean and degrease the shaded area using clean cloth
with degreasing agent as shown in Fig. 1
2
500mm 750mm
END of R
END of R
50mm
50mm
50mm
50mm
50mm
C-RH B-RH
FR
4.
3. Trial fit (do not remove release liner) and check position of parts on both front and rear door mouldings by
aligning them to the sticker templates.
3
AA A
5
B-RH
A
4
4. Starting with front door mould, completely peel off release liners 3. and 4. by about 5cm and fold it to outside.
Completely remove release liners 1. and 2 and discard.
1
3
2
4
A
1. 2.
4
2
1
3
C-RH B-RH
5. Place the front door mould onto door panel, aligning it to the sticker templates. Apply firm pressure to part in
position ① to door panel and then check level of part in the portion between sticker templates A. Apply firm
pressure to part in position ② to door panel.
Rev.#3
FR
FR
NOTE: If vehicle door panels and door mouldings are not at the required temperature, heat up vehicle
door panels and door moulding.
5.
6
8. Repeat steps 1- 7 to install parts on the opposite side.
9. After installation around 5 min, try moving the part to check adhesive tapes are properly attached in all areas.
A
A
C-RH
8
1.
2.
Rev.#3
FR
7FR
7. Open doors to full opening angle to ensure moulds do not interfere with body panel. Remove the remaining
release liners in the direction according to Fig. 7. Check all release liners have been removed as failure to do this
may cause the product to drop off or peel off. Then apply pressure force of 49N ±1N on all areas of the part
with double-sided tape. Failure to do so may cause product to drop or peel off. Remove all sticker templates.
6. Repeat Steps 4 and 5 for rear door mould.
!
CAUTION : Must press all areas of double-sided tape with a force of 49N ±1N