TPI 370 Series User manual

F.MAINTENANCE
1.Clean the surface of the instrument and optical lens with a damp cloth.
2.Replace the 9 Volt battery when the low battery indicator appears on
the LCD.
G.TROUBLE SHOOTING
Symptom Probable Cause
Temperature seems inaccurate.•Dirty optical lens.
•Low battery.
•Instrument held too far away
from target increasing desired
target area.
•Target surface has poor
emissivity qualities.
•Laser sight out of alignment.
371/373 does not turn on.•Dead or low battery.
•Defective POWERONswitch.
•Broken batter connector.
Laser does not turn on.•Low battery.
•Broken connector to Laser.
Test Products International, Inc.
9615 SW Allen Blvd., Ste. 104
Beaverton, OR USA 97005
503-520-9197 • Fax: 503-520-1225
Test Products International, Ltd.
342 Bronte Road South, Unit 9
Milton, Ontario L9T5B7
Canada
905-693-8558 • Fax: 905-693-0888
L373M • 4/24/00 copyright © 2000 Test Products International, Inc.
Infrared Thermometers375,376,377
from Test Products International, Inc.
TheValueLeaderTM
Visit www.tpi-thevalueleader.com
Common Emissivity Values
MaterialEmissivity
Aluminum (oxidized)0.25
Aluminum (polished)0.1
Asbestos0.95
Brass (oxidized)0.6
Brass (polished)0.1
Carbon0.75
Carborundum 0.85
Cardboard0.9
Cast Iron (polished)0.2
Cast Iron (rusted)0.95
Chromium (polished)0.1
Concrete0.7
Copper (oxidized)0.8
Copper (polished)0.05
Gold (polished)0.1
Iron plate0.7 to 0.85
Lead (oxidized)0.3
Lead (pure)0.1
Marble0.9
Matte black paint 0.95
Nickel (pure)0.1
Nickel plate (oxidized)0.95
Paper0.9
Plaster0.9
Plastics0.8 to 0.95
Quartz0.9
Red Brick0.75 to 0.9
Rubber (rough)0.98
Rubber (smooth)0.9
Silica0.4
Silver (polished)0.1
Stainless Steel (other)0.2 to 0.6
Stainless Steel (polished)0.1
Steel (ground sheet)0.6
Steel (Mild)0.3 to 0.5
Steel plate0.9
Timber0.8 to 0.9
Water0.98
Zinc (oxidized)0.1

A.INTRODUCTION
1.Congratulations: Thank you for purchasing TPI products. The 370 Series are easy to use
and built to last. All are backed by a 3 year limited warranty. Please remember to com-
plete and return your product warranty registration card.
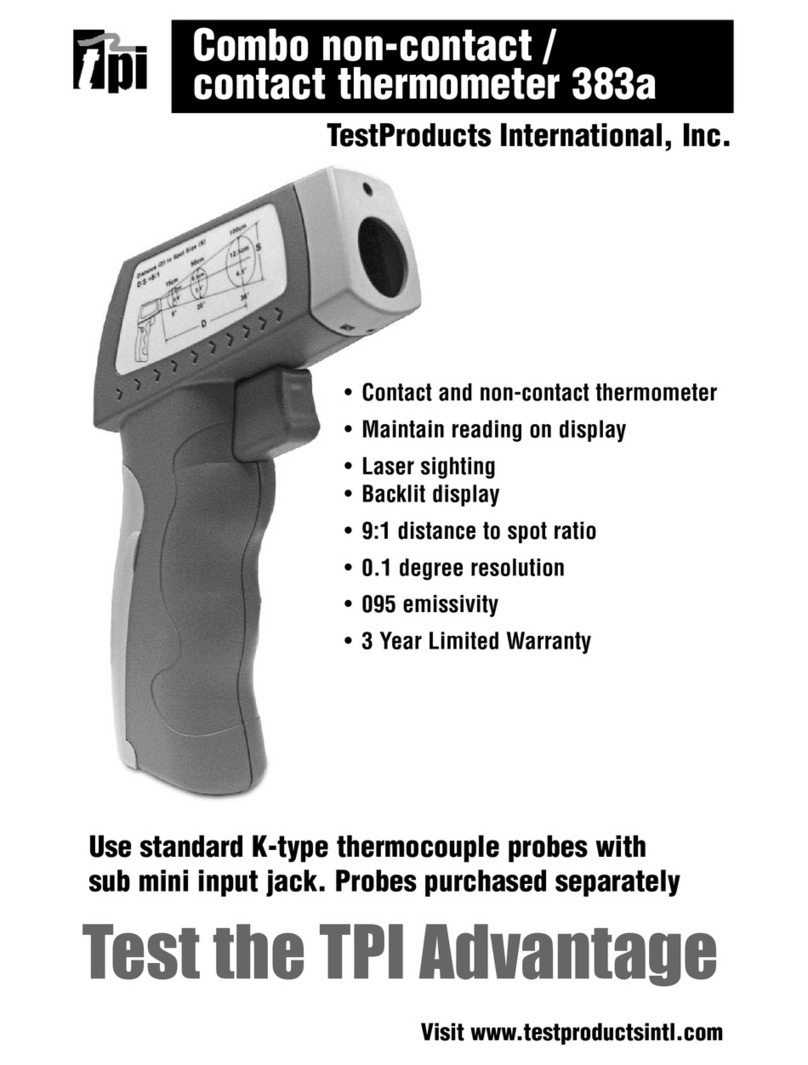
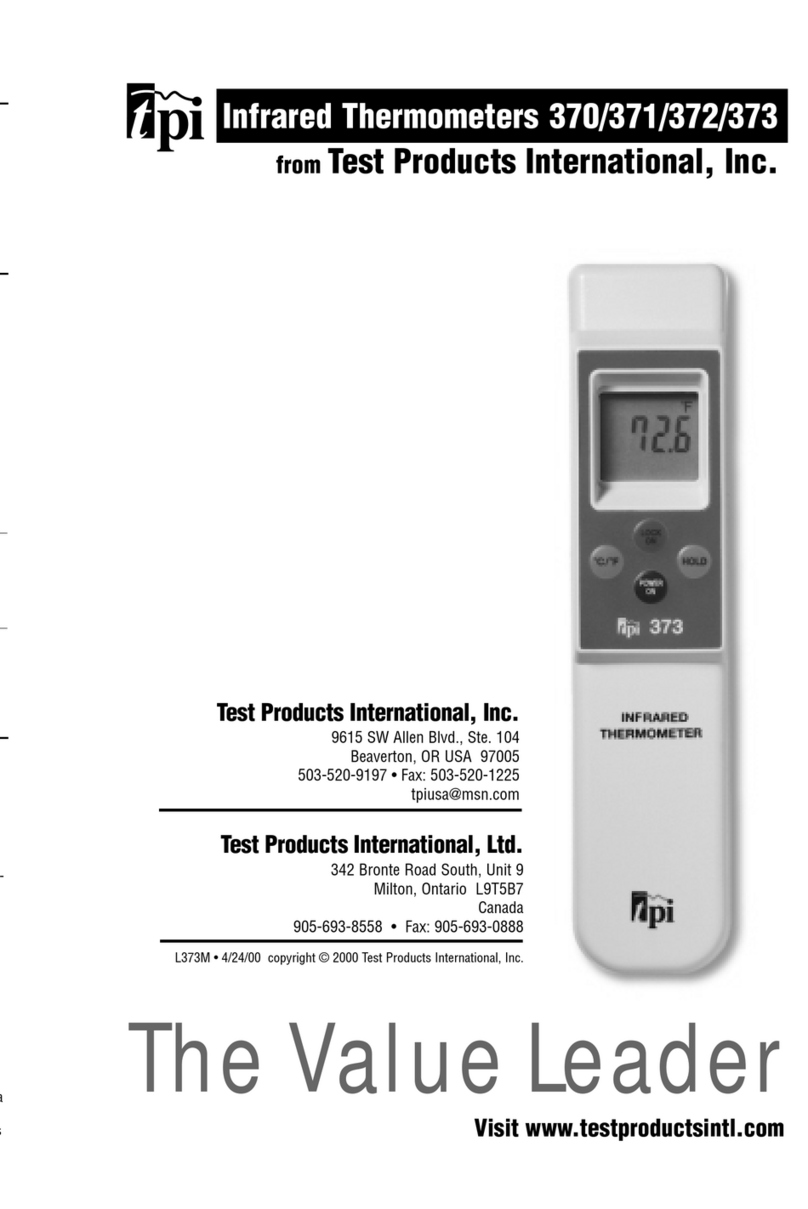
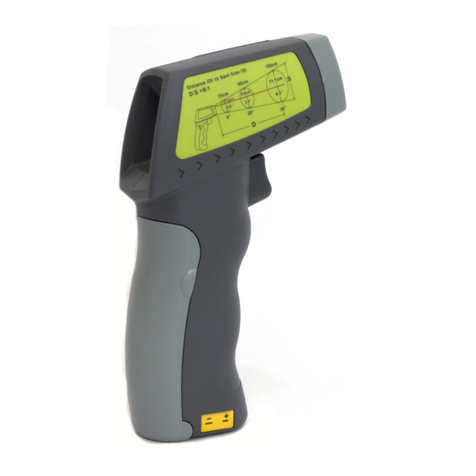
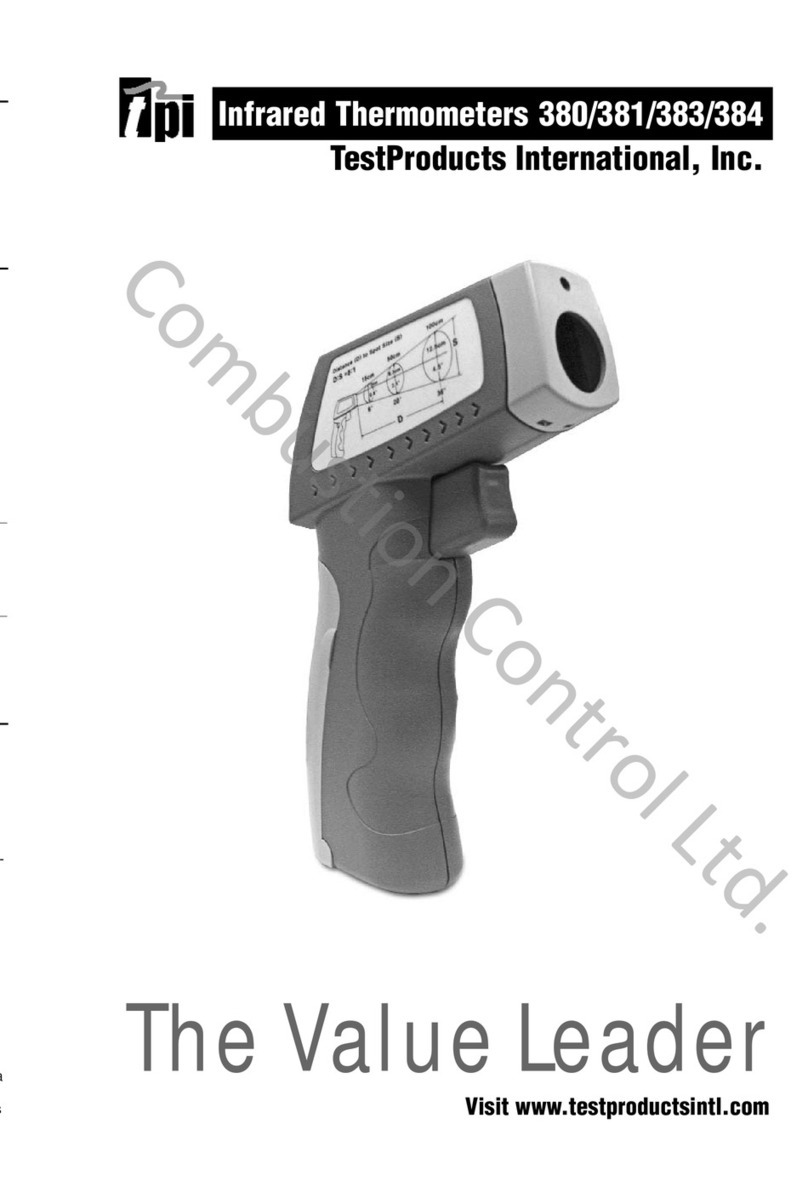
2.Product Description: The 370 Series are non-contact temperature testers with laser
sighting to confirm you target. They are easy to use and fit comfortably in your hand. All
have built in K-type thermocouple inputs for optional contact temperature measurement
B.SAFETY CONSIDERATIONS
1.Never point the laser beam at someone’s eyes.
2.Never look directly at the laser beam.
3.Use caution when measuring a shiny surface so the laser does not reflect back into your
or someone else’s eyes.
4.Do not touch the lens to any foreign object.
5.Do not expose the unit to damp environments for extended periods of time.
C.TECHNICAL DATA
Temperature Range
375:0° to 950°F (-18° to 510°C)
376:-58° to 950°F (-50° to 510°C)
377:0° to 1832°F (-18° to 1000°C)
Accuracy @ 23°C and± 2% of reading or
0.95emissivity± 3.5°F (which is greater)
Emissivity0.3 to 0.95 adjustable
Laser SightingOutput <1mW, Wavelength
645-660nm, Class II Laser
°F or °CSelectableYes
Distance to Spot Ratio8 : 1
Display HoldYes, last reading held for 7 seconds after trigger release
Response Time1 second
Spectral Response7 - 14 um
Operating Temperature32° to 120°F (0° to 150°C)
Battery Type9 Volt
Display Resolution0.1°F (°C) or 1°F (°C )
Type K Range-40° to 2192°F (-40° to 1200°C)
Type K Accuracy± 0.5% of reading ±3°F (2°C)
CAUTION: LASER RADIATION - DO NOT STARE INTO BEAM. OUTPUT <1Mw WAVELENGTH 645 - 660nm.
CLASS II LASER PRODUCT.
Measuring Temperature:
1.Turn the thermometer on by either squeezing the trigger or squeezing the trigger and pushing the LOCK but-
ton.
2.Line up the laser with the target and hold the front of the thermometer eight inches from the target (spot
size will be one inch at this distance).
3.Read the temperature on the LCD.
Turning the laser ON and OFF:
1.Squeeze the trigger on the instrument (do not push the LOCK button) and hold it in.
2.Push the SEL button until the laser icon is either on the LCD or not on the LCD (when the icon is on
the LCD, the laser is activated).
Turning the Back Light ON and OFF
1.Squeeze the trigger on the instrument (do not push the LOCK button) and hold it in.
2.Push the SEL button until the Back Light icon is either on the LCD or not on the LCD (when the icon is
on the LCD, the Back Light is activated).
Adjusting Emissivity
1.Squeeze the trigger on the instrument and hold it in or push the LOCK button to lock the instrument ON..
2.Push the Ebutton and the “E=.” will start flashing on the LCD.
3. Push the LOCK button to increase the emissivity or the C/F button to decrease the emissivity.
4.Push the Ebutton to save the setting.
Recording Minimum and Maximum Temperatures
1.Squeeze the trigger on the instrument and hold it in or push the LOCK button to lock the instrument ON.
2. Push the REC button to activate the Record function. You will see REC on the LCD.
3. Push the REC button to toggle between the recorded Max and Min temperatures during the measurement
period.
4. Pushing in the REC button and holding it in for 3 seconds deactivates the REC mode (or turn the unit off).
Changing from °C to °F (or °F to °C)
1.Squeeze the trigger on the instrument and hold it in or push the LOCK button to lock the instrument ON.
2.Push the °C/°F push button to select the desired measurement unit.
Measuring Temperature with K-type Thermocouple
1.Squeeze the trigger on the instrument and push the LOCK button (make sure the display says LOCK).
2. Press the SEL push button.
3.Make sure there is a K next to the word LOCK on the display.
4.Plug the temperature probe into the socket on the lower section of the thermometers handle.
5.Insert the probe tip into the air, liquid or surface to be measured.
6.Read the temperature on the LCD of the thermometer.
NOTE: You can select the mode of measurement (°F/°C) or the REC function for K-type temperature measure-
ment.
Setting Emissitivity using K-Type Contact Probe When Emissivity is not Known
1.Squeeze the trigger on the instrument and push the LOCK button (make sure the display says LOCK).
2.Press the SEL push button.
3.Make sure there is a K next to the word LOCK on the display.
4.Plug the contact temperature probe into the socket on the lower section of the thermometers handle.
5.Touch the end of the probe to the surface to be measured and record the temperature when the reading sta-
bilizes.
6. Remove the temperature probe from the instrument.
7.Push the LOCK button and let the instrument turn off (Do not push in the trigger).
8. After the unit turns off, squeeze the trigger and point the instrument at the location the contact probe took
the measurement.
9.Press the E button and push the LOCK or °C/°F until the reading on the display matches the recorded read-
ing in step 5 above.
10.Press the SEL button to save the setting.
11.Emissivity is now set for the surface being measured.
D.MEASUREMENT TECHNIQUES
Controls and Functions
1.TRIGGER: Squeeze the trigger to turn the instrument on. Release the trigger and the last reading is held
on the display for approximately 7 seconds.
2. SEL: Toggles on and off the laser, backlight and K-type thermocouple measurement functions of instru-
ment.
3.LOCK:This locks the power on and is indicated by the word LOCKon the LCD. You can release the trigger
and the instrument remains on. Pushing the LOCKbutton once more deactivates the lock feature and the
unit will turn off after 10 seconds.
4.°F/°C: This button allows you to view the reading in Fahrenheit of Celsius. The thermometer will power on
in the unit of measurement last set when the thermometer automatically powered off.
5.E:This button allows the user to adjust the emissivity setting of the instrument (refer to chart on page ).
6.REC: This button activates the record function to store minimum and maximum temperatures.
This manual suits for next models
3
Other TPI Thermometer manuals
