manuals.online logo
Brands
  1. Home
  2. •
  3. Brands
  4. •
  5. Traceable
  6. •
  7. Thermometer
  8. •
  9. Traceable 4000 User manual

Traceable 4000 User manual

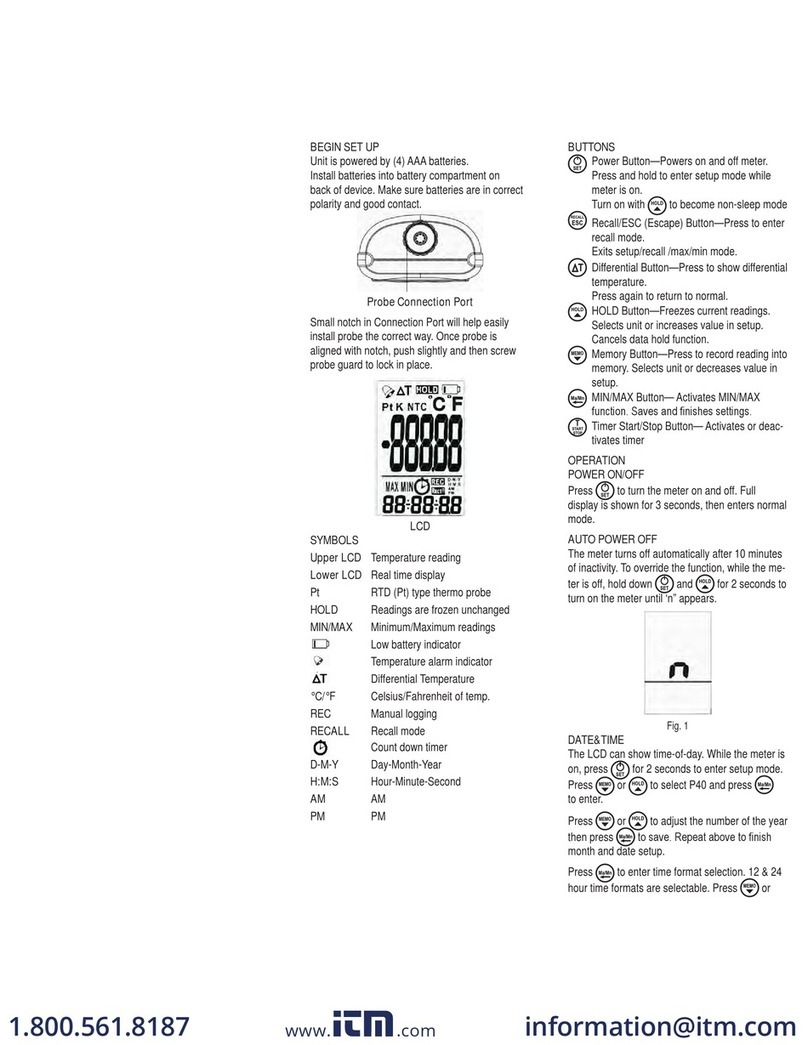
SPECIFICATIONS
Display: 1”, 6-Digit LCD
Ranges: –58.000 to 302.000°F / –50.000 to 150.000°C
Operation Range: 32 to 122°F (0 to 50°C)
Resolution: 0.001°
Accuracy: ±0.05°C between 0 to 100°C
Sampling Time: approximately 4 times per second
Memories: 48 Memories are stored in the HistoryMode (min/max for the
past 24 hours) 2 Memories are stored in the Min/Max Mode
(min/max for the current hour)
Power: One (1) 9-Volt alkaline battery
Case: ABS plastic
Size: 3½ x 5½ x 1¼ inches
Accessories: probe (dependson model), battery,
Supplied: Traceable®Certificate,instructions, and data acquisition
software without cable.
Display warnings: measurements above orbelow rangeand low battery indicator
Supplied with a triple-purpose stainless-steel probe. Additional probes are available for
this unit (see Accessories).
DESCRIPTION
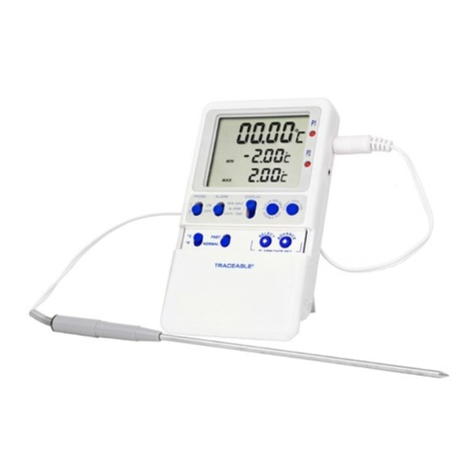
1. Display: 6-Digits, LCD shows reading up to 0.001 resolution. ▲Arrow
indicates temperature is rising. ▼Arrow indicates temperature is
falling.
2. ON/OFF: Turns unit on and off.
3. °F/°C: Selects Fahrenheit/Celsius temperature display.
4. .0/.00/000: Selects decimal pointon display for ease in reading.
5. HISTORY: Storesand displays a total of 48 memories (24 minimum and 24
maximum readings; displays the mm/max readingsduring the first
hour,the second hour, etc forthe last 24hours).
6. HOLD/CLEAR:Pressto hold reading. Use in conjunction with history or Min/Max
keysto exit these modesor dearreadings.
7. MIN/MAX: Displays the highest and lowest temperaturesrecorded for the
current hour.
8. Probe
9. Probe receptacle
10. AC Adaptor receptacle
11. Serial Data Cable Receptacle for Data Acquisition System
OPERATION
1. Plug the probe into the receptacle located on the right side of the unit (9, fig. 1).
2. Pressthe ON/OFF key (2,fig. 1)to turn the unit on.
3. Pressthe °F/°C key(3, fig. 1) to change thedisplay to Fahrenheitor Celsius.
4. Pressthe .0/.00/.000 key (4,fig. 1)to change the displayto read the desired
resolution.
5. Turn the ON/OFF key (2,fig. 1)to the “OFF”position when the thermometer is
not inuse to prolong battery life.
6. Use the probe to monitor temperatures inair/gas, liquids, and semi-solids. Place
the stainless-steel portion of probe in contact with the material to be measured.
In mostinstancesthe depth ofthe probe needsto be approximately ½ inch.
HISTORY MODE
History providesan effortless method to observe when a temperature change takes
place.It continuouslydisplays for thepast24 hours starting with 1 hour ago. If left on
for more than 24 hours, it displays only the most recent 24 hours. History may be
reviewed at any time.
1. After 1 hour, Press HISTORY (5, fig. 1) once to show the current or first hour
reading. The display will show “1”on the far right to indicate this isthe first
reading. After approximately two seconds,the displaywill show the temperature
and “min” which indicates this isthe minimum reading for the first hour. After
approximately two more seconds,the display willagain show “1”. The display
continues to alternate between these two displays. While in the historymode,
the °F/°C (3, fig.1) or .0/.00/.000 (4, fig. 1)keysmay be used to selectthe
desired format.
2. The secondpressof the HISTORY keyshowsthe maximumtemperature for the
current or first hour. After approximatelytwo more seconds, the displaywill show
“1”.
3. With each pressof the HISTORY key, theunit will scrollthroughall 48 minimum
and maximum readings.
4. To exit the history mode,pressthe CLEAR key (7, fig. 1) or MIN/MAX key(8, fig.
1). Aslong asthe unit is in the history mode,pressing the CLEAR key alone will
not clear the history.
5. To clear history, first exit history mode (see 4 above) and then press HISTORY
and CLEAR simultaneously. Turning the unit off does not clear history.
RECALL MINIMUM/MAXIMUM
1. Press MIN/MAX (8, fig. 1) to view the minimum and maximum temperatures
recorded since turning the unit onor since clearingmin/max.
2. Pressthe MIN/MAX key once to display the minimum temperature. The lower
portion of the displayshows“MIN”indicating that this isthe minimum reading.
While in theMIN/MAX mode, select the desired format with the °F/°C (3, fig. 1)
or .0/.00/.000 (4, fig. 1) keys.
3. Pressthe MIN/MAX key again to display the Maximum temperature. The lower
portion of the displayshows“MAX” indicating that this is the maximumreading.
A third press will return the display to the current reading.
4. MIN/MAX maybe reviewed at any time.
5. To clear theMIN/MAX, place the unit in normal mode (not reviewing the
MIN/MAX) and press MIN/MAX and CLEAR simultaneously. You may also clear
MIN/MAX byturning the unit off.
HOLD FUNCTION
1. Pressthe HOLD key(6, fig 1) once to “freeze” thedisplay at the current
temperature reading.“HOLD” appearson the lowerportion of the display
indicating that the unitis in hold mode.
2. While in theHOLDmode, select the desired format with the °F/°C (3, fig. 1) or
.0/.00/.000 (4, fig. 1) keys.
3. Pressthe HOLD keya second time to return to the current temperature reading.
“HOLD” will no longer appear on the display.
POWER
Do not turn the unit on and off rapidly. It may lock the display. When turning the unit
on/off the microprocessor may become locked, inoperable, orthe display may read
“888888.” If thisoccurs, reset the thermometerby removing the battery, waiting 15
seconds, and replacing the battery.
TRACEABLE®DIGITAL THERMOMETER INSTRUCTIONS
Traceable®is a registered trademark of ControlCompany ©2015 Control Company. 92-4000-01 Rev. 4 010815
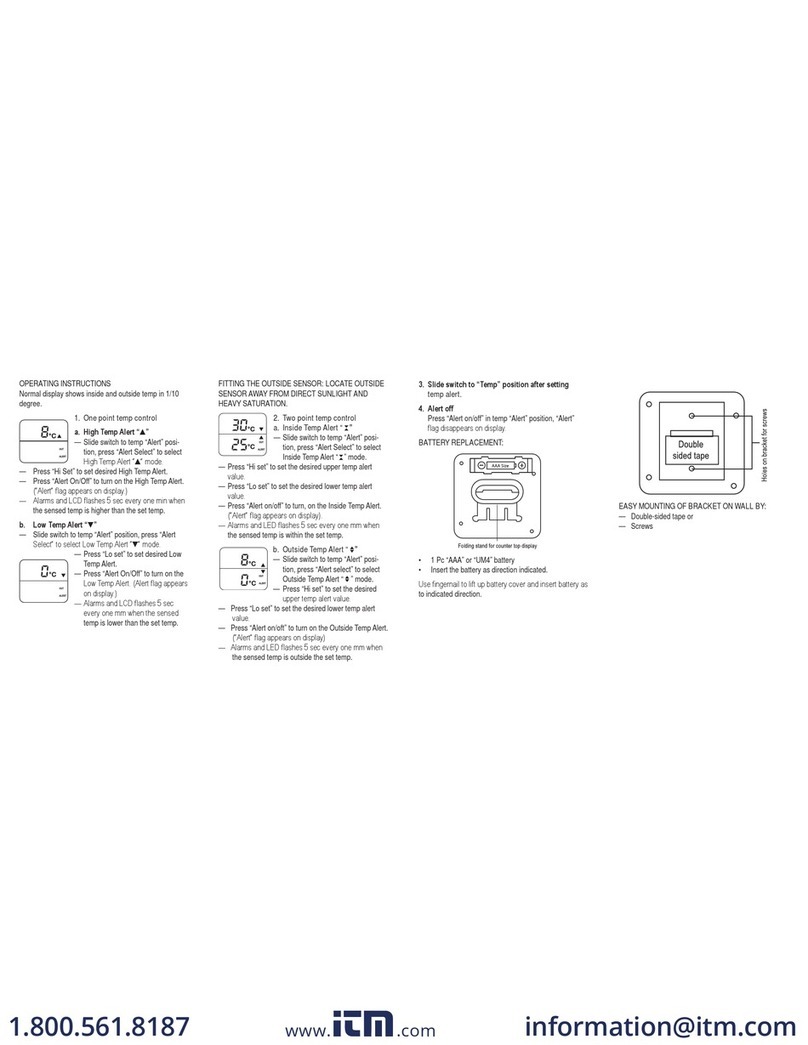
DISPLAY WARNINGS
“LLL” Displayed when the temperature being measured isbelow the rangeof the unit
or when there is an openprobeor no probe.
“HHH” Displayed when the temperature being measured is above the range of the
unit orwhen there is a shortedprobe.
“BAT” Displayed when the battery islow and needsto be replaced. See Battery
section for battery replacement instructions.
RECEPTACLES
The receptacle on the right side of the unit (9, fig.1) isfor the probe. The upper left
side receptacle (10, fig.) is foran AC Adaptor.The lower left side receptacle is for the
serial data cable for the Data Acquisition System (11, fig.1).
DATA ACQUISITION SOFTWARE
The enclosed diskis the software program for data acquisition.On the diskis the data
acquisition program and a demo program.The program canbe installed and the
demo. For instructionson use, print outthe READ ME file on the disk. Windows®is
required. In order to use theactual data acquisition program the Accessory Data
Cable Cat No. 4235 is required.See Accessories section forordering information.
BATTERY
If the letters “BAT” appear on the display, itindicates thebatteriesare low and needto
be replaced.To replace the battery, slide thebattery cover locatedon theback ofthe
unit away from theunit.Remove the old batteryand replace it witha new9-Volt
alkaline battery. Use an alkaline battery, NOT a regularor heavy duty battery. Properly
connect the battery. Replace the battery cover. Incorrectlyinstalled batteries may
damage electronics.
Turn the ON/OFF key (2,fig.1) to the “OFF”position when the thermometer is not in
use to prolong batterylife.
ALL OPERATIONAL DIFFICULTIES
If this thermometer does not function property for any reason please replace the
battery with a new9-Volt alkaline battery Battery section,above). Low batterypower
can occasionallycause any numberof “apparent” operational difficulties. Replacing
the batterywitha new fresh battery willsolve most difficulties.
ACCESSORIES
Cat. No. 4021 Accessory Micro Probe forCat. No. 4000
Stainlesssteel, 0.04” diameter, 5½” overall length, 5½’ cable length.
Cat. No. 4022 Accessory Surface Probe
Measures surface temperatures. 5¾” overall length, 6’ cable length.
Cat. No. 4023 Accessory Air Probe
Measures air temperatures only. 6¼” overall length, 6’ cable length.
Cat. No. 4001 Replacement probe for Cat. No. 4000
Stainless steel, ⅛“ diameter, 8¼” overall length, 5¼’ cable length.
Cat. No. 4002 Padded Nylon Carrying Case
Cat. No. 4236 AC Adaptor
Accessory allows for continuous AC operation.
Cat. No. 4235 Data Acquisition System
AccessoryComplete Data AcquisitionSystem captures,displays, and storesreadings
in Windows®. Data can be read asor imported into databases,spreadsheets, word
processors, and statistical programs. Includes the latest version of the program on disk
and 36”serial cable that plugs into instrumentand computer serial port.
WARRANTY, SERVICE, OR RECALIBRATION
For warranty, service, or recalibration, contact:
CONTROL COMPANY
4455 Rex Road
Friendswood, Texas 77546 USA
Ph. 281-482-1714 Fax 281-482-9448
E-mail sales@control3.com
www.control3.com
Control Company is ISO 9001 Quality-
Certified by DNV and ISO 17025 accredited
as a Calibration Laboratory by A2LA.
Traceable®is a registered trademark of ControlCompany ©2015 Control Company. 92-4000-01 Rev. 4 010815

Other Traceable Thermometer manuals

Traceable 4480 User manual

Traceable

Traceable 4480 User manual

Traceable 4241 User manual

Traceable

Traceable 4241 User manual

Traceable ULTRA User manual

Traceable

Traceable ULTRA User manual

Traceable 98767-45 User manual
Traceable

Traceable 98767-45 User manual

Traceable 4134 User manual

Traceable

Traceable 4134 User manual

Traceable 4800 User manual

Traceable

Traceable 4800 User manual

Traceable LOLLIPOP 4371 User manual

Traceable

Traceable LOLLIPOP 4371 User manual

Traceable 4045 User manual

Traceable

Traceable 4045 User manual

Traceable 9446075 User manual

Traceable

Traceable 9446075 User manual

Traceable 4344 User manual

Traceable

Traceable 4344 User manual

Traceable 4351 User manual

Traceable

Traceable 4351 User manual

Traceable 90002-03 User manual

Traceable

Traceable 90002-03 User manual

Traceable 4202 Series User manual

Traceable

Traceable 4202 Series User manual

Traceable PLATINUM User manual

Traceable

Traceable PLATINUM User manual

Traceable PLATINUM User manual

Traceable

Traceable PLATINUM User manual

Traceable 4482 User manual

Traceable

Traceable 4482 User manual

Traceable 4487 User manual

Traceable

Traceable 4487 User manual

Traceable 4351 User manual

Traceable

Traceable 4351 User manual

Traceable WORKHORSE 4425 User manual

Traceable

Traceable WORKHORSE 4425 User manual

Traceable RTD PLATINUM User manual

Traceable

Traceable RTD PLATINUM User manual

Traceable 4202 Series User manual

Traceable

Traceable 4202 Series User manual

Traceable 90002-03 User manual

Traceable

Traceable 90002-03 User manual

Traceable 5651TR User manual

Traceable

Traceable 5651TR User manual

Traceable 4330 User manual

Traceable

Traceable 4330 User manual

Popular Thermometer manuals by other brands

Wuntronic COMMETER D3631 instruction manual

Wuntronic

Wuntronic COMMETER D3631 instruction manual

National Geographic 357NC user manual

National Geographic

National Geographic 357NC user manual

AEMC CA863 user manual

AEMC

AEMC CA863 user manual

Qutie Rossmax TG380 instruction manual

Qutie Rossmax

Qutie Rossmax TG380 instruction manual

Sealey VS940 instructions

Sealey

Sealey VS940 instructions

Control Company TRACEABLE 3650 instructions

Control Company

Control Company TRACEABLE 3650 instructions

camry CR 8416 manual

camry

camry CR 8416 manual

Supco LIT6P user manual

Supco

Supco LIT6P user manual

La Crosse Technology WS-9160U-IT user manual

La Crosse Technology

La Crosse Technology WS-9160U-IT user manual

Extech Instruments RH250W user manual

Extech Instruments

Extech Instruments RH250W user manual

Braun thermoscan IRT 3030 manual

Braun

Braun thermoscan IRT 3030 manual

San Jamar THDG986 instructions

San Jamar

San Jamar THDG986 instructions

Kimo KIRAY 300 user manual

Kimo

Kimo KIRAY 300 user manual

Covidien Genius 2 Instructions for use

Covidien

Covidien Genius 2 Instructions for use

Land Solonet user guide

Land

Land Solonet user guide

LEM 1423 user manual

LEM

LEM 1423 user manual

Maverick HD-32 user manual

Maverick

Maverick HD-32 user manual

Hartmann THERMOVAL rapid manual

Hartmann

Hartmann THERMOVAL rapid manual

manuals.online logo
manuals.online logoBrands
  • About & Mission
  • Contact us
  • Privacy Policy
  • Terms and Conditions

Copyright 2025 Manuals.Online. All Rights Reserved.