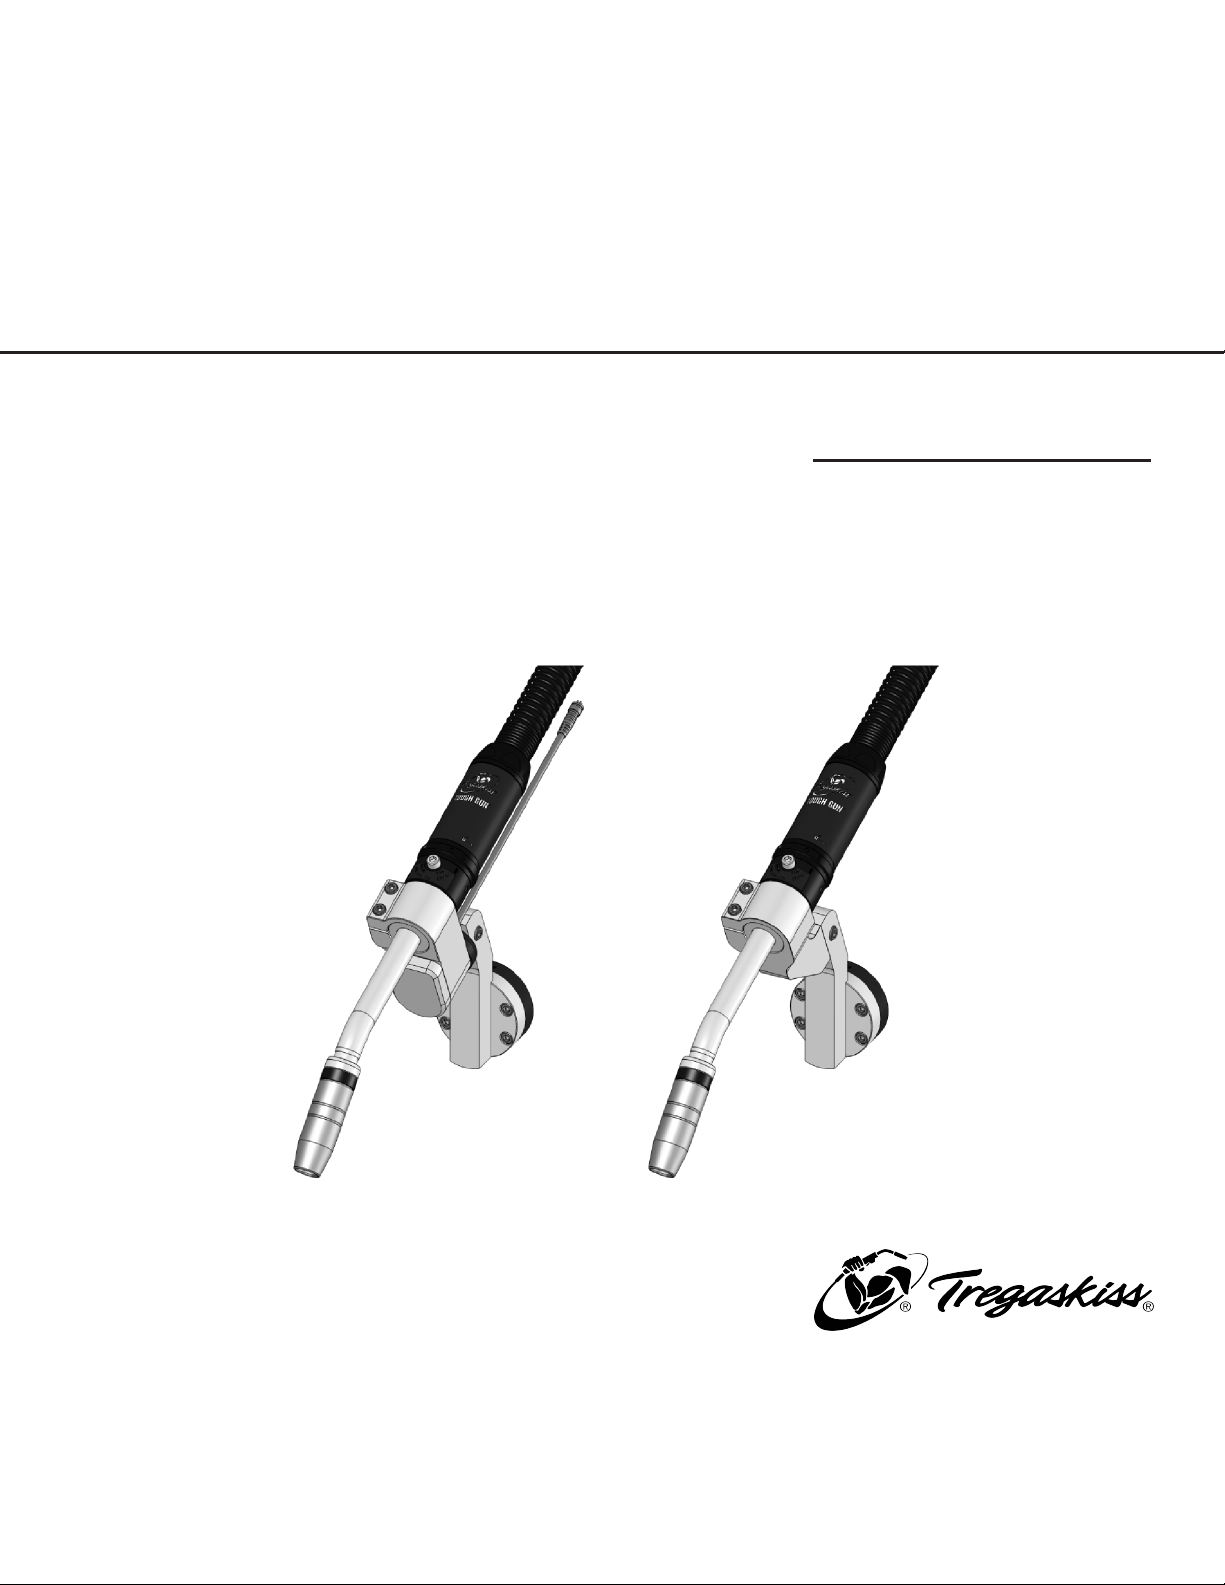
1-4 California Proposition 65 Warnings
WARNING: This product can expose you to chemicals including
lead, which are known to the state of California to cause cancer
and birth defects or other reproductive harm.
For more information, go to www.P65Warnings.ca.gov.
1-5 EMF Information
Electric current flowing through any conductor causes localized
electric and magnetic fields (EMF). The current from arc welding
(and allied processes including spot welding, gouging, plasma arc
cutting, and induction heating operations) creates an EMF field
around the welding circuit. EMF fields may interfere with some
medical implants, e.g. Pacemakers. Protective measures for
persons wearing medical implants have to be taken. For example,
restrict access for passersby or conduct individual risk assessment
for welders. All welders should use the following procedures in
order to minimize exposure to EMF fields from the welding circuit:
1. Keep cables close together by twisting or taping them, or
using a cable cover.
2. Do not place your body between welding cables. Arrange
cables to one side and away from the operator.
3. Do not coil or drape cables around your body.
4. Keep head and trunk as far away from the equipment in the
welding circuit as possible.
5. Connect work clamp to workpiece as close to the weld as
possible.
6. Do not work next to, sit or lean on the welding power source.
7. Do not weld while carrying the welding power source wire
feeder.
About Implanted Medical Devices:
Implanted Medical Device wearers should consult their doctor and
the device manufacturer before performing or going near arc
welding, spot welding, gouging, plasma arc cutting, or induction
heating operations. If cleared by your doctor, then following the
above procedures is recommended.
1-6 Principal Safety Standards
Safety in Welding, Cutting, and Allied Processes, ANSI Standard
Z49.1, is available as a free download from the American Welding
Society at http://www.aws.org or purchased from Global
Engineering Documents (phone: 1-877-413-5184, website:
www.global.ihs.com).
Safe Practices for the Preparation of Containers and Piping for
Welding and Cutting, American Welding Society Standard AWS
F4.1, from Global Engineering Documents (phone: 1-877-413-
5184, website: www.global.ihs.com).
Safe Practices for Welding and Cutting Containers That Have Held
Combustibles, American Welding Society Standard A6.0, from
Global Engineering Documents (phone: 1-877-413-5184,
website:www.global.ihs.com).
National Electrical Code, NFPA Standard 70, from National Fire
Protection Association, Quincy, MA 02269 (phone: 1-800-344-
3555, website: www.nfpa.org and www.sparky.org).
Safe Handling of Compressed Gases in Cylinders, CGA Pamphlet P-
1, from Compressed Gas Association, 14501 George Carter Way,
Suite 103, Chantilly, VA 20151 (phone: 703-788-2700, website:
www.cganet.com).
Safety in Welding, Cutting, and Allied Processes, CSA Standard
W117.2, from Canadian Standards Association, Standards Sales,
5060 Spectrum Way, Suite 100, Ontario, Canada L4W 5NS (phone:
1-800-463-6727, website: www.csa-international.org).
Safe Practice For Occupational And Educational Eye And Face
Protection, ANSI Standard Z87.1, from American National
Standards Institute, 25 West 43rd Street, New York, NY 10036
(phone: 212-642-4900, website: www.ansi.org).
Standard for Fire Prevention During Welding, Cutting, and Other
Hot Work, NFPA Standard 51B, from National Fire Protection As-
sociation, Quincy, MA 02269 (phone: 1-800-344-3555, website:
www.nfpa.org).
OSHA, Occupational Safety and Health Standards for General
Industry, Title 29, Code of Federal Regulations (CFR), Part 1910,
Subpart Q, and Part 1926, Subpart J, from U.S. Government
Printing Office, Superintendent of Documents, P.O. Box 371954,
Pittsburg, PA 15250-7954 (phone: 1-866-512-1800)
(there are 10 OSHA Regional Offices – phone for Region 5,
Chicago, is 312-353-2220, website: www.osha.gov).
Applications Manual for the Revised NIOSH Lifting Equation, The
National Institute for Occupational Safety and Health (NIOSH),
1600 Clifton Rd, Atlanta, GA 30329-4027 (phone: 1-800-232-
4636, website:www.cdc.gov/NIOSH).
6 OM-CA3-1.9