TRQ SOL Series User manual

Modelo
Model SOL 60 SOL 120
Potencia/Power 60W 100W
CCT 4000K / 6.500K
Lúmenes/Lumens 2.800 lm 3.600 lm
Eciencia/Eciency 150 lm/W
Batería/Battery 3.2 V / 20 Ah 3.2 V / 30 Ah
Panel solar/Solar panel 4.5V / 19W 5V / 28W
Material Aluminio fundido alta presión, vidrio templado, lente PMMA/
High-pressure die-casting aluminium, tempered glass, PMMA lens
LED highlight LG 3030
Peso/Weight 3.40 Kg. 4,30 Kg.
ESPECIFICACIONES
SPECIFICATIONS
-30ºC... +40ºC IP65
Marcado CE
CE marked
4000K / 6500K
MODELOS
MODELS
CRI> 70
DIMENSIONES
DIMENSIONS
CURVA FOTOMÉTRICA
PHOTOMETRIC CURVE
Con la carga de la batería al 100%, el ujo se mantendrá al máximo durante 20 minutos. Posteriormente, se irá reduciendo el ujo un 2% cada 10
minutos. Cuando alcance el 15% del ujo, este se mantendrá constante hasta que se agote la autonomía de la batería.
Con el uso del sensor, cuando detecte movimiento, aumentara el rendimiento al 100%. Una vez no detecte movimiento durante un tiempo superior a
12 segundos, reducirá el rendimiento al 10%. De esta forma, la duración de la batería se alarga.
TRQ se reserva el derecho de modicar las características de los productos sin previo aviso. Estos parámetros pueden ser modicados según necesidades del proyecto/TRQ reserves the right to modiy the characteristics of the products
without prior notice. These parameters can be modied according to project needs.
Serie: SOL
Garantía 5 años*
5 year warranty*
* La garantía de la batería al tratarse de un consumible será lo establecido por la normativa vigente/The guarantee of the battery, as it is a
consumable, will be established by current regulations.

INSTALACIÓN
INSTALLATION
1 - La luminaria se puede jar a la pared a través de un accesorio no incluido o anclarla en el brazo de una columna de farola/The luminaire can
be xed to the wall through an accessory not included or acconte it in the arm of a lamppost column.
2 - Instale la luminaria en el brazo y aprieta los tornillos de jación/ Install the light on arm and tighten the xing screws.
3 - Diámetro del tubo de jación. Máximo: 54 mm, mínimo: 46 mm/ Fixing tube diameter. Maximum: 54 mm, minimum: 46 mm.
4 - Asegúrese de que el panel solar de la luminaria este sucientemente iluminado/ Make sure the solar panel of the luminaire is illuminated.
5 - No cubra con ningún objeto el panel solar de la luminaria/ Does not cover with any object the solar panel of the luminaire.
6 - Ajuste el ángulo de iluminación para que la luminaria ilumine adecuadamente el vial donde se instala y también la altura del brazo sobre la
columna de farola, para una máxima exposición a luz solar/ Adjust the lighting angle so that the luminaire adequately illuminates the road where
the arm height is installed and also.
7 - En la parte de abajo donde se encuentra la fuente de luz LED, esta el botón de ON/OFF, el detector del sensor de movimiento y el indicador
de carga (luz verde). Aunque el botón esta en OFF la luminaria sigue cargando la batería mediante el panel solar de la misma/ At the bottom
where the LED light source is located, this on/o button, the movement sensor detector and the load indicator (green light) is located. Although
the button is o the luminaire continues to load the battery using the solar panel of the same.
Control por el pulsador ON/OFF de la luminaria:
- Cuando se presiona el botón ON/OFF la luminaria se enciende y está en modo Auto. En modo auto la función sensor radar de movimiento estaá
activada por defecto/ When the ON/OFF button is pressed, the luminaire turns on and is in auto mode. In auto mode the movement sensor of
movement is activated by default.
- Cuando el sensor radar detecta movimiento la luminaria se enciende al 100% de brillo/ When the radar sensor detects movement, the luminaire
is turned on at 100% shine.
- Cuando el sensor deja de detectar el movimiento, permanece 15 segundos al 100%, y luego reduce su luminosidad al 10%. Esta función se
mantiene al dia siguiente. Si se vuelve a apretar el botón ON/OFF la luminaria se apaga y no se encenderá al dia siguiente/ When the sensor
stops detecting the movement, it remains 15 seconds at 100%, and then reduces its luminosity to 10%. This function remains the next day. If
the ON/OFF button is squeezed again, the luminaire goes out and will not turn on the next day.
Control por el mando a distancia:
- El mando dispone de varios botones: ON/OFF / Sensor radar / Rueda 4 posiciones control de brillo / Botón conguración tiempo 2 horas / 3
horas / 5 horas/ 6 horas y 8 horas/ The remote has several buttons: ON/OFF / Radar sensor / 4-position brightness control wheel / Time setting
button 2 hours / 3 hours / 5 hours / 6 hours and 8 hours.
- Cuando se aprieta un botón, la luminaria hace un destello para indicar que ha recibido la orden del mando/ When a button is pressed, the
luminaire ashes to indicate that it has received the command from the remote.
- Apretando el botón ON la luminaria se enciende y queda en modo constante de brillo/ By pressing the ON button, the luminaire turns on and
remains in constant brightness mode.
- En este modo se puede cambiar los niveles de brillo a 25%, 50%, 75% y 100% presionando una de las 4 posiciones de la rueda de control de
brillo. Se mantiene al dia siguiente, pero siempre arranca al 100%/ In this mode you can change the brightness levels to 25%, 50%, 75% and
100% by pressing one of the 4 positions of the brightness control wheel. It stays the next day, but it always starts at 100%.
- Si se presiona OFF la luminaria se apaga, y al dia siguiente es necesario apretar otra vez el botón ON o el botón sensor radar, para volver al
modo que se quiere/ If OFF is pressed, the luminaire turns o, and the next day it is necessary to press the ON button or the radar sensor button
again, to return to the desired mode.
TRQ se reserva el derecho de modicar las características de los productos sin previo aviso. Estos parámetros pueden ser modicados según necesidades del proyecto/TRQ reserves the right to modiy the characteristics of the products
without prior notice. These parameters can be modied according to project needs.

12
34
5
6
7
8
1 - El mantenimiento debe hacerse siempre por personal autorizado/Maintenance must always be done by authorized personnel.
2 - Los componentes del circuito LED sustituidos deben ser reciclados de forma adecuada/Replaced LED circuit components must be recycled
properly.
3 - No aoje el ajuste de torsión de ningún tornillo dentro de la máquina para garantizar un rendimiento a prueba de agua./ Do not loosen the torque
setting of any screws inside the machine to ensure waterproof performance.
Lighting Technologies TRQ, S.L. | Av. Pío XII, 38 | 12500 Vinaròs (Castellón), Spain | Tlf. +34 964 401 024 | www.trqsl.com
TRQ se reserva el derecho de modicar las características de los productos sin previo aviso. Estos parámetros pueden ser modicados según necesidades del proyecto/TRQ reserves the right to modiy the characteristics of the products
without prior notice. These parameters can be modied according to project needs.
MANTENIMIENTO
MAINTENANCE
1 - ON
2 - OFF
3 - Botón SENSOR RADAR/ RADAR SENSOR button.
4 - Selección brillo 25%/50%/75%/100% (4 posiciones)/
Brightness selection 25%/50%/75%/100% (4 positions).
5 - Selección tiempo 2 horas/ Selection time 2 hours.
6 - Selección tiempo 3 horas/ Selection time 3 hours.
7 - Selección tiempo 5 horas/ Selection time 5 hours.
8 - Selección tiempo 6 horas/ Selection time 6 hours.
9 - Selección tiempo 8 horas/ Selection time 8 hours.
- Apretando el botón SENSOR RADAR se activa la función sensor radar de movimiento. Cuando está activado el sensor radar, la luminaria se
enciende al 100% y al dejar de detectar el movimiento permanece encendida durante 15 segundos, luego pasa a nivel bajo de brillo, hasta que
vuelve a detectar el movimiento. En el modo sensor radar no se puede regular el nivel de brillo con la rueda de control de brillo. La función se
mantiene al dia siguiente/ Pressing the RADAR SENSOR button activates the motion radar sensor function. When the radar sensor is activated,
the luminaire turns on at 100% and when it stops detecting movement it stays on for 15 seconds, then it goes to a low brightness level, until
it detects movement again. In radar sensor mode, the brightness level cannot be adjusted with the brightness control wheel. the function is
maintained the next day.
- Apretando cualquier botón de TIEMPO 2H / 3H / 5H /6H /8H la luminaria se enciende a alto brillo durante el periodo de tiempo seleccionado
y después pasa a modo sensor radar. Aqui dará alto brillo cuando detecta movimiento y después cuando no detecta, espera 15 segundos
y pasa a nivel bajo de brillo. Se puede regular el brillo mientras se está en el periodo de tiempo seleccionado. Una vez termina el tiempo y
pasa a modo sensor radar ya no se puede regular el brillo. Al día siguiente permanece la conguración de tiempo que se habia seleccionado.
Simpre arranca a alto brillo. Después de presionar cualquier botón de selección de tiempo, se puede cancelar la función, presionando el botón
ON o el de SENSOR RADAR/ By pressing any button of TIME 2H / 3H / 5H /6H /8H the luminaire turns on at high brightness for the selected
period of time and then goes into radar sensor mode. Here it will give high brightness when it detects movement and then when it does not
detect, wait 15 seconds and go to low brightness level. You can regulate the brightness while you are in the selected period of time. Once
the time is up and it goes into radar sensor mode, the brightness can no longer be regulated. The next day the selected time setting remains.
Always starts at high brightness. After pressing any time selection button, the function can be canceled by pressing the ON button or the RADAR
SENSOR button.
- Si se quiere un tiempo mayor de 8 horas, presionando el botón ON (modo constante de brillo) se tiene un tiempo máximo de 12 horas de
iluminación/ If you want a time greater than 8 hours, pressing the ON button (constant brightness mode) you have a maximum lighting time of
15 hours.
9
This manual suits for next models
4
Table of contents
Other TRQ Lighting Equipment manuals
TRQ
TRQ MIZAR SP AT IP65 User manual
TRQ
TRQ ALYA 25 EM PRO AT User manual
TRQ
TRQ SIRAH LED Series User manual
TRQ
TRQ L-100 E LED AT User manual

TRQ
TRQ K-501 User manual
TRQ
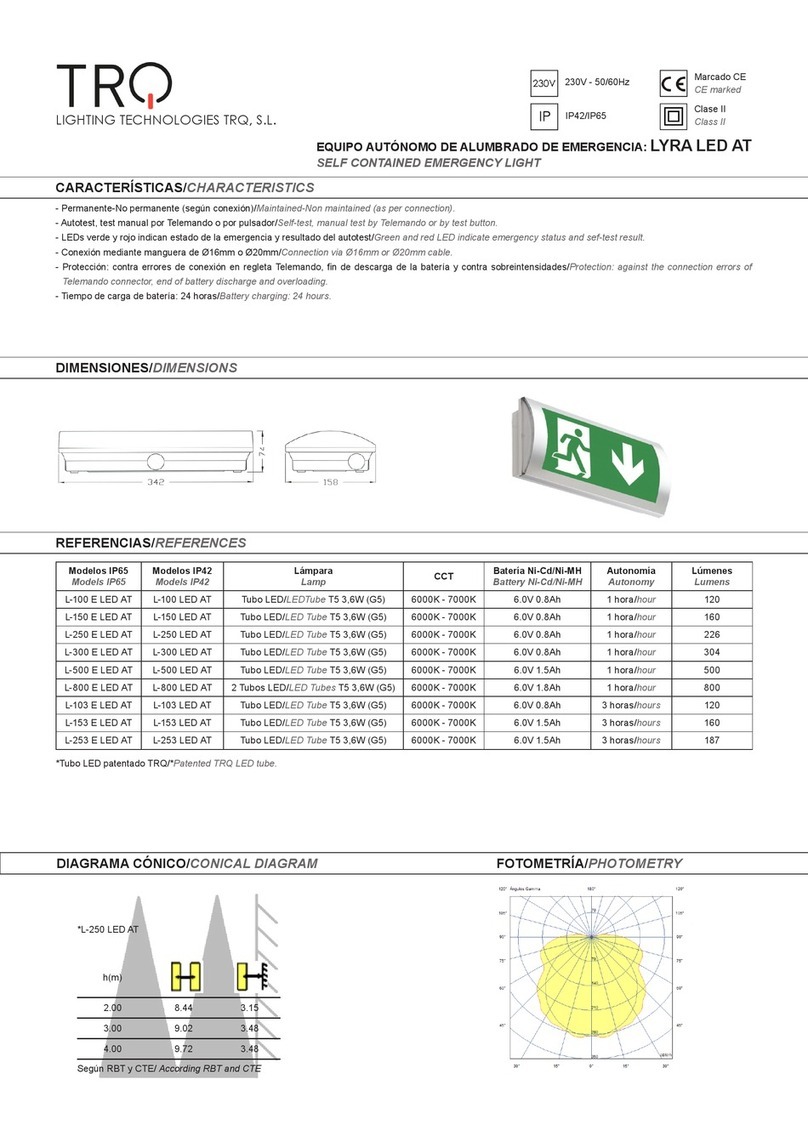
TRQ LYRA L-100 E LED AT User manual
TRQ
TRQ L-500 E LED AT User manual
TRQ
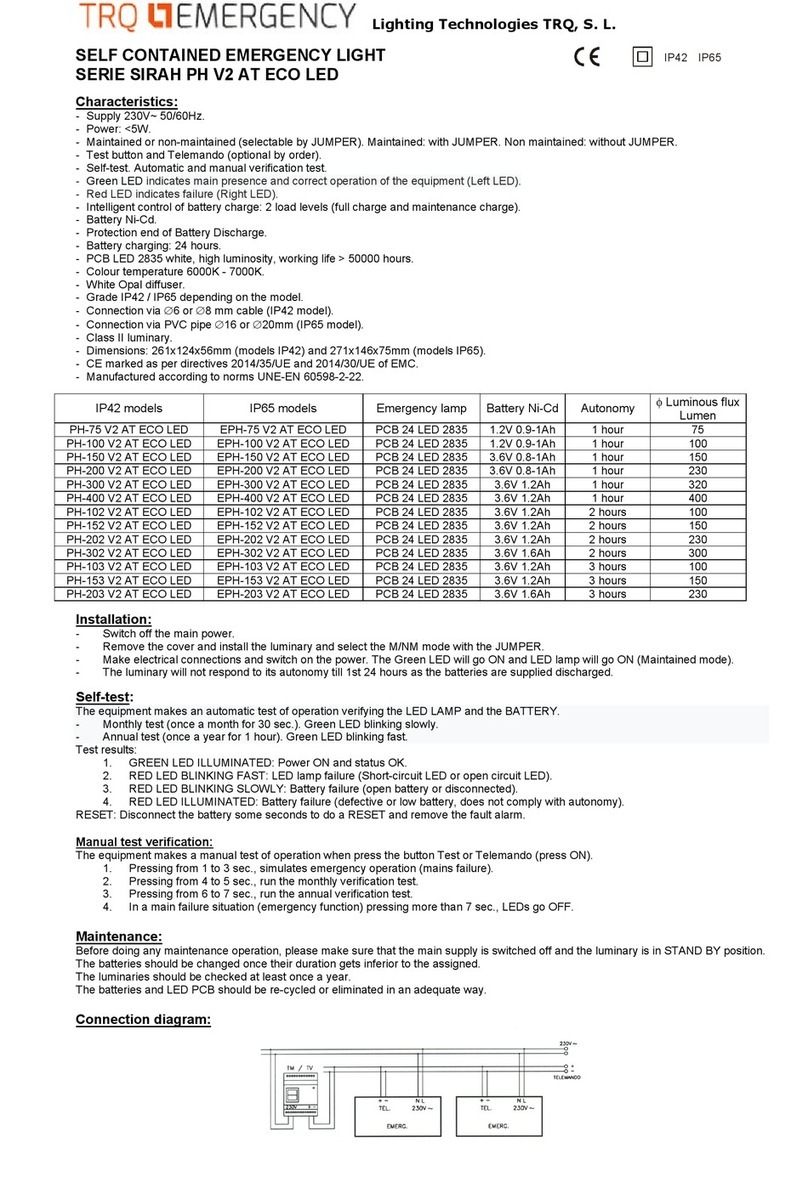
TRQ PH V2 AT ECO LED Seres User manual
TRQ
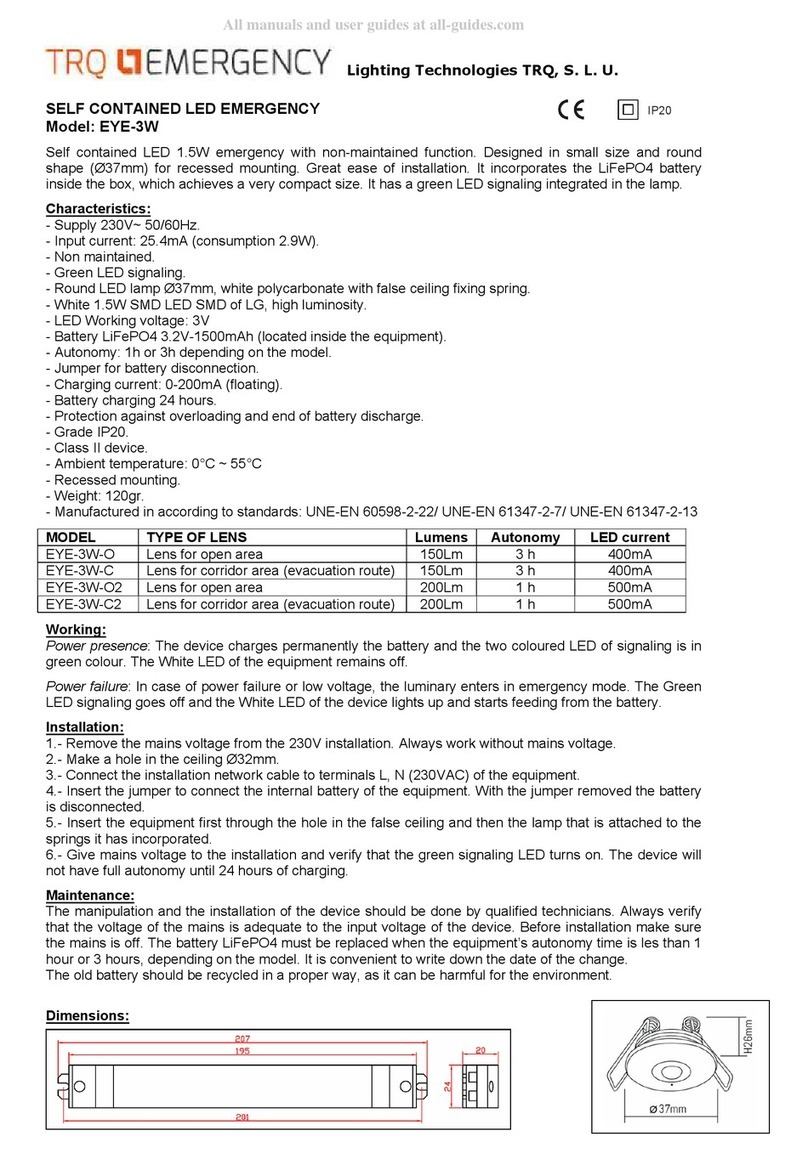
TRQ EYE-3W User manual
TRQ
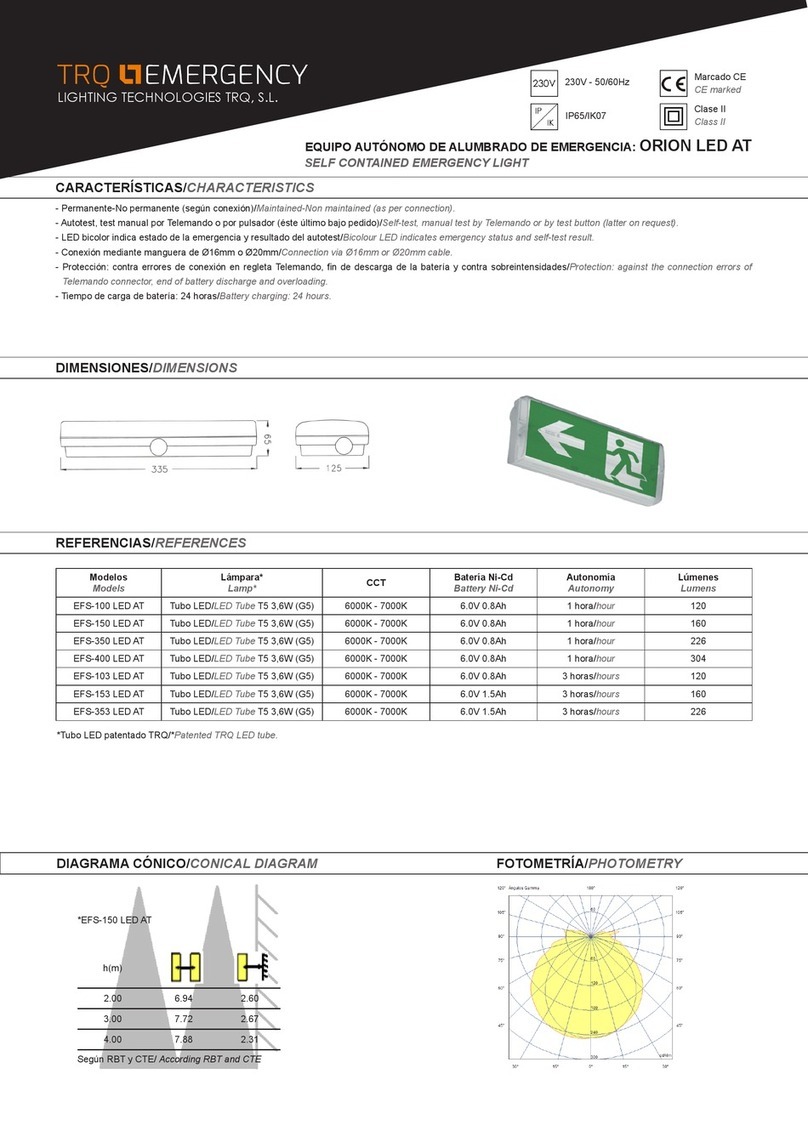
TRQ EMERGENCY ORION EFS-100 LED AT User manual
Popular Lighting Equipment manuals by other brands
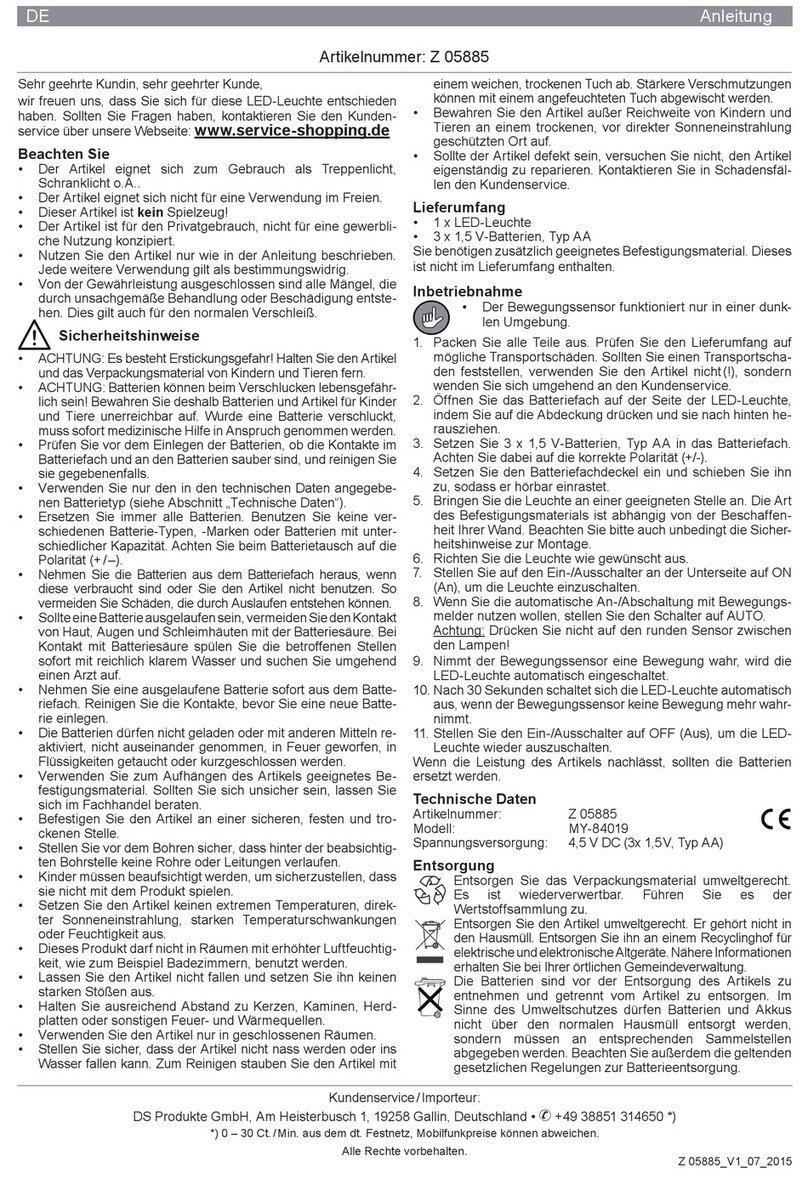
DS Produkte
DS Produkte MY-84019 instructions

Honeywell
Honeywell ExiLED 290142 quick start guide
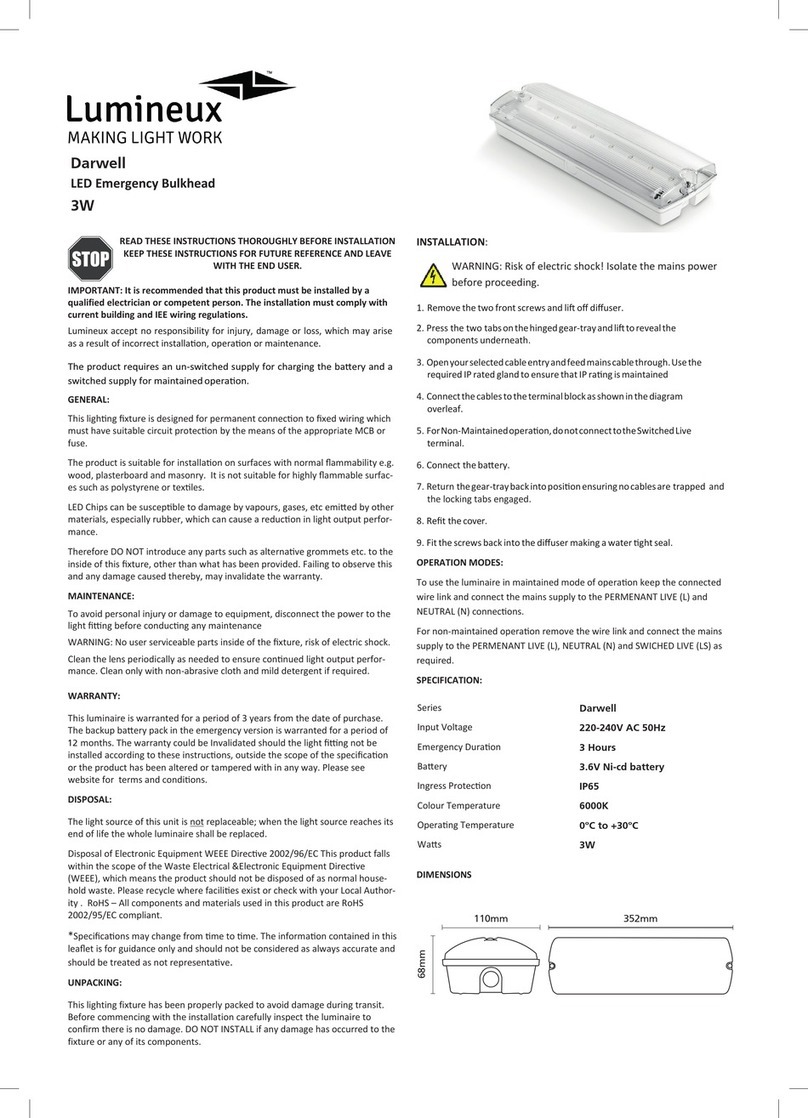
Lumineux
Lumineux Darwell 421061 quick start guide

Nice
Nice TTDRGB Instructions and warnings for installation and use
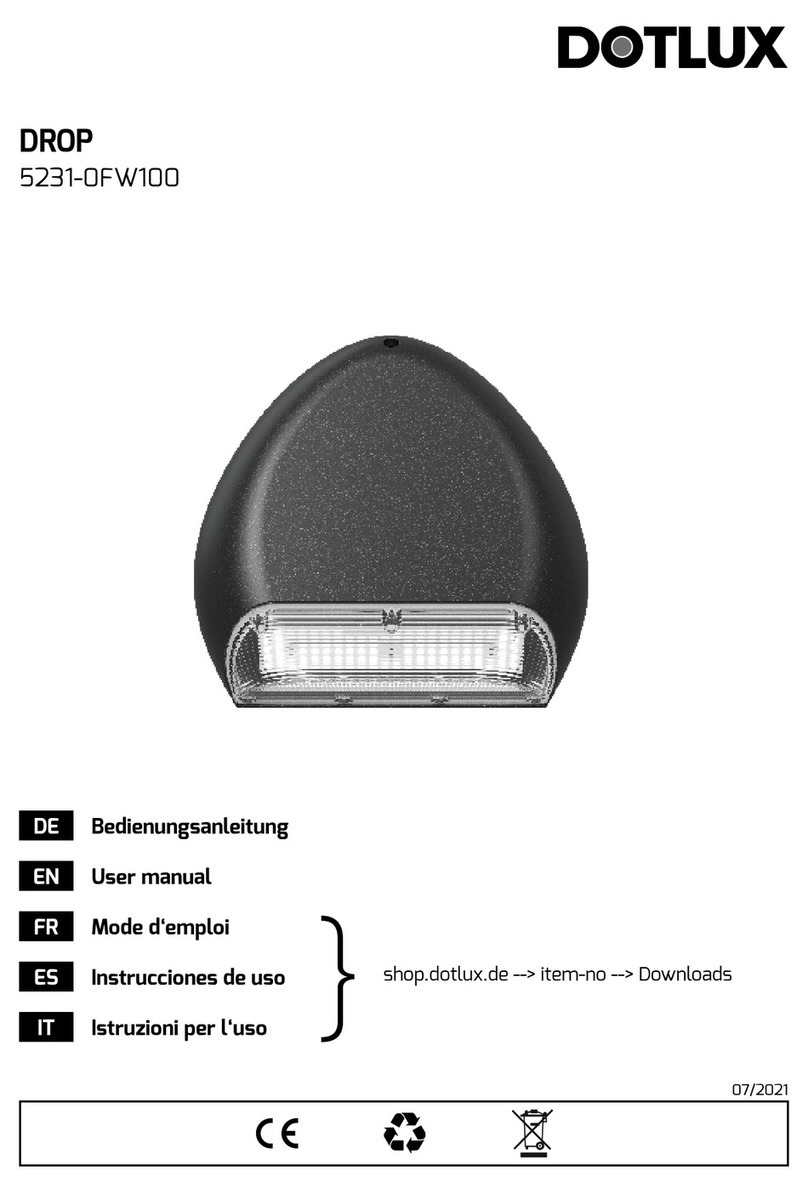
DOTLUX
DOTLUX DROP 5231-0FW100 installation instructions
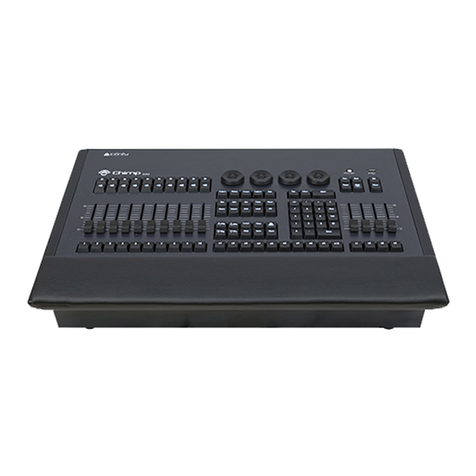
Infinity
Infinity Chimp 100 user guide
