manuals.online logo
Brands
  1. Home
  2. •
  3. Brands
  4. •
  5. Tuttnauer
  6. •
  7. Laboratory Equipment
  8. •
  9. Tuttnauer EZ9Plus Configuration guide

Tuttnauer EZ9Plus Configuration guide

Resetting:
“Atmospheric Pressure
Parameter”
on
EZPlus
EZ9Plus & EZ11Plus
“Weekly Cleaning
and Maintenance”
EZ9Plus & EZ11Plus
Instructions on:
Cleaning should be done once per week or after 20 cycles, clean and
descale the chamber, copper tubes and the reservoir using Chamber BriteTM.
Cleaning is an important part of maintaining your sterilizer. Cleaning the
autoclave chamber is a very simple, but important procedure to keep your
sterilizer operating properly. If the autoclave is not cleaned regularly, dirt
and debris will build up and clog the tubing and valves. This dirt can also
be transmitted to the instruments during sterilization. In addition, a layer
of dirt on the stainless steel chamber traps moisture against the metal
and will lead to the chamber becoming porous and failing
Why is cleaning important?
CHAMBER BRITE™ is a cleaning and
descaling agent designed specifically for
the cleaning and removal of water
deposits, oxides and other sediments
that are found in steam sterilizers. The
material is a combination of acidic salts
and additional cleaning materials.
What is Chamber BriteTM?
•Soft cloth or sponge
•Drain hose (to drain water reservoir)
•Pail (to drain reservoir water into)
•Gloves
•Nonabrasive stainless steel cleaner
(for trays and tray rack)
•Steam distilled water
Items you will need to have on hand:
•Chamber Brite™
•For EZ9Plus models use one packet of CHAMBER BRITE™.
•For EZ11Plus models use one packet of CHAMBER BRITE™.
Important things to remember:
•NEVER use bleach, steel wool, a steel brush or anything
abrasive to scrub or clean the Chamber.
•Do NOT sterilize instruments during the chamber cleaning
process.
•Before using Chamber Brite, the autoclave chamber MUST be
cold.
If the chamber is hot, Chamber Brite will react and give
off an odor
.
•All steps in this procedure must be completed without
interruption.
Step 1
When the autoclave chamber is COLD,
remove instruments trays and the tray
holder from the autoclave. (
Starting with
a hot chamber can result in burning of
the Chamber Brite and the release of a
strong odor.)
Step 2
Open the door and spread the
contents of one packet of Chamber
Brite™ in a straight even line along
the bottom of the chamber, from back
to front. Do not leave a pile of
Chamber Brite in one spot.
Step 3
Select the
Chamber Brite
Cleaning
program, Close the
door and start the cycle.
Step 4
At the end of the cycle open the
door and drain the water
from the reservoir.
Step 5
Fill the reservoir with steam
distilled water or mineral free
water only.
Step 6
Repeat the Chamber Brite
cleaning cycle, BUT without
using the Chamber Brite powder.
This will remove any residue
from the internal plumbing.
Step 7
At the end of the second cycle
open the door and drain the
water from the reservoir
Step 8
Wipe the interior of the chamber with
a damp cloth or sponge to remove
any residue. Clean the water sensor in
the rear of the chamber with a damp
cloth or sponge. Cleaning the dirt off
the sides of the sensor is more
important than the tip.
NOTE: A dirty sensor can cause a false water in the chamber reading and keep the door locked.
Step 9
Fill the reservoir with steam
distilled water or mineral
free water only.
The chamber has now been cleaned with Chamber BriteTM
Step 10
Clean the tray holder and trays with a non-abrasive stainless steel
cleaner and water, using a soft cloth or sponge.
It’s important to rinse the tray holder and trays immediately with water
to avoid staining the metal.
DO NOT use steel wool, a steel brush or bleach or any cleaning agent
containing bleach as this can damage the chamber and trays.
The final step is to clean the tray holder and trays before
returning them to the chamber.
Step 11
Once dry, return the trays
and tray holder to the
chamber.
The autoclave is now ready to for use.
•The maintenance operations need to be followed as indicated to
keep the device in good working condition.
•This maintenance schedule is the responsibility of the equipment
owner and not covered under the warranty.
•The preceding instructions can easily be carried out by the operating
personnel and do not require a service technician.

Other manuals for EZ9Plus

2

This manual suits for next models

1

Other Tuttnauer Laboratory Equipment manuals
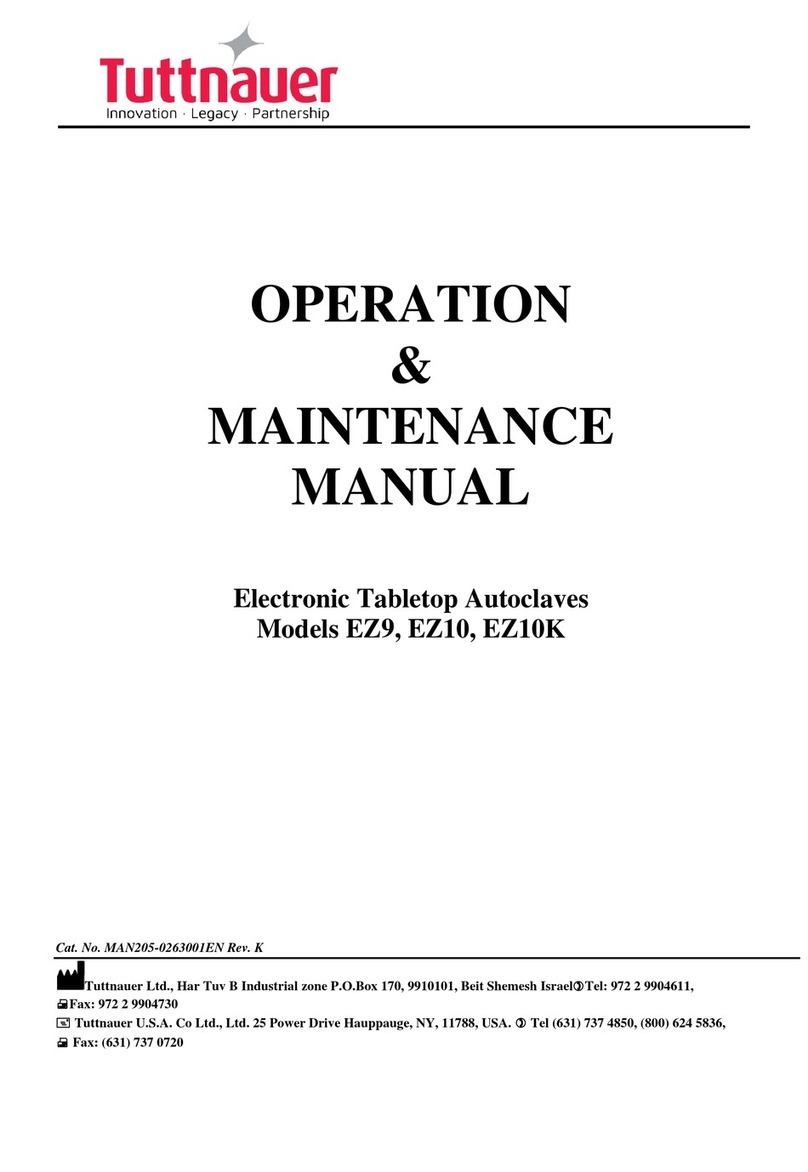
Tuttnauer ELV-D Manual

Tuttnauer

Tuttnauer ELV-D Manual

Tuttnauer TIVA2 User manual

Tuttnauer

Tuttnauer TIVA2 User manual

Tuttnauer EZ9 Manual

Tuttnauer

Tuttnauer EZ9 Manual

Tuttnauer LABSCI 15LV User manual

Tuttnauer

Tuttnauer LABSCI 15LV User manual

Tuttnauer T-Classic User manual

Tuttnauer

Tuttnauer T-Classic User manual

Tuttnauer Valueklave 2540 Instruction manual

Tuttnauer

Tuttnauer Valueklave 2540 Instruction manual

Tuttnauer 3840 ELVG-D Manual

Tuttnauer

Tuttnauer 3840 ELVG-D Manual

Tuttnauer TIVA2 TD User manual

Tuttnauer

Tuttnauer TIVA2 TD User manual

Tuttnauer 5050 User manual

Tuttnauer

Tuttnauer 5050 User manual
Tuttnauer 2840 EL-D Manual

Tuttnauer

Tuttnauer 2840 EL-D Manual

Tuttnauer 6690 STS-1V Manual

Tuttnauer

Tuttnauer 6690 STS-1V Manual

Tuttnauer 2340EA-D User manual

Tuttnauer

Tuttnauer 2340EA-D User manual

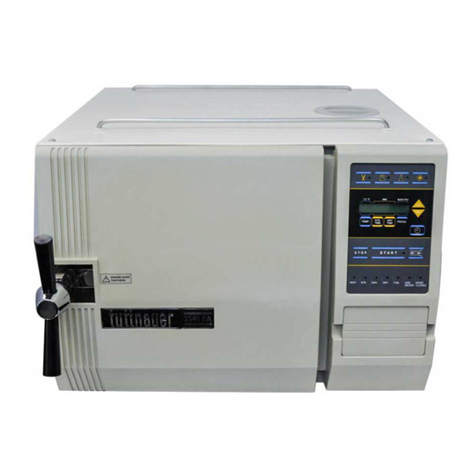
Tuttnauer EZ9Plus User manual

Tuttnauer

Tuttnauer EZ9Plus User manual

Tuttnauer 1730 M Manual

Tuttnauer

Tuttnauer 1730 M Manual

Tuttnauer T-Edge 10 User manual

Tuttnauer

Tuttnauer T-Edge 10 User manual

Tuttnauer T-Edge 11 User manual

Tuttnauer

Tuttnauer T-Edge 11 User manual

Tuttnauer 1730EK Manual

Tuttnauer

Tuttnauer 1730EK Manual

Tuttnauer 3840 ELVG-D User manual

Tuttnauer

Tuttnauer 3840 ELVG-D User manual

Tuttnauer 3840 ELVG-D User manual

Tuttnauer

Tuttnauer 3840 ELVG-D User manual

Tuttnauer 3840 ELVG-D Manual

Tuttnauer

Tuttnauer 3840 ELVG-D Manual

Tuttnauer 55120 1REP User manual

Tuttnauer

Tuttnauer 55120 1REP User manual

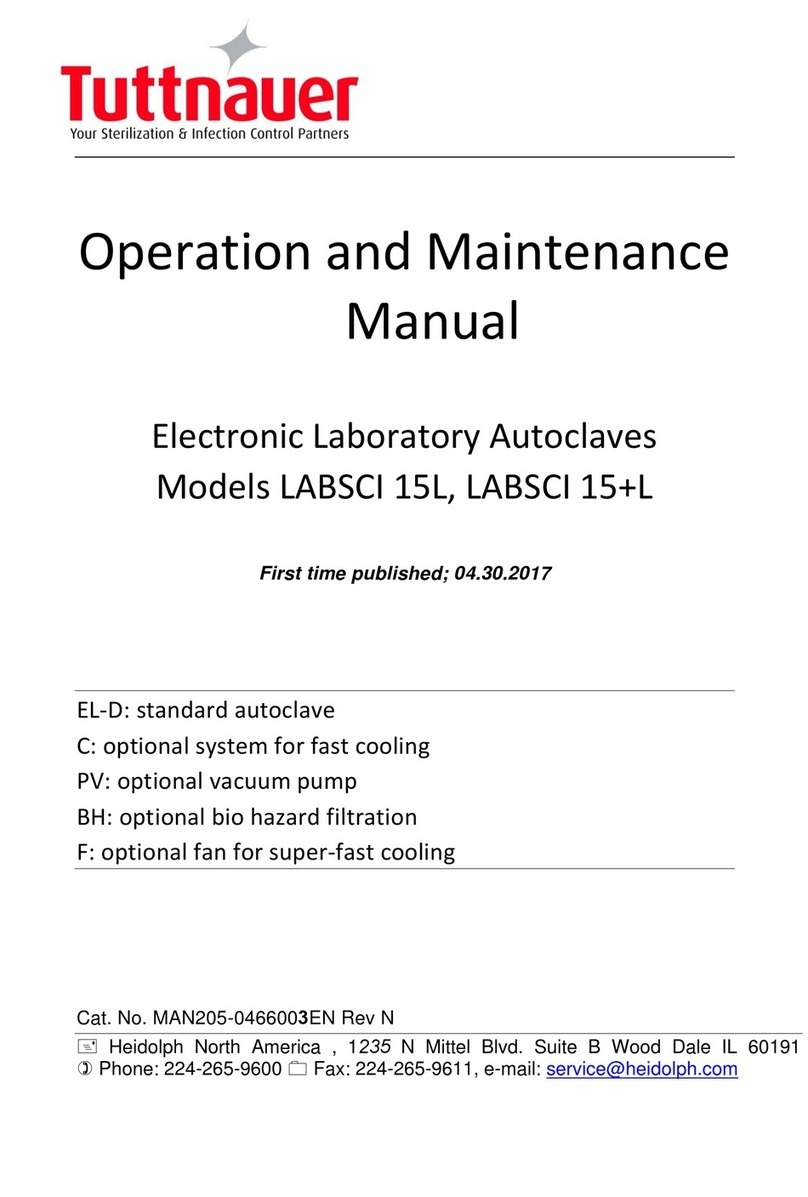
Tuttnauer LABSCI 15L User manual

Tuttnauer

Tuttnauer LABSCI 15L User manual

Tuttnauer Valueklave 1730 Manual

Tuttnauer

Tuttnauer Valueklave 1730 Manual
Tuttnauer LABSCI 11LV ELVC User manual

Tuttnauer

Tuttnauer LABSCI 11LV ELVC User manual

Popular Laboratory Equipment manuals by other brands

Essen BioScience IncuCyte ZOOM user manual

Essen BioScience

Essen BioScience IncuCyte ZOOM user manual

Agilent Technologies 6500 Series Maintenance Guide

Agilent Technologies

Agilent Technologies 6500 Series Maintenance Guide

GeneReach Taco 24 user manual

GeneReach

GeneReach Taco 24 user manual

Dualco 12000 instructions

Dualco

Dualco 12000 instructions

Fluke Biomedical INCU Operator's manual

Fluke Biomedical

Fluke Biomedical INCU Operator's manual

Parker Laboratories Thermasonic Gel Warmer user manual

Parker Laboratories

Parker Laboratories Thermasonic Gel Warmer user manual

Sterylis PURE AIR-100 instruction manual

Sterylis

Sterylis PURE AIR-100 instruction manual

Tecno-gaz EkstraPLUS PT002TTM Instructions for use

Tecno-gaz

Tecno-gaz EkstraPLUS PT002TTM Instructions for use

Olympus UHI-4 Quick reference guide

Olympus

Olympus UHI-4 Quick reference guide

Bruker BPHG 90 user manual

Bruker

Bruker BPHG 90 user manual

Vitlab continuous E operating manual

Vitlab

Vitlab continuous E operating manual

Boehringer 3930 user manual

Boehringer

Boehringer 3930 user manual

Thermo Scientific PikoReal user manual

Thermo Scientific

Thermo Scientific PikoReal user manual

Agilent Technologies 5517B user guide

Agilent Technologies

Agilent Technologies 5517B user guide

Terragene Trazanto manual

Terragene

Terragene Trazanto manual

Artel PCS3 Procedure guide

Artel

Artel PCS3 Procedure guide

cytiva ReadyToProcess Mixer 20/50 operating instructions

cytiva

cytiva ReadyToProcess Mixer 20/50 operating instructions

Endress+Hauser Analytik Jena APU 28 Series operating instructions

Endress+Hauser

Endress+Hauser Analytik Jena APU 28 Series operating instructions

manuals.online logo
manuals.online logoBrands
  • About & Mission
  • Contact us
  • Privacy Policy
  • Terms and Conditions

Copyright 2025 Manuals.Online. All Rights Reserved.