manuals.online logo
Brands
  1. Home
  2. •
  3. Brands
  4. •
  5. Tyco Electronics
  6. •
  7. Crimping Tools
  8. •
  9. Tyco Electronics SDE PEW-12 User manual

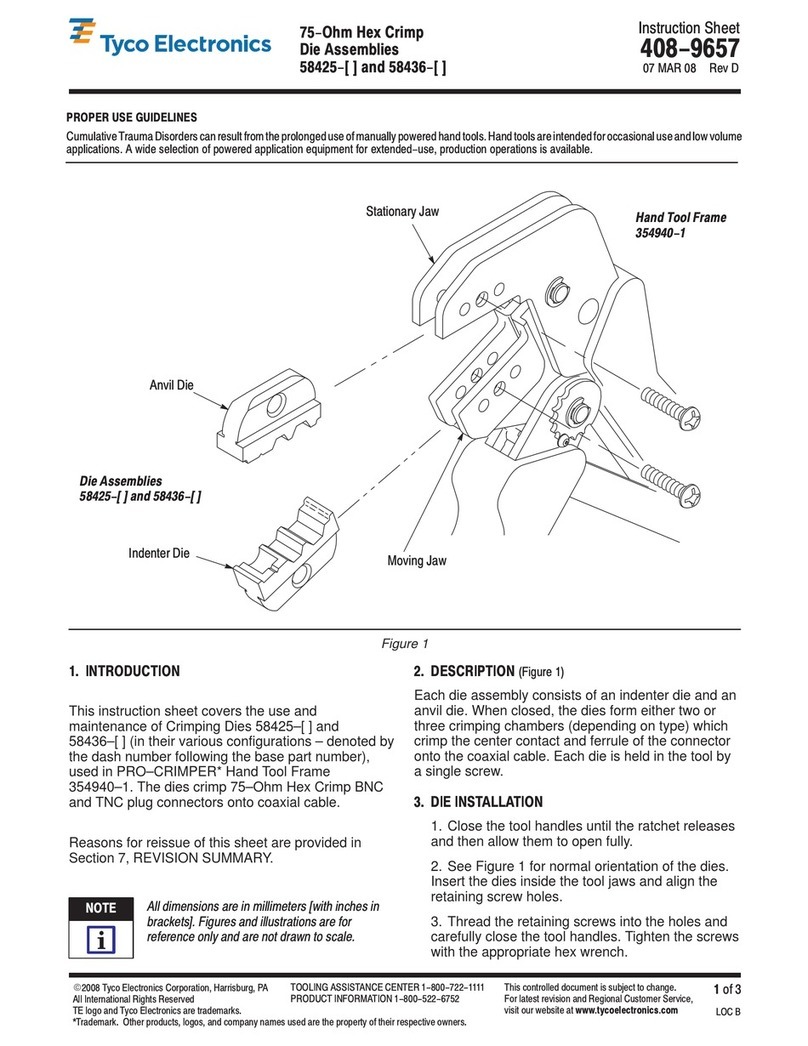
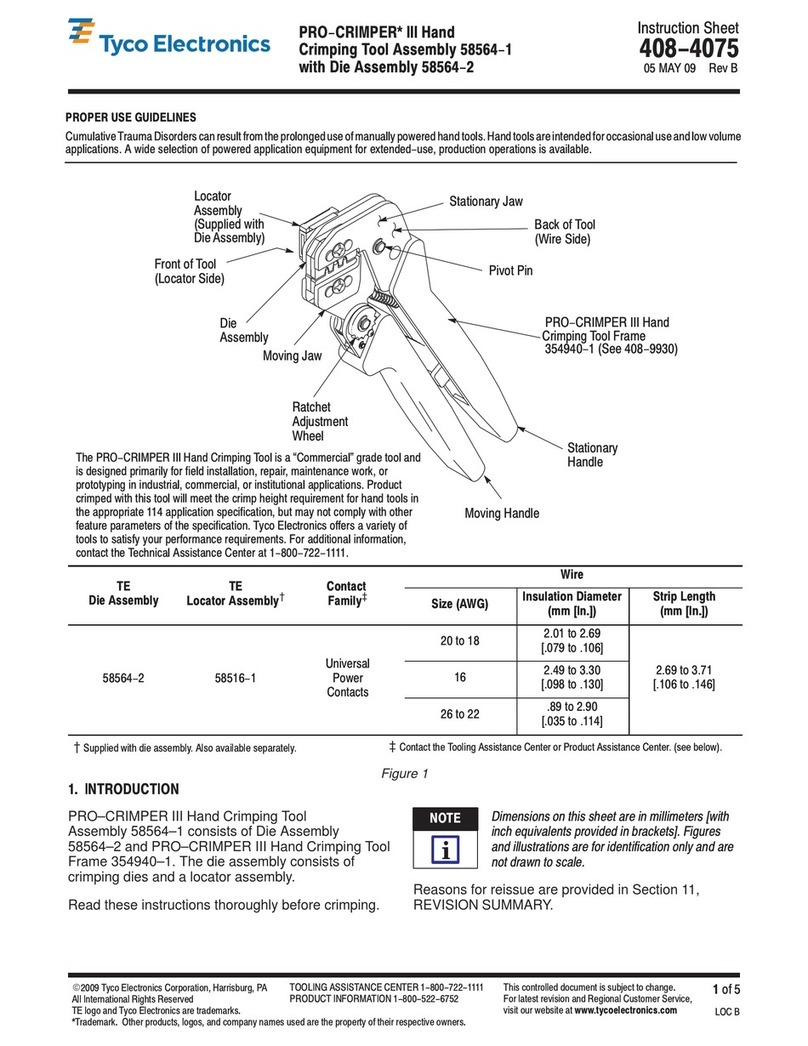
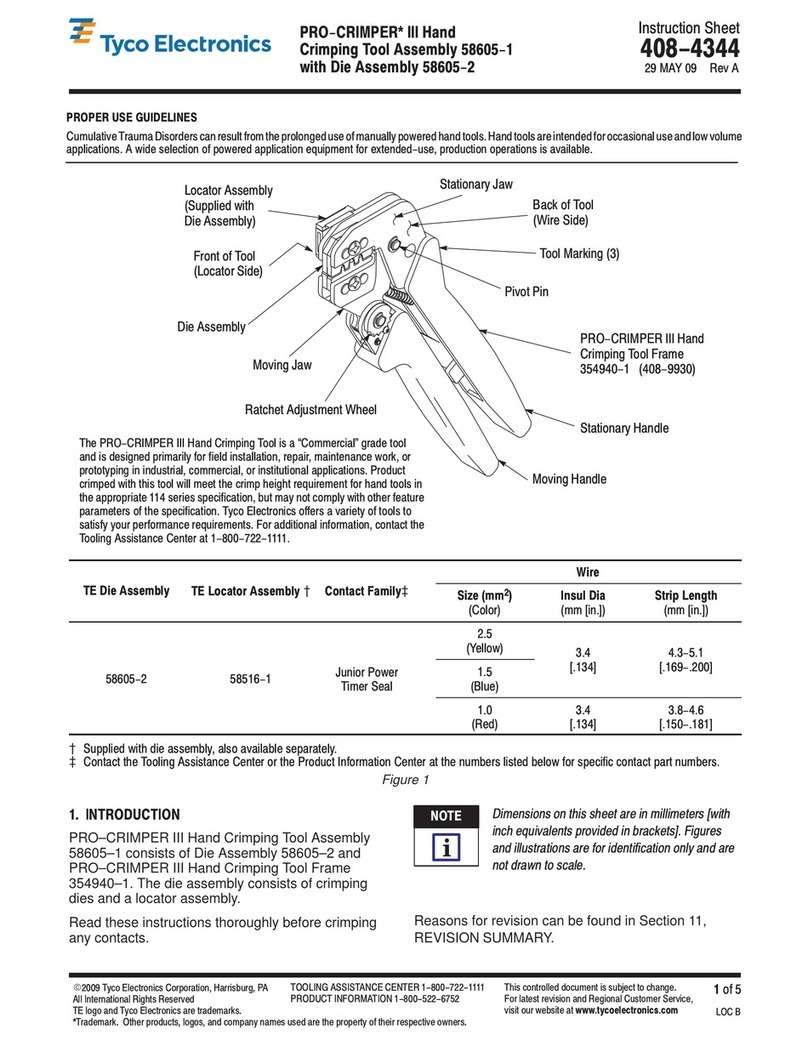
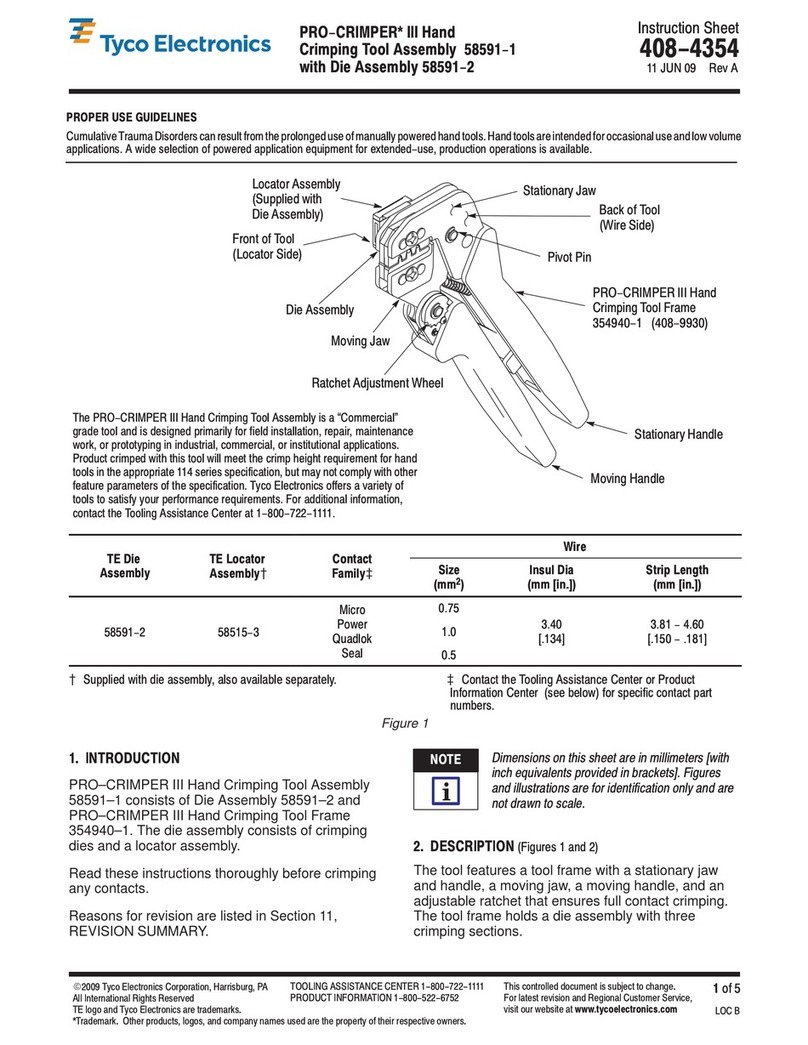
Tyco Electronics SDE PEW-12 User manual

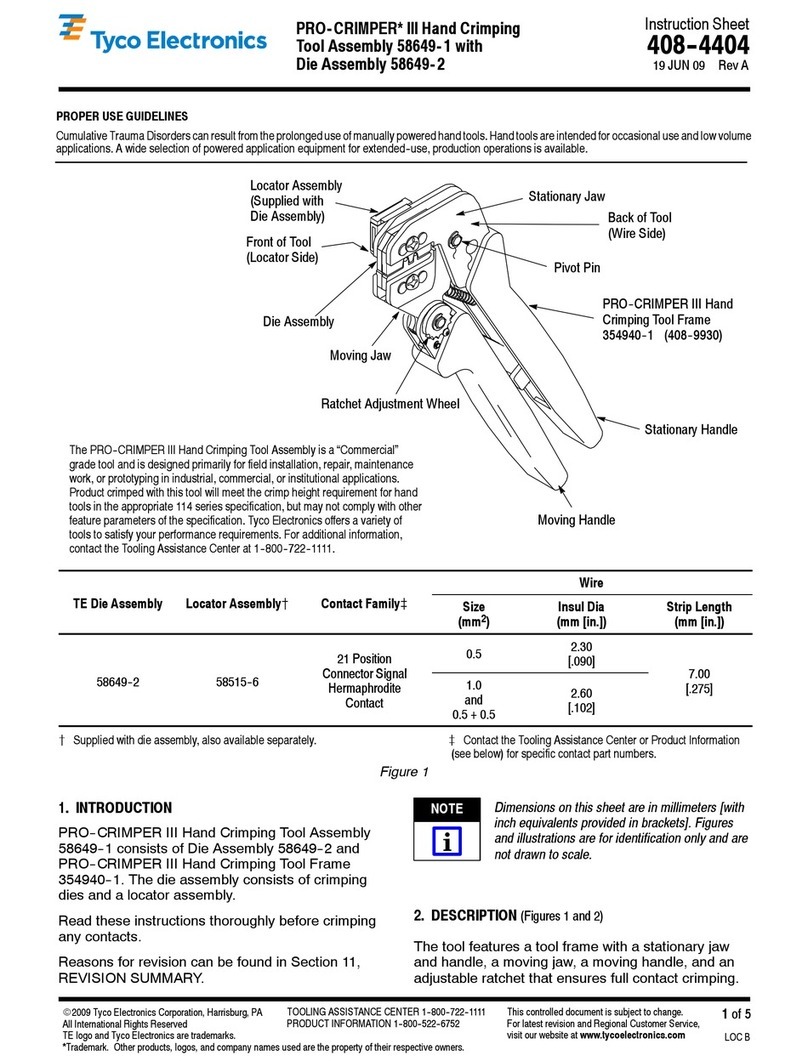
Instruction Sheet
SDE PEW-12 Commercial
Hand Tool Assembly 2063500-1 408-10281
LOC B
1
of 4
E
2009 Tyco Electronics Corporation, Harrisburg, A
All International Rights Reserved
TE logo and Tyco Electronics are trademarks.
*Trademark. Other products, logos, and company names used are the property of their respective owners.
TOOLING ASSISTANCE CENTER 1-800-722-1111
RODUCT INFORMATION 1-800-522-6752 This controlled document is subject to change.
For latest revision and Regional Customer Service,
visit our website at
www.tycoelectronics.com
02 MAR 09 Rev A
with Die Assembly 2063500-2
PROPER USE GUIDELINES
CumulativeTraumaDisorderscanresultfromthe prolongeduseofmanually poweredhandtools.Hand toolsareintendedfor occasionaluseandlowvolume
applications. A wide selection of powered application equipment for extended-use, production operations is available.
Handle
Emergency
Ratchet
Release
Die Retaining
Screws
Ratchet Adjustment
Wheel
Moving
Jaw
Die Set
2063195-2
Nut
Stationary
Jaw
Anvil (Lower)
Wire Die
Wire Crimper
(Upper Die)
Insulation Crimper
(Upper Die)
Anvil (Lower)
Insulation Die
Terminal Support
ins
Slotted Spring
ins
DIE CONTACT WIRE SIZE
2
INSULATION
ASSEMBLY PART NO. mm2AWG] SIZE STRIP LENGTH
2063500-2 1600961-[ ] 2.0-3.4 [14-12] 3.05-4.47 [.120-.176] 5.97-6.73 [.235-.265]
Figure 1
1. INTRODUCTION
Dime sio s i this i structio sheet are i
millimeters with [i ches i brackets]. Figures a d
illustratio s are for refere ce o ly a d are ot
draw to scale.
SDE PEW–12 Commercial Hand Tool Assembly
2063500–1 consists of SDE PEW–12 Frame
Assembly 9–1478240–0 (Instruction Sheet 408–8851)
and die set assembly 2063500–2. See Figure 1. The
tool is used to crimp terminal numbers provided in the
table in Figure 1.
2. DESCRIPTION
The tool frame features two jaws, a handle, ratchet
adjustment wheel, and an emergency ratchet release.
The die set consists of an indenter (upper die) and an
anvil (lower die). The tool frame holds a die assembly
with two crimping chambers. See Figure 1. Die
retaining screws are used to secure the dies in the
tool frame.
The tool features a ratchet and an adjustment wheel
with a range of settings. The ratchet ensures that the
tool has completed the cycle and will not release until
the handles have been FULLY closed, unless the
emergency ratchet release is rotated to manually
release the ratchet. The adjustment wheel controls
the amount of handle pressure exerted on the dies
during the crimping procedure.
The dies bottom before the ratchet releases. This
feature e sures maximum te sile performa ce of
the crimp. DO NOT re-adjust the ratchet.
NOTE
i
CAUTION
!
408-10281
SDE PEW-12 Commercial Hand ool Assembly 2063500-1
Rev
A2
o 4 Tyco Electronics Corporation
3. INS ALLA ION AND REMOVAL OF DIE SE
AND LOCA OR ASSEMBLY
(Figure 1)
1. Open the tool handles and remove the two die
retaining screws from the tool jaws.
2. Place the wire anvil so that the chamfered side
and the marked surfaces face outward, when
mounted in the moving jaw of the tool frame.
3. Insert the short die retaining screw through the
jaw and through the anvil die, and tighten the
screw just enough to hold the die in place. Do
not
tighten the screw completely at this time.
4. Place the wire crimper so that the chamfered
side and the marked surface face outward, when
mounted in the stationary jaw of the tool frame.
5. Insert the long die retaining screw through the
jaw and through the crimper die, and tighten the
screw just enough to hold the die in place. Do
not
tighten the screw completely at this time.
6. Carefully close the tool handles, making sure
that the anvil and crimper align properly. Continue
closing the tool handles until the ratchet in the tool
frame has engaged sufficiently to hold the anvil
and crimper in place, then tighten both die retaining
screws.
7. Place the nut onto the end of the long screw and
tighten the nut enough to hold the terminal support
in place.
8. To disassemble, close the tool handles until the
ratchet releases, remove the nut, terminal support,
the two die retaining screws, and slide the anvil
and crimper out of the tool jaws.
T e ratc et as detents wit audible clicks" as
t e andles are closed. T e ratc et releases on
t e sixt click".
4. CRIMPING PROCEDURE
T is tool is provided wit a crimp adjustment
feature. Initially, t e crimp eig t s ould be
verified as specified in Figure 3. Refer to
Section 5, CRIMP HEIGHT INSPECTION, and
Section 6, CRIMP HEIGHT ADJUSTMENT, to
verify crimp eig t before using t e tool to crimp
desired contacts and wire sizes.
Refer to the table in Figure 1 and select wire of the
specified size and insulation diameter. Strip the wire
to the length indicated in Figure 1, taking care not to
nick or cut wire strands. Select an applicable contact
and identify the appropriate crimp section according
to the wire size markings on the tool. Refer to
Figure 2 and proceed as follows:
Figure 2
Wire
Contact
Support
Back o Tool
(Wire Side)
1. Hold the tool so that the back (wire side) is
facing you. Squeeze tool handles together and
allow them to open fully.
2. Holding the contact by the mating end, insert the
contact through the front of the tool and into the
appropriate crimp section.
Position Point on
Center o Wire
Barrel Opposite
Seam
Modi ied Anvil
A"
WIRE SIZE
MAX
mm2[AWG]
CRIMP SEC ION
(WIRE SIZE
MARKINGS)
CRIMP HEIGH
DIMENSION A"
3.4 [12] 2.0-3.4 2.54 +0.05 [.100 +.002]
Figure 3
3. Position the contact so that the mating end of
the contact is on the terminal support side of the
tool, and so that the open “U” of the wire barrel
faces the top of the tool. Place the contact up into
the nest so that the wire barrel is centered on the
wire crimper.
Make sure t at bot sides of t e wire barrel are
started evenly into t e crimping section. Do NOT
attempt to crimp an improperly positioned
contact.
NO E
i
NO E
i
CAU ION
!
408-10281
SDE PE -12 Commercial Hand Tool Assembly 2063500-1
3
of 4Rev
A
Tyco Electronics Corporation
5. CRIMP HEIGHT INSPECTION
This inspection requires the use of a micrometer with
a modified anvil. Tyco Electronics recommends the
modified micrometer (Crimp Height Comparator
RS–1019–5LP) which may be purchased from:
ShearerIndustrialSupplyCo.
717–767–7575 or VALCO
610–691–3205
Proceed as follows:
1. Refer to Figure 1 and select a wire (maximum
size) for each crimp section listed.
2. Refer to Section 4, CRIMPING PROCEDURE,
and crimp the contact(s) accordingly.
3. Using a crimp height comparator, measure the
wire barrel crimp height listed in Figure 3. If the
crimp height conforms to that shown in the table,
the tool is considered dimensionally correct. If not,
the tool must be adjusted. Refer to Section 6,
CRIMP HEIGHT ADJUSTMENT.
Damaged product should not be used. If a
damaged contact is evident, it should be
replaced. Contacts must not be re-terminated.
6. CRIMP HEIGHT ADJUSTMENT
Although the ratchet is preset prior to shipment, it is
important to verify the crimp height using a
micrometer or caliper. General use and subsequent
wear may cause the tool to go out of adjustment. It is
recommended that crimp height be inspected, and the
ratchet be adjusted, if necessary, on a regular basis.
Refer to Figure 4, and proceed as follows:
Figure 4
Ratchet Adjustment Wheel
Adjustment
Screw
1. If the crimp height is larger than recommended,
remove the ratchet wheel adjustment screw and
rotate the adjustment wheel counterclockwise (+)
to a higher setting. Reinstall the screw. Repeat as
required.
2. If the crimp height is smaller than
recommended, remove the ratchet wheel
adjustment screw and rotate the adjustment wheel
clockwise (–) to a lower setting. Reinstall the
screw. Repeat as required.
3. If the crimp cannot be made to conform to the
recommended crimp height, the tool or die set
must be replaced. See Section 8,
REPLACEMENT.
7. MAINTENANCE AND INSPECTION
7.1. Daily Maintenance
1. Remove dust, moisture, and other contaminants
with a clean, soft brush, or a clean, soft, lint–free
cloth. DO NOT use any objects that could damage
the dies or tool.
2. Make sure that the proper die retaining screws
are properly secured.
3. When the tool is not in use, keep the handles
closed to prevent objects from becoming lodged in
the dies. Store the tool in a clean, dry area.
4. Remove all lubrication and accumulated film
from the dies by immersing the dies in a suitable
commercial degreaser.
7.2. Inspection
Close the tool handles until the ratchet releases, and
then allow them to quickly open freely. If they do not
open quickly and fully, the spring is defective. See
Section 8, REPLACEMENT.
8. REPLACEMENT
Order replacements through your representative, or
call 1–800–526–5142, or send a facsimile of your
purchase order to 717–986–7605, or write to:
CUSTOMER SERVICE (038–035)
TYCO ELECTRONICS CORPORATION
P.O. BOX 3608
HARRISBURG, PA 17105–3608
9. REVISION SUMMARY
S
Initial release of document
CAUTION
!
408-10281
SDE PEW-12 Commercial Hand Tool Assembl 2063500-1
Rev
A4
of 4 Tyco Electronics Corporation
Figure 5
Pro-Crimper Han Tool 354940-1
(Instruction Sheet 408-9930) SDE PEW-12 Han Tool 9-1478240-0
(Instruction Sheet 408-8851)
SDE Bench Terminator 1490076-2
(Customer Manual 409-10052) 626 A apter 679304-1
(Instruction Sheet 408-4070)
Battery Tool (Shoul ere Die) 1725837-1, -2
(Customer Manual 409-10053) Battery Tool (Pin Die) 1213890-1, -2
(Customer Manual 409-10065)
2063500-2 Die Set can be Use in Tools Show Below

This manual suits for next models

2

Other Tyco Electronics Crimping Tools manuals
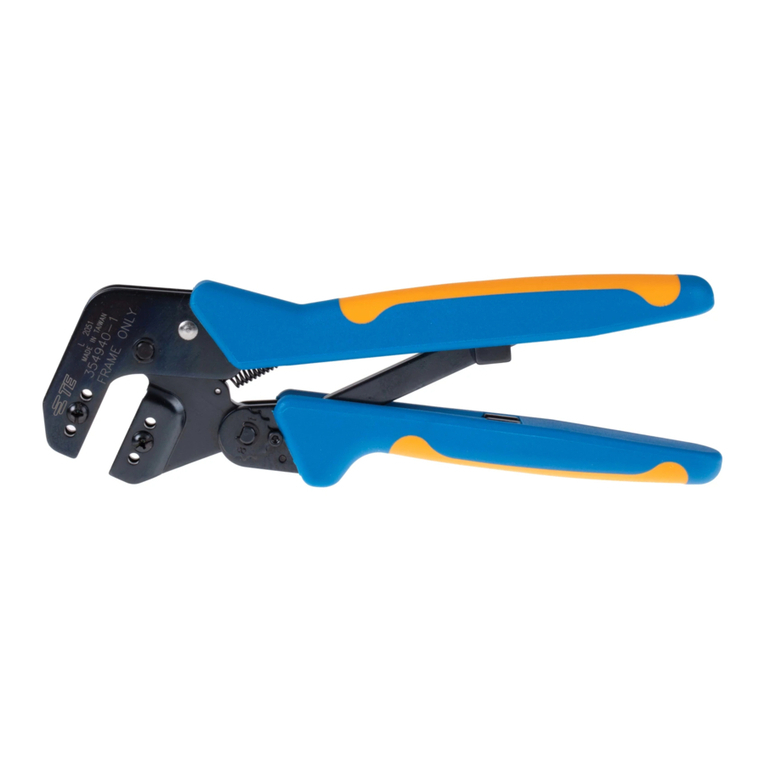
Tyco Electronics PRO-CRIMPER III User manual

Tyco Electronics

Tyco Electronics PRO-CRIMPER III User manual
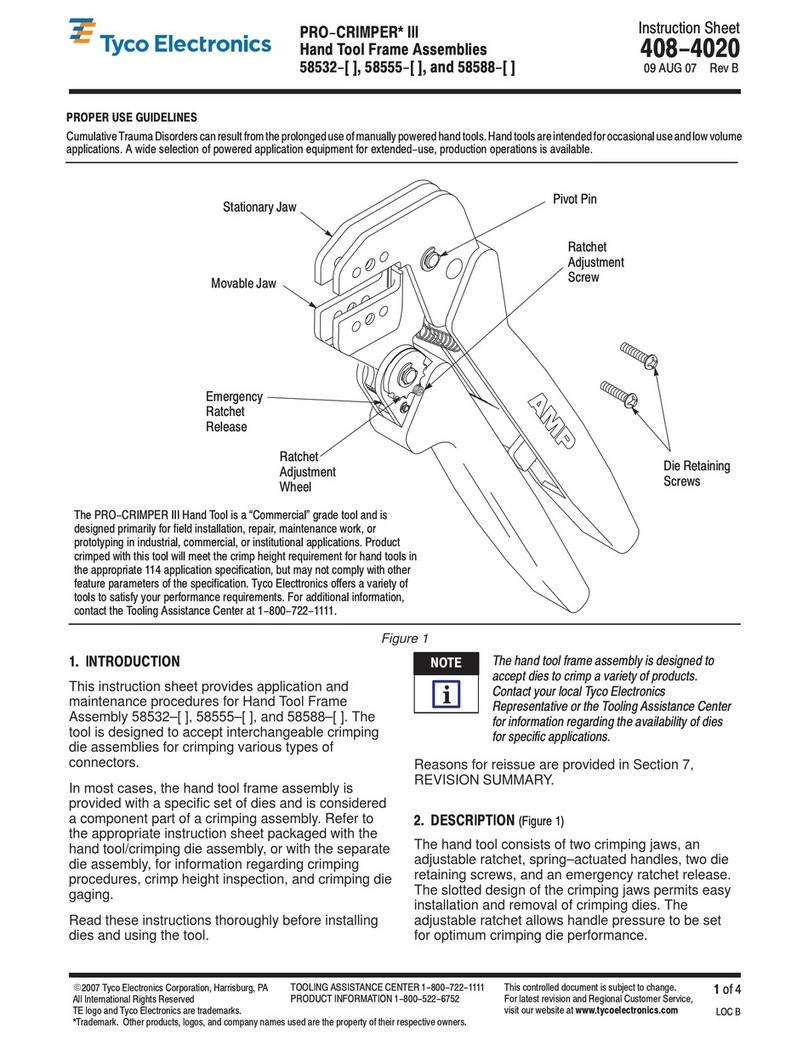
Tyco Electronics PRO-CRIMPER III User manual
Tyco Electronics

Tyco Electronics PRO-CRIMPER III User manual

Tyco Electronics 0-0654174-1 User manual

Tyco Electronics

Tyco Electronics 0-0654174-1 User manual

Tyco Electronics PRO-CRIMPER III User manual

Tyco Electronics

Tyco Electronics PRO-CRIMPER III User manual

Tyco Electronics 69324-1 User manual

Tyco Electronics

Tyco Electronics 69324-1 User manual

Tyco Electronics 408-10050 User manual

Tyco Electronics

Tyco Electronics 408-10050 User manual

Tyco Electronics PRO-CRIMPER III User manual

Tyco Electronics

Tyco Electronics PRO-CRIMPER III User manual

Tyco Electronics 2063811-1 User manual

Tyco Electronics

Tyco Electronics 2063811-1 User manual

Tyco Electronics 1752787-1 User manual

Tyco Electronics

Tyco Electronics 1752787-1 User manual

Tyco Electronics PIDG STRATO-THERM User manual

Tyco Electronics

Tyco Electronics PIDG STRATO-THERM User manual

Tyco Electronics 2063195-1 User manual

Tyco Electronics

Tyco Electronics 2063195-1 User manual

Tyco Electronics PRO-CRIMPER III User manual

Tyco Electronics

Tyco Electronics PRO-CRIMPER III User manual

Tyco Electronics 1-1579001-2 User manual

Tyco Electronics

Tyco Electronics 1-1579001-2 User manual

Tyco Electronics DYNA-CRIMP User manual

Tyco Electronics

Tyco Electronics DYNA-CRIMP User manual

Tyco Electronics PRO-CRIMPER III User manual

Tyco Electronics

Tyco Electronics PRO-CRIMPER III User manual

Tyco Electronics 58425 Series User manual
Tyco Electronics

Tyco Electronics 58425 Series User manual

Tyco Electronics 90035-3 User manual

Tyco Electronics

Tyco Electronics 90035-3 User manual

Tyco Electronics PRO-CRIMPER III User manual
Tyco Electronics

Tyco Electronics PRO-CRIMPER III User manual

Tyco Electronics ROTA-CRIMP 68321-1 User manual

Tyco Electronics

Tyco Electronics ROTA-CRIMP 68321-1 User manual

Tyco Electronics 58569-1 User manual

Tyco Electronics

Tyco Electronics 58569-1 User manual

Tyco Electronics ERGOCRIMP 2-1579021-9 User manual

Tyco Electronics

Tyco Electronics ERGOCRIMP 2-1579021-9 User manual

Tyco Electronics 90430-1 User manual

Tyco Electronics

Tyco Electronics 90430-1 User manual

Tyco Electronics AUTOPRESS C120 Release Note

Tyco Electronics

Tyco Electronics AUTOPRESS C120 Release Note

Tyco Electronics PRO-CRIMPER III User manual

Tyco Electronics

Tyco Electronics PRO-CRIMPER III User manual
Popular Crimping Tools manuals by other brands

TE Connectivity ERGOCRIMP 1-1579001-3 instruction sheet

TE Connectivity

TE Connectivity ERGOCRIMP 1-1579001-3 instruction sheet

TE Connectivity SDE-SA instruction sheet

TE Connectivity

TE Connectivity SDE-SA instruction sheet

molex HCS-125 Series Specification sheet

molex

molex HCS-125 Series Specification sheet

Klauke TEXTRON K05 instruction manual

Klauke

Klauke TEXTRON K05 instruction manual

TE Connectivity 2063490-1 instruction sheet

TE Connectivity

TE Connectivity 2063490-1 instruction sheet

Hilti NPR 032 IE-A22 operating instructions

Hilti

Hilti NPR 032 IE-A22 operating instructions

molex 35745 Series Specification sheet

molex

molex 35745 Series Specification sheet

Emerson klauke ESM 35CFM quick start guide

Emerson

Emerson klauke ESM 35CFM quick start guide

TE Connectivity SDE-SA instruction sheet

TE Connectivity

TE Connectivity SDE-SA instruction sheet

molex 207129 Series Specification sheet
molex

molex 207129 Series Specification sheet

HRS HT803 instruction manual

HRS

HRS HT803 instruction manual

Temper Koban KCM-400 instruction manual

Temper

Temper Koban KCM-400 instruction manual

molex Avikrimp 64005-3000 manual

molex

molex Avikrimp 64005-3000 manual

BEX MultiBEX mx3 instruction manual

BEX

BEX MultiBEX mx3 instruction manual

Emerson Klauke UAP100120CFM manual

Emerson

Emerson Klauke UAP100120CFM manual

FCI HT-0525 manual

FCI

FCI HT-0525 manual

KUDOS UB-412 SAFE OPERATION & MAINTENANCE INSTRUCTIONS

KUDOS

KUDOS UB-412 SAFE OPERATION & MAINTENANCE INSTRUCTIONS

Cembre HT45 Operation and maintenance manual

Cembre

Cembre HT45 Operation and maintenance manual

manuals.online logo
manuals.online logoBrands
  • About & Mission
  • Contact us
  • Privacy Policy
  • Terms and Conditions

Copyright 2025 Manuals.Online. All Rights Reserved.