D-304286 SD-304C PG2 Installation Instructions 3
Notes:
1. If the shock detector is already enrolled, you can configure the device parameters and assign partitions via the “Modify Devices” option –see
Step 2.
2. PARTITIONS will appear only if PARTITIONING was previously enabled in the panel.
2.4 Configuring the Device Parameters
Enter the Device Settings menu and follow the configuration instructions for the SD-304C PG2 shock detector as described in the following table.
Configuration Instructions
Determine whether or not the alarm LED indication will be activated.
Optional settings: ON (default) or OFF.
Determine whether to enable or disable the internal reed switch.
Optional settings: Enabled or Disabled (default).
Define the external input according to the installer's requirements.
Optional settings: Disabled (default), End of Line,Normally open, Normally close or Double EOL.
Define the sensitivity threshold of the shock detector when configuring from the panel.
Optional settings: Sens. Thresh. 1 to Sens. Thresh. 19 (default setting is Sens. Thresh. 8).
Note: Configuration of this feature can be performed either from the panel or from the device on condition that the
device was already enrolled and there is synchronization between the panel and device. If an “E” appears on the
device’s digital display, this indicates no synchronization.
Define whether Accumulation mode, when configuring from the panel, is Enabled or Disabled.
Optional settings: Enabled or Disabled (default).
2.5 Local Operating and Calibrating of the Shock Detector
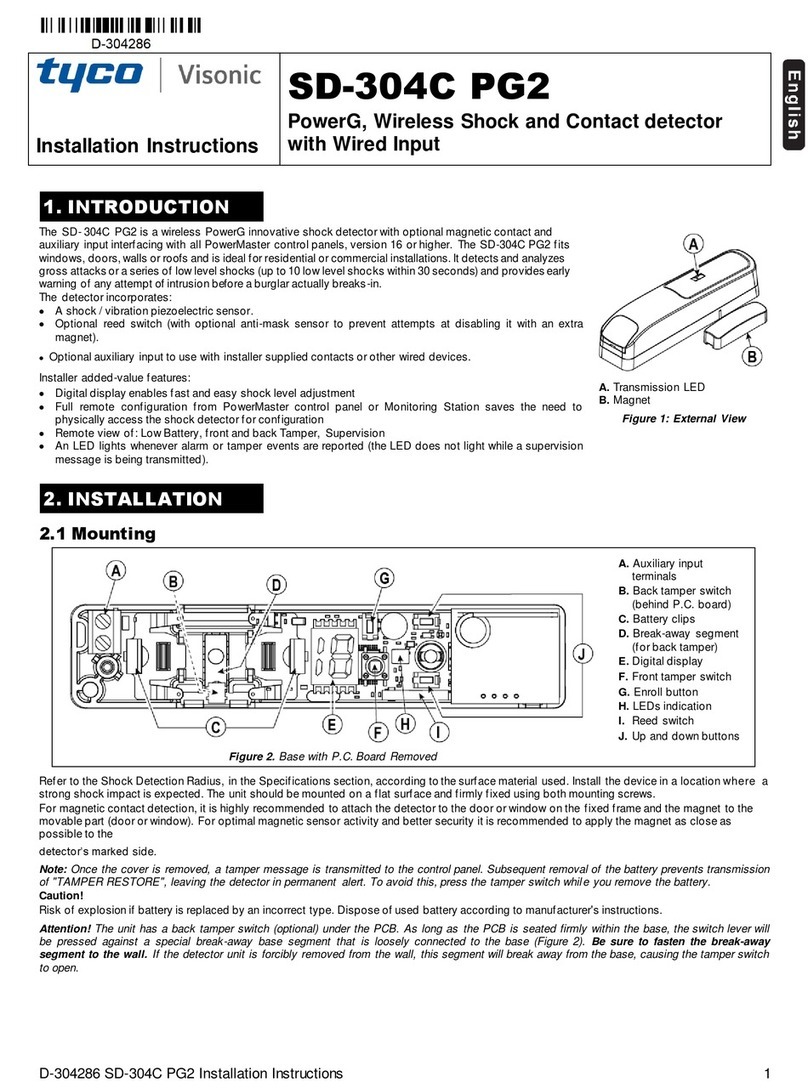
The SD-304C PG2 can be calibrated locally only when the device is in Local Diagnostics mode (first 15 minutes after opening the cover). When the
device is not in this mode, but further calibration is required, the installer should reset the device by closing the tamper switch.
1. Press on the "Up" or "Down" button to turn on the digital display. The letter 'G' appears on the display for 3 seconds to indicate Gross Attack
levels (thresholds). Then, the menu appears on the display to enable you to select a number in the range of 1-19. If, instead of a number the
letter "E" appears on the display, this indicates that there is no communication link between the unit and control panel and, therefore, local
adjustment is not allowed.
Note: If no buttons are pressed within 20 seconds, the digital display turns off.
2. Change the threshold by pressing the "Up" or "Down" button.
Note: The lower the threshold, the higher the sensitivity, therefore, the lowest thresholds are more suitable for harder materials, such as concrete.
3. While the SD-304C PG2 threshold menu is active, knock on the surface with the required force for the detector to set the required threshold. The
power of the detected knock will be presented on the display of the SD-304C PG2 as a blinking number for 3 seconds. The displayed number
will be in the range of 1 to 19, where 1 is very weak and 19 is very strong.
Note: If the installer knocks on the surface but nothing appears on the display, this indicates that no shock is detected. If a hyphen blinks, this
indicates that the knock is above the highest threshold of the detector.
4. Repeat the same test several times.
5. Press the "Up" or "Down" button to navigate to the threshold number to be set and then press the "Up" and "Down" buttons simultaneously to set
the threshold.
6. The detector now moves to the next menu, the Accumulated menu (shown as "A" on the display). Press the "Up" or "Down" buttons to Enable
("1" on the display) or Disable ("0" on the display) the Accumulation mode. Press the "Up" or "Down" buttons simultaneously to set the selected
option.
Note: When Accumulation is enabled, the power of impact will still indicate the strength of a single knock, therefore, it is recommended to disable
this parameter while the Threshold is tested and to enable the Accumulation mode only after setting the Threshold.
7. If after the "Up" and "Down" buttons are simultaneously pressed the letter “E”appears, this likely indicates that there is no communication link
between the unit and control panel. Check if the panel is properly powered.

