Ulvac SEREM PSE-150C User manual

No.32000-2-14-2
INSTRUCTION MANUAL
Power Supply for Resistance Heater Evaporation
PSE-150C
SEREM
Please read this manual thoroughly to ensure safe and effective operation
of this equipment.
Keep this manual in a safe place.
Please note that due to performance upgrade, the equipment described in
this manual is subject to changes in dimensions and specifications without
prior notice.
ULVAC KIKO, Inc.

Instruction Manual
Contents
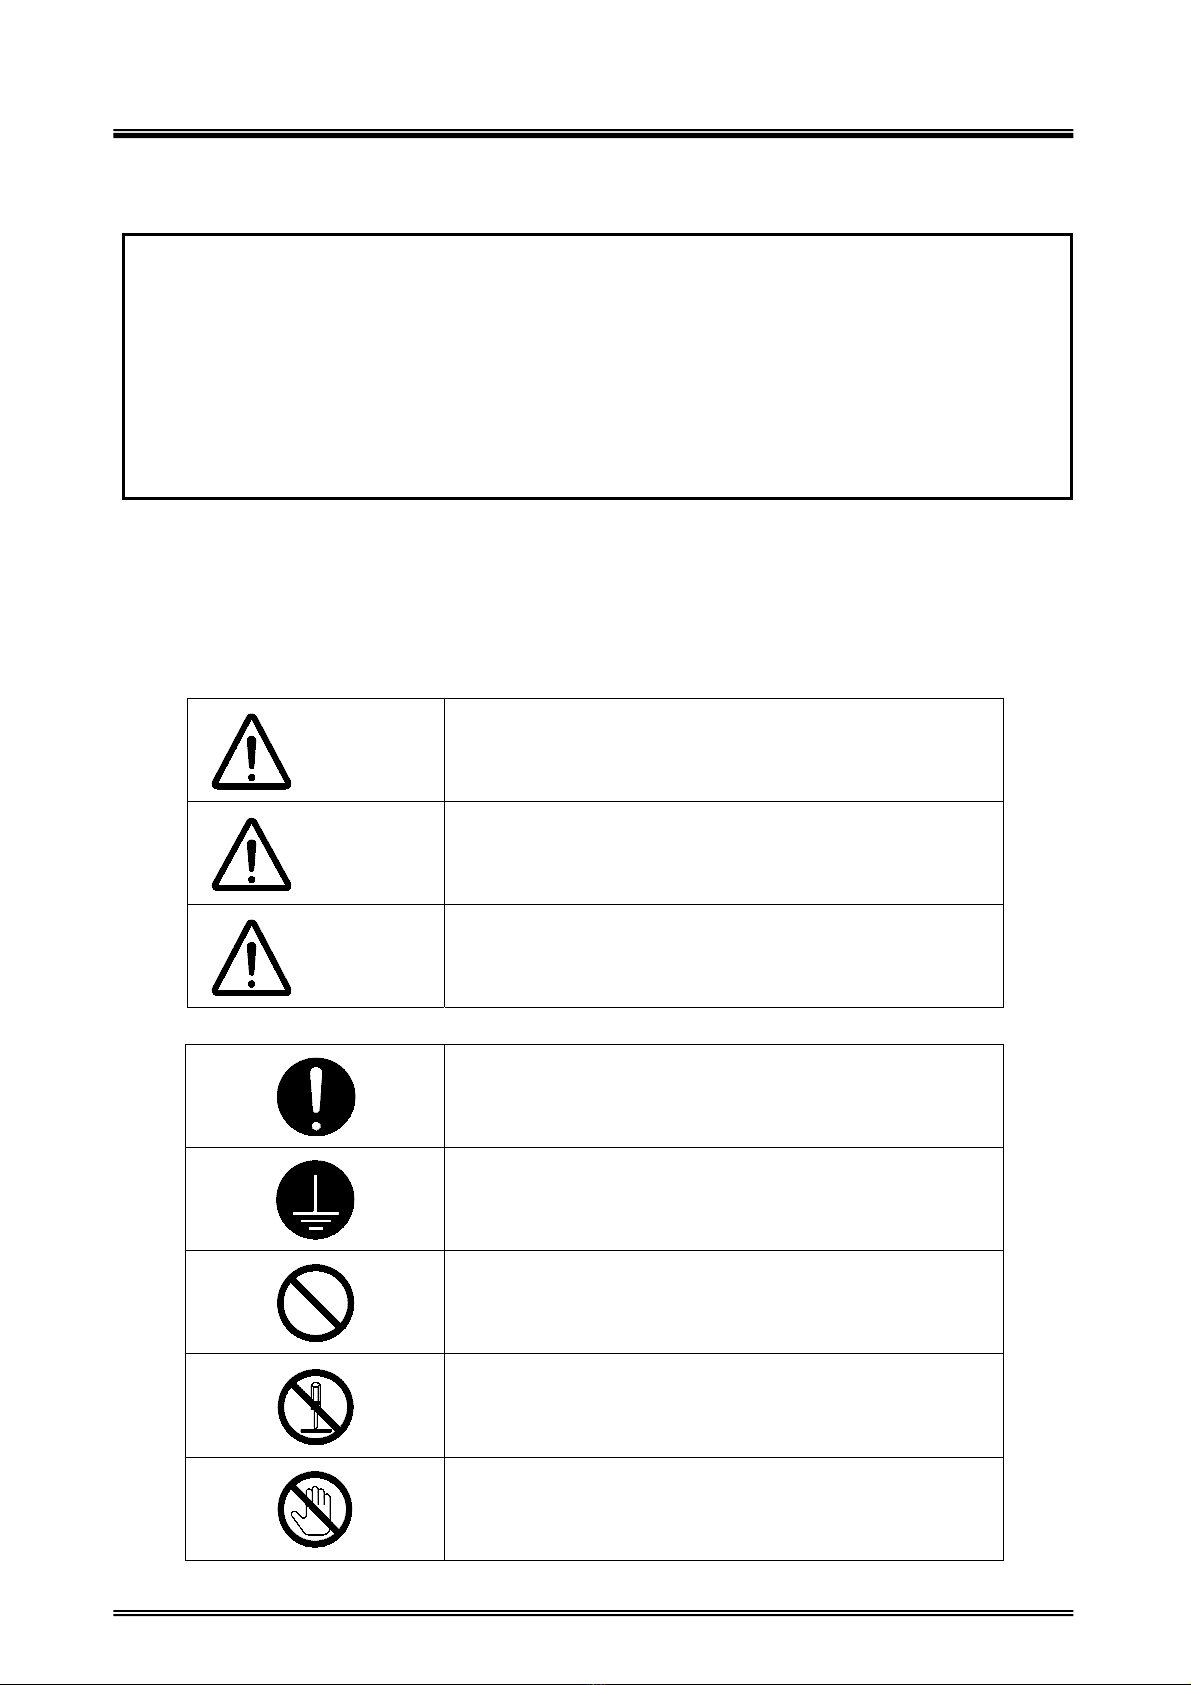
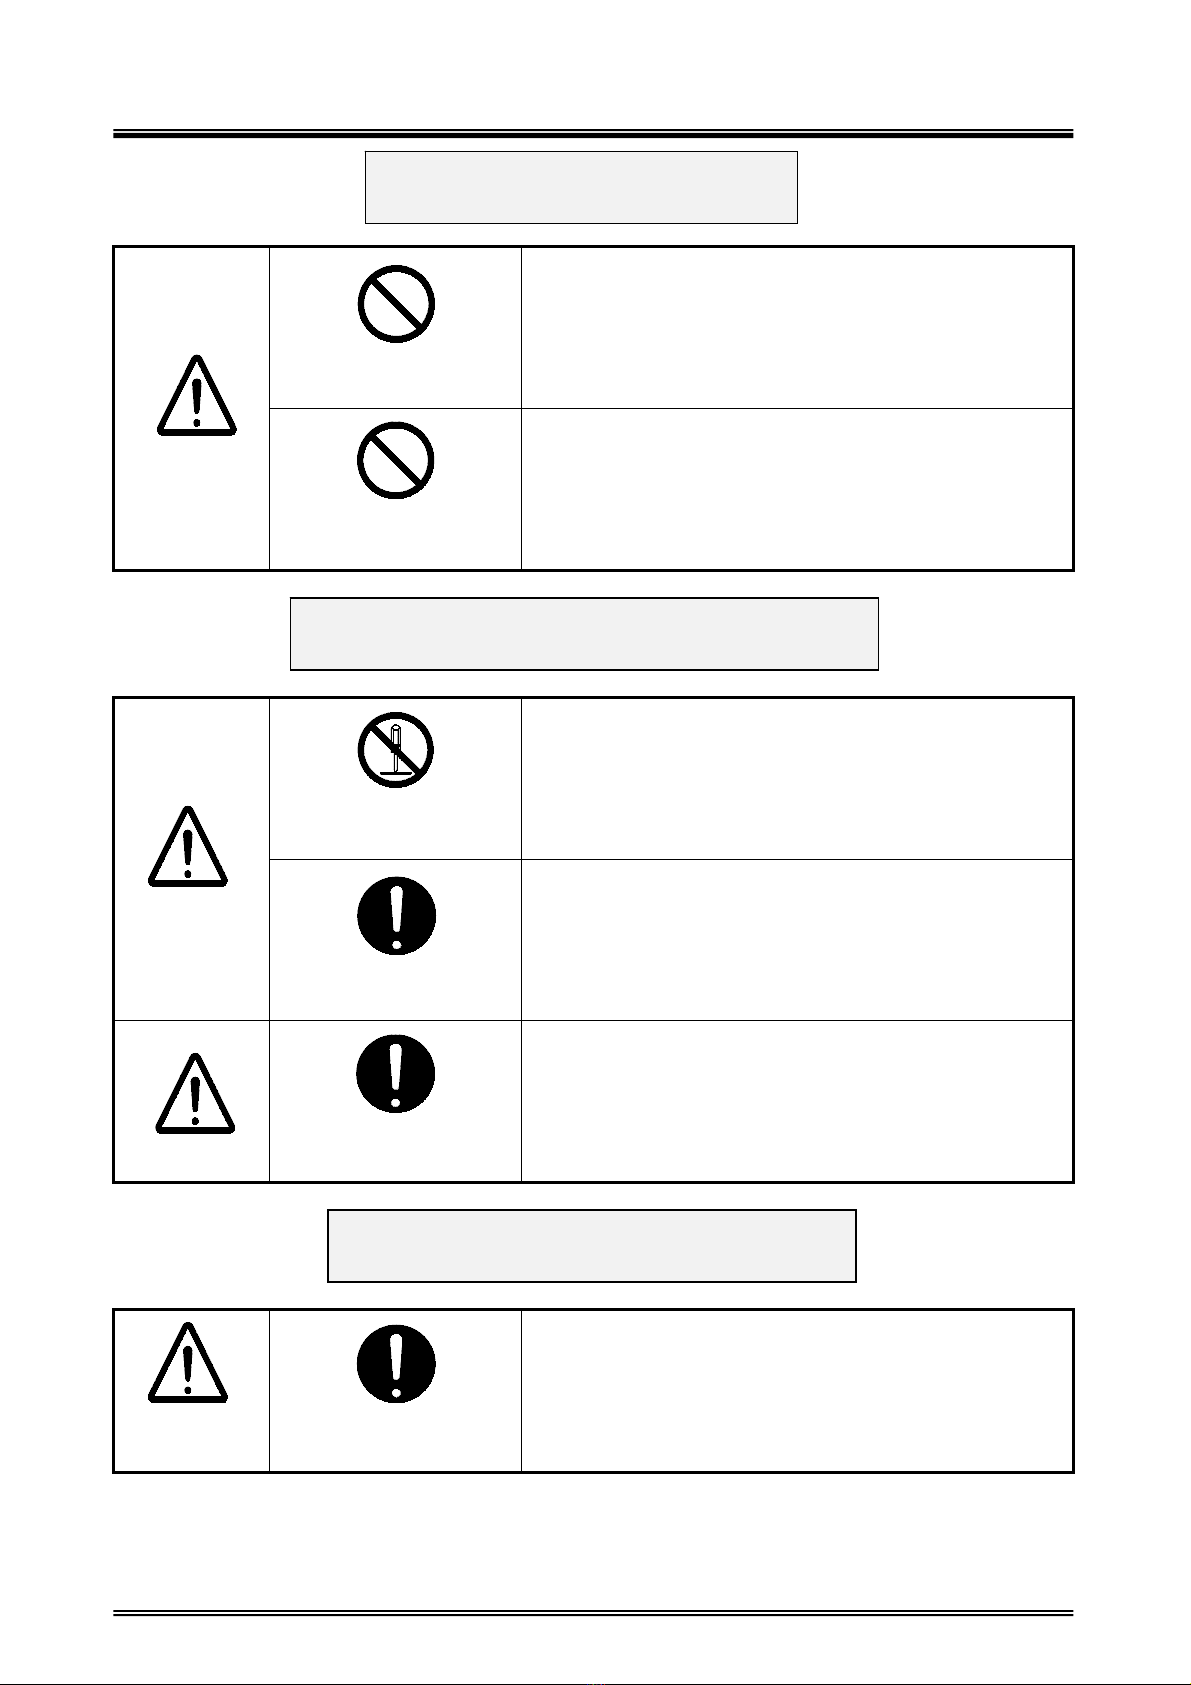
Items marked [ ] are related to safety.
1 Introduction...................................................................................................................1
1-1. Suitable operator ..................................................................................................... 1
1-2. Perusal of Instruction Manual .................................................................................. 1
1-3. Keeping Instruction Manual ..................................................................................... 1
1-4. Warranty .................................................................................................................. 1
1-5. Observance of laws ................................................................................................. 2
1-6. Safety Control in Repair........................................................................................... 2
2 Outline of Product.........................................................................................................3
2-1.Intended Use of Products and Prohibition ................................................................ 3
2-2. Safety Device and Purpose/Function....................................................................... 3
2-3. Product specifications.............................................................................................. 4
2-4. Single equipment specifications .............................................................................. 4
2-5. Functional Description ............................................................................................. 5
2-5-1 Front Key Operation ........................................................................................... 5
2-6. Dimensions.............................................................................................................. 7
2-7. Electric Circuit Diagram ........................................................................................... 8
3 Unpacking/Installation..................................................................................................9
3-1. General Precaution.................................................................................................. 9
3-2. Style of Packing of Delivery ..................................................................................... 9
3-3. Installation Place...................................................................................................... 9
3-4. Power Supply .......................................................................................................10
3-5. Required Tool List.................................................................................................11
3-6. Connection ...........................................................................................................11
4 Driving Operation ......................................................................................................13
4-1. Contents of Danger in Operation and Safety Measures .......................................13
4-2. Operation Procedure ............................................................................................13
4-2-1 Preparation......................................................................................................13
4-2-2 Basic Operation ...............................................................................................13
4-2-3 Remote Control Box (optional) ........................................................................14
4-2-4 Operation Mode Setting...................................................................................14
4-2-5 Soft Start Operation.........................................................................................17
4-2-6 DIP Switch setting ...........................................................................................18
4-2-7 Parameter setting operation ............................................................................19
4-3. Countermeasure of abnormal circumstances .......................................................19

Instruction Manual
4-3-1 Instantaneous power failure ............................................................................19
4-3-2 Long time power failure ...................................................................................19
4-3-3 Operation when power failure returns..............................................................20
5 Maintenance and Repair............................................................................................21
5-1. Danger and Safety Measure in Maintenance and Repair .....................................21
5-2. Maintenance and Check Point..............................................................................21
5-3. Measures in trouble ..............................................................................................21
5-4. Storage of Equipment ...........................................................................................22
5-5. Consumption Parts List.........................................................................................22
6 Disposal......................................................................................................................23
6-1. Caution for Disposal .............................................................................................23
7. Ulvac KIKO Address List...........................................................................................24

Instruction Manual
V.02 2014.09
A
To Safely Use This Equipment
Thank you for purchasing our product. This pump is designed exclusively for
vacuum evacuation, and it may malfunction or cause accidents if operated
inappropriately. Please read the manual thoroughly, and pay specific attention to
inspection, maintenance and safety guidelines. Read and fully understand the
description of this manual to prevent serious accidents from occurring.
The copyright of this user’s manual and safety guides are reserved by Technical
Division of Ulvac Kiko.
No part of this document, in whole or part may be reproduced without permission
of Ulvac Kiko Inc.
Read this section before using the PSE-150C. Follow the instructions below to
safely use the device and prevent personal injuries from occurring.
Please comply with them all the time.
The symbols below have the following meaning
This indicates action or practice that should be
made.
Always make connection with the earth.
This indicates the action or practice that should be
prohibited.
Do not disassemble.
Do not touch.
Danger Incorrect handling of the equipment is very likely
to result in death or serious injury to the operator.
Warning Incorrect handling of the equipment may result in
death or serious injury to the operator.
Caution
Incorrect handling of the equipment may result in
light or medium injuries to the operator or damage
to the equipment.

Instruction Manual
Power Su
pp
l
y
Warning
Capacity check
Primary Power Supply capacity
Prepare the single-phase power supply
exceeding 200V 7.5A.
In case the power capacity is not adequate, a circuit
breaker may trip by over current during operation.
Islanding operation
Prepare islanding power for Primary Power
Supply, and do not connect other equipment to
the Power Supply.
In case the circuit breaker capacity is not adequate, the
circuit breaker may trip by over current during operation.
Ground wire
connection
Connect D type ground.
Ground wire is green cable.
In case the ground wire connection is not adequate,
there is a risk of electric shock when failure or short
circuit occurred.
Cable capacity
check
Avoid use of extension cable unless it is
absolutely required. In case of using it out of
necessity, observe the following caution.
Use cables for 200V larger than 2.0 sq mm (close
to AWG 14).
In case cable is small, it has a risk of causing overheat,
ignition or fire.
Prohibition
Never place any substance on the primary cable.
It has a risk of electrical shock or fire.
Caution
When the primary cable is inserted in wall
sockets, do not touch terminals.
It has a risk of electrical shock.
V.02 2014.09
B

Instruction Manual
Environment
Warning
Prohibition
This Power Supply is not allowed to use in
inflammable ambient since it is not designed for
explosion-proof construction.
It has a risk of fire or burn due to an ignition explosion.
Prohibition
Power Supply Cooling Fan is rotating during
operation. Never place any substance inclined to
be entangled near by.
It has a risk of being rolled up.
Contact prohibited
Power Supply Cooling Fan is rotating during
operation. Do not touch it by hand directly.
It has a risk of getting hurt.
Caution
Ventilation required
Power Supply unit generates heat during
operation.
Room temperature rises.
V.02 2014.09
C

Instruction Manual
Installation
Warning
Environmental
check
Install this Power Supply in place where satisfying
the following conditions.
1) Horizontal place.
2) On the floor having enough strength.
3) Well-ventilated place.
4) Where no exposure to sunlight.
5) Room temperature is in range of 7℃to 30℃
(44.6° to 86°F).
6) Where not inflammable.
7) Where not existing substances to effect
equipment corrosion such as chemical or gas.
8) Where no electrical influence such as noise
exists.
It may cause operation failure or decrease of durability.
Caution to electric
shock
When connecting the secondary circuit c able, do
not insert the primary circuit cable to the
receptacle.
It has a risk of electrical shock.
Caution
Work by plural
operators
When mounting or detaching this Power Supply
unit to the equipment, make a team for
cooperative work.
It has a risk of hurting waist.
Work by plural
operators
When mounting or detaching this Power Supply
unit to the equipment, make a team for
cooperative work.
It has a risk of hurting waist.
V.02 2014.09
D

Instruction Manual
V.02 2014.09
E
Operation
Warning
Prohibition
Do not operate when an evaporation source is
installed in the load side.
It has a risk of causing Power Supply failure.
Prohibition
Maximum output is 150A.
Do not operate with a load larger than 150A.
It has a risk of causing Power Supply failure.
Maintenance/Repair/Disposal
Warning
Prohibition
Do not disassemble or modify.
Ulvac KIKO shall not be responsible if disassembled or
modified.
Work by plural
operators
Weight of Power Supply is 40kg approx.
Do not mount or detach Power Supply in
unreasonable posture.
It has a risk of fallen down or hurting waist.
Caution
Observance of laws
Disposal of Power Supply unit is obliged to laws.
Dispose Power Supply unit according to laws
appropriately.
Consult factory if you have any question.
Warning label
Caution
Label check
Warning label is stuck in the following position.
1) Upside of unit (PL008)
Consult factory if labels became hard to read or about to
peel off.

Instruction Manual
1 Introduction
1-1. Suitable operator
This Power Supply shall be operated by a person having experience of operating a
vacuum evaporation equipment or the person who are trained based on this instruction
manual.
1-2. Perusal of Instruction Manual
Peruse this Instruction Manual thoroughly before operating this Power Supply to
operate correctly.
Read "Directions for safe use" clause in particular by all means.
1-3. Keeping Instruction Manual
Keep this Instruction Manual carefully.
After perusal, keep Instruction Manual on hand at all times so that operators may read
again anytime.
1-4. Warranty
(1) The warranty period of this Power Supply is one year after the date of shipment from
factory.
(2) Any malfunctions or defects which occur under normal usage conditions during
the warranty period will be repaired free of charge.
Note, the warranty stated here is an individual warranty covering the power supply.
In addition, the scope of the warranty coverage concerning repairs is limited to the
repair and/or replacement of parts.
Normal usage conditions refer to the following:
a) Ambient temperature and humidity during operation: 7 - 30°C, below 85% RH
b) Operation in accordance with the user manual
(3) Repair fees will incur during the warranty period for the following cases:
a) Malfunctions due to a natural disaster or fire.
b) Malfunctions caused by special atmospheric conditions, such as salt damage,
inflammable gas, corrosive gas, radiation or pollution.
c) Malfunctions caused by usage conditions that differ from those stated in the
user manual (performance specifications, maintenance and inspection, etc.).
d) Malfunctions caused by modifications or repairs carried out by a party other
than the manufacturer, or by a service company not approved by the
manufacturer.
e) Malfunctions caused by noise (electric disturbance).
f) Malfunctions that occur when not using a rated power supply.
g)Malfunctions that occur, when the power supply is damaged as a result of being
dropped or falling, etc.
h) Malfunctions which are determined by the manufacturer’s technical personnel
to be caused by conditions that do not comply with the usage conditions for this
vacuum pump.
i) Malfunctions due to the replacement of consumables.
(4) Disclaimer
a) We shall not be liable for any malfunctions of our products caused by the
customer, regardless if the malfunction does not fall within the warranty period,
nor shall we be liable for any loss of opportunity for the customer’s clients or for
V.02 2014.09
1

Instruction Manual
compensation for any damages to other products, labor costs, production loss,
transportation expenses and other related work.
b) We shall not be liable for any claims and patent infringements, including
secondary damages, filed a claim by a third party against the customer.
1-5. Observance of laws
Disposal process of Power Supply unit is obliged to laws. Dispose Power Supply unit
according to laws appropriately.
Consult factory if you have any question.
1-6. Safety Control in Repair
In case requesting Ulvac to repair, please advise existence of hazardous substance
for safety control of repair personnel.
Please attach the filled Use Situation Check Sheet to Power Supply.
In case a use situation is unclear, your request for repair may be rejected.
V.02 2014.09
2

Instruction Manual
2 Outline of Product
2-1.Intended Use of Products and Prohibition
This Power Supply is an evaporation Power Supply for vacuum evaporation equipment by
vaporizing a material by a resistance heater method in vacuum and produces films.
Please observe the following prohibited operation to use Power Supply normally.
Prohibition
Do not use this Power Supply for the other purpose than the vacuum
evaporation.
Do not use other cable than the dedicated cable.
Do not resale/repair/modify unless Ulvac authorized.
2-2. Safety Device and Purpose/Function
Item Purpose Function
Abnormality of
internal wiring
circuit and
function parts
Protection of
Power Supply
unit
Turn the power off with Power Switch type Circuit
Protector.
Protection of internal wiring short circuit and wiring
burnout when function parts abnormal.
Replacement of Power Supply unit.
SCR Over load
SCR failure
Protection of
Power Supply
unit
Over load protection equipment operates (Overload
warning).
Gate blocking method: Rated current 130%
(Main body alarm flashing: Output OFF)
After solving cause, reset with Power Switch.
DC Power
Supply failure
Protection of
operation circuit
Fast response fuse for operation circuit protection
blowout (output OFF) and DC Power Supply in the main
body failure is considered.
Replacement of Power Supply unit.
Open circuit of
the evaporation
source
Protection of
Power Supply
unit
Protector operates and stop output after 3 seconds in
case no load such as evaporation source open circuit
SCR output voltage is larger than10% and zero current)
Voltage indication field _ _ hb
Current indication field _ _ _ _
After solving cause, reset with Reset Key.
Never operate after invalidating the above safety device.
Prohibition
V.02 2014.09
3

Instruction Manual
2-3. Product specifications
Input AC 200V Single-phase 1.5kVA (50/60Hz)
Allowable voltage fluctuation range: ±10%
Output Max.150A
Control method Thyristor AC phase control method
Control signal External automatic control input DC0-10V/0-100% setting
Reception impedance 1MΩ
Output control Constant power operation/constant current operation/constant
voltage operation (Setting when shipped out: constant current)
Output control Load output switchover 3 positions max. * Optional
Output range switchover 1V/10V * Optional
Rating 30 minutes
Dimensions W 480mm x D 360mm x H 149mm (W 19" x D 14" x H 6")
((Excluding projected portion and accessories)
Weight 40 kg approx.
Painted color JIS S-5-462 baking (Munsell 5GY8/0.5)
2-4. Single equipment specifications
Equipment name Model/Specifications Quantity
1) Power Switch ・200V single-phase 10A 1 set
2) Power controller ・S-1039-030 1 set
3) Substrate ・ND-00282-1-01/02 1 set
4) Transformer(50VA)・180-200v/200V・20V 1 set
5) Transformer(1.5kVA)・180-200V /10V x 2 circuits・V x 2 circuits 1 set
6) Output cable ・38 sq mm x 2M (AWG 1 x 6.5') Terminal size:
φ8/φ12
2 pcs.
7) Input cable ・2.0 sq mm x 2M (AWG 14 x 6.5') Terminal size:
φ5
1 set
8) Instruction Manual ・General paper 1 copy
* According to the optional setting, the above composition may be changed.
V.02 2014.09
4

Instruction Manual
2-5. Functional Description
2-5-1 Front Key Operation
④⑤③②
①
⑥⑨
⑦
⑧
Panel Layout Drawing
No. Item Equipment name Function
①MAIN
Main Power Supply
operation switch
(Circuit protector)
Power Switch of this equipment
②
POWER
ON
* Note 1
Operation switch
For main switch turn ON and turn OFF:
Switches operation or state of stop
When lamp lighting: ON, When lamp lights out: OFF
③
CONTROL
AUTO
* Note 1
Operation switch
* Note 2
Automatic power control signal operation:
When AUTO, controlled by input signal of the external of
DC 0 to 10V.
When MANU, set output with △, ▽switch.
When lamp lighting: AUTO. When lamp lights out:
MANU
④△UP Operation switch
"Rise" command for adjustment. For output adjustment in
MANU.
For parameter setting change.
⑤▽DOWN Operation switch "Down" command for adjustment (- ditto -)
⑥RESET Operation switch
For alarm reset
* Shifts to operation mode setting when this switch is
hold down.
(Invalid when POWER ON)
⑦MONITOR
VOLT Indicator
Output voltage indicator
* Indicates adjustment value when MANU and output
adjusting.
Indicates when constant power operation (1) and
constant voltage operation (3).
Indicates "----" when constant current operation (2).
* Indicates the set value when parameter ENTER mode.
⑧
MONITOR
CURRENT
Indicator
Output current indicator
* Indicates adjustment value when MANU and output
adjusting.
Indicates when constant current operation (2).
Indicates "----" when constant power operation (1),
constant voltage operation (3).
⑨SELECT Operation switch
* Note 2
For load output switchover (load 1,2,3)
* Operation is allowed when POWER OFF only
V.02 2014.09
5

Instruction Manual
V.02 2014.09
6
No. Item Equipment name Function
HIGH/LOW Operation switch
* Note 2
For output voltage range switchover (HIGH: 10V, LOW:
1V)
When lamp lighting: HIGH, When lamp lights out: LOW
* Operation is allowed when POWER OFF only
⑩REMOTE
CONTROL
Connector for remote
control boxes
Connect a wireless remote controller box for external
operation
* Note 1 Malfunction prevention process is equipped for each push button.
Please note that function does not operate unless button is pushed longer than 0.1 second.
* Note 2 Operation is limited for models that are not equipped optional setting function.
(Please refer 2-4 operation mode setting in 2 Operation Procedure and 2-6 DIP Switch
Setting for details.)

Instruction Manual
2-6. Dimensions
V.02 2014.09
7

Instruction Manual
2-7. Electric Circuit Diagram
V.02 2014.09
8

Instruction Manual
3 Unpacking/Installation
3-1. General Precaution
Check
1) Confirm whether delivery matched to the product required.
2) Confirm whether predetermined accessories are included.
3) Secure space longer than 1m (3') to equipment circumference safety of
installation work.
4) Install adjacent to evaporation equipment.
3-2. Style of Packing of Delivery
Power Supply Main Body packed in a cardboard box (with cables) shall be delivered.
Power Supply may be built-in the evaporation equipment, according to the specifications of the
equipment.
3-3. Installation Place
Warning
Environmental
check
Install this Power Supply in place where satisfying the
following conditions.
1) Horizontal place.
2) On the floor having enough strength.
3) Well-ventilated place.
4) Where no exposure to sunlight.
5) Room temperature is in range of 7℃to 30℃(44.6°to
86°F).
6) Where not inflammable.
7) Where not existing substances to effect equipment
corrosion such as chemical or gas.
8) Where no electrical influence such as noise exists.
It may cause operation failure or decrease of durability.
Check
Secure at lease 0.3m (1') apart from the wall surface after installation for safe
maintenance space.
V.02 2014.09
9

Instruction Manual
3-4. Power Supply
Warning
Capacity check
Primary Power Supply capacity
Prepare the single-phase power supply exceeding
200V 7.5A.
In case the power capacity is not adequate, a circuit
breaker may trip by overcurrent during operation.
Primary cable specifications
Single-phase 200V cable, 2m (6.6') long, with Φ5 solderless terminal at tip.
Warning
Islanding
operation
Prepare islanding power for Primary Power Supply ,
and do not connect other equipment to the Power
Supply.
In case the circuit breaker capacity is not adequate,
the circuit breaker may trip by overcurrent during
operation.
Ground wire
connection
Connect D type ground.
Ground wire is green cable.
In case the ground wire connection is not adequate,
there is a risk of electric shock when failure or short
circuit occurred.
Cable capacity
check
Avoid use of extension cable unless it is absolutely
required. In case of using it out of necessity, observe
the following caution.
Use cables for 200V larger than 2.0 sq mm (close to
AWG 14).
In case cable is small, it has a risk of causing
overheat, ignition or fire.
Prohibition
Never place any substance on the primary cable.
It has a risk of electrical shock or fire.
Caution to
electric shock
When the primary cable is inserted in wall sockets,
do not touch terminals.
It has a risk of electrical shock.
V.02 2014.09
10

Instruction Manual
3-5. Required Tool List
Tool name Usage
Phillips-head screwdriver Connection of the primary Power Supply
cable
Torque wrench/socket (13 opposite side) Evaporation Power Supply cable connection
3-6. Connection
パネル配置図
①②
④
⑥
③
⑤
No. Item Connection
①Power Supply Connect Power Supply between TB1 terminal R-S.
(Terminal screw: M4, Clamping torque: 1.7N·m).
②Ground Connect the ground cable to E.
(Terminal screw: M4, Clamping torque: 1.7N·m).
③Interface Connect to SYSTEMI/F connector.
④Load
TB2 terminal POSITION
Connect load
No. 1: across C to 1
No. 1: across C to 2
No. 1: across C to 3
(Terminal screw: M8, Clamping torque: 12.0 N·m).
⑤External control
(instrument) input
Connect thyristor control signal wire (DC10 to 10V) across
TB3 connector +/-.
⑥Fuse (F1, F2) Operation circuit protection fuse 3A
SYSTEM I/F connector
Pin No. Contents
1 N/C
Do not connect wiring.
(Although inside the Equipment Power Supply DC24V is
output, do not use it for external).
2 ←→COM Input and output signal common (N24)
3 →Signal output POWER ON (MC) When ON Tr level L Close operation
4 →Signal output OVERLOAD (ALARM) When AL Tr level H Open
V.02 2014.09
11

Instruction Manual
V.02 2014.09
12
Pin No. Contents
operation
5 →Signal output POSITION NO.1 When ON Tr level L Close
operation
6 →Signal output POSITION NO.2 When ON Tr level L Close
operation *
7 →Signal output POSITION NO.3 When ON Tr level L Close
operation *
8 →Signal output POSITION LOW When ON Tr level L Close operation
9 →Signal output POSITION HIGH When ON Tr level L Close operation
*
10~13 N/C Do not connect wiring.
14 ←Signal output INTER LOCK Level input, Interlock signal
15 ←Signal output REM POWER ON/OFF Level input, Power ON
16 ←Signal output POSITION SELECT Level input, Position switchover
17~25 N/C Do not connect wiring.
* Operation may be limited according to optional setting.
Table of contents
Other Ulvac Power Supply manuals
Popular Power Supply manuals by other brands

Agilent Technologies
Agilent Technologies 6106A Service manual

Omron
Omron S8VM Series Product information

Alarmtech
Alarmtech PSV 24130-40 instruction manual

Keysight
Keysight N5700A Series Declassification and Security Document

PS Audio
PS Audio Stellar PowerPlant 3 Owner's reference

Cetacea Sound
Cetacea Sound ASTRO-LR-001 quick start guide