manuals.online logo
Brands
  1. Home
  2. •
  3. Brands
  4. •
  5. Universal Tool
  6. •
  7. Tools
  8. •
  9. Universal Tool UT021A Specifications

Universal Tool UT021A Specifications

Manufacturer/Supplier Product Type RPM
Cycles Per Min
Model No/Nos Serial No
Product Nett Weight
lbs
Kg
Recommended Use Of
Balancer Or Support
Recommended Hose Bore
Size - Minimum
Recommended Max.
Hose Length
Ins M/M Ft M
Foreseen Use of Tool
This tool is designed for the purpose of driving staples for only the
sizes as indicated in the section “Operating”. Do not use the tool for
any other purpose. Do not modify the tool to be used for any other
purpose or for its use as a stapler without first agreeing any such
modifications with the manufacturer or an authorised distributor.
PuttingIntoService
Air Supply
Use a clean lubricated air supply
that will give a measured air
pressure at the tool of 90
p.s.i./6.3 bar when the tool is
running with the trigger fully
depressed. Use recommended
hose size and length. It is
recommended that the tool is
connected to the air supply as
shown in figure 1. Do not
connect the tool to the air line
Work Stations
Thetoolshouldonlybeusedasahandheld,handoperatedtool. Itis
alwaysrecommendedthatthetoolisusedwhenstandingonasolid
floor. It can be used in other positions but before any such use, the
operator must be in a secure position having a firm grip and footing
and be aware of a reaction force on the hand as result of the tool
doing work.
No
Air Pressure
Recommended Working
6.3
bar
90
PSI
Recommended Minimum
n/a
bar
n/a
PSI
Maximum
7.0
bar
100
PSI
Personal Safety Equipment
Use - Safety Glasses
Yes
Use - Safety Gloves
Use - Safety Boots
Use - Breathing Masks
Use - Ear Protectors
Yes
Page No 1
10mm Stapler
UT021A (HP021)
2.42
1.1 3/8 10 30 10
Includes- Foreseen Use, Work Stations,Putting Into Service, Operating,
Dismantling, Assembly and Safety Rules
Operator Instructions Important
Read these instructions carefully before installing, operating,
servicing or repairing this tool. Keep these instructions in a safe
accessible place.
Noise Level Sound Pressure Level 88.4 dB(A)
Test Method Tested in accordance with ISO
Standard 3744
Peak C Level 116.0 dB(A)
Vibration Level
Test Method Tested in accordance with ISO
standard 8662/1
4.4
Universal Air Tool Company Limited
Unit 8
Lane End Industrial Park
High Wycombe
Bucks
HP14 3BY
Tel No Fax No(01494) 883300 (01494) 883237
Metres / Sec²
systemwithoutincorporatinganeasytoreachandoperateairshutoff
valve.Theairsupplyshouldbelubricated.Itisstronglyrecommended
thatan air filter,regulator, lubricator (FRL)is used as shown in Figure
1asthiswillsupplyclean,lubricatedairatthecorrectpressuretothe
tool.Detailsofsuchequipmentcanbeobtainedfromyoursupplier.If
such equipment is not used then the tool should be lubricated by
shutting off the air supply to the tool, depressurising the line by
pressingthe trigger on thetool. Disconnect the airline and pour into
theintakebushingateaspoonful(5ml)ofasuitablepneumaticmotor
lubricatingoilpreferablyincorporatingarustinhibitor.Reconnecttool
to air supply and run tool slowly for a few seconds to allow air to
circulatetheoil.Iftoolisusedfrequentlylubricateondailybasisandif
tool starts to slow or lose power.
It is recommended that the air pressure at the tool whilst the tool is
running is 90 p.s.i./6.3 bar. The tool can run at lower and higher
pressureswiththemaximumpermittedworkingairpressureof100
p.s.i./7.0 bar.
N/A
N/A
Page No 2
Safety Rules When Using a Stapler
1)Readalltheinstructionsbeforeusingthistool.Alloperatorsmustbe
fully trained in its use and aware of these safety rules.
2) Do not exceed the maximum working air pressure.
3) Use personal safety equipment.
4) Use only compressed air at the recommended conditions.
5) If the tool appears to malfunction remove from use immediately
and arrange for service and repair.
6) If the tool is used with a balancer or other support device ensure
that it is fixed securely.
7)Alwayskeephandsawayfromtheworkingattachmentfittedtothe
tool.
8)Thetoolisnotelectricallyinsulated.Neverusethetoolifthereisany
chance of it coming into contact with live electricity.
9) Always when using the tool adopt a firm footing and/or position
andgripthetool firmlytobeableto counteractanyforcesorreaction
forces that may be generated whilst using the tool.
10) Use only correct spare parts. Do not improvise or make
temporary repairs.
11) Do not lock, tape, wire, etc. the on/off valve in the run position.
Thetrigger/leveretc.mustalwaysbefreetoreturntothe'off'position
Dismantling & Assembly Instructions
Disconnect tool from air supply.
Gripbody(19)inavicefittedwithsoftjawsandremoveairplug(32).
Take out 2 off screws (38) and operate click lever (37) and slide off
stapleguideunit(43).Slideoffpusher(42) anddisengagefromeach
end of pusher spring (41). Unscrew nut (36) from hex bolt (1) and
removebothitems.Unscrew2offscrews(1)andremovespacer(34)
andpulloffmagazineunit(35)withdriverguide(44).Remove‘E’ring
(30)andpulloutsteppedpin(39)andremoveclicklever(37)andcoil
spring (40). Remove a second ‘E’ ring (30) and pull out stepped
pin(22)andtakeofftrigger(21),spring(29)andunscrewtriggervalve
guide (27) and separate seal (23), trigger valve head (24), trigger
valve stem (25) and O-rings (26) and (28). Take out 4 off screws (1)
andremoveexhaustcover(2),spring(3)andseal(4).RemoveO-ring
(16) and pipe (17) and O-ring (18) from body (19). Take off cylinder
cap unit (5) and remove O-rings (6) and (7) from it. Pull out piston
assembly (31) and head piston valve (9). Remove O-ring (33) from
pistonassembly(31)andflatwasher(8),pistonstop(10)andO-rings
(11)and(12)fromheadpistonvalve(9).Remove collar(13),cylinder
(14) and bumper(15) from body (19) and remove O-ring (11) from
cylinder (14).
Reassembly
Clean and examine all parts, particularly seals and O-rings for wear
and reassemble in the reverse order. Use only manufacturer or
authorised distributor supplied spare parts.
Operating
UT021A (HP021) 10mm Stapler
Page No 3
May 1999 Ver 1.2
Ref No Part No Description
1AB-50220 Hexagonal Bolt (6)
2AL-11001 Exhaust Cover
3AK-89165 Compression Spring
4AH-20012 Seal
5AL-11002 Cylinder Cap Unit
6AH-14025 O-Ring
7AH-40010 Special O-Ring
8AE-38505 Special Flat Washer
9AL-11003 Head Piston Valve
10 AL-11004 Piston Stop
11 AH-31024 Special O-Ring (2)
12 AH-25032 O-Ring
13 AL-11005 Collar
14 AL-11006 Cylinder
15 AL-11007 Bumper
16 AH-05011 Special O-Ring
17 AL-11009 Pipe
18 AH-04125 Special O-Ring
19 AL-11022 Body
20 AL-11011 Nozzle
21 AL-11012 Trigger
22 AF-30150 Stepped Pin
Ref No Part No Description
23 AH-12515 Seal
24 AL-11013 Trigger Valve Head
25 AL-11014 Trigger Valve Stem
26 AH-03515 Special O-Ring
27 AL-11015 Trigger Valve Guide
28 AH-11020 O-Ring
29 AK-80145 Compression Spring
30 AJ-40023 E-Ring (2)
31 AL-11031 Piston Cover & Driver
32 AL-11008 Air Plug
33 AH-21330 Piston O-Ring
34 AL-11050 Spacer
35 AL-11049 Magazine Nut
36 AC-05036 Hexagonal Nut
37 AL-11043 Click Lever
38 AL-11058 Stop Bolt
39 AF-30180 Stepped Pin
40 AK-83032 Coil Spring
41 AK-40180 Pusher Spring
42 AL-11045 Pusher
43 AL-11046 Staple Guide Unit
44 AL-11044 Driver Guide
Distributor
Page No 4
Accessories
when it is released.
12) Always shut off the air supply to the tool, and depress the
trigger/lever etc. to exhaust air from the feed hose before fitting,
adjusting or removing the working attachment.
13)Checkhoseandfittingsregularlyforwear.Replaceifnecessary.
Do not carry the tool by its hose and ensure the hand is remote from
theon/offcontrolwhencarryingthetoolwiththeairsupplyconnected.
14) Take care against entanglement of moving parts of the tool with
clothing, ties, hair, cleaning rags, etc. This will cause the body to be
drawn towards the tool and can be very dangerous.
15) It is expected that users will adopt safe working practices and
observe all relevant legal requirements when installing, using or
maintaining the tool.
16) Do not install the tool unless an easily accessible and easily
operable on/off valve is incorporated in the air supply.
17) Take care that the tool exhaust air does not cause a problem or
blows on another person.
18) When completing work task or leaving the tool for a period of
time, take out all the fasteners from the magazine and be sure not to
leave any fastener in the firing head.
19) Periodically check all screws for tightness. Tighten any loose
screws before proceeding to use tool.
Declaration of Conformity
Universal Air Tool Company Limited
Unit 8, Lane End Industrial Park, High Wycombe, Bucks, HP14 3BY, England
declare under our sole responsibility that the product
Model UT021A (HP021) 10mm Stapler, Serial Number
to which this declaration relates is in conformity with the following standard(s) or other normative document(s)
EN792 (Draft), EN292 Parts 1 & 2, ISO 8662/1, Pneurop PN8NTC1
following the provisions of 89/392/EEC as amended by 91/368/EEC & 93/44/EEC
Place and date of issue Name and signature or equivalent marking of authorised person
Lane End D.H.Moppett (Man Director)
This document may not be copied wholly or in part by anyone without the consent of the Directors of Universal Air Tool Company Limited
© Copyright of Universal Air Tool Company Limited, established in the United Kingdom, 1994
Notes
Designed & Written in the U.K.

This manual suits for next models

1

Other Universal Tool Tools manuals

Universal Tool UT8646-1 User manual

Universal Tool

Universal Tool UT8646-1 User manual

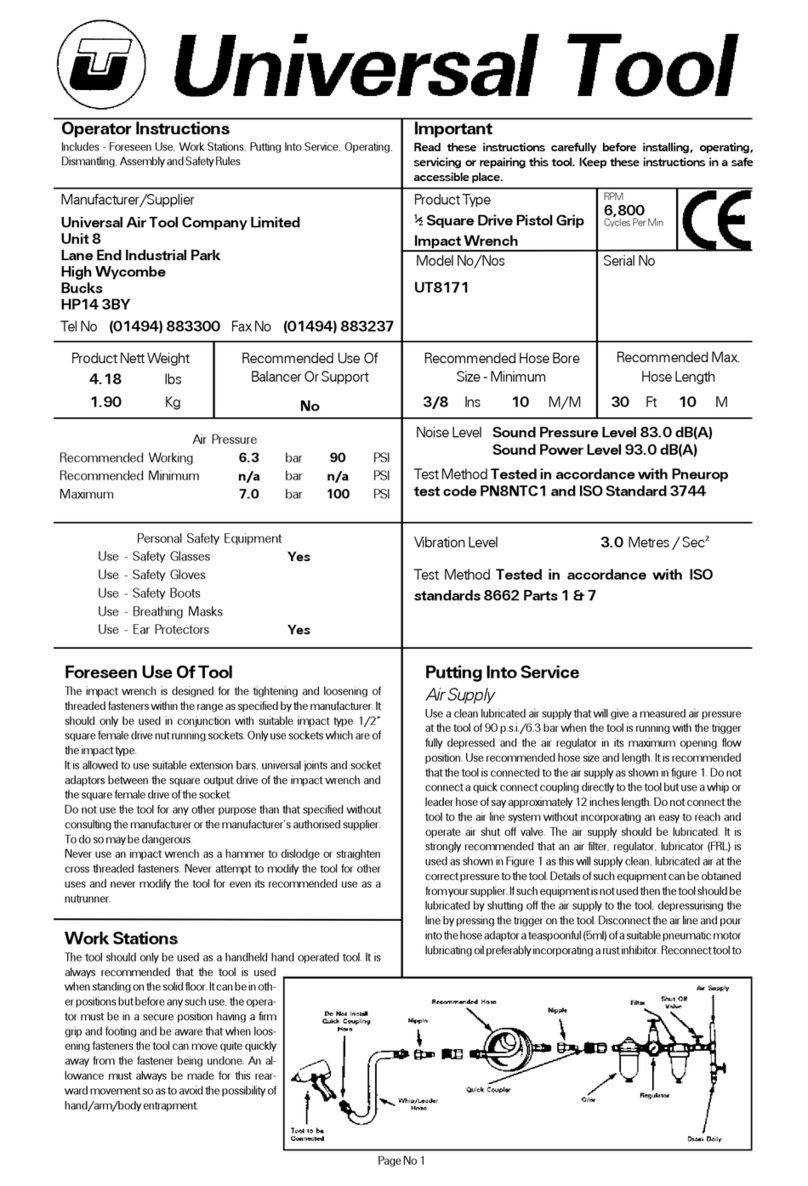
Universal Tool UT8171 Specifications

Universal Tool

Universal Tool UT8171 Specifications

Universal Tool UT8892HD-5 Manual

Universal Tool

Universal Tool UT8892HD-5 Manual

Universal Tool UT8651R Manual

Universal Tool

Universal Tool UT8651R Manual

Universal Tool UT5964A Specifications

Universal Tool

Universal Tool UT5964A Specifications

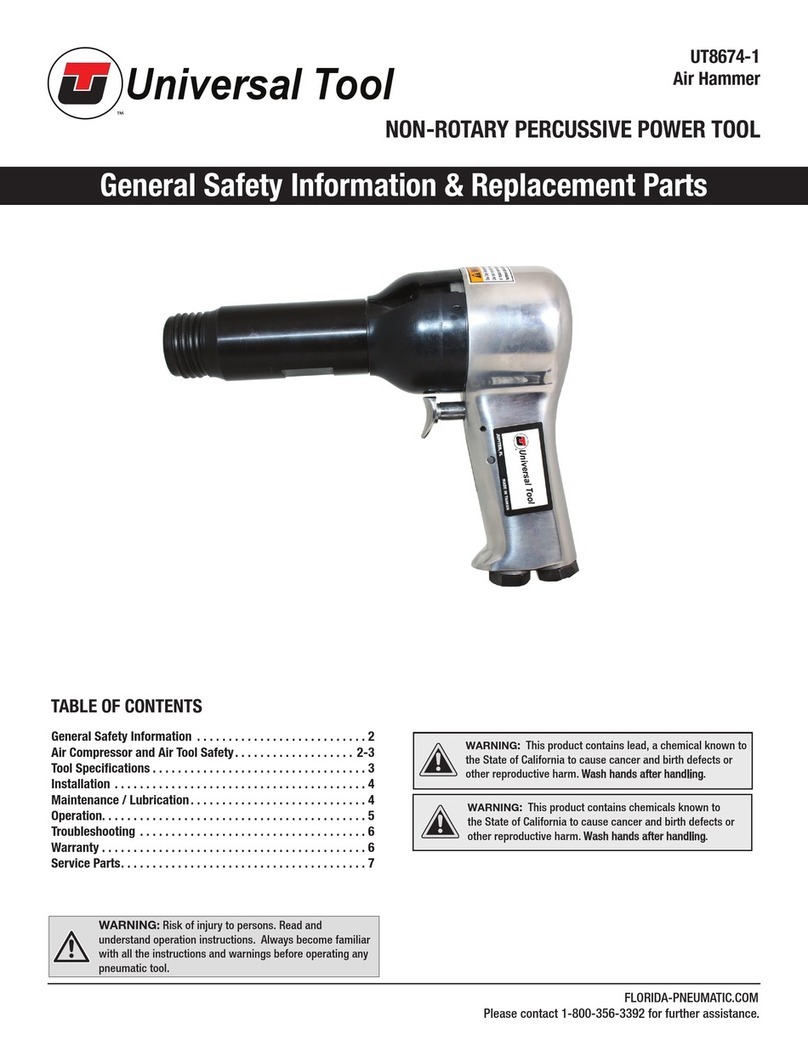
Universal Tool UT8674-1 Manual

Universal Tool

Universal Tool UT8674-1 Manual

Universal Tool UT8910 User manual

Universal Tool

Universal Tool UT8910 User manual

Universal Tool UT5969 Specifications

Universal Tool

Universal Tool UT5969 Specifications

Universal Tool UT8895RSP Manual

Universal Tool

Universal Tool UT8895RSP Manual

Universal Tool UT9922 User manual

Universal Tool

Universal Tool UT9922 User manual

Universal Tool UT8780K Specifications

Universal Tool

Universal Tool UT8780K Specifications

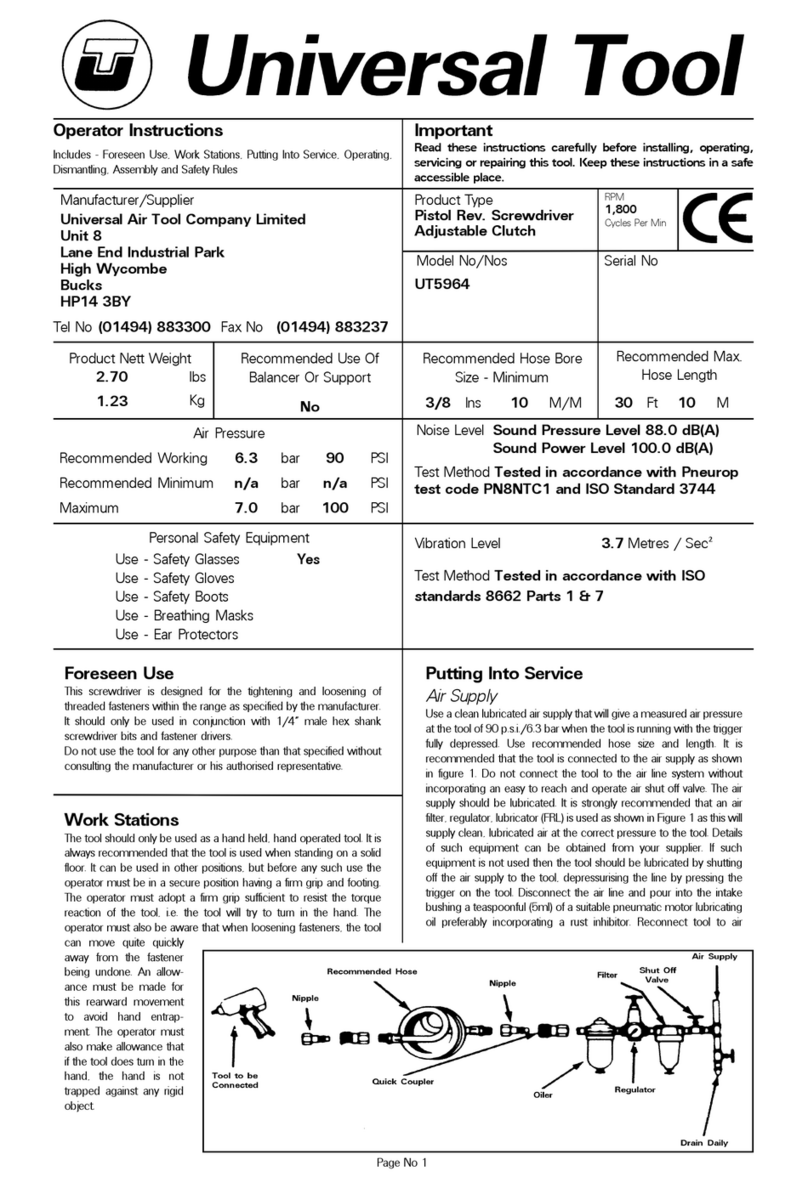
Universal Tool UT5964 Specifications

Universal Tool

Universal Tool UT5964 Specifications

Universal Tool UT8806 Specifications

Universal Tool

Universal Tool UT8806 Specifications

Universal Tool UT8617 User manual

Universal Tool

Universal Tool UT8617 User manual

Universal Tool UT9925 User manual

Universal Tool

Universal Tool UT9925 User manual

Universal Tool UT8355-RL User manual

Universal Tool

Universal Tool UT8355-RL User manual

Universal Tool UT8631 Specifications

Universal Tool

Universal Tool UT8631 Specifications

Universal Tool UT9914 User manual

Universal Tool

Universal Tool UT9914 User manual

Universal Tool UT5766 Specifications

Universal Tool

Universal Tool UT5766 Specifications

Universal Tool UT8612-B Specifications

Universal Tool

Universal Tool UT8612-B Specifications

Popular Tools manuals by other brands

Atlas Copco ETDES21-04-I06-PS manual

Atlas Copco

Atlas Copco ETDES21-04-I06-PS manual

Carpenter MFG 74E Operator's manual

Carpenter MFG

Carpenter MFG 74E Operator's manual

MAC TOOLS GG1SHD quick start guide

MAC TOOLS

MAC TOOLS GG1SHD quick start guide

Parkside 380558 2110 operating instructions

Parkside

Parkside 380558 2110 operating instructions

Komet DIHART DAH 50 HS Operating	 instruction

Komet

Komet DIHART DAH 50 HS Operating instruction

Porter-Cable ts056 instruction manual

Porter-Cable

Porter-Cable ts056 instruction manual

Bridge City HP-12 manual

Bridge City

Bridge City HP-12 manual

FDT 77-000 Operation and maintenance manual

FDT

FDT 77-000 Operation and maintenance manual

Rockler GRP40589 instructions

Rockler

Rockler GRP40589 instructions

Bosch C-EXACT 4 manual

Bosch

Bosch C-EXACT 4 manual

DeWalt P35s operating instructions

DeWalt

DeWalt P35s operating instructions

Piusi HC20151200 Use and maintenance manual

Piusi

Piusi HC20151200 Use and maintenance manual

Current Tools 615 Operating, Maintenance, Safety and Parts Manual

Current Tools

Current Tools 615 Operating, Maintenance, Safety and Parts Manual

NSI Solutions Rapid Z-CUT instruction manual

NSI Solutions

NSI Solutions Rapid Z-CUT instruction manual

ShoulderDolly LD1000 instructions

ShoulderDolly

ShoulderDolly LD1000 instructions

Grizzly H7585 instruction sheet

Grizzly

Grizzly H7585 instruction sheet

Urrea EN916 user manual

Urrea

Urrea EN916 user manual

TREND PRO POCKET HOLE JIG manual

TREND

TREND PRO POCKET HOLE JIG manual

manuals.online logo
manuals.online logoBrands
  • About & Mission
  • Contact us
  • Privacy Policy
  • Terms and Conditions

Copyright 2025 Manuals.Online. All Rights Reserved.