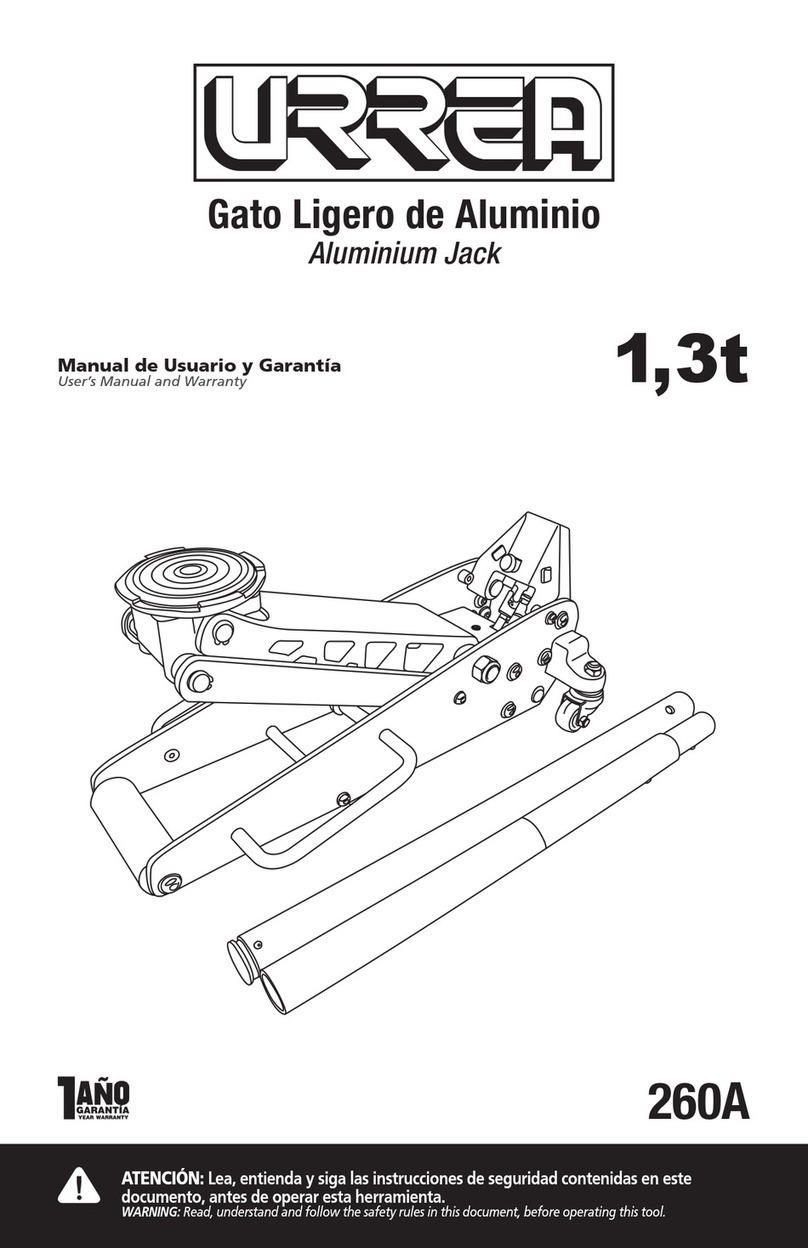
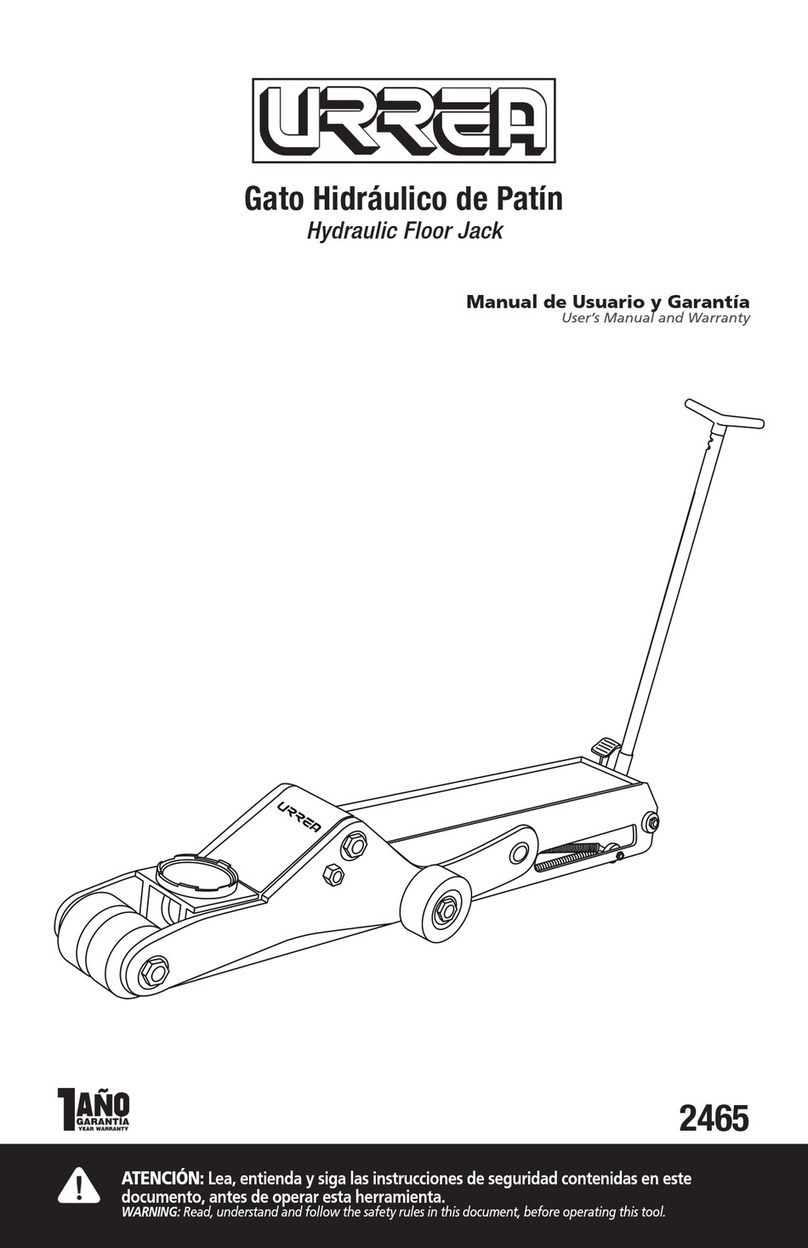
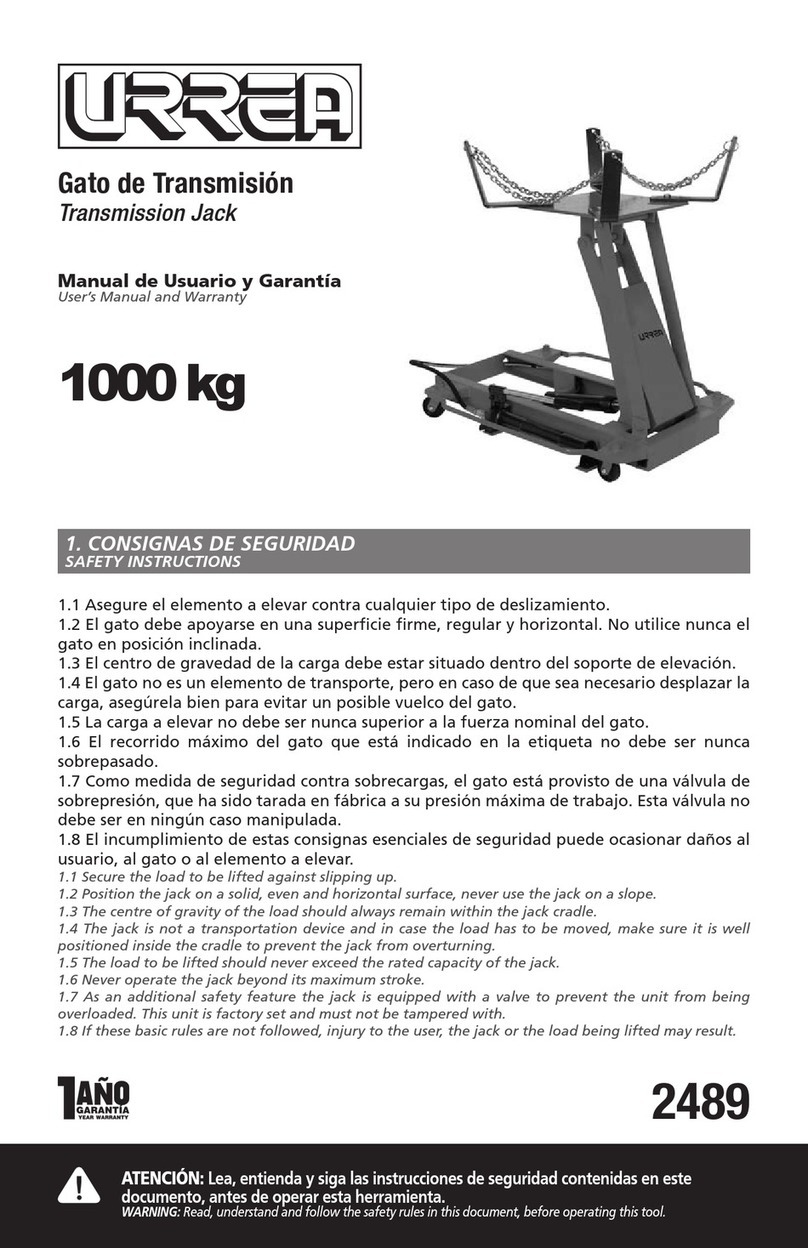
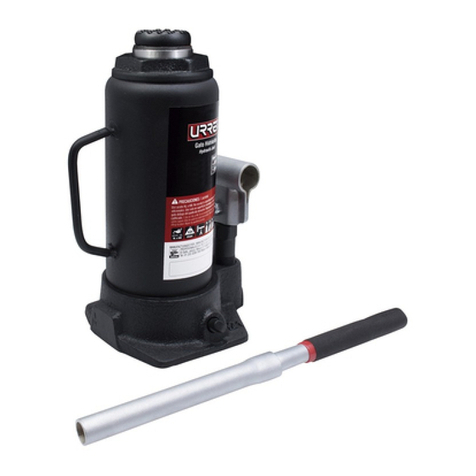
Urrea 2461N User manual

ATENCIÓN: Lea, entienda y siga las instrucciones de seguridad contenidas en este
documento, antes de operar esta herramienta.
WARNING: Read, understand and follow the safety rules in this document, before operating this tool.
2461N · 2462N · 2463N
· 2464N · 2465N
Gato Hidráulico de Patín
Hydraulic Floor Jack
Manual de Usuario y Garantía
User’s Manual and Warranty

2
ESPAÑOL
ESPECIFICACIONES TÉCNICAS
Código Capacidad Altura máxima Altura mínima
2461N 2 t 800 mm 140 mm
2462N 3 t 620 mm 140 mm
2463N 6 t 560 mm 160 mm
2464N 10 t 770 mm 170 mm
2465N 20 t 680 mm 220 mm
IMPORTANTE
• Lea atentamente estas consignas de seguridad así como las instrucciones de uso,
funcionamiento y mantenimiento, y consérvelas para una necesidad posterior.
• Este gato hidráulico ha sido diseñado para su utilización como elevador de vehículos.
Cualquier otra aplicación, fuera de los términos establecidos para su uso, será considerada
improcedente.
• Trate adecuadamente el gato y asegúrese que todas sus partes y componentes están en
buen estado antes de su uso.
• Su utilización debe ser solamente efectuada por personas autorizadas, después de haber
leído atentamente y comprendido el contenido de este manual.
• No modifique en absoluto las características del gato.
• El incumplimiento de estas normas puede ocasionar daños al usuario, al gato o al
vehículo a elevar.
• El fabricante no acepta responsabilidad alguna por el uso incorrecto del gato.
INSTRUCCIONES DE SEGURIDAD
• El peso del vehículo a elevar no debe ser nunca superior a la capacidad nominal del gato
(1).
• No debe ser nunca sobrepasado el recorrido máximo del gato indicado en la etiqueta.

3
ESPAÑOL
• El gato hidráulico debe apoyarse en una superficie firme, regular, horizontal, libre de
elementos innecesarios y bien iluminada (2). No apoye nunca el gato en una superficie
que pueda hundirse.
• Asegúrese de que no hay personas en el vehículo a elevar. Apague el motor y frene
totalmente el vehículo. Utilice cuñas en caso necesario (3). No entre en el vehículo ni
encienda el motor mientras esté suspendido por el gato o soportes adecuados (4). No
utilice nunca el gato para mover el vehículo ni para mantenerlo suspendido.
• Coloque el gato debajo del punto de elevación recomendado por el fabricante del
vehículo y asegúrese de que no está deteriorado, sucio o con grasa. Este punto debe
quedar centrado sobre el platillo de elevación. Toda carga descentrada puede deslizarse
y causar accidentes.
• Durante la elevación y el descenso del vehículo es necesario tomar todo tipo de medidas
para evitar el desplazamiento de la carga. Si es necesario utilizar el gato al borde de la
carretera, el tráfico puede hacer que el vehículo elevado se balancee.
• El gato debe ser utilizado sin que el usuario se vea obligado a introducir parte alguna de
su cuerpo debajo del vehículo. No se debe operar nunca debajo de un vehículo elevado
sin haberlo sustentado antes con soportes mecánicos (4) u otros medios adecuados.
Mantenga igualmente las manos, pies etc. lejos de las partes móviles.
• Es necesario que el operador vigile el gato y la carga durante todos los movimientos.
Ante un posible peligro, como desplazamiento del vehículo etc., es necesario interrumpir
la elevación.
• Asegúrese de que no hay personas u obstáculos debajo del vehículo antes del descenso.
USO Y FUNCIONAMIENTO
Antes de utilizar el gato, elimine todo posible aire del sistema que pudiera haberse
acumulado, procediendo del modo siguiente:
• Inserte la palanca en el portapalancas y fíjela mediante el tornillo que se suministra.
• Tire de la palanca, gírela en el sentido de las agujas del reloj y, manteniéndola, bombee
varias veces el gato con lo que se consigue una lubrificación interior y la salida del aire
acumulado.
Al estar dotado con el sistema del principio “hombre muerto“, la palanca, una vez suelta,
retorna automáticamente a su posición inicial, con lo que el gato está listo para funcionar.
Importante. Antes de proceder a elevar el vehículo, compruebe que se cumplen todas las
consignas de seguridad anteriores. Las ruedas del gato deben girar libremente.

4
ESPAÑOL
INSTRUCCIONES
1. Elevación
A.Coloque el mango en la base, y gire el tornillo que se encuentra en el orificio de
alojamiento del mango.
B. Levantar la barra de control a la función superior y tirar de la palanca hacia arriba y
abajo (5), repetidamente mientras el brazo comienza a subir, el plato de brazo debe
enfocarse hacia el centro de la carga antes de que alcance la altura deseada.
C. En caso de que la bandeja esté demasiado abajo respecto a la carga. Utilice el pedal con
el fin de obtener una aproximación rápida.
2. Descarga
Coloque el mango en la posición correcta en el orificio en forma de arco, tire del mango
control hasta el punto de apoyo de la carga, depues, gire la muesca con el fin accionar el
mecanismo para purgar el aceite (6), el brazo descenderá.
MANTENIMIENTO
IMPORTANTE: Tanto el mantenimiento (7) del gato como su reparación solamente deberán
llevarse a cabo por aquel personal calificado que, por su formación y experiencia, conozca
los sistemas hidráulicos utilizados en estos aparatos.
Limpie y engrase periódicamente los ejes y las partes móviles del gato (8), que debe estar
siempre limpio y protegido de ambientes agresivos.
Solamente deben utilizarse componentes originales de recambio.
Antes de cada nuevo uso, compruebe que no existen componentes doblados, rotos,
agrietados o sueltos. Retire el gato de servicio si sospecha que ha sido sometido a cargas
anormales o ha sufrido algún golpe, hasta que se haya arreglado el problema.
Si el nivel de aceite necesita ser verificado o rellenado, prosiga del siguiente modo, con
el pistón totalmente recogido, retire el tapón del orificio de llenado y vacíe su contenido
en un recipiente. Con el gato en posición horizontal, proceda a introducir el volumen
necesario. Evite la entrada de suciedad con el nuevo aceite. Después de un periodo largo
de uso intensivo, es conveniente cambiar el aceite para alargar la vida útil del gato.
IMPORTANTE: Un exceso de aceite sobre el volumen requerido puede impedir el
funcionamiento del gato. Emplee aceite de uso hidráulico (8), tipo HL o HM, con un grado
ISO de viscosidad cinemática máxima de 30 cST a 40º, o de una viscosidad Engler de 3 a
50ºC.
MUY IMPORTANTE: NO UTILICE NUNCA LÍQUIDO DE FRENOS.

5
ENGLISH
TECHNICAL SPECIFICATIONS
Code Capacity Max height Min height
2461N 2 t 800 mm 140 mm
2462N 3 t 620 mm 140 mm
2463N 6 t 560 mm 160 mm
2464N 10 t 770 mm 170 mm
2465N 20 t 680 mm 220 mm
IMPORTANT
• Read these safety instructions carefully in addition to the instructions for use, operation
and maintenance. Keep this instructions sheet in an easy to find place as you may need
to use it again.
• This jack has been designed for use in the elevation of cars and lorries. Any other
application, beyond the conditions established for use of this jack will be considered
inappropriate.
• Handle the jack correctly and ensure that all parts are in good condition prior to its use.
• Only authorised persons should operate the jack having read carefully and understood
the contents of this manual.
• Do not modify the jack in any way.
• Non-compliance with these rules may result in injury or damage to the user, the jack or
the vehicle to be lifted.
• The manufacturer accepts no responsibility for the improper use of the jack.
SAFETY INSTRUCTIONS
• The vehicle to be lifted should never exceed the rated capacity of the jack(1).
• The maximum stroke of the jack indicated on the label should never be exceeded.
• The jack should be supported on a solid, level and horizontal surface which is well

6
ENGLISH
illuminated and free of obstructions (2). Never stand the jack on asurface which may
sink.
• Ensure that there are no persons inside the vehicle to be lifted. Switch off the engine
and apply the brake. Ensure the vehicle or element to be lifted against any type of
sliding. Use chocks if appropriate (3). Do not enter the vehicle or start the engine whilst
it is supported on the jack or appropriate stands (4). The jack is a lifting device only and
should never be used to move the vehicle.
• Position the jack under the manufacturer’s recommended lifting point for the vehicle
and ensure that it is not corroded, dirty or greasy. This point should remain centred over
the jack saddle. All off-centred loads can slip and accidents may result.
• During raising and lowering of the load, all precautions should be taken to avoid
movement of the vehicle load. Traffic may cause the raised vehicle to rock during
roadside use of the jack.The jack should be positioned so as to avoid the need for the
user to introduce any part of his/her body underneath the vehicle. Never work under
a raised vehicle without previously supporting it with mechanical stands (4) or other
appropriate methods. Never position any part of your body near the movable elements
of the jack.
• It is necessary for the operator to be able to observe the lifting device and the load
during all movements. In the presence of dangerous conditions, such as movement of
the vehicle, etc, the lifting process must be interrupted.
• Ensure that there are no persons or obstructions underneath the vehicle prior to
lowering.
USE AND OPERATION
Prior to operating the jack, remove any accumulated air from the system as follows:
-Insert the handle into the socket and fix it with the screw provided .
-Pull the handle and turn it clockwise and, whilst held in this position , pump the jack
several times to ensure internal lubrication and bleed the accumulated air from the system.
Release the handle and it will automatically return back to the initial position (“Dead man
principle”). The jack is now ready to be used.
Important: Prior to lifting the load, ensure that all of the aforementioned safety instructions
are followed. The wheel of the jacks should always rotate freely.

7
ENGLISH
INSTRUCTIONS
1. Elevation
A. Put the rod into the saddle, and tighten the seat screw which should be plunged to the
location hole in the rod.
B. Raise the control rod to the upper function and pull the handle up and down, repeated
times while the arm starts to rise. The arm tray should be focused to the center of the
load before it reaches the required height.
C. In case that the tray is too low from the load. Please use the foot pedal so as to get to
the load fast.
2. Discharge
Turn the handle to the right position in the bow shaped hole and pull the control rod down
to the low fulcrum, and turn it around to the notch so as to start the gear to bleed oil, and
the arm will descend.
MAINTENANCE
IMPORTANT: Both the maintenance (7) and repair of the jack may only be performed by
qualified persons, who have sufficient knowledge of the hydraulic systems used in these
devices as a result of their training and experience.
Keep the jack clean and lubricate all moving parts at regular intervals (8), which must be
clean and protected from aggressive conditions at all times.
Only original spare parts should be used.
Prior to each use, check for bent, broken, cracked or loose parts. If it is suspected that the
jack has been subjected to abnormal loads or has suffered any knocks, withdraw it from
service until the problem has been rectified.
If the oil level needs to be checked or refilled, with the piston fully retracted, remove the
filler plug and drain its contents into a container. With the jack in a horizontal position,
proceed to introduce the necessary volume. Make sure that no dirt enters with the new oil.
Following a period of prolonged intensive use, it is recommendable to change the oil in
order to extend the useful life of the jack.
IMPORTANT: An excess of oil to the volume required may render the jack inoperative.
Only use hydraulic oil (8), type HL or HM, with a maximum ISO grade of cinematic viscosity
of 30 cST at 40º, or an Engler viscosity of 3 at 50ºC.
EXTREMELY IMPORTANT: NEVER USE BRAKE FLUID.

DESPIECES
EXPLODED
2461N-2t
#
Descripción
Description
Cant.
Qty.
#
Descripción
Description
Cant.
Qty. #
Descripción
Description
Cant.
Qty.
1 Plato/Tray 1 27 Resorte/Spring 2 53 Núcleo de la bomba/Pump core 1
2 Soporte/Bracket 1 28 Anillo de retención/Check ring 1 54 Partes de la bomba/Pump core parts 1
3 Soporte de eje/Bracket axle 1 29 Espaciador/Spacer sleeve 2 55 Balín/Ball 1
4 Anillo de retención/Check ring Ø16 6 30 O-ring 1 56 Sello para aceite/Oil seal 1
5 Eje pitman/Pitman shaft 1 31 Barra R/R-pin 1 57 Válvula de descarga/Unloading valve 1
6 Barra de conexión/Connecting bar 2 32 Barra del pistón/Piston rod 1 58 Balín/Ball 1
7 Eje frontal/Front axle 1 33 Espaciador/Spacer sleeve 1 59 Balín/Ball 1
8 Arandela/Washer 4 34 Anillo de nailon/Nylon-ring 1 60 Almohadilla de metal/Metal pad 1
9 Llanta delantera/Front wheel 2 35 Anillo cóncavo/Bowl shape-ring 1 61
Tornillo de alta presión/Hight pressure screw
1
10 Collar de resorte/Spring collar 2 36 Anillo de retención/Check ring 1 62 Porta-palanca/Pressure to press handle 1
11 Paredes/Wallboard 1 37 Tornillo/Screw 1 63 Perno/Bolt M8*16 1
12 Arandela/Washer 2 38 O-ring 1 64 Barra/Pin 1
13 Arandela de seguridad/Lock washer 2 39 Tornillo/Screw 1 65 Barra/Pin 1
14 Tuerca/Nut M16 2 40 Resorte de presión/Pressure spring 2 66 Perno/Bolt M8*60 1
15 Tornillo/Screw 2 41 Cubierta del balín/Ball cup 1 67 Arandela/Washer 2
16 Llanta/Caster 2 42 Balín/Ball 1 68 Tuerca/Nut M8 2
17 Anillo de retención/Check ring 2 43 Resorte derecho/Spring right 1 69 Porta-pedal/Footstep part 1
18 Barra/Pin 1 44 Tapón del aceite/Oil holecap 1 70 Perno/Bolt M8*30 1
19 Tornillo/Screw M10 4 45 Cilindro/Cylinder 1 71 Pedal/Footstep 1
20 Barra fija/Fixed pin 2 46 Barra/Pin 2 72 Volante-Leva/Hand wheel 1
21 Arandela/Washer 2 47 Resorte izquierdo/Spring left 1 73 Tornillo/Screw 1
22 Arandela de Seguridad/Lock washer 2 48 Almohadilla de metal/Metal pad 1 74 Arandela/Washer 1
23 Tuerca/Nut M12 2 49 Cuerpo de la bomba/Pump body 1 75 Funda de palanca/Hand sleeve 2
24 Cubierta/Cover board 1 50 Anillo cóncavo/Bowl shape-ring 1 76 Palanca/Handle 1
25 Tornillo de conexión/Connection screw 2 51 O-ring 1 77 Vástago/Mandril 1
26 Brazo de levante/Rise arm 1 52 Sello roscado/Scraper seal 1

DESPIECES
EXPLODED
2462N-3t • 2463N-5t • 2464N-10t
#
Descripción
Description
Cant.
Qty.
#
Descripción
Description
Cant.
Qty. #
Descripción
Description
Cant.
Qty.
1 Plato/Tray 1 26 O-ring 1 51 Resorte de presión/Pressure spring 1
2 Soporte/Bracket 1 27 Tornillo/Screw 1 52 Válvula cónica/Cone valve 1
3 Anillo de retención/Check ring 2 28 Almohadilla de goma/Rubber pad 1 53
Tornillo de alta presión/Hight pressure screw
1
4 Soporte de eje/Bracket axle 1 29 Cubierta/Cover board 1 54 Almohadilla de metal/Metal pad 1
5 Anillo de retención/Check ring 2 30 Tornillo/Screw 2 55 Balín/Ball Ø9 1
6 Barra de conexión/Connecting bar 2 31 Paredes/Wallboard 1 56 Balín/Ball Ø6 2
7 Eje frontal/Front axle 1 32 Connecting axle 2 57 Sello para aceite/Oil seal 1
8 Arandela/Washer 4 33 Perno/Bolt M10*25 4 58 Válvula de descarga/Unloading valve 1
9 Rodillo/Quill roller 1 34 Llanta/Caster 2 59 Barra/Pin 1
10 Llanta delantera/Front wheel 2 35 Arandela/Washer Ø12 2 60
Conector tipo ballesta/Connecting spring axle
1
11 Collar de resorte/Spring collar 2 36 Arandela de Seguridad/Lock washer 2 61 Cilindro/Cylinder 1
12 Collar de resorte/Spring collar 2 37 Tuerca/Nut M12 2 62 Anillo cóncavo/Bowl shape-ring 1
13 Brazo de levante/Rise arm 1 38 Anillo de retención/Check ring 2 63 Anillo/Ring 1
14 Tapoón de aceite/Oil cup 1 39 Connecting axle 1 64 Vástago/Mandril 1
15 Conector para Palanca/Connector Sleeve 1 40 Porta-palanca/Pressure to press handle 1 65 Volante-Leva/Hand wheel 1
16 Tornillo/Screw 1 41 Tornillo/Screw 1 66 Funda de palanca/Hand sleeve 2
17 Resorte/Spring 2 42 Barra R/R-pin 2 67 Arandela/Washer 1
18 Eje conector/Connector axle 1 43 Barra/Pin 1 68 Tornillo/Screw 1
19 Anillo de retención/Check ring 2 44 Pedal/Footstep 1 69 Anillo de retención/Check ring 2
20 Anillo de retención/Check ring 1 45 Resorte/Spring 1 70 Resorte/Spring 1
21 Espaciador/Spacer sleeve 2 46 Barra de conexión/Connecting bar 1 71 Palanca/Handle 1
22 O-ring 1 47 Barra/Pin 1 72 Palanca de bloqueo/Stop lever 1
23 Barra del pistón/Piston rod 1 48 Tornillo/Screw 1 73 Barra/Pin 3
24 Pistón superior/Piston top 1 49 O-ring 1 74 Eje fijo/Fix shaft 1
25 Anillo de nailon/Nylon-bowl-ring 1 50 Tornillo/Screw 1 75 Vástago/Mandril 1

DESPIECES
EXPLODED
2465N-20t
#
Descripción
Description
Cant.
Qty.
#
Descripción
Description
Cant.
Qty. #
Descripción
Description
Cant.
Qty.
1 Tuerca/Nut M30 2 33 Paredes/Wallboard 2 65 Connecting spring axle 1
2 Arandela/Washer Ø30 2 34 Connecting axle 2 66 Barra/Pin 1
3 Llanta delantera/Front wheel 2 35 Perno/Bolt M16*40 4 67 Válvula de descarga/Unloading valve 1
4 Funda de eje/Axle sleeve 2 36 Tuerca/Nut M16 4 68 O-ring 2
5 Funda/Sleeve 1 37 Arandela de Seguridad/Lock washer 4 69 Balín/Ball Ø6 1
6 Eje frontal/Front axle 1 38 Arandela/Washer Ø16 4 70 Cilindro/Cylinder 1
7 Barra de conexión/Connecting bar 2 39 Tuerca/Nut M39 2 71 Balín/Ball Ø3.5 1
8 Tornillo de conexión/Connection screw 2 40 Arandela/Washer Ø40 2 72 Cubierta del balín/Ball cup 1
9 Brazo de levante/Rise arm 1 41
Tornillo de Brazo de levante/Rise arm screw
173 Resorte de presión/Press spring 1
10 Soporte de eje/Bracket axle 1 42 Perno/Bolt M16*35 4 74 Tornillo/Screw 1
11 Anillo de retención/Check ring Ø25 2 43 Cubierta/Cover board 1 75 O-ring 1
12 Anillo de retención/Check ring Ø32 2 44 Tornillo/Screw 2 76 Tornillo/Screw 1
13 Soporte de eje/Bracket axle 1 45 Cubierta para llanta/Caster foot 2 77 Balín/Ball Ø6 1
14 Soporte/Bracket 1 46 Carcaza llanta/Caster part 2 78 Balín/Ball Ø9 1
15 Plato/Tray 1 47 Llanta/Caster 2 79 Balín/Ball Ø13 1
16 O-ring 2 48 Resorte/Spring 1 80 Almohadilla de metal/Metal pad 1
17 Tuerca superior/Top nut 1 49 Montura para pedal/Fixed Mount 1 81
Tornillo de alta presión/Hight pressure screw
1
18 O-ring 1 50 Perno/Bolt M10 *30 4 82 Tornillo/Screw 2
19 Anillo de nailon/Nylon-ring 1 51 Anillo de retención/Check ring Ø18 2 83 Almohadilla de goma/Rubber pad 2
20 Conector para Palanca/Connector Sleeve 1 52 Connecting axle 1 84 Volante-Leva/Hand wheel 1
21 Tornillo/Screw 1 53 Porta-palanca/Pressure to press handle 1 85 Funda de palanca/Hand sleeve 2
22 Barra del pistón/Piston rod 1 54 Perno/Bolt M8 *16 1 86 Arandela/Washer 1
23 Pistón/Piston 1 55 Barra R/R-pin 1 87 Tornillo/Screw 1
24 Anillo/Ring 1 56 Barra/Pin 1 88 Anillo de retención/Check ring 2
25 Anillo cóncavo/Bowl shape-ring 1 57 Pedal/Footstep 1 89 Resorte/Spring 1
26 Almohadilla de metal/Metal pad 1 58 Barra R/R-pin 1 90 Palanca/Handle 1
27 Resorte/Spring 1 59 Barra de conexión/Connecting bar 1 91 Palanca de bloqueo/Stop lever 1
28 Balín/Ball Ø5 1 60 Barra/Pin 1 92 Barra/Pin 3
29 Vástago/Mandril 1 61 Cilindro de la bomba/Pump cylinder 1 93 Eje fijo/Fix shaft 1
30
Tornillo de alta presión/Hight pressure screw
1 62 Anillo cóncavo/Bowl shape-ring 1 94 Vástago/Mandril 1
31 Resorte/Spring 2 63 Anillo/Ring 1
32 Eje conector/Connector axle 1 64 Vástago/Mandril 1


Póliza de garantía. Este producto está garantizado por URREA HERRAMIENTAS PROFESIONALES, S.A. DE C.V., km 11,5 Carr. A El Castillo,
45680 El Salto, Jalisco. UHP900402Q29, Teléfono 01 33 3208-7900 contra defectos de fabricación y mano de obra con su reposición o
reparación sin cargo por el período de 1 año. Para hacer efectiva esta garantía, deberá presentar el producto acompañado de su compro-
bante de compra en el lugar de adquisición del producto o en el domicilio de nuestra planta mismo que se menciona en el primer párrafo
de esta garantía. En caso de que el producto requiera de partes o refacciones acuda a nuestros distribuidores autorizados.
Los gastos que se deriven para el cumplimiento de esta garantía serán cubiertos por Urrea Herramientas Profesionales, S.A. de C.V. Esta
garantía no será efectiva en los siguientes casos:
a).- Cuando la herramienta se haya utilizado en condiciones distintas a las normales.
b).- Cuando el producto hubiera sido alterado de su composición original o reparado por personas no autorizadas por el fabricante o
importador respectivo.
This product has 1 year warranty by Urrea Herramientas Profesionales S.A. de C.V. against any manufacturing defect, with its repair or
replacement during its life expectancy. The warranty is not applicable if the product does not show the URREA brand, if the product is worn
out by its daily use, shows signs of abuse, damage, its original composition has been altered, or specifies a different warranty. In order to
make the warranty effective, the product must be taken to the company or to the place of purchase along with its receipt.
IMPORTADO POR / IMPORTED BY: URREA HERRAMIENTAS PROFESIONALES S.A. DE C.V. km 11,5 Carretera a El Castillo, C.P. 45680 El
Salto, Jalisco, México Tel. 01 (33) 3208-7900 Made in China / Hecho en China R.F.C. UHP900402Q29 04-C16
SELLO DEL DISTRIBUIDOR
FECHA: / /
2461N 2462N
2463N 2464N
2465N
This manual suits for next models
4
Table of contents
Languages:
Other Urrea Jack manuals

Urrea
Urrea 2402N User manual

Urrea
Urrea 2488 Dimensions and installation guide

Urrea
Urrea 2489 User manual

Urrea
Urrea 260A Dimensions and installation guide

Urrea
Urrea 2463 Dimensions and installation guide

Urrea
Urrea 2460 Dimensions and installation guide

Urrea
Urrea 2465 Dimensions and installation guide
Popular Jack manuals by other brands

Macaco
Macaco AU604 user guide

Motomaster
Motomaster 009-1011-0 instruction manual

AME Intl.
AME Intl. 14455 instruction manual

Norco
Norco 72000 Operating and Maintenance Intructions

RV Products
RV Products BAL LoPro SJ24 Installation and operating instructions

Pittsburgh
Pittsburgh 56374 Owner's manual & safety instructions