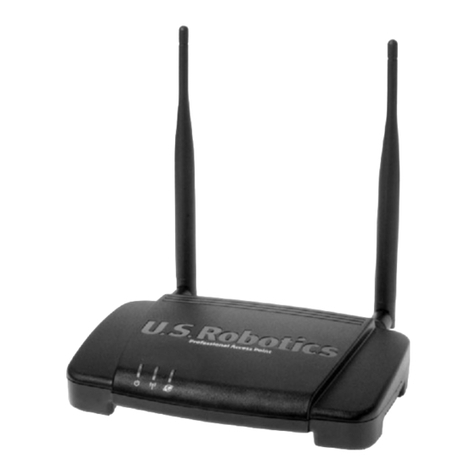
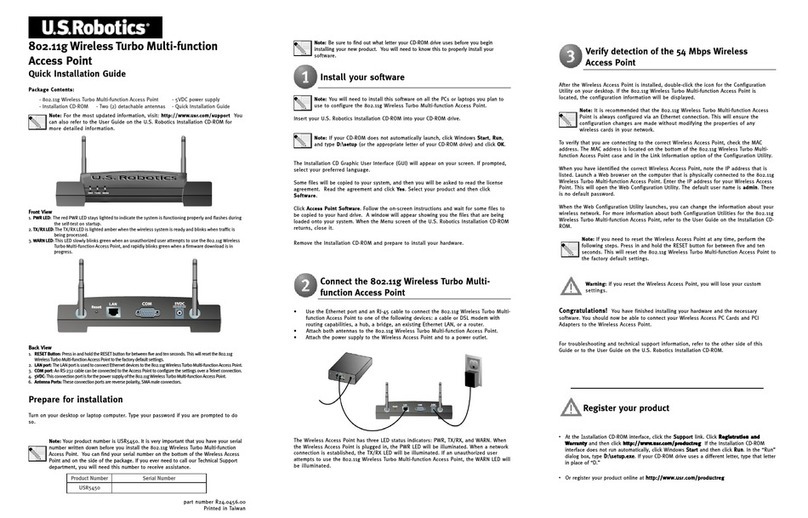
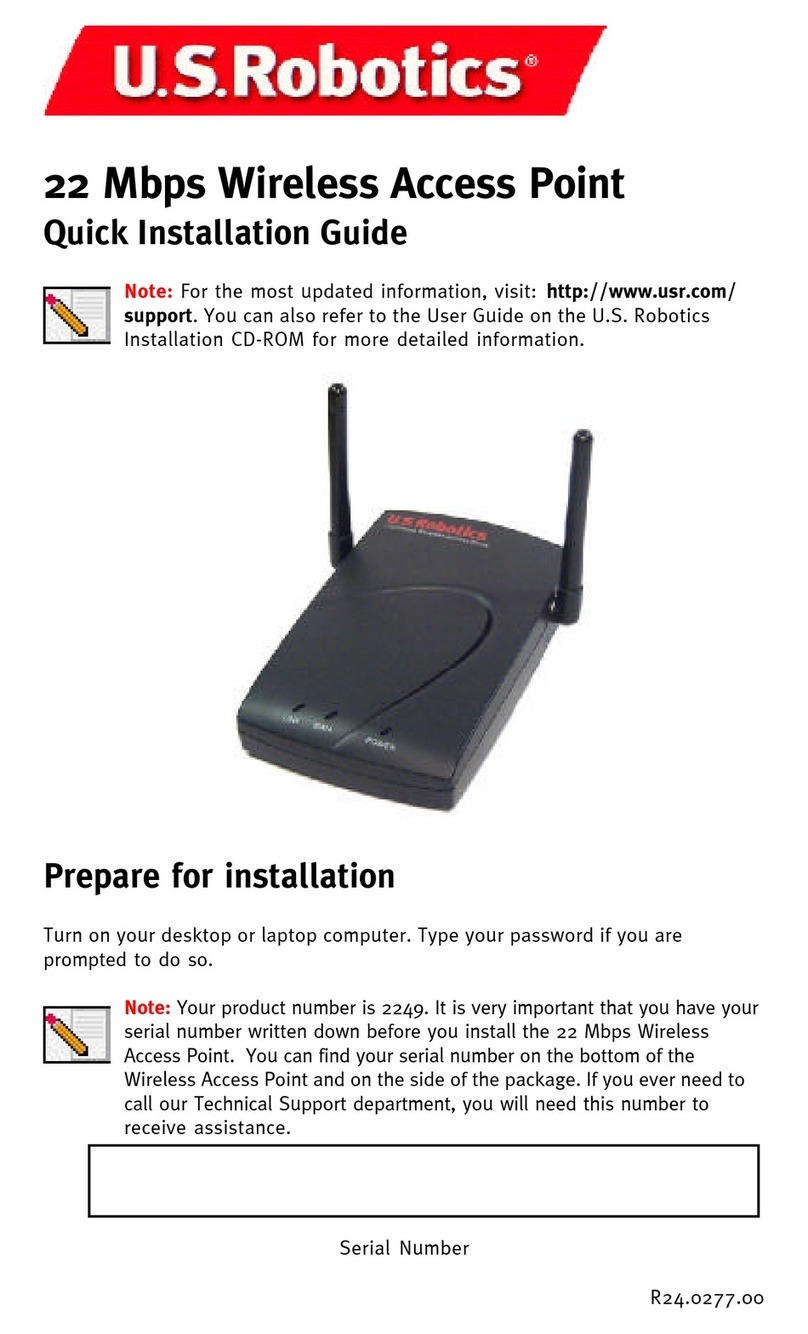
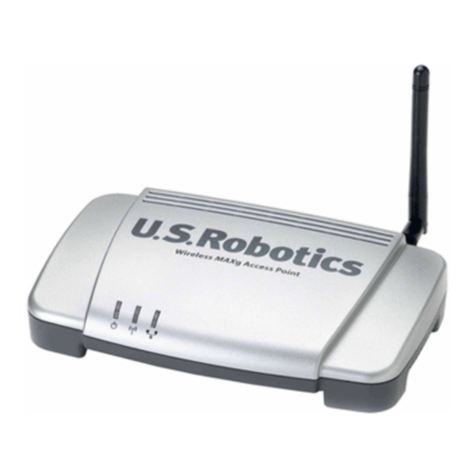
US Robotics USR2450 User manual

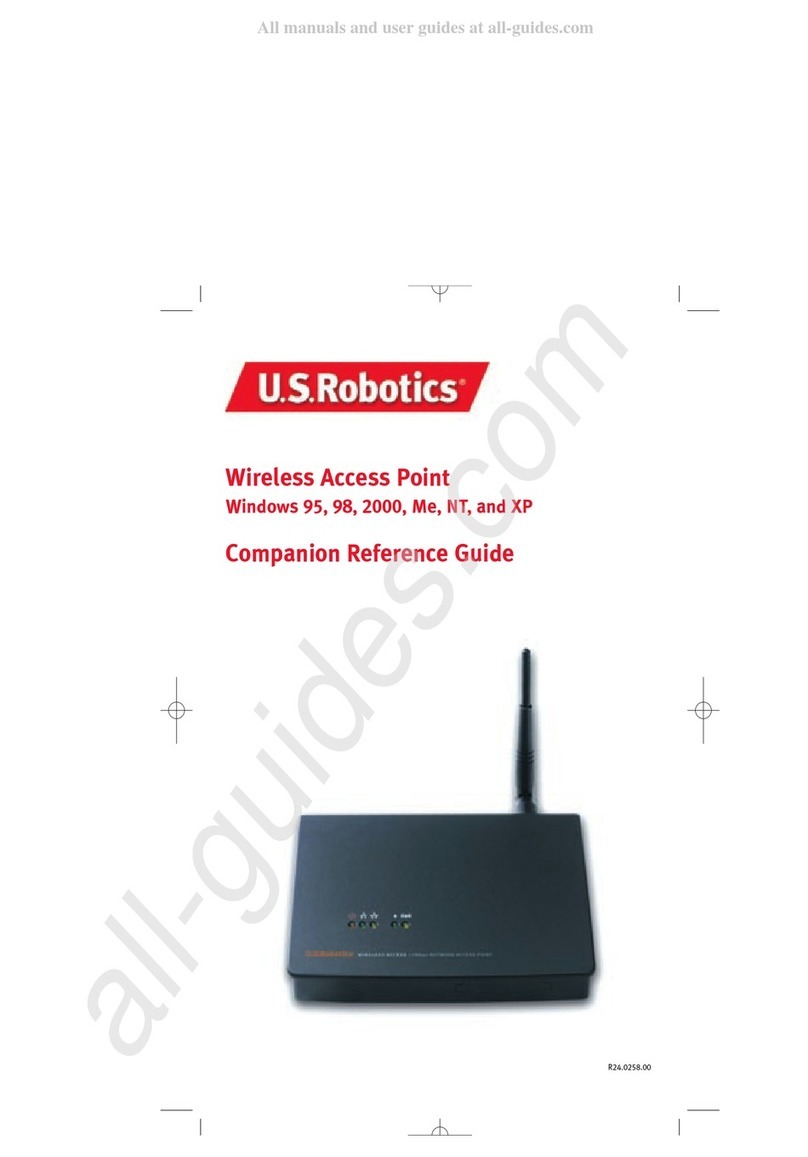
Wireless Access Point
Windows 95, 98, 2000, Me, NT, and XP
Companion Reference uide
R24.0258.00

1
Step 1. Connect the Wireless Access Point
• Use the Ethernet port and an RJ-45 cable to connect the Wireless
Access Point to one of the follo ing devices: a cable or DSL modem
ith routing capabilities, a hub, a bridge, an existing Ethernet LAN,
or a router.
• Attach the antenna to the Wireless Access Point.
• Attach the po er supply to the Wireless Access Point.
Step Two: Install your software
Note: You only need to install this software on the PC or laptop that was
originally connected to your modem, bridge, router, or hub.
Insert your U.S. Robotics Installation CD-ROM into your CD-ROM drive.
In the Choose Setup Language indo , select your preferred language
and click OK.
Note: If your CD-RO does not automatically launch, click Windows Start,
Run, and type D:\setup (or the appropriate letter of your CD-RO drive)
and click OK.
Some files ill be copied to your system, and then you ill be asked to
read the license agreement. Read the agreement and click Yes.

32
Follo the on-screen instructions and ait for some files to be copied to
your hard drive. A indo ill appear sho ing you the files that have
loaded onto your system. Close this indo . The program indo ith
the Configuration Utility icons ill appear. Close this indo .
Note: Each Wireless Access PC Card or PCI Adapter in the wireless network
must have the Infrastructure mode selected within the Configuration Utility.
If you are using a U.S Robotics Wireless Access PC Card or PCI Adapter, the
Configuration Utility will look like the graphic below.
Note: The Wireless
Configuration Utility for
the Wireless Access Point
is not currently supported
for Windows NT.
The Installation CD Graphic User Interface (GUI) ill appear on your
screen. Click Software.
Click the icon for the U.S. Robotics Wireless Configuration Utility.
Click Wireless Access Point.

54
Wireless Activity LED ill blink. If you press the Reset button a second
time, all setting information except for the pass ord and the encryption
data ill be cleared. If this is done, the Wireless Link Indicator ill blink.
Step 4. Configuration of the Wireless Access Point
After the Wireless Access Point is installed, click Windo s Start, Programs,
and WLAN Access Point Utility to launch the Access Point Configuration
Utility. Click AP in the toolbar and then click Scan.
This ill search for the Wireless Access Point in the net ork. If a Wireless
Access Point is detected, the WLAN Access Point Utility ill display the
Wireless Access Point information. By default, all Wireless Access Points
are named WLAN01. After you successfully connect to the WLAN Access
Point Utility, you can change the name of the Wireless access Point.
If you are using multiple Wireless Access Points, you must kno the MAC
address of the Wireless Access Point you are currently configuring. The
MAC address is located on the bottom of the Wireless Access Point case
and in the Utility tool in the State field. Locate the correct Wireless Access
Point in the list that appears. If the listed Wireless Access Point does not
match the MAC address on the bottom of the correct Wireless Access
Point, refer to the Troubleshooting section in this guide or in the User
Guide on the Installation CD-ROM for more information.
Double-click the correct Wireless Access Point in the list.
If the Wireless Access Point in the list has an IP address, the Access Point
Web Configurator ill launch in your default Web bro ser.
Congratulations! You have finished installing your hard are and the
necessary soft are. You should no be able to connect your Wireless
Access PC Cards and PCI Adapters to the Wireless Access Point.
If the Wireless Access Point in the list does not have an IP address,
proceed to the Assigning an IP address to the Wireless Access Point
section in this guide.
Step 3. Verify the detection of the Wireless Access Point
The WLAN Access Point Utility should automatically detect the ne
Wireless Access Point. If the WLAN Access Point Utility does not autom-
atically detect the Wireless Access Point, refer to the Troubleshooting
section of this guide. The WLAN Access Point Utility program icon in the
system tray ill change from red to green hen a Wireless Access Point
is detected.
The Wireless Access Point has five LED status indicators. The function
of each indicator is described in the follo ing table and graphic:
Po er
Wired Link
Indicator Wireless Link
Indicator
Wireless
Activity
If you need to reset the Wireless Access Point at any time, perform the
follo ing steps. Press in and hold the Reset button. While holding in the
Reset button, unplug the po er adapter from the Wireless Access Point
and then plug it back in. Release the Reset button and then press it once.
This ill restore the factory default settings. When this is performed, the
LED Status Description
Power ON/Red Indicates that po er is being supplied
Wired Link Indicator ON/Green Indicates that the Wireless Access Point Ethernet
Cable is connected to your LAN.
Wired Activity Blinking/Yello Indicates that the Wireless Access Point is transmit
ting or receiving data on the 10 Mbps Ethernet LAN.
Wireless Link Indicator Blinking/Green Indicates that the PC Card or PCI Adapter is
connecting to the Wireless Access Point.
Wireless Activity Blinking/Yello Indicates that the Wireless Access Point is transmit
ting data to or receiving data from a Wireess Access
PC card or PCI Adapter.
Wired
Activity

7
Access Point Web Configurator
To access the Access Point Web Configurator, double-click the name
of the correct Wireless Access Point in the list. The utility automatically
links to the Login Page of the Access Point Web Configurator using your
Windo s default bro ser. The default pass ord is WLAN_AP. Enter
the pass ord and click Login.
Depending on your firm are version, you may be prompted to enter
a user name. If you are prompted for a user name, type Default. The
Pass ord and User Name fields are case-sensitive.
6
Assigning an IP address to the Wireless
Access Point.
If you see the follo ing indo hen you double-click the Wireless
Access Point in the Access Point Configuration Utility, your Wireless
Access Point did not acquire a valid IP address for your net ork and
you ill need to manually assign an IP address.
Perform the follo ing steps to assign an IP address:
• After you see the indo stating a free IP address could not be
determined, click OK. The follo ing indo ill appear.
This ill allo you to manually input an IP address for your Wireless
Access Point. If you can communicate ith the Wireless Access Point
through an Ethernet connection, the Wireless Access Point ill receive
the net ork information from the computer it is connected to.
• In the Assign Temporary IP Address indo , verify that the Wireless
Access Point has been identified ith the correct net ork and enter
a valid IP address. An address ith at least one zero at the end
represents the Net ork Address. Change the zero at the end to any
number bet een 1 and 253 to assign a valid IP address. An example
of hat you might see is 192.168.0.0. Change this to 192.168.0.x
( here x is bet een 1 and 253).
• After you have entered an IP address, click OK and you ill receive
a message saying that the IP address is temporary. Click OK to finish
the installation procedure.

98
Click Encryption to change the encryption security settings.
Within the Encryption option, you can modify the WEP and the Key Entry.
There are three levels of encryption available: Disabled, WEP_64, and
WEP_128. If you select WEP_64 or WEP_128, and Passphrase for a Key
Entry, you must then enter a passphrase. This ill generate the hex value
to encrypt your data. Each computer that ill be connecting to the ireless
net ork must have this exact information entered. If you select Manual
Entry for Key Entry, you must then manually assign the hex keys for
either 64-Bit Encryption or for 128-Bit Encryption. This method is only
recommended for advanced users or for net ork compatibility.
When you are finished making any changes, click Apply Changes to save
your settings.
There are four configuration screens ithin the Access Point Web
Configurator: AP Information MIB, AP Control MIB, TCP/IP Settings, and
Change Password. The Home option ithin each configuration screen ill
return you to the main selection menu.
The AAPP IInnffoorrmmaattiioonn MMIIBBoption supplies you ith the basic setting
information for your Wireless Access Point.
The AP Control MIB option allo s you to modify the DS Channel, the SSID,
and the RTS Threshold. Once any changes are made in this option, you ill
not be able to communicate ith the Wireless Access Point until you make
the same changes to all of the Wireless Access PC Cards or PCI Adapters in
the ireless net ork. You can also restore the default settings by clicking
Factory Default.

1110
Troubleshooting
My computer does not recognize the Wireless Access Point after I
changed the settings.
Possible Solution:
Ensure that the WLAN Configuration utility is installed for your Wireless
Access Point and that the Configuration utility is installed and functioning
for your Wireless Access PC Cards or PCI Adapters.
Possible Solution:
Ensure that you are contacting the correct Wireless Access Point and
using the correct MAC address.
Possible Solution:
Ensure that the correct pass ord and encryption option are being used.
If you changed the settings in the configuration of the Wireless Access
Point, you must also change the settings of every Wireless Access PC
Card or PCI Adapter attached to this net ork. The settings of the
Wireless Access PC Cards or PCI Adapters must match the ne settings
of the Wireless Access Point.
I am unable to communicate with the Wireless Access Point.
Possible Solution:
Be sure that each Wireless PC Card or PCI Adapter that you ant to
connect to the ireless net ork is set to Infrastructure mode ithin the
Configuration Utility. If your Wireless Access PC Cards or PCI Adapters are
not set to Infrastructure mode, they ill not be able to communicate ith
the Wireless Access Point.
Possible Solution:
Your Wireless Access Point may not be responding. Try resetting the
Wireless Access Point to reactivate it. Press in and hold the Reset button.
While holding in the Reset button, unplug the po er adapter from the
Wireless Access point and then plug it back in. Release the Reset button
and then press it once. This ill restore the factory default settings. When
this is performed, the Wireless Activity LED ill blink. If you press the
Reset button a second time, all setting information except for the pass-
ord and the encryption data ill be cleared. If this is done, the Wireless
Link Indicator ill blink.
Possible Solution:
Your Wireless Access Point may not have received a valid IP address for
your net ork. If you see a indo stating that a free IP address could
not be determined hen you double-click the Wireless Access Point in
the Access Point Configuration Utility, you need to manually assign an IP
address. Refer to the Assigning an IP address to the Wireless Access Point
section in this guide.
I am unable to enter the Wireless Access Point Web Configurator.
Possible Solution:
Be certain that you are entering the correct user name (if there is one) and
pass ord. The pass ord field is case-sensitive. The default pass ord is
WWLLAANN__AAPPand there is no default user name.
The TCP/IP Settings option ill
supply your current settings, as
ell as give you the option to
change any of these settings.
When you are finished making
any changes, click Apply
Changes to save your settings.
There is also the Change
Password option, here you
can change your pass ord.
It is recommended that you
rite do n the pass ord for
future reference. If you forget
your pass ord, you ill be
locked out of the Access Point Web Configurator. You can reset the
Wireless Access Point to restore the default settings. Press in and hold the
Reset button. While holding in the Reset button, unplug the po er adapter
from the Wireless Access point and then plug it back in. Release the Reset
button and then press it once. This ill restore the factory default settings.
When this is performed, the Wireless Activity LED ill blink. If you press
the Reset button a second time, all setting information except for the
pass ord and the encryption data ill be cleared. If this is done, the
Wireless Link Indicator ill blink.
When you are finished changing your pass ord, click Apply for the ne
pass ord to be activated. For security purposes, it is recommended
that you change your pass ord after you successfully log in. Anytime
you reset the Wireless Access Point, your pass ord ill revert to the
default setting.
When you are finished vie ing or changing your Wireless Access Point
information, click Logout. You ill then be asked if you are sure that you
ant to logout. Click Yes.

1312
To obtain the most current support information, including procedures to
obtain Service Repair Orders, visit the U.S. Robotics Web site:
http:// .usr.com
Regulatory Approvals
Federal Communications Commission Statement
This device complies ith FCC Rules Part 15. Operation is subject to the follo ing
t o conditions:
This device may not cause harmful interference.
This device must accept any interference received, including interference that may
cause undesired operation.
This equipment has been tested and found to comply ith the limits for a Class B
digital device, pursuant to Part 15 of the FCC Rules. These limits are designed to
provide reasonable protection against harmful interference in a residential installation.
This equipment generates, uses and can radiate radio frequency energy. If this equipment
is not installed and used in accordance ith the manufacturer’s instructions, it may cause
harmful interference to radio communications. Ho ever, there is no guarantee that
interference ill not occur in a particular installation. If this equipment does cause
harmful interference to radio or television reception, hich can be determined by turning
the equipment off and on, the user is encouraged to try to correct the interference by one
or more of the follo ing measures:
• Reorient or relocate the receiving antenna.
• Increase the separation bet een the equipment and receiver.
• Connect the equipment to an outlet on a circuit different from that to hich the
receiver is connected.
• Consult the dealer or an experienced radio/TV technician for help.
The use of shielded cables for connection of the monitor to the graphics card is
required to assure compliance ith FCC regulations. Modifications to this unit not
expressly approved by the party responsible for compliance could void the user’s
authority to operate this equipment.
F Radiation Exposure Statement
This equipment complies ith FCC radiation exposure limits set forth for an
uncontrolled environment. This equipment should be installed and operated ith
minimum distance 20cm bet een the radiator and your body.
Manufacturer’s Disclaimer Statement
The information in this document is subject to change ithout notice and does not
represent a commitment on the part of the vendor. No arranty or representation,
either expressed or implied, is made ith respect to the quality, accuracy or fitness
for any particular purpose of this document. The manufacturer reserves the right to
make changes to the content of this document and/or the products associated ith
it at any time ithout obligation to notify any person or organization of such
changes. In no event ill the manufacturer be liable for direct, indirect, special,
incidental or consequential damages arising out of the use or inability to use this
product or documentation, even if advised of the possibility of such damages.
UL Listing/CUL Listing or CSA Certified
This information technology equipment is UL-Listed and CUL Listed or CSA-Certified
for the uses described in the users guide.
My Wireless Access Point is not appearing in the list when I scan for it.
Possible Solution:
You may be on a computer that is physically too far a ay from the
Wireless Access Point. Try moving closer to the Wireless Access Point and
repeating the scan procedure. Check any physical connections bet een
the Wireless Access Point and your modem, router, hub, LAN, or s itch.
My computer is not acknowledging my Wireless Access Point.
Possible Solution:
Be certain that the Wireless Access Point is plugged into a po er source
and is properly installed. Make sure the Ethernet cable is securely con-
nected to the Ethernet port on the Wireless Access Point and to the
Ethernet port on your cable or DSL modem, router, hub, or bridge.
I am experiencing poor link uality in some areas of my home or office.
Possible Solution:
You might be encountering interference from alls or other structures that
is lo ering your link quality. Try placing your Wireless Access Point at a
higher location, such as a higher shelf, or repositioning it in a different
area of your room or office.
Are You Still Having Problems?
1. Go to the Support section of the U.S Robotics Web site at .usr.com.
Many of the most common difficulties users experience have been
addressed in the FAQ and Troubleshooting Web pages for your specific
product.
2. Call the U.S. Robotics Technical Support Department
Technical questions about U.S. Robotics products can also be ans ered
by technical support specialists.
Country Voice Online Support Hours
United States (801) 401-1143 http:// .usr.com/support/s-contact.asp 8:00 A.M. - 7:00 P.M., M-F CST
anada (801) 401-1145 http:// .usr.com/international.asp 8:00 A.M. - 7:00 P.M., M-F CST
Argentina AT&T Direct + (877) 643-2523 [email protected] 9:00 A.M. – 5:00 P.M., M-F CST
Brazil AT&T Direct + (877) 487-6253 [email protected] 9:00 A.M. – 5:00 P.M., M-F CST
México AT&T Direct + (877) 643-2523 [email protected] 9:00 A.M. – 5:00 P.M., M-F CST
Peru AT&T Direct + (877) 643-2523 [email protected] 9:00 A.M. – 5:00 P.M., M-F CST
Puerto Rico AT&T Direct + (877) 643-2523 [email protected] 9:00 A.M.– 5:00 P.M., M-F CST
Venezuela AT&T Direct + (877) 643-2523 [email protected] 9:00 A.M. – 5:00 P.M., M-F CST

1514
In The United States:
USR-Walnut
528 Spanish Ln.
Walnut, CA 91789
U.S. Robotics shall not be responsible for any soft are, firm are, information, or
memory data of Customer contained in, stored on, or integrated ith any products
returned to U.S. Robotics for repair, hether under arranty or not.
WARRANTIES EXCLUSIVE: IF A U.S. ROBOTICS PRODUCT DOES NOT OPERATE AS
WARRANTED ABOVE, CUSTOMER’S SOLE REMEDY FOR BREACH OF THAT WARRANTY
SHALL BE REPAIR, REPLACEMENT, OR REFUND OF THE PURCHASE PRICE PAID, AT
U.S. ROBOTICS’ OPTION. TO THE FULL EXTENT ALLOWED BY LAW, THE FOREGOING
WARRANTIES AND REMEDIES ARE EXCLUSIVE AND ARE IN LIEU OF ALL OTHER WAR-
RANTIES, TERMS, OR CONDITIONS, EXPRESS OR IMPLIED, EITHER IN FACT OR BY
OPERATION OF LAW, STATUTORY OR OTHERWISE, INCLUDING WARRANTIES, TERMS,
OR CONDITIONS OF MERCHANTABILITY, FITNESS FOR A PARTICULAR PURPOSE,
SATISFACTORY QUALITY, CORRESPONDENCE WITH DESCRIPTION, AND
NON-INFRINGEMENT, ALL OF WHICH ARE EXPRESSLY DISCLAIMED. U.S. ROBOTICS
NEITHER ASSUMES NOR AUTHORIZES ANY OTHER PERSON TO ASSUME FOR IT ANY
OTHER LIABILITY IN CONNECTION WITH THE SALE, INSTALLATION, MAINTENANCE
OR USE OF ITS PRODUCTS.
U.S. ROBOTICS SHALL NOT BE LIABLE UNDER THIS WARRANTY IF ITS TESTING AND
EXAMINATION DISCLOSE THAT THE ALLEGED DEFECT OR MALFUNCTION IN THE
PRODUCT DOES NOT EXIST OR WAS CAUSED BY CUSTOMER’S OR ANY THIRD
PERSON’S MISUSE, NEGLECT, IMPROPER INSTALLATION OR TESTING, UNAUTHORIZED
ATTEMPTS TO OPEN, REPAIR OR MODIFY THE PRODUCT, OR ANY OTHER CAUSE
BEYOND THE RANGE OF THE INTENDED USE, OR BY ACCIDENT, FIRE, LIGHTNING,
OTHER HAZARDS, OR ACTS OF GOD.
LIMITATION OF LIABILITY: TO THE FULL EXTENT ALLOWED BY LAW, U.S. ROBOTICS
ALSO EXCLUDES FOR ITSELF AND ITS SUPPLIERS ANY LIABILITY, WHETHER BASED IN
CONTRACT OR TORT (INCLUDING NEGLIGENCE), FOR INCIDENTAL, CONSEQUENTIAL,
INDIRECT, SPECIAL, OR PUNITIVE DAMAGES OF ANY KIND, OR FOR LOSS OF REVENUE
OR PROFITS, LOSS OF BUSINESS, LOSS OF INFORMATION OR DATA, OR OTHER FINAN-
CIAL LOSS ARISING OUT OF OR IN CONNECTION WITH THE SALE, INSTALLATION, MAIN-
TENANCE, USE, PERFORMANCE, FAILURE, OR INTERRUPTION OF ITS PRODUCTS, EVEN
IF U.S. ROBOTICS OR ITS AUTHORIZED RESELLER HAS BEEN ADVISED OF THE POSSI-
BILITY OF SUCH DAMAGES, AND LIMITS ITS LIABILITY TO REPAIR, REPLACEMENT,
OR REFUND OF THE PURCHASE PRICE PAID, AT U.S. ROBOTICS’ OPTION. THIS
DISCLAIMER OF LIABILITY FOR DAMAGES WILL NOT BE AFFECTED IF ANY REMEDY
PROVIDED HEREIN SHALL FAIL OF ITS ESSENTIAL PURPOSE.
DISCLAIMER: Some countries, states, or provinces do not allo the exclusion or
limitation of implied arranties or the limitation of incidental or consequential
damages for certain products supplied to consumers, or the limitation of liability
for personal injury, so the above limitations and exclusions may be limited in their
application to you. When the implied arranties are not allo ed to be excluded in
their entirety, they ill be limited to the duration of the applicable ritten arranty.
This arranty gives you specific legal rights hich may vary depending on local la .
GOVERNING LAW: This Limited Warranty shall be governed by the la s of the State
of Illinois, U.S.A. excluding its conflicts of la s principles and excluding the United
Nations Convention on Contracts.
U.S. Robotics Corporation Limited Warranty
HARDWARE: U.S. Robotics arrants to the end user ("Customer") that this
hard are product ill be free from defects in orkmanship and materials, under
normal use and service, for the follo ing length of time from the date of purchase
from U.S. Robotics or its authorized reseller:
T o (2) years
U.S. Robotics’s sole obligation under this express arranty shall be, at U.S. Robotics’
option and expense, to repair the defective product or part, deliver to Customer an
equivalent product or part to replace the defective item, or if neither of the t o
foregoing options is reasonably available, U.S. Robotics may, in its sole discretion,
refund to Customer the purchase price paid for the defective product. All products that
are replaced ill become the property of U.S. Robotics. Replacement products may be
ne or reconditioned. U.S. Robotics arrants any replaced or repaired product or part
for ninety (90) days from shipment, or the remainder of the initial arranty period,
hichever is longer.
SOFTWARE: U.S. Robotics arrants to Customer that each soft are program
licensed from it ill perform in substantial conformance to its program specifications,
for a period of ninety (90) days from the date of purchase from U.S. Robotics or its
authorized reseller. U.S. Robotics arrants the media containing soft are against
failure during the arranty period. No updates are provided. U.S. Robotics’ sole
obligation under this express arranty shall be, at U.S. Robotics’ option and
expense, to refund the purchase price paid by Customer for any defective soft are
product, or to replace any defective media ith soft are hich substantially con-
forms to applicable U.S. Robotics published specifications. Customer assumes
responsibility for the selection of the appropriate applications program and associat-
ed reference materials. U.S. Robotics makes no arranty or representation that its
soft are products ill meet Customer’s requirements or ork in combination ith
any hard are or applications soft are products provided by third parties, that the
operation of the soft are products ill be uninterrupted or error free, or that all
defects in the soft are products ill be corrected. For any third-party products
listed in the U.S. Robotics soft are product documentation or specifications as
being compatible, U.S. Robotics ill make reasonable efforts to provide compatibility,
except here the noncompatibility is caused by a "bug" or defect in the third party’s
product or from use of the soft are product not in accordance ith U.S. Robotics’
published specifications or User Guide.
THIS U.S. ROBOTICS PRODUCT MAY INCLUDE OR BE BUNDLED WITH THIRD-PARTY
SOFTWARE, THE USE OF WHICH IS GOVERNED BY A SEPARATE END-USER LICENSE
AGREEMENT. THIS U.S. ROBOTICS WARRANTY DOES NOT APPLY TO SUCH THIRD-
PARTY SOFTWARE. FOR THE APPLICABLE WARRANTY, PLEASE REFER TO THE
END-USER LICENSE AGREEMENT GOVERNING THE USE OF SUCH SOFTWARE.
OBTAINING WARRANTY SERVICE: Customer must contact a U.S. Robotics Corporate
Service Center or an Authorized U.S. Robotics Service Center ithin the applicable
arranty period to obtain arranty service authorization. Dated proof of purchase
from U.S. Robotics or its authorized reseller may be required. Products returned to
U.S. Robotics’ Corporate Service Center must be pre-authorized by U.S. Robotics ith
a Service Repair Order (SRO) number marked on the outside of the package, and
sent prepaid and packaged appropriately for safe shipment, and it is recommended
that they be insured or sent by a method that provides for tracking of the package.
The repaired or replaced item ill be shipped to Customer, at U.S. Robotics’ expense,
not later than thirty (30) days after U.S. Robotics receives the defective product.
Return the product to:
Printed in Tai an
Other manuals for USR2450
2
Other US Robotics Wireless Access Point manuals

US Robotics
US Robotics Instant802 APSDK Service manual

US Robotics
US Robotics MAXg User manual

US Robotics
US Robotics USR2450 User manual

US Robotics
US Robotics USR2249 User manual

US Robotics
US Robotics USR8054 User manual

US Robotics
US Robotics USR5453 User manual

US Robotics
US Robotics USR8054 User manual

US Robotics
US Robotics USR2450 User manual

US Robotics
US Robotics USR5451 User manual

US Robotics
US Robotics USR805453A User manual