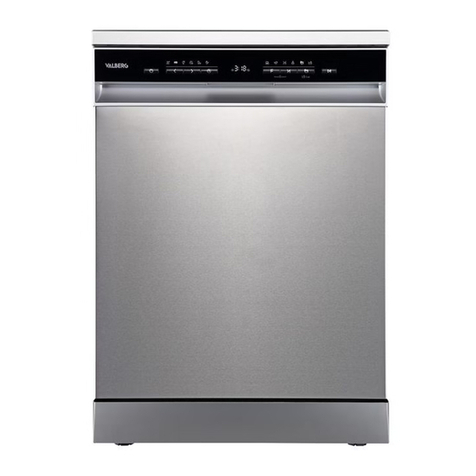
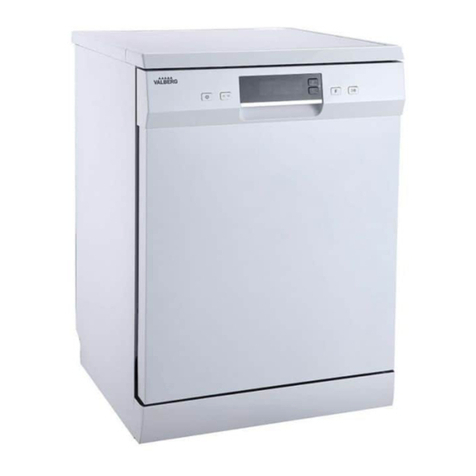
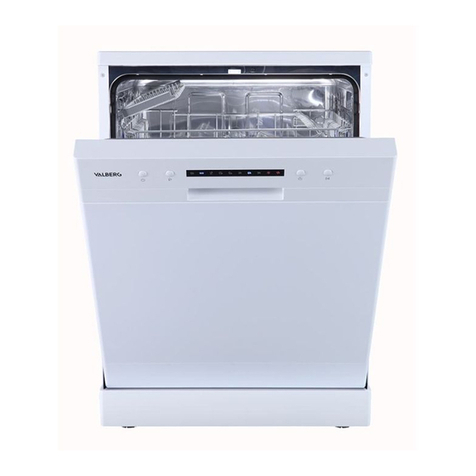
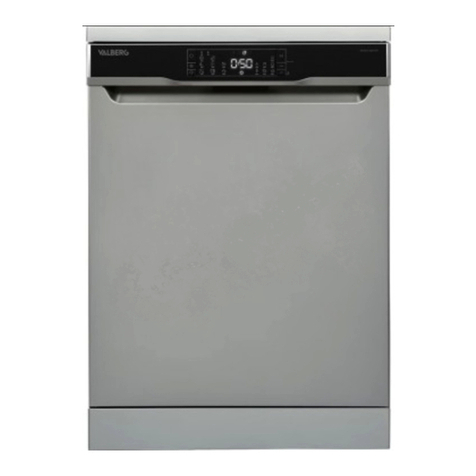
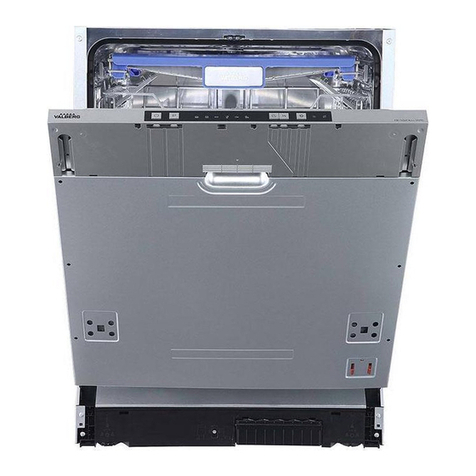
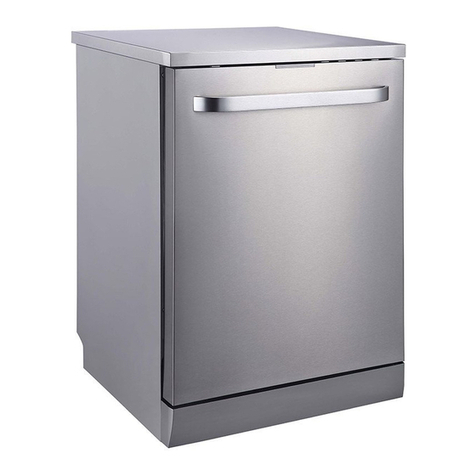
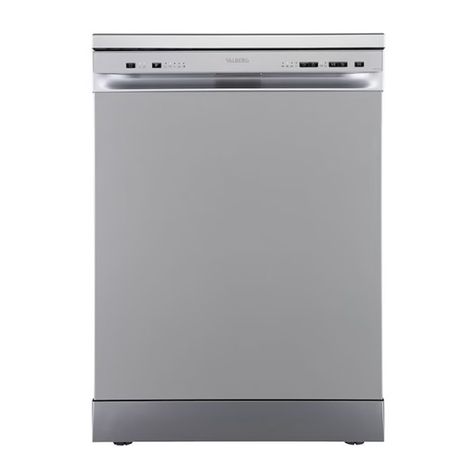
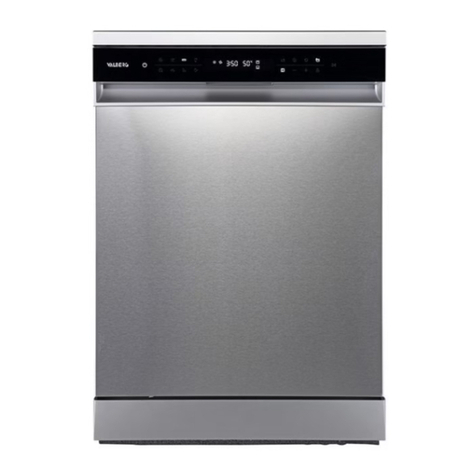
VALBERG 15S39 D S701T User manual


ELECTRO DEPOT
1 route de Vendeville
59155 FACHES-THUMESNIL - FRANCE
EN
WARRANTY CONDITION
This product is guaranteed for a period of 2 years from the date of purchase* against
any failure resulting from a manufacturing or material defect. This warranty does not
cover defects or damage resulting from incorrect installation, improper use or abnormal
wear of the product.
*as shown on the sales receipt.
FR
CONDITION DE GARANTIE
Ce produit est garanti pour une période de 2 ans à partir de la date d’achat*, contre
toute défaillance résultant d’un vice de fabrication ou de matériau. Cette garantie ne
couvre pas les vices ou les dommages résultant d’une mauvaise installation, d’une
utilisation incorrecte ou de l’usure anormale du produit.
*sur présentation du ticket de caisse.
NL
GARANTIEVOORWAARDEN
Dit product wordt gegarandeerd voor een periode van 2 jaar vanaf de aankoopdatum*,
voor elke storing die het gevolg is van een fabricagefout of het materiaal. Gebreken of
schade door slechte installatie, onjuist gebruik of abnormale slijtage van het product
worden niet gedekt door deze garantie.
*op vertoon van kassabon.
ES
CONDICIONES DE GARANTÍA
El certicado de garantía de este producto tiene una duración de 2 años a partir de la
fecha de compra* que se limita a los defectos de fabricación y averías del material.
Se excluyen de la garantía deciencias o daños originados por una mala instalación,
errores en la manipulación o por un uso inadecuado.
*previa presentación del comprobante de compra.
966547
15S39 D S701T
INSTRUCTIONS FOR USE ....................02
CONSIGNES D'UTILISATION ....................38
GEBRUIKSAANWIJZINGEN ....................74
INSTRUCCIONES DE USO ....................110
2/2 07/2021-04
Dishwasher
Lave-vaisselle
Vaatwasser
Lavavajillas


1
2
3
4
5
6
7
8
13
9
10
11
12


2 EN
Thanks!
Thank you for choosing this VALBERG product.
Chosen, tested and recommended by ELECTRO DEPOT,
the products of the VALBERG brand are easy to use,
reliable and of an impeccable standard.
Thanks to this appliance, you can be sure that each
use will bring you satisfaction.
Welcome to ELECTRO DEPOT.
Visit our website: www.electrodepot.fr

3 EN
Table of contents
APreview of the
appliance
CUseful information
BUsing the appliance Installing the dishwasher
Before using the appliance
Loading your dishwasher
Programme table
control panel
Description of the appliance
Cleaning and maintenance
Automatic failure alert and action
Practical and useful information

4EN
Overview of the appliance
A
Description of the appliance
1Worktop 8Control panel
2Upper rack with grids 9Wash and rinse aid dispenser
3Upper spray arm 10 Cutlery basket
4Lower rack 11 Salt tray
5Lower spray arm 12 Rack safety lock
6Filters 13
Drying with fan: This system dries your
dishes efficiently.
7Nameplate

5EN
Using the appliance
B
Installing the dishwasher
Positioning the dishwasher
When installing your dishwasher, make sure you choose a place where you can easily load
and unload your dishes.
Do not install your dishwasher in a place where the room temperature may fall below 0°C.
Before positioning the dishwasher, remove it from its packaging, and observe the warnings
on the packaging.
Position the dishwasher close to a water supply and a water drain. You must install your
dishwasher so that the connections are not altered once they have been made.
Do not pull the dishwasher by the door or control panel to move it.
Ensure that you leave space around the dishwasher so that it can be moved easily back and
forth during cleaning.
Ensure that you do not jam the water inlet and drain pipes when positioning the dishwasher.
Ensure that you do not trap the electric cable under the dishwasher.
Adjust the adjustable legs of the dishwasher so that it is level and stable. It is essential to
position the dishwasher correctly for the door to open and close properly.
If your dishwasher door does not close properly, check that the dishwasher is level and stable
on the oor; if not, position the dishwasher in a stable position using the adjustable legs.
Water connection
Check that the indoor plumbing is suitable to install a dishwasher. We also recommend that
you install a lter at the entrance to your home to prevent any contamination (sand, clay, rust,
etc.) that may be brought into the water system or the indoor plumbing installation which
could cause damage to the dishwasher and inconveniences, such as yellowing of the dishes
or the formation of deposits after washing.

6EN
Using the appliance
B
Water inlet hose
Never use the water inlet hose from your old dishwasher. Use the new
hose supplied with your dishwasher. Before connecting the new or
water inlet hose, or one that has not been used for a long time, to your
dishwasher, run water through it for a while. Connect the water inlet
hose directly to the water inlet tap by hand. The pressure at the valve
must be minimum 0.03 Mpa and maximum 1 Mpa. If the water pressure
is higher than 1 MPa, install a pressure reducing device between the
tap and the hose.
Once the connections are made, open the valve completely and check that there are no leaks.
For the safety of your dishwasher, always close the inlet tap after each programme.
Check the marking on the water inlet hose!
If the models are marked with 25°, the water temperature may be at the maximum. 25°C
(cold water)
For all other models:
Preferably cold water; hot water max. temperature 60°C.
N.B.: Some models use an Aquastop system. If your dishwasher
is equipped with this system, there is a dangerous voltage.
Never cut the Aquastop nozzle and make sure that it is not
bent or twisted.

7EN
Using the appliance
B
Drain hose
The drain hose can be connected either directly to a xed drain
or to the special connection under the sink. Using a special
elbow pipe (if available), the dishwasher can be emptied directly
into the sink by hanging the elbow pipe on the edge of the sink.
This connection must be at least 50 cm and no more than 110
cm above ground level.
Warning
When a drain hose longer than 4 m is used, the utensils may remain dirty.
In this case, our company will not accept any responsibility.
0.5 - 1.1 m
0.5 - 1.1 m
Power supply connection
The earthed socket of your dishwasher must be connected to an earthed socket with the
correct voltage and current (in accordance with current standards). If your home does not have
an earthed installation, have this installed by a qualied electrician. In case of use without
earthing, our company will not be liable for any loss of use that may occur.
The plug of this appliance may have a 13 A fuse depending on the country. (e.g. the UK.) (e.g.
the UK, Saoudi Arabia)
Your dishwasher is congured to operate on 220-240 V. If your home is 110 V, insert a 110/220
V - 3,000 W transformer. The dishwasher must be unplugged during positioning.
Always use the covered plug supplied with the appliance. At low voltage, your dishwasher is
less efcient.
If the power cable is damaged, it must be replaced by the manufacturer, its after-sales
department or a similarly qualied person to avoid any danger. Otherwise, accidents may
happen.
max 110 cm
min 50 cm
min 4 cm

8EN
Using the appliance
B
For safety reasons, always unplug the machine at the end of the programme.
To avoid electric shocks, do not unplug the unit when your hands are wet.
Always unplug your dishwasher from the socket. Never pull the power cable itself.
Installation under a worktop
If you want to install your dishwasher under a worktop, make sure you have enough space
under the worktop and that the electrical and plumbing systems allow it.
1
If you nd that
there is sufcient space under your kitchen worktop to install your dishwasher, remove the
dishwasher worktop as shown. 2
1
2
598
598
850
820
97
50
450
570
Warning:
The horizontal support under which the dishwasher is installed by taking
out its worktop must be stable to avoid any lack of balance.

9EN
Using the appliance
B
To remove the worktop from the dishwasher, remove the screws holding the worktop in place
at the back of the dishwasher. Then push the panel 1 cm towards the back and lift it up.
Adjust the legs of the dishwasher according to the slope of the oor and the level. 3Install
your dishwasher by pushing it underneath the worktop, ensure that it the pipes are not bent
or crushed.
3
4
Min 570
Min 600
H
Product
Without isolation With isolation
All products For the 2nd rack For the 3rd rack
Height 820 mm 830 mm 835 mm
Warning:
Once the worktop has been removed, the dishwasher must be placed in
an enclosed space of the dimensions shown (see g. 4).

10 EN
Using the appliance
B
Before using the appliance
Preparing your dishwasher for its rst use
• Make sure that the electrical and water supply specications correspond to the values
indicated in the installation instructions for the appliance.
• Remove all packing materials from inside the appliance.
• Set the water softener level.
• Fill the container with rinse aid.
Using salt
To work properly, the dishwasher needs soft water, i.e. with less limescale. Otherwise, white
lime residue will remain on dishes and interior equipment. This will have a negative impact on
the washing, drying and shining performance of your appliance. As the water ows through the
softener, the ions that form the hydrometry are removed from the water; it therefore obtains
the softness level required for an optimal washing result. Depending on the water content
of the incoming water, these water-hardening ions quickly accumulate in the softener. The
water softener should be refreshed so that it maintains the same performance during the
next wash cycle. Use dishwasher salt for this purpose.
Please use only special dishwasher salt to soften the water in the machine. Do not use table
salt or powdered salt that dissolves easily in water. Using any other type of salt may damage
your machine.

11 EN
Using the appliance
B
Filling the compartment (IF APPLICABLE)
To add softening salt, open the salt compartment cover by turning it clockwise. 12When
using for the rst time, put 1 kg of salt and water
3
into the compartment until it almost
overows. If possible, use the funnel
4
for easier lling. Replace the cover and close it. After
every 20 to 30 cycles, add salt to your appliance until it is full (about 1 kg).
Add salt to the salt compartment only when using it for the rst time.
Use softening salt made for use in dishwashers.
When you start the dishwasher, the salt compartment lls with water. Therefore, you should
put the softening salt into the appliance before starting it.
If you do not start your appliance immediately after the softening salt has overowed, run a
short washing programme to stop corrosion.

12 EN
Using the appliance
B
Testing strip
Run water from
the tap (1 min.)
Leave the strip
in the water (1
sec)
Shake out the
strip.
Wait
(1 min.)
Set the water
hardness of
your appliance.
1
minute
1
second 1
minute
Warning:
The factory setting for the hardness level is "3”. If the water used is from
a well or has a hardness level of more than 90 dF, we recommend using
a lter or rening devices.
Water Hardness Table
Level German
dH
Français
dF
English
dE Indicator
1 0-5 0-9 0-6 L1 appears on the display.
2 6-11 10-20 7-14 L2 appears on the display.
3 12-17 21-30 15-21 L3 appears on the display.
4 18-22 31-40 22-28 L4 appears on the display.
5 23-31 41-55 29-39 L5 appears on the display.
6 32-50 56-90 40-63 L6 appears on the display.
Water softener system
The dishwasher is equipped with a water softener that reduces the hardness of the main
water supply. To nd the level of hardness in your tap water, contact your water company or
use the testing strip (if available).

13 EN
Using the appliance
B
Settings
To change the salt level, follow the steps below:
• Switch on the machine by pressing the Start/Stop button.
• Press the Programme button for at least 3 seconds immediately after the machine has
been switched on.
• Release the Programme button when "SL" is displayed. Then the last setting level is displayed.
• Press the Programme button to set the desired level. Each time the Programme button is
pressed, this increases the level. Once level 6 is reached, the next press returns the level
to 1.
• The last selected water hardness level is stored in the memory by switching off the machine
with the On/Off button.
Using detergent
Use only detergents specially designed for domestic dishwashers. Keep your detergents in a
cool, dry place, out of reach of children.
Add the recommended amount of detergent for the selected programme to ensure better
performance. The amount of detergent required varies according to the wash cycle, load size,
and the level of dirtiness of the dishes.
Do not put more than the required amount of detergent in the compartment; in this case,
white streaks or bluish spots may appear on the glass and on the dishes, which may cause
any glass to corrode. Continuous use of too much detergent can damage the machine.
Using too little detergent can cause poor cleaning, and white marks appear in hard water.
Refer to the detergent manufacturer's instructions for more information.
This manual suits for next models
1
Table of contents
Languages:
Other VALBERG Dishwasher manuals

VALBERG
VALBERG 14S44 D XAD929C User manual

VALBERG
VALBERG 972691 User manual

VALBERG
VALBERG 14S42 D WAD929C User manual

VALBERG
VALBERG 978493 User manual

VALBERG
VALBERG 3S58 F WAD929C User manual

VALBERG
VALBERG 14S40 B XAD929C User manual

VALBERG
VALBERG FBI 14S40 B KAD929C User manual

VALBERG
VALBERG FBI 14S42 C SAD929C User manual

VALBERG
VALBERG FBI 16S43 A XAD929C User manual

VALBERG
VALBERG 10S44 D SAD929C User manual