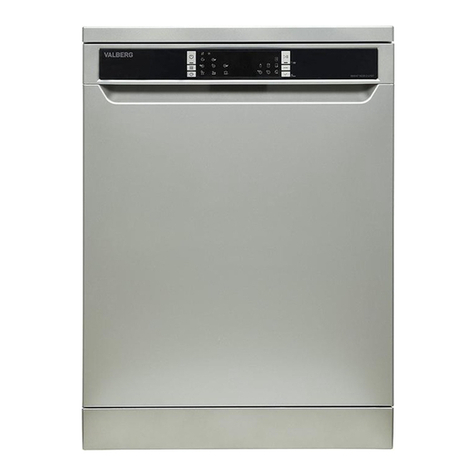
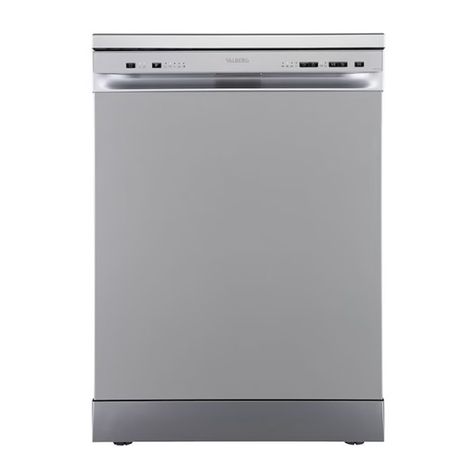
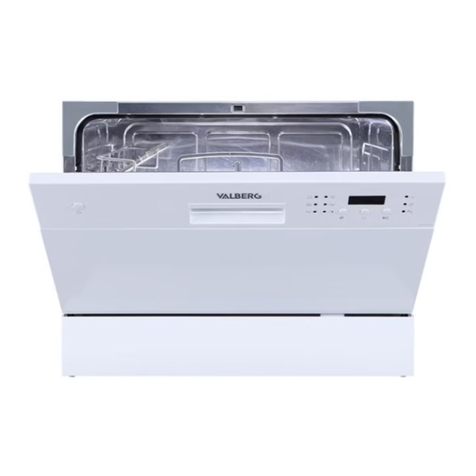
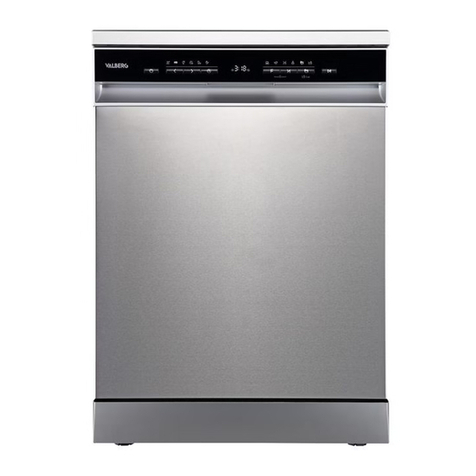
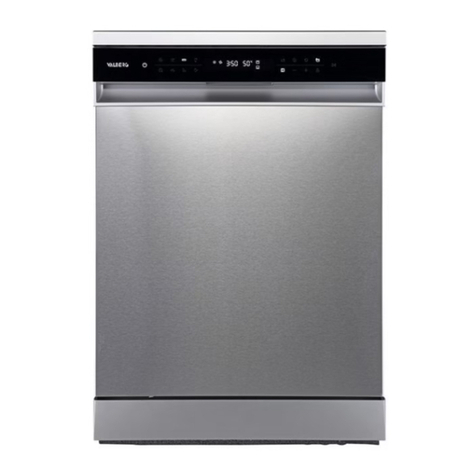
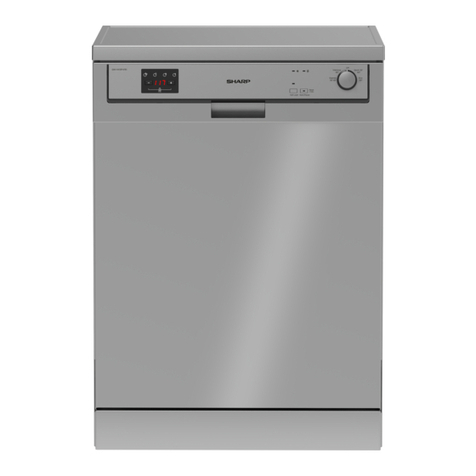
VALBERG 14S42 C XAD929C User manual


ELECTRO DEPOT
1 route de Vendeville
59155 FACHES-THUMESNIL - FRANCE
EN
WARRANTY CONDITION
This product is guaranteed for a period of 2 years from the date of purchase* against
any failure resulting from a manufacturing or material defect. This warranty does not
cover defects or damage resulting from incorrect installation, improper use or abnormal
wear of the product.
*as shown on the sales receipt.
FR
CONDITION DE GARANTIE
Ce produit est garanti pour une période de 2 ans à partir de la date d’achat*, contre
toute défaillance résultant d’un vice de fabrication ou de matériau. Cette garantie ne
couvre pas les vices ou les dommages résultant d’une mauvaise installation, d’une
utilisation incorrecte ou de l’usure anormale du produit.
*sur présentation du ticket de caisse.
NL
GARANTIEVOORWAARDEN
Dit product wordt gegarandeerd voor een periode van 2 jaar vanaf de aankoopdatum*,
voor elke storing die het gevolg is van een fabricagefout of het materiaal. Gebreken of
schade door slechte installatie, onjuist gebruik of abnormale slijtage van het product
worden niet gedekt door deze garantie.
*op vertoon van kassabon.
ES
CONDICIONES DE GARANTÍA
El certificado de garantía de este producto tiene una duración de 2 años a partir de la
fecha de compra* que se limita a los defectos de fabricación y averías del material.
Se excluyen de la garantía deficiencias o daños originados por una mala instalación,
errores en la manipulación o por un uso inadecuado.
*previa presentación del comprobante de compra.
IT
CONDIZIONI DI GARANZIA
Il prodotto è garantito per un periodo di 2 anni a partire dalla data di acquisto*, contro i
difetti di fabbricazione e dei materiali. La garanzia non copre i difetti o i danni derivanti
da un’installazione impropria, da un uso scorretto o da usura anormale del prodotto.
*su presentazione dello scontrino d’acquisto.
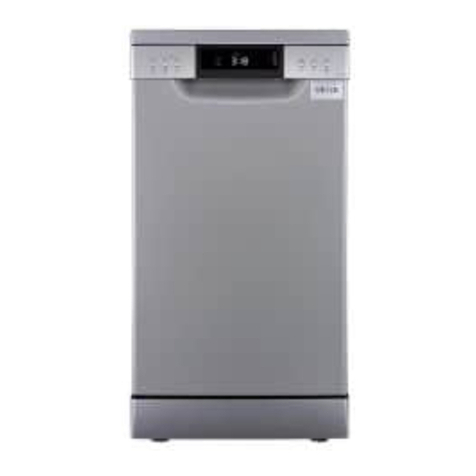
972280
14S42 C XAD929C
INSTRUCTIONS FOR USE ....................02
CONSIGNES D'UTILISATION ....................34
GEBRUIKSAANWIJZINGEN ....................68
INSTRUCCIONES DE USO ...................102
ISTRUZIONI PER L’USO ................. .136
2/2 01/2022-V3
Dishwasher
Lave-vaisselle
Vaatwasser
Lavavajillas
Lavastoviglie


1
4
5
2
3
6
7
98
10


7 8 9 11
1 6 2 3 4 11
10

2 FR
A
2 EN
Thanks!
Thank you for choosing this VALBERG product.
Chosen, tested and recommended by ELECTRO DEPOT,
the products of the VALBERG brand are easy to use,
reliable and of an impeccable standard.
Thanks to this appliance, you can be sure that each
use will bring you satisfaction.
Welcome to ELECTRO DEPOT.
Visit our website: www.electrodepot.fr

3 FR
Aperçu de l’appareil
A
3 EN
Table of contents
AOverview of the
appliance
CUseful information
BUsing the appliance Using your dishwasher
Tips for using the rack
Installation instructions
Loading the racks
Tips for using the cutlery compartment
Quick start guide
Water softener
Preparing and loading tableware
The purpose of rinse aid and detergent
Filling the rinse aid dispenser
Filling the detergent dispenser
Programming the dishwasher
Starting a wash cycle
Changing the programme during a cycle
Adding forgotten tableware
Automatic opening / Activ'Door
Exterior maintenance of the appliance
Interior maintenance of the appliance
General dishwasher maintenance
Error codes
Appliance presentation
Control panel

4EN
Overview of the appliance
A
Appliance presentation
’
PLEASE NOTE
To get the best results from your dishwasher, read all of
the operating instructions before using it for the first time
1Inner hose
2Lower spray arm
3Micro-filter
4Salt container
5Detergent dispenser
6Cup compartment
7Upper spray arm
8Cutlery compartment
9Upper rack
10 Lower rack
PLEASE NOTE
Images are for illustrative purposes only, specifications vary
by model. Please refer to your specific model.

5EN
Overview of the appliance
A
Control panel
1Power Press this button to turn on your dishwasher; the screen
lights up.
2Dual zone
wash
Press this button to select either the upper or lower rack and
the corresponding indicator will light up.
3Functions Press this button to select a function and the corresponding
indicator will light up.
4Delay Start Press the Delay Start button to delay the start time. You can
delay a cycle for up to 24 hours in one hour increments. After
setting the length of the delay, press the Start/Pause button
to start.
5Programmes Press this button to select the appropriate washing
programme and the corresponding indicator will light up.
6Programme
indicator lights
ECO
This is the standard programme for normally soiled
tableware, such as lightly soiled pots, plates, glasses and
pans.
Auto
For dishes either lightly, normally or extremely
soiled with or without sticky food residue.
Intensive
Very dirty dishes, including pots and pans with sticky food
residue.
Universal
For normally dirty items, such as lightly soiled plates,
glasses and cooking utensils.
Glasses
For glasses and lightly soiled tableware.
90° min
For normally soiled dishes requiring a quick wash.
Quick
A shorter cycle for lightly soiled dishes that do not require
drying.
Soak
To rinse dishes that you plan to wash later in the day.

6EN
Overview of the appliance
A
7Spray
arm selection
indicator
Upper
When you select “Upper”, only the upper spray arm jets are
activated. The lower jets will not work.
Lower
When you select “Lower”, only the lower spray arm jets are
activated. The upper jets will not work.
8Function indicator
Additional drying
This function allows the dishes to be dried further. (It can
only be used with the Auto, Intensive, Normal, ECO, Glass
and 90 min. programmes)
Turbo speed+
This lets you reduce the duration of the programme.
9Warning lights
Rinse aid
If the " " indicator lights up, it means that the rinse agent
level in the dishwasher is low and needs to be refilled.
Salt
If the " " indicator lights up, it means that the salt level in
the dishwasher is low and needs to be refilled.
10 Warning lights
Indicators for the pre-wash, main wash, rinse and drying
phases. Two indicators light up during the pre-wash phase,
then four during the main wash phase, six during the rinsing
phase and eight during the drying phase. The eight indicator
lights go out when the wash cycle is finished.
11 Warning lights Displays remaining time, delayed start, error codes, etc.

7EN
Using the appliance
B
Using your dishwasher
Before using your dishwasher:
1. Set the water softener.
2. Add salt to the water softener
3. Load the rack
4. Fill the container
Interior Exterior
PLEASE NOTE
You can refer to the "water softener" section if you need to
adjust the water softener.
Adding salt to the water softener:
If your model does not have a water softener, you can skip this section. Always use salt that
is intended for use in a dishwasher.
The salt container is located under the lower rack and should be filled as described below:
WARNING
• Only use salt specifically for use in dishwashers!
• Any other type of salt that is not specifically for use
in a dishwasher, especially table salt, will damage the
water softener. In the event of damage caused by the
use of unsuitable salt, the manufacturer will decline
any warranty claim and may not be held liable for the
damage caused.
• Wait until you are ready to start a wash cycle before
filling the salt container.
• This will prevent any grains of salt or salt water
that may have been spilled and left at the bottom of the
machine for any length of time from causing corrosion.

8EN
Using the appliance
B
Follow the steps below to add regenerating salt:
• Remove the lower rack and unscrew the container cap.
• Place the end of the funnel into the hole and pour in approximately 1.5 kg of regenerating
salt.
• Fill the salt container with water up to the maximum limit. It is normal for a small amount
of water to spill out of the container.
• After filling the container, screw the cap back on tightly.
• The salt indicator light will turn off once the container has been filled with salt.
• Immediately after filling the salt container, a wash programme should be started (we
suggest using a short programme). If not, the filter system, pump or other important
parts of the machine could be damaged by the salt water. This is not covered by the
warranty.
PLEASE NOTE
The salt container should only be filled when the
corresponding indicator light ( ) on the control panel lights
up. Depending on how quickly the salt dissolves, the salt
indicator light may remain on even though the container
is full.
• CAUTION: Risk of corrosion and perforation of the tank or parts of the appliance: If you
have spilled salt into the tank during filling, please immediately rinse the area where
the salt has been spilt or start a washing programme.
Be especially careful when starting a programme with a delayed start.

9EN
Using the appliance
B
Tips for using the rack
Adjusting the upper rack
Option 1
1. To raise the top rack, simply lift the top rack with your hands in the middle of each side
until the rack clicks into the upper position. It is not necessary to lift the adjustment
handles.
2. To lower the top rack, lift the adjustment handles on either side to release the basket
and place it in the lower position.
Folding the cup shelves
To make room for larger items in the upper rack, raise the cup shelf. You can then lean the
large glasses against the shelf. The shelf can be removed if you are not using it.

10 EN
Using the appliance
B
Folding the tines
The tines in the lower rack are used to hold plates and dishes. They can be folded to make
room for large items.
Lift upwards Fold backwards
Installation instructions
CAUTION
Risk of electric shock!
Disconnect the power supply before installing the
dishwasher. Failure to do so could result in death or
electric shock.
WARNING
For your personal safety:
- Do not use an extension cord or adapter with this
appliance.
- Under no circumstances should you cut or remove
the earthed connection from the power cord.
INFORMATION ON ELECTRICAL CONNECTIONS
• CAUTION: Risk of overheating, fire and electric shock:
• Please observe the technical characteristics of the appliance in the data sheet attached
to the instructions (voltage, frequency, power, required water pressure, etc.) for your ins-
tallation.

11 EN
Using the appliance
B
• A 20A circuit breaker or a 16A fuse on the appliance’s dedicated circuit must be used.
The cross-section of the supply cables must be 2.5 mm² and the differential switch, 30 mA.
• The outlet must be equipped with a protective ground plug. If the plug is unsuitable or
damaged, replace it and check the electrical installation to ensure that it meets the above
requirements.
WATER INLET AND OUTLET
Cold water connection
• Connect the cold water supply hose to a 1.9 cm threaded fitting and ensure that it is
tight.
• If the water supply pipes are new or have not been used for a long time, let the water run
to check it is clear. This is required to avoid the risk of the water supply being blocked,
which could damage the appliance.
CAUTION
A hose connected to a spray tap can burst if it is installed
on the same water pipe as the dishwasher. If your sink is
equipped with one, it is recommended disconnecting the
pipe and blocking the hole.
How do I disconnect the safety inlet hose?
1. Close the water supply.
2. Unscrew the safety inlet hose from the tap.
CONNECTING THE DRAIN HOSES
• Insert the drain hose into a drain pipe with a minimum diameter of 4 cm, or let it run
into the sink, being careful to avoid bending or pinching the hose. The height of the drain

12 EN
Using the appliance
B
pipe should not exceed 1000 mm. To avoid backflow, the free end of the hose should not
be submerged in water.
• Ensure that the drain hose is securely fastened either in position A or position B.
Back of the dishwasher
Drain hose
Worktop
Water inlet
Drain hose
Power cord
Draining excess water from hoses
• If the sink is more than 1000 mm above the floor, excess water from the hoses cannot be
drained directly into the sink. It will be necessary to drain it into a bowl or other suitable
container that is lower than the sink.
Water outlet
• Connect the drain hose. Ensure it is securely attached to prevent water leakage. Check
the drain hose is not twisted or crushed.
Hose extension
• If you need a drain hose extension, make sure you use the same type of hose. It should
not be longer than 4 metres, otherwise the cleaning performance of your dishwasher
may be reduced.
Connecting the siphon
• The waste water connection must be less than 100 cm (maximum) from the bottom of
the tub. The water drain hose must be attached.

13 EN
Using the appliance
B
POSITIONING OF THE APPLIANCE
• Place the dishwasher in the desired location. The back of the appliance should rest
against the wall behind, and the sides against adjacent cabinets or walls. This dishwasher
is fitted with water supply and drain hoses which can be positioned on the left or right-
hand side for ease of installation; the hose should not be submerged in water to avoid
backflow.
Levelling the appliance
• Once the appliance has been positioned in the required location, the height of the
dishwasher can be changed by turning the adjustment feet. The appliance must never
be inclined by more than 2°.
PLEASE NOTE
This section applies to stand-alone dishwashers only.
STAND-ALONE INSTALLATION
Installation between existing cabinets
• Once the appliance has been positioned in the required location, the height of the
dishwasher can be changed by turning the adjustment feet. The appliance must never
be inclined by more than 2°.
• The height of this dishwasher (845 mm) is designed to allow it to be installed between
existing cabinets of the same height in modern fitted kitchens. The feet can be adjusted
to the correct height.
• The laminated top surface of the appliance does not require any special care, as it is
resistant to heat, scratches and stains.
This manual suits for next models
1
Table of contents
Languages:
Other VALBERG Dishwasher manuals

VALBERG
VALBERG 14S42 D WAD929C User manual

VALBERG
VALBERG FBI 14S40 B KAD929C User manual

VALBERG
VALBERG 10S44 D SAD929C User manual

VALBERG
VALBERG FBI 16S43 A XAD929C User manual

VALBERG
VALBERG FBI 14S42 C SAD929C User manual

VALBERG
VALBERG 14S42 D WAD929C User manual

VALBERG
VALBERG 3S58 F WAD929C User manual

VALBERG
VALBERG 15S39 D S701T User manual

VALBERG
VALBERG 14S44 D XAD929C User manual

VALBERG
VALBERG 966566 User manual