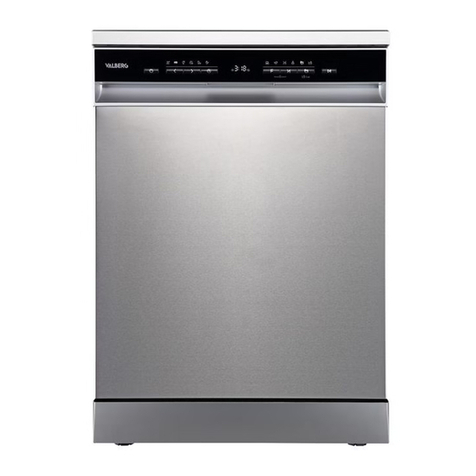
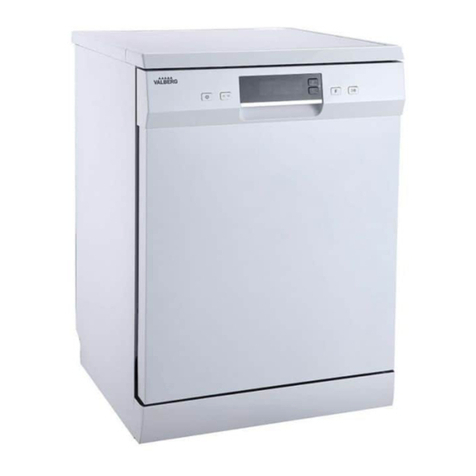
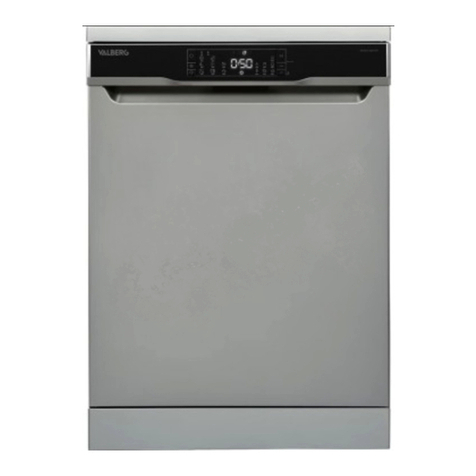
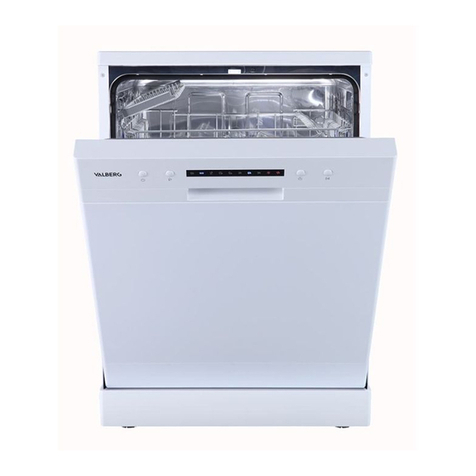
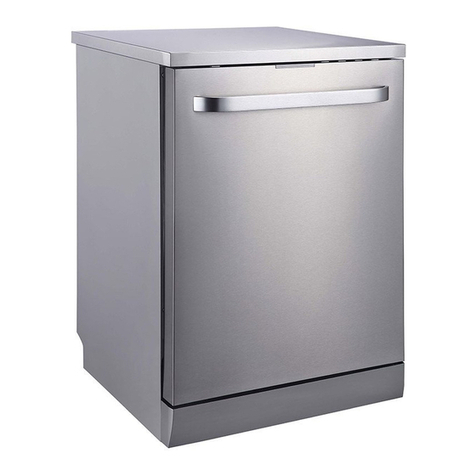
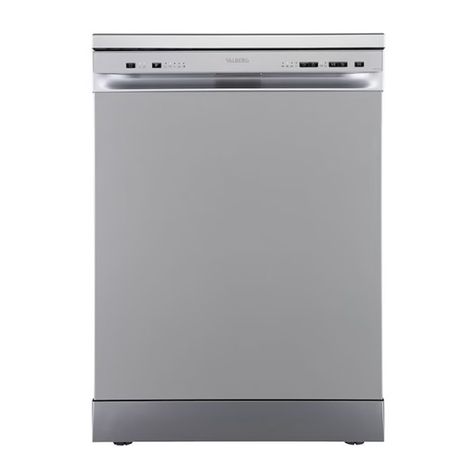
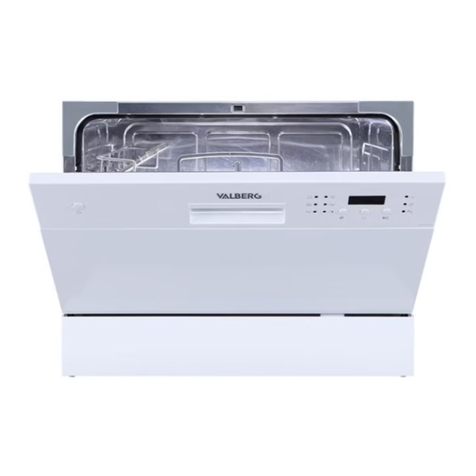
VALBERG 966566 User manual


ELECTRO DEPOT
1 route de Vendeville
59155 FACHES-THUMESNIL - FRANCE
EN
WARRANTY CONDITION
This product is guaranteed for 2 years from the date of purchase* against any failure
resulting from a manufacturing or material defect. This warranty does not cover defects
or damage resulting from incorrect installation, improper use or abnormal wear of
the product.
*as shown on the sales receipt.
FR
CONDITION DE GARANTIE
Ce produit est garanti pour une période de 2 ans à partir de la date d’achat*, contre
toute défaillance résultant d’un vice de fabrication ou de matériau. Cette garantie ne
couvre pas les vices ou les dommages résultant d’une mauvaise installation, d’une
utilisation incorrecte ou de l’usure anormale du produit.
*sur présentation du ticket de caisse.
NL
GARANTIEVOORWAARDEN
Dit product wordt gegarandeerd voor een periode van 2 jaar vanaf de aankoopdatum*,
voor elke storing die het gevolg is van een fabricagefout of het materiaal. Gebreken of
schade door slechte installatie, onjuist gebruik of abnormale slijtage van het product
worden niet gedekt door deze garantie.
*op vertoon van kassabon.
ES
CONDICIONES DE GARANTÍA
El certificado de garantía de este producto tiene una duración de 2 años a partir de la
fecha de compra* que se limita a los defectos de fabricación y averías del material.
Se excluyen de la garantía deficiencias o daños originados por una mala instalación,
errores en la manipulación o por un uso inadecuado.
*previa presentación del comprobante de compra.
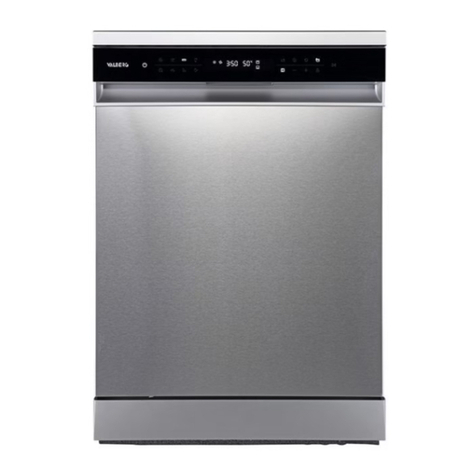
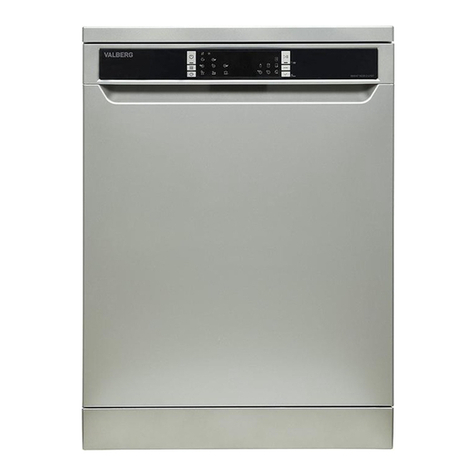
966566
FBI 14S47 D SAD929C
INSTRUCTIONS FOR USE .....................02
CONSIGNES D'UTILISATION .....................48
GEBRUIKSAANWIJZINGEN .....................94
INSTRUCCIONES DE USO ...................140
2/2 07/2021-V5
Dishwasher
Lave-vaisselle
Vaatwasser
Lavavajillas


1
2
3
4
5
A B
6 7 8


2 EN
Thanks!
Thank you for choosing this VALBERG product.
Chosen, tested and recommended by ELECTRO DEPOT,
the products of the VALBERG brand are easy to use,
reliable and of an impeccable standard.
Thanks to this appliance, you can be sure that each
use will bring you satisfaction.
Welcome to ELECTRO DEPOT.
Visit our website: www.electrodepot.fr
www.electrodepot.be

3EN
Overview of the appliance
A
3 EN
Table of contents
APreview of the
appliance
CUseful information
BUsing the appliance Before using your dishwasher
Installation instructions
Loading the racks
Quick use guide
Using your dishwasher
Programming the dishwasher
Cleaning and maintenance
Troubleshooting tips
Error codes
Description of the appliance

4EN
Overview of the appliance
A
Description of the appliance
NOTE : To ensure that your dishwasher performs optimally, read all the operating
instructions before using it for the first time.
1Inner hose 4Lower wash arm
2Salt compartment 5Micro-filter
3Detergent compartment 6Cutlery compartment
7Upper rack 8Lower rack
AUpper wash arm
BCup shelf
NOTE: Illustrations are for illustrative purposes only, specifications vary by model. Please
refer to your specific model.

5FR
Using the appliance
B
Before using your dishwasher
• Before using your dishwasher:
ExteriorInterior
SALT
1. Set the water softener
2. Load salt into the water softener
3. Load the rack
4. Fill the compartment
NOTE : Please refer to the “Water Softener” chapter if you need to adjust the water
softener.
Loading salt into the water softener
• Always use salt meant to be used in a dishwasher.
• The salt compartment is located underneath the bottom rack and must be lled following
the below instructions:
WARNING :
• Only use salt specifically designed for dishwashers!
Any other type of salt that is not specifically intended for use in a dishwasher, especially table
salt, will damage the water softener. In the event of damage caused by the use of unsuitable
salt, the manufacturer declines any warranty and any liability for the damage caused.
• Wait until you are ready to start a wash cycle before filling the salt tank.
This will prevent any grains of salt or salt water that may have been spilled and left on the
bottom of the machine for some time from causing corrosion.

6FR
Using the appliance
B
• Follow the steps below to add regenerating salt:
SALT
1. Remove the bottom rack and unscrew the compartment cap.
2. Place the tip of the funnel (provided) into the hole and pour in about 1.5 kg of regenerating
salt.
3. Fill the salt compartment with water to the maximum limit. A small amount of water may
spill out of the compartment, which is normal.
4. After filling the compartment, screw the cap back on tightly.
5. The salt indicator light will turn off once the compartment is filled with salt.
6. Immediately after filling the salt compartment, a wash programme must be started. If not,
the filtration system, pump or other important parts of the machine may be damaged by the
salt water. This is not covered by the warranty.
NOTE :
• The salt compartment should only be lled with the salt indicator light ( ) turns on in the
control panel. Depending on how easily the salt dissolves, the salt indicator light may remain
on even though the compartment is full.
• CAUTION: Risk of corrosion and perforation of the tank or parts of the appliance
: If you spill any salt in the cavity during filling, please immediately rinse
the spot where the salt is spilt or start a wash programme.
Be especially careful when starting a programme with a delayed start.

7FR
Using the appliance
B
Instructions on using the rack
Adjusting the top rack
1. To raise the top rack, simply lift the top rack with your hands in the middle of each side
until the rack clicks into the upper position. It is not necessary to lift the adjustment handles.
2. To lower the top rack, lift the adjustment handles on either side to release the basket and
place it in the lower position.
Folding the cup shelves
• To make room for larger items in the top rack, lift the cup shelf upwards. You can then lean
large glasses against the shelf. You can also remove the shelf if not needed.
Folding the rods
• The rods in the bottom rack are used to hold plates and dishes. They can be folded down
to make room for large items.
lift up fold down

8FR
Using the appliance
B
Installation instructions
WARNING : Risk of electric shock
Disconnect the power supply before installing the dishwasher. Failure to do so could result
in death or electric shock.
Information on electric plugs
WARNING : For your personal safety:
• Do not use an extension cord or adapter with this unit.
• Under no circumstances should you cut or remove the ground connection from the power
cord.
• Caution: Risk of overheating, fire and electric shock:
• Please observe the technical characteristics of the appliance in the data sheet attached
to the instructions (voltage, frequency, power, required water pressure, etc.) for your
installation.
• A 20A circuit breaker or a 16A fuse on the appliance's dedicated circuit must be used.
The cross-section of the supply cables must be 2.5 mm² and the differential switch, 30 mA.
• The outlet must be equipped with a protective ground plug. If the plug is unsuitable or
damaged, replace it and check the electrical installation to ensure that it meets the above
requirements.
WARNING : Check that the appliance is properly grounded before use.
Water supply and drainage
Cold water connection
• Connect the cold water supply hose to a 1.9 cm threaded tting and ensure that it is tight.
• If the water supply hoses are new or have not been used for a long time, run the water to
check that it is clear.
• This is necessary to avoid the risk of the water supply being clogged, which could damage
the appliance.

9FR
Using the appliance
B
Standard supply hose
WARNING : A hose connected to a sink sprayer can burst if it is installed in the same
water line as the dishwasher. If your sink is equipped with one, it is recommended to
disconnect the pipe and plug the hole.
How to disconnect the safety supply hose?
1. Shut off the water supply.
2. Unscrew the safety supply hose from the tap.
Drain hose connection
• Insert the drain hose into a drain pipe with a minimum diameter of 4 cm, or let it run into
the sink, taking care not to bend or pinch it.
• The height of the drain pipe should not exceed 1000 mm.
• The free end of the hose should not be immersed in water to avoid backow.
WARNING : Ensure that the drain hose is securely fastened either in Aposition or in
Bposition.

10 FR
Using the appliance
B
A
B
Rear of the dishwasher
Water supply
Drain hose
Power Cord
Drain hose
Counter
top
MAX. 1,000 mm
φ 40 mm
Draining excess water from the hoses
• If the sink is more than 1000 mm above the oor, excess water from the pipes cannot
be drained directly into the sink. It will be necessary to empty it into a suitable bucket or
container, placed outside the appliance and lower than the sink.
Water outow
• Connect the drain hose. Make sure it is securely fastened to prevent water leakage.
• Make sure the drain hose is not twisted or crushed.
Hose extension
• If you need a drain hose extension, make sure you use a similar drain hose.
• It should not be longer than 4 metres, otherwise, the cleaning performance of your
dishwasher may be reduced.
Connecting the siphon
• The wastewater connection must be within 100 cm (maximum) from the bottom of the tank.
• The water drain hose must be attached.

11 FR
Using the appliance
B
Positioning the unit
• Place the dishwasher in the desired location. The back of the unit should rest against the
wall behind it, and the sides against adjacent cabinets or walls.
• This dishwasher has drain and water supply pipes that can be positioned on the left or right
side for easy installation.
Recessed installation
Step 1: Choosing the best location for the dishwasher
• The dishwasher should be installed close to the existing water supply, supply sources and
drain pipes.
• Illustration of cabinet dimensions and installation position of the dishwasher
90° 90°
820 mm
580 mm
80
100
Opening for
power supply,
water supply
and drainage
Clearance between the
bottom of the cabinet and
the oor
600 mm (for 60 cm models)
450 mm (for 45 cm models)
1. There should be a gap of less than 5 mm between the top of the dishwasher and the
worktop, and the outer door should be ush with the cabinet.
2. If you install the dishwasher in the corner of a cabinet, you must allow sufficient space for
the door to open.

12 FR
Using the appliance
B
Dishwasher
Door of the
dishwasher
Cabinet
Minimum
clearance of
50 mm
NOTE : Depending on the location of your electrical outlet, it may be necessary to make
an opening in the opposite side of the cabinet.
Step 2: Dimensions and installation of the decorative panel
NOTE : The decorative wooden panel must be mounted according to the installation
diagrams.
• All-recessed model
Install the hook on the decorative wooden panel and insert it into the slot in the outer
dishwasher door (see figure A). After positioning the panel, attach it to the outer door with
screws and bolts (see figure B).

13 FR
Using the appliance
B
A
B
2. Fasten the four long screws
1. Remove the four short screws
Step 3: Adjusting the door spring tension
1. The door springs are factory-set to the correct tension for the outer door. If you install the
decorative wooden panel, you will need to adjust the tension of the door springs. To do this,
turn the adjusting screw to tighten or loosen the steel cable.
2. The tension of the door springs is correct when the door remains horizontal in the fully
open position, but rises to the closed position with the touch of a finger.
Step 4. Steps to install the dishwasher
NOTE : Please refer to the installation steps described in the corresponding diagrams.
This manual suits for next models
1
Table of contents
Languages:
Other VALBERG Dishwasher manuals

VALBERG
VALBERG FBI 16S43 A XAD929C User manual

VALBERG
VALBERG 3S58 F WAD929C User manual

VALBERG
VALBERG 978493 User manual

VALBERG
VALBERG 972793 User manual

VALBERG
VALBERG 14S44 D XAD929C User manual

VALBERG
VALBERG FBI 14S40 B KAD929C User manual

VALBERG
VALBERG 14S42 C XAD929C User manual

VALBERG
VALBERG 12S45 D DXAD701T User manual

VALBERG
VALBERG 15S39 D S701T User manual

VALBERG
VALBERG 972691 User manual