website:
www.valleyacrylic.com • E-mail: [email protected] • customer service call Toll Free: 1.877.398.8827 • Fax: +1.604.820.0124TD10A
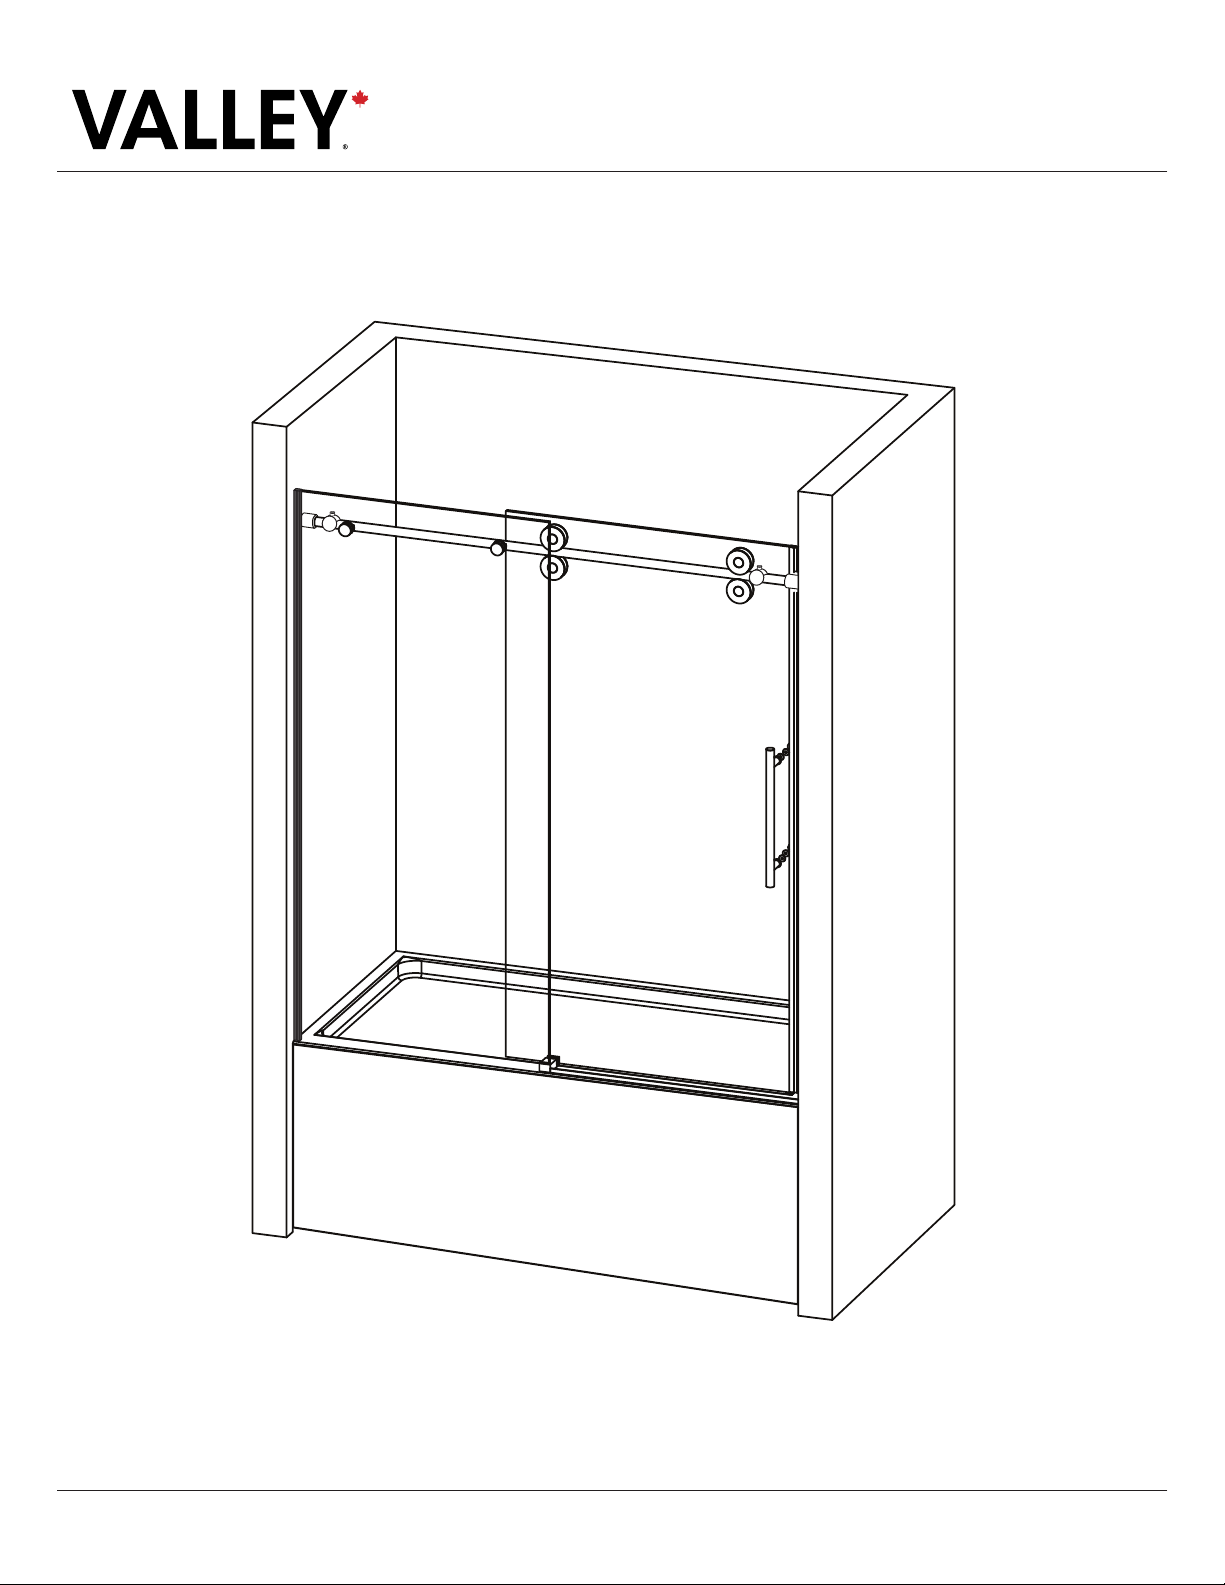
BATHUB DOOR
INSTALLATION GUIDE
2
Thank you for choosing Valley Acrylic Products. This installation manual provides general information on the
installation of our products.
• Prior to installation, examine all boxes and packages for shipping damage and compare the piece count with your
packing slip. After opening all boxes and packages read this instruction carefully. Check that all of the needed parts are
included in the package by checking o the components on the “Detailed Diagram of Bathtub Enclosure Components”.
If the unit has been damage, has a nishing defect, or has missing parts, Please contact us for replacements within
3 business days. Please note that we will not replace any damage product or missing parts free of charge after 3
business days or if the product has been installed.
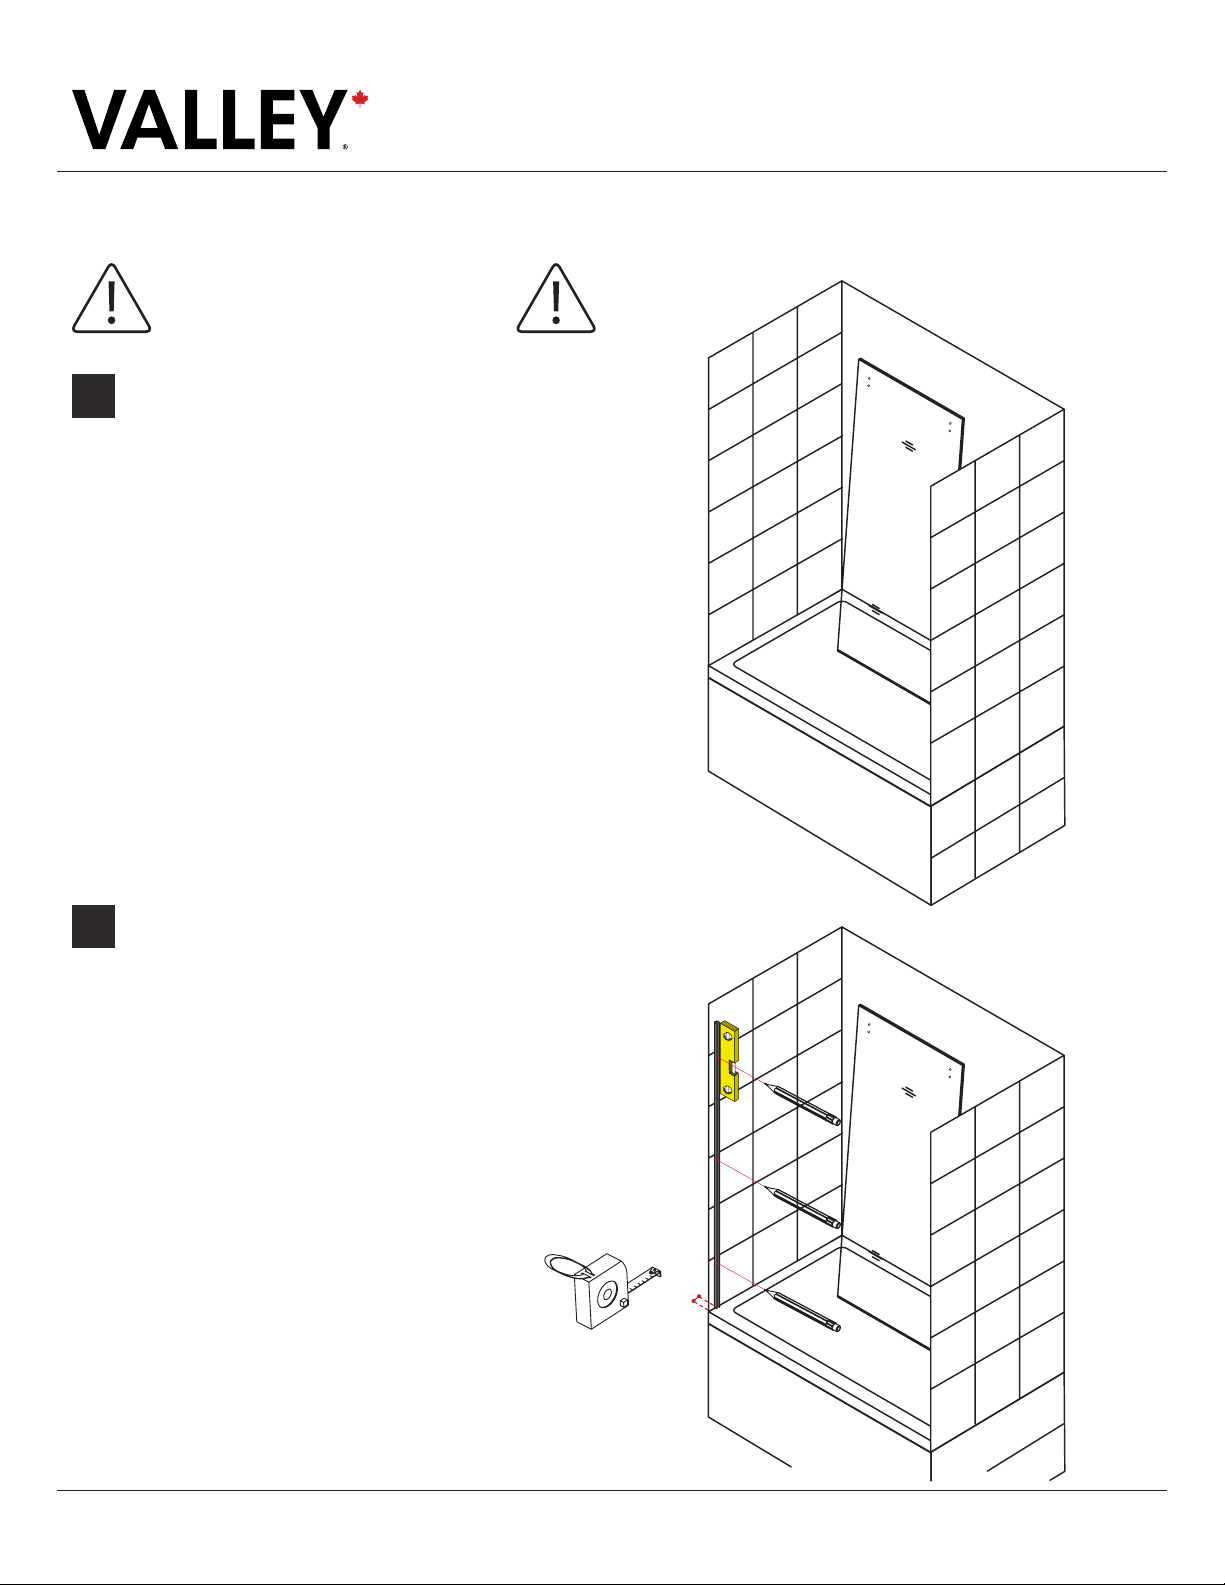
• Prior to installation, please ensure that the surface is level and solid and will be able to support the total weight of
the unit. Also make sure that the walls are plumb. Depending on the type of unit you are installing, some adjustments
in leveling may be possible. However, irregular installation surface level or out-of-square conditions can result in
serious problems for your installation. Please note that some adjustments and drilling may be necessary. Please
protect all primary surfaces of the product during installation.
• NOTE: This door is reversible for right or left-hand door installation. The right-hand door installation is shown as an
example throughout this manual. For left-hand door installation, simply begin on the opposite wall and reverse the
orientation of the steps shown.
BEFORE YOU BEGIN
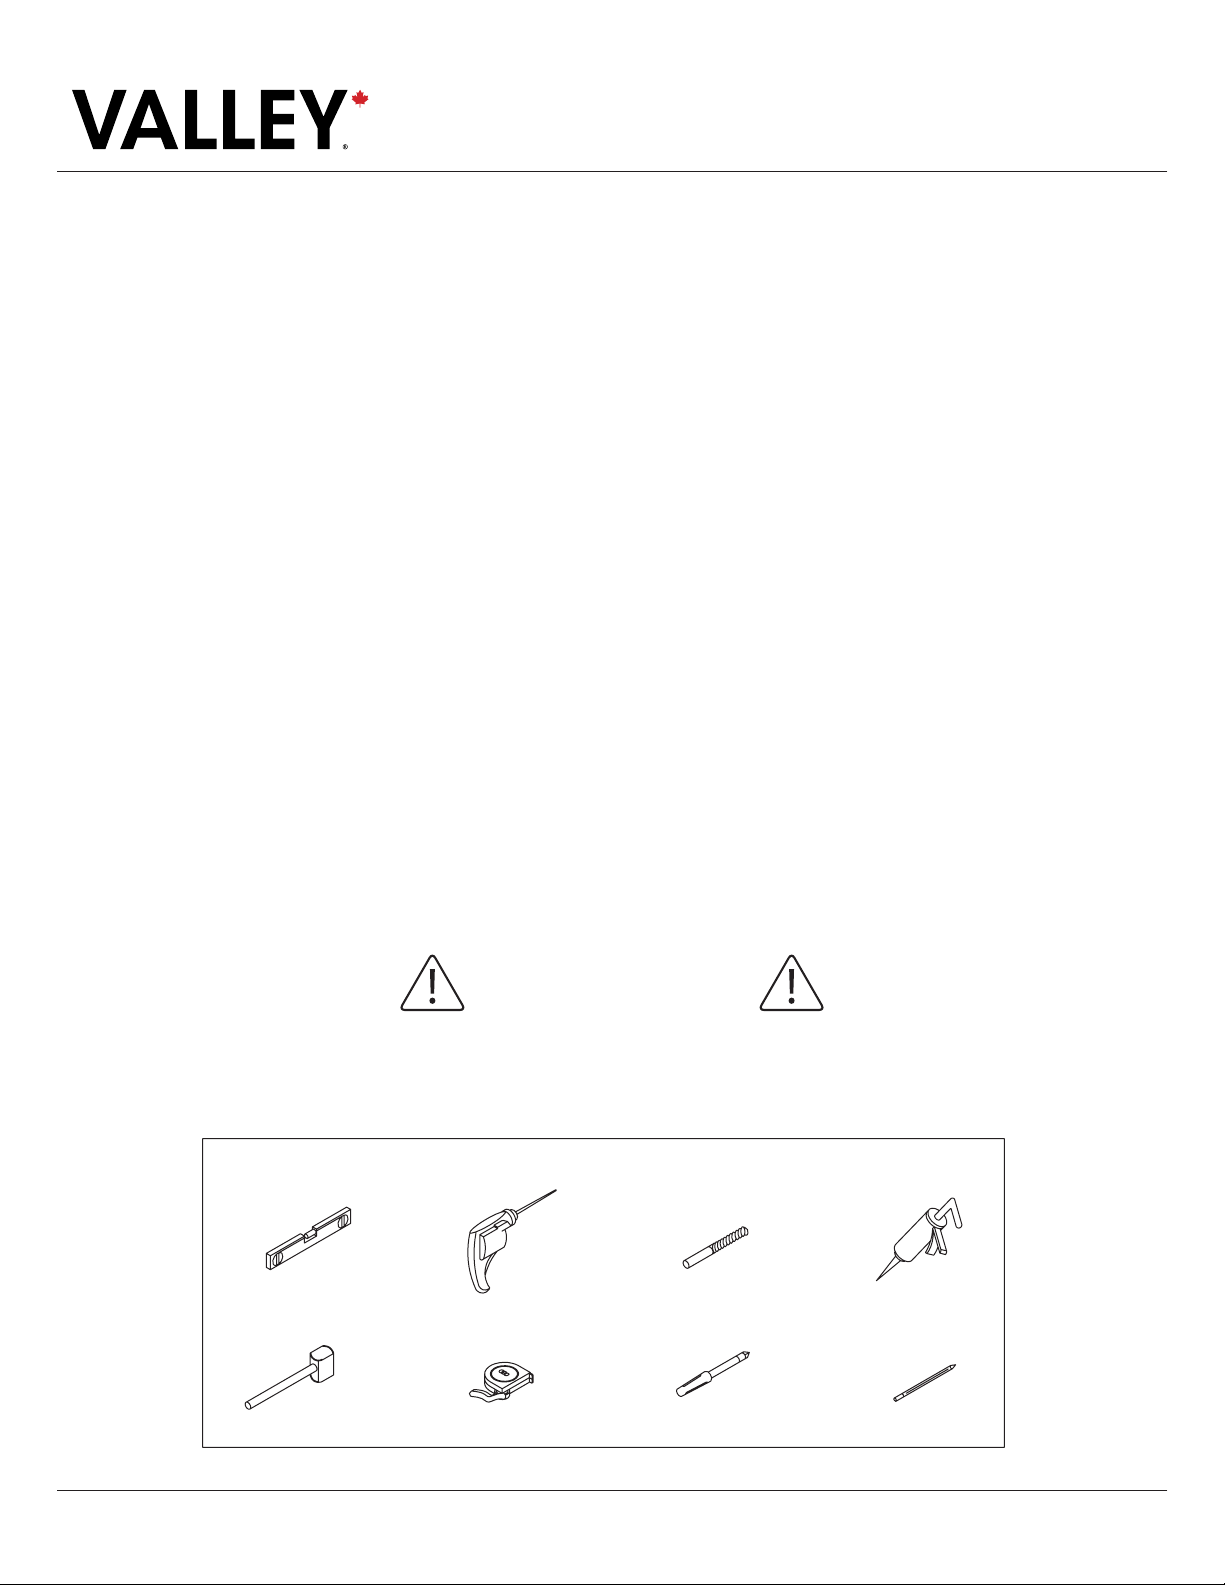
REQUIRED TOOLS
Level
Rubber Hammer
Cordless Drill
Tape Measure
1/4” Drill Bit
Phillips screwdriver
Silicone Gun
Pencil
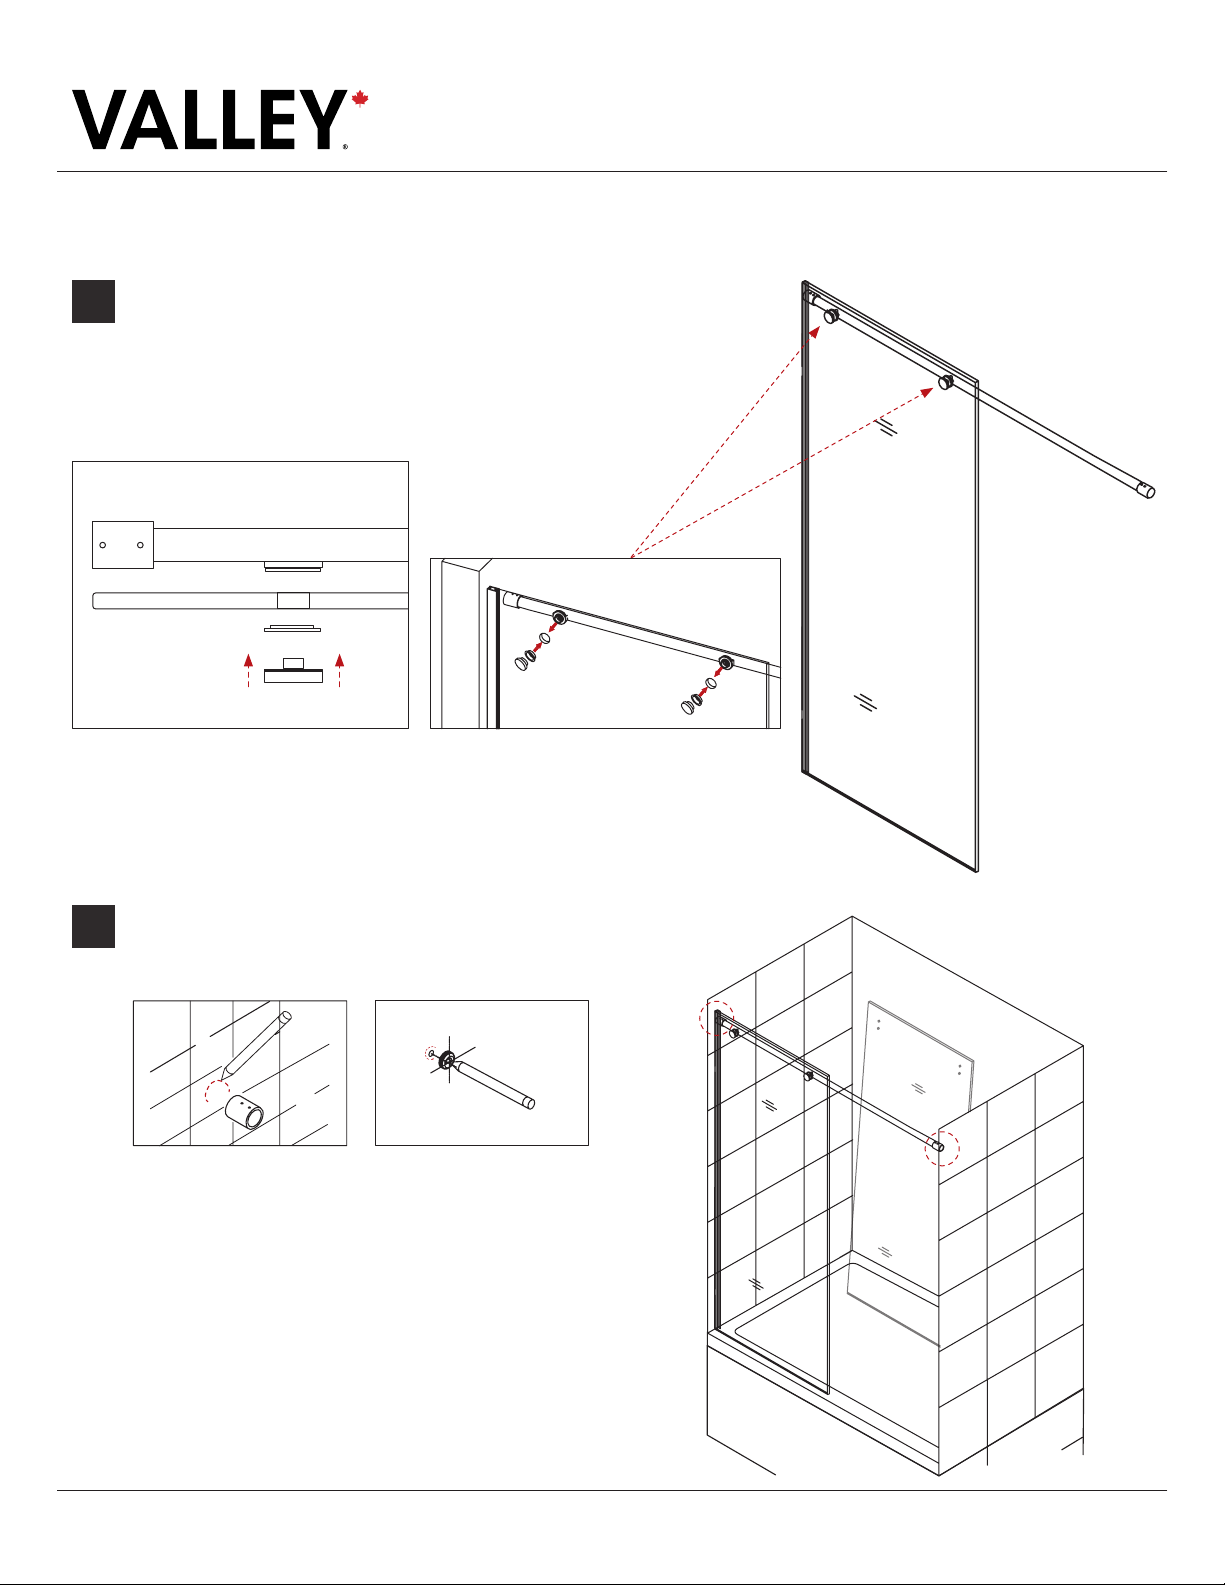
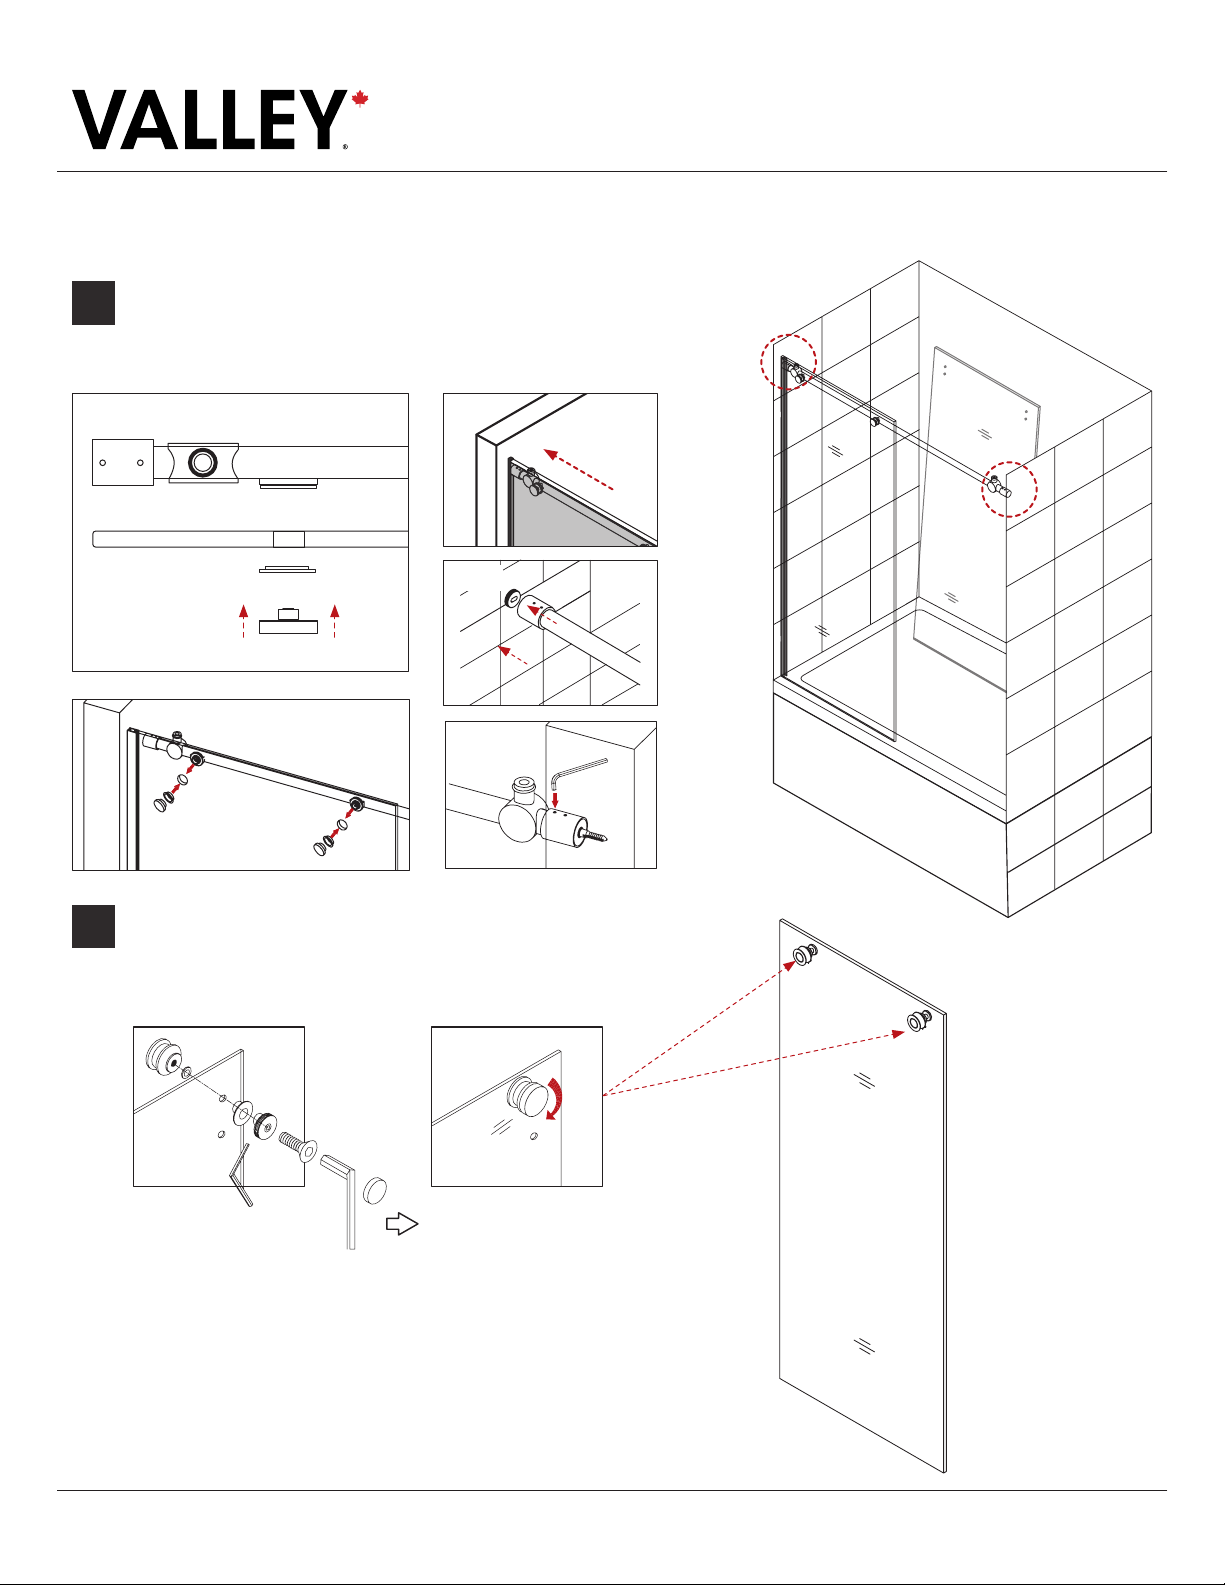
ALL BATHTUB DOORS NEED TO BE DRY-FITTED
BEFORE DRILLING ANY HOLE
IMPORTANT INFORMATION