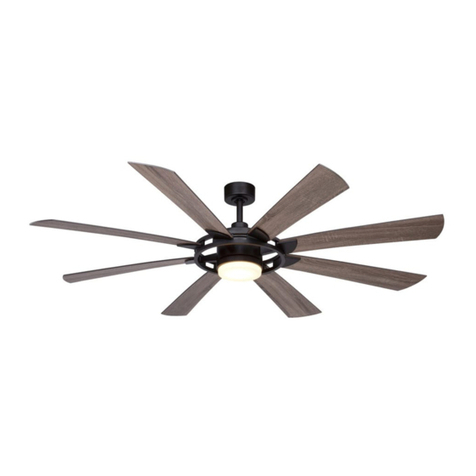
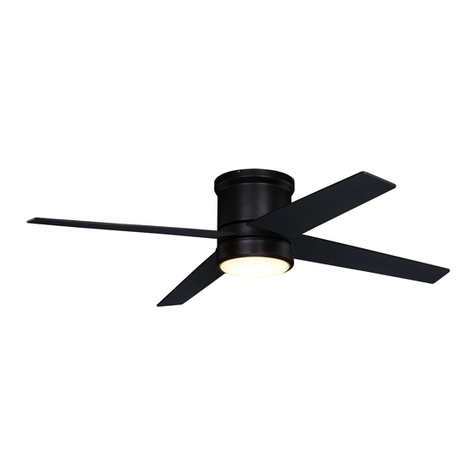
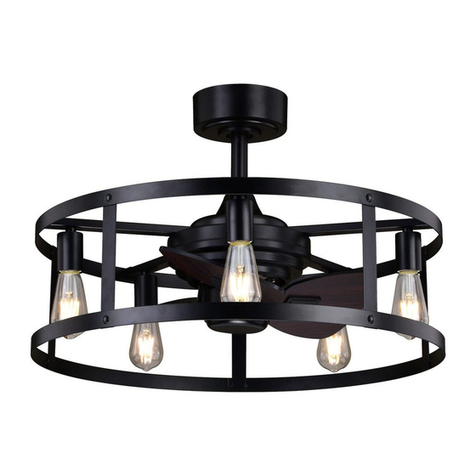
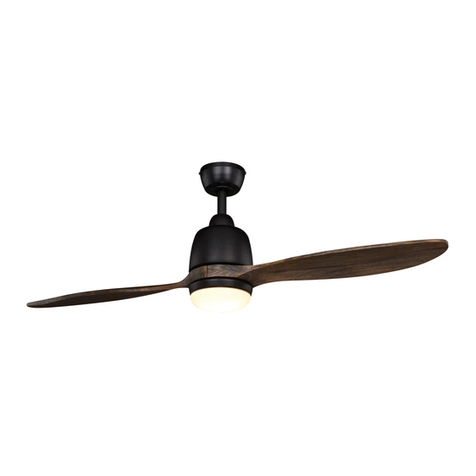
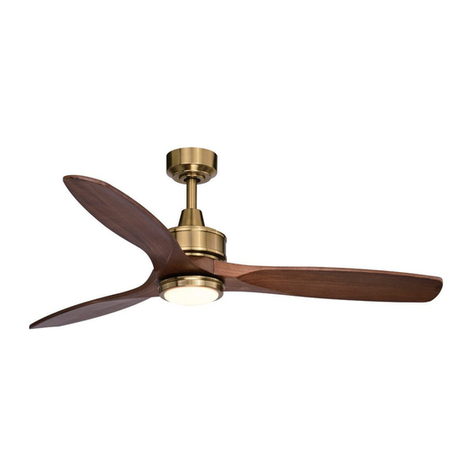
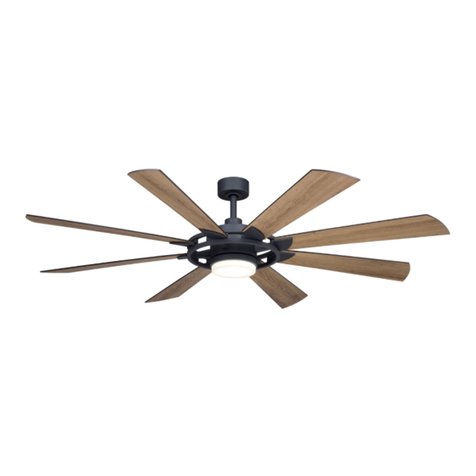
Vaxcel FN744 series User manual

1
INSTRUCTIONS FOR INSTALLATION AND USE
Ceiling Fan Model Stratus (FN744XX)
BEFORE YOU START
Proper use:
-This product is intended exclusively for non-commercial use as ceiling fan.
-The product has to be installed and used in accordance with these instructions.
-Any use of this product that is not in accordance with these instructions will void the legal
warranty of the manufacturer.
Please keep the original carton and packaging material as the warranty will only be honored if product
is returned in complete original packaging.
FOR YOUR OWN SAFETY
General safety instructions:
-For the safe use of this product, you need to have read and understood these instructions
before installing or using the product.
-Please follow all safety instructions! If you ignore these safety instructions, you will endanger
yourself and others.
-Keep these instructions for future reference.
-All parts of this product have to be installed properly in order to ensure safe operation.
-Modification of the product and use of non-approved parts are prohibited.
-This product is not intended for use by persons (including children) with reduced physical,
sensory or mental capabilities, or lack of experience and knowledge, unless they have been
given supervision or instruction concerning the use of the product by a person responsible for
their safety. Children should be supervised to ensure that they do not play with the product.
Electrical safety:
-The electrical installation must be performed by a qualified electrician and must be in
accordance with national and local regulations.
-Use a fault-current circuit breaker with a rated residual current of no more than 30 mA.
-Make sure to install an all-pole disconnection switch having a contact separation of at least
3mm between poles in the supply wiring to the ceiling fan.
-Before connecting the appliance to the electrical grid, make sure that it will only be operated
within the specified parameters.
-The fan must be properly grounded to avoid the risk of electric shocks.
-Switch off the power before connecting, repairing or cleaning the fan.
Storage and transport:
-Always store the fan in a dry environment.
-Protect the fan from damages during transport.

2
Safety instructions specific to this fan:
-Attach the fan only directly to the ceiling structure. The minimum distance between the blades
of the fan and the floor must be 2.3m.
-The carrying capacity of the ceiling structure from which the fan is hung must be at least three
times the weight of the fan.
-The fan can only be installed horizontally on the ceiling.
-The rotor area has to be kept clear of any objects at all times.
-Never mount the fan outside or in a humid or wet environment. The fan cannot be installed
within proximity of water (e.g. bath tub, swimming pool, water connection).
FAN OVERVIEW
1. Canopy
2. Fan assembly
3. Fan blades
4. Fan light housing
5. Glass shade
UNPACK THE FAN
-Unpack the fan and check that contents are complete.
-Dispose of packaging –see also “Disposal”.
Contents of packaging:
Instructions for installation and use
Assembly kit, incl. screws and washers
Mounting bracket
Transmitter for remote control
Motor housing
Downrod stand cover
Fan light housing
Canopy
Fan blades
Glass shade
Note: In case of damaged or missing parts, please contact your retailer.
INSTALLATION
Risk of electric shock: Switch off the electricity using the switch at the circuit breaker box before
installing the fan.
Risk of electric shock: The electrical installation must be performed by a qualified electrician and
must be in accordance with national and local regulations.
Risk of injury: In case you need to drill holes for mounting the fan, make sure that the drills have
sufficient distance to in-ceiling wiring.
1
2
3
4
5

3
1. Pass the supply wires through the mounting bracket.
Secure the mounting bracket to a ceiling joist or other
structural ceiling element with two screws, spring
washers and flat washers. Ensure that the support for
the mounting bracket is capable of safely holding the
moving weight of the fan.
2. Remove the lock pin and take
off the downrod pin.
4. Insert the downrod into the
collar. Slide downrod pin through
holes of collar and downrod;
secure with lock pin.
3. Slide canopyand downrod
stand cover onto downrod, as
shown. Then thread motor wires
through downrod.
5. Insert and tighten the two collar
screws. Make sure two collar screws
are snug, but do not over tighten. Slide
downrod stand cover in place.
6. Hang fan on mounting bracket,
then rotate the downrod until the
chip on the mounting bracket
snaps into the slot on the hanger
ball.
7. Make supply wire connections. Follow diagram
on the left and make sure that all exposed wires are
tightened by screw on terminal block.
Note:
a.) The terminal block shown in left graph is
pre-installed on themounting bracket.
b.) Wires from house may vary in color and may
not include ground wire (yellow/green).
After wiring is completed, gently push wires into
junction box with terminal block upward (if
applicable).
8. Make fan wire connections using connectors. Do
not force connectors together, as this may
damage the connectors.

4
9. Push the canopy upwards, lining up
the keyholes on the bottom with the
screws on the mounting bracket. Twist
the canopyto lock it in place, then
tighten the screws to secure it.
10.Align holes in blade with holes at the bottom of fan
assembly. Install the blades using flat washers and screws
supplied. Tighten screws carefully. Note: “THIS SIDE UP”
label on fan blades. Blades are not reversible.
11.Make wire connections for fan light using the connectors, making sure that colors on
connectors are aligned.
12.Attach fan light housing toconnector plate, secure it using three screws. Make sure not
to pinch anywires.
13.Install glass shade by rotating it clockwise onto fan light housing until it is secure.

5
OPERATING THE FAN
Check the fan before switching it on!
Risk of injury: The fan can only be operated if no defects have been found upon inspection.
In case a part is defective, it will have to be replaced before using the fan.
Risk of injury: Before changing the fan rotating direction, the fan has to be switched off and come
to a complete stop.
Check that the fan is in safe operating condition:
-Check to make sure that there are no visible defects.
-Verify that all parts are properly installed and fastened.
Remote control
Install one 12 volt battery (type 23AE, not included) to
the remote control.
Buttons:
1- Fan speed control: controls the ceiling fan speed
(I for the lowest speed, VI for the fastest speed)
2- Fan OFF: turns the fan off
3- Reverse function: controls fan direction
4- Lighting control: adjusts the intensity of the light (if
applicable, depending on bulb).
5- CODE setting: using method as below
Step 1: Finish the installation of the ceiling fan.
Step 2: Turn the power on for the ceiling fan and
within 60 seconds, press and hold SET button on
back of remote control for 5 seconds. The light of the ceiling fan flashes twice when setup is completed.
Step 3:After setup is completed, switch to the desired speed. The fan will run on the highest and lowest
speed first, and will then turn to the selected speed automatically.
6- Light setting: selects On/Off or Dimming function for light
<D> On/Off function without dimming (required for energy saving lamps [CFL]).
<ON> Dimming function enabled (for tungsten lamps; not compatible with energy saving lamps [CFL]).
Note: After changing the blades, the CODE setting has to be performed again.
Note: The receiver provides protection in the following two situations:
1- Lock protection: The receiver has a built-in protection against obstruction during operation. The
motor will be locked and the power will be disconnected after 30 seconds of obstruction. Please
remove obstacles before restarting. To reset, turn off the power supply to the fan motor, then restart.
2- Power surge protection: If the receiver detects a power consumption of the motor greater than 80W,
the power supply will be interrupted and operation will immediately stop. To reset, turn off the power
supply to the fan motor, then restart (after 5 seconds).
CLEANING
Risk of injury: Before cleaning the fan, always switch off the power at the main circuit breaker and
wait until the fan has come to a complete stop.
Clean the fan with a dry or damp soft cloth. Do not use any liquids or detergents.

6
DISPOSAL
Disposal of the fan: You are required to dispose of electric and electronic appliances separately from
your household waste. Please inquire at your municipality regarding proper ways of disposal.
By separately disposing of your electric and electronic appliances, you are participating in recycling and
you are helping to prevent potentially toxic substances from polluting the environment.
Disposal of the packaging: The packaging consists of cardboard and marked plastic and Styrofoam
which can be recycled. Please recycle.
MALFUNCTIONS –TROUBLE SHOOTING
Risk of injury: Inappropriate repairs can lead to the fan not functioning safely. This can cause a
hazard for yourself and your environment.
Most malfunctions are caused by small errors which you can easily resolve by yourself. Please check
the following table before contacting your retailer. This way, you can spare yourself a lot of effort and
cost.
Malfunction
Underlying cause (error)
Solution
Fan does not turn.
Fan switched off?
Switch on fan.
No mains voltage?
Check circuit breaker.
Batteries of remote control empty?
Install new batteries.
Fan vibrates.
Fan not installed properly?
Install fan thoroughly according
to installation instructions.
Light does not work.
Wiring connections not complete?
Check all wiring connections.
If you can not resolve the malfunction yourself, please ask your retailer directly.
Please note that the warranty will be voided by inappropriate repairs.
TECHNICAL DATA
Speed
Voltage
Power
RPM
VI
230V ~ / 50Hz
32W
185
V
20W
154
IV
13W
128
III
8W
102
II
5W
76
I
3W
50
MANUFACTURER
Vaxcel International Co., Ltd.
121 E North Avenue, Carol Stream, IL, USA
www.vaxcel.com
This manual suits for next models
1
Table of contents
Other Vaxcel Fan manuals
Popular Fan manuals by other brands

Panasonic
Panasonic F-56XPG Operating and installation instructions

Heinner
Heinner HMF-1500MIX instruction manual

Emerson
Emerson CF955BS 00 owner's manual

WAC Lighting
WAC Lighting MOCHA installation instructions

Vornado
Vornado Energy Smart 533DC owner's guide

eligent
eligent EEPE-DF-FT23-8HCY-UK user manual

Base Camp
Base Camp F235100 instruction manual

Dimplex
Dimplex DCTFE97 instruction manual

Healthy Climate Solutions
Healthy Climate Solutions ERV5-130 installation instructions

Maico
Maico ER 60 GVZ Wiring diagram

TJERNLUND
TJERNLUND HS-3C CANADIAN 8504002 REV 2 0997 manual

Vents-us
Vents-us VK PS 100 installation guide