CAMCOLVC13
28.07.2010 ©Velleman nv
9
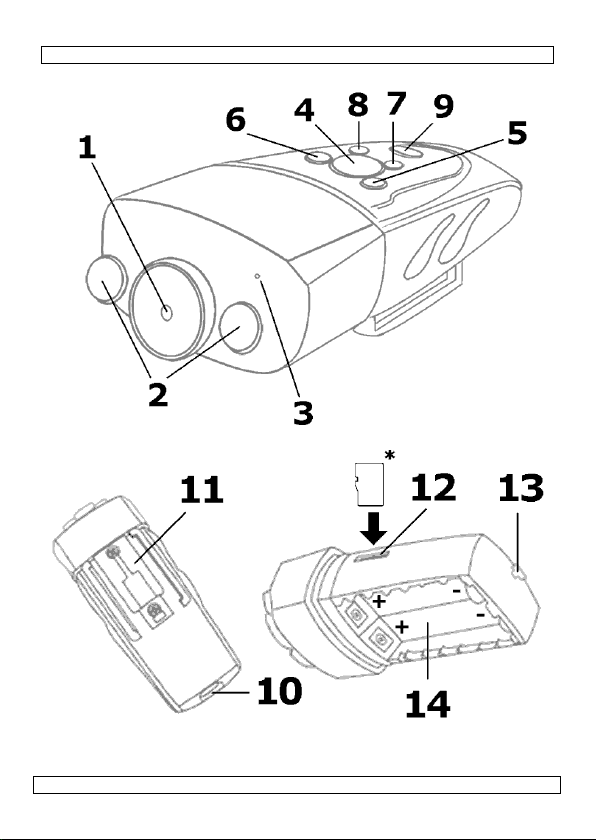
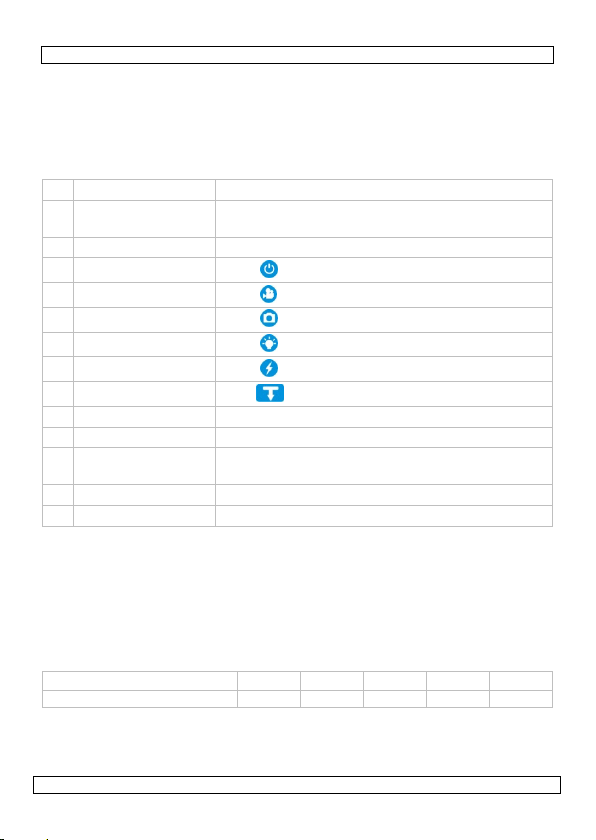
12 batterijvak vak voor 2 lithiumbatterijen
13 USB-poort aansluiting voor data-upload
14 slot voor SD-kaart gebruik een SD-kaart van max. 32 GB
6. Gebruik
Voor het eerste gebruik
•Open de behuizing. Druk hiervoor knop [9] in en schuif het deksel
voorzichtig naar achter.
•Plaats de batterijen (raadpleeg §8)
•Plaats de SD-kaart (niet meegeleverd) in het slot [14] volgens de
aanduidingen naast het slot. Opnameduur:
HD 1280x720 (30 fps) 2 GB 4 GB 8 GB 16 GB 32 GB
opnameduur (uren) 1 2 4 8 16
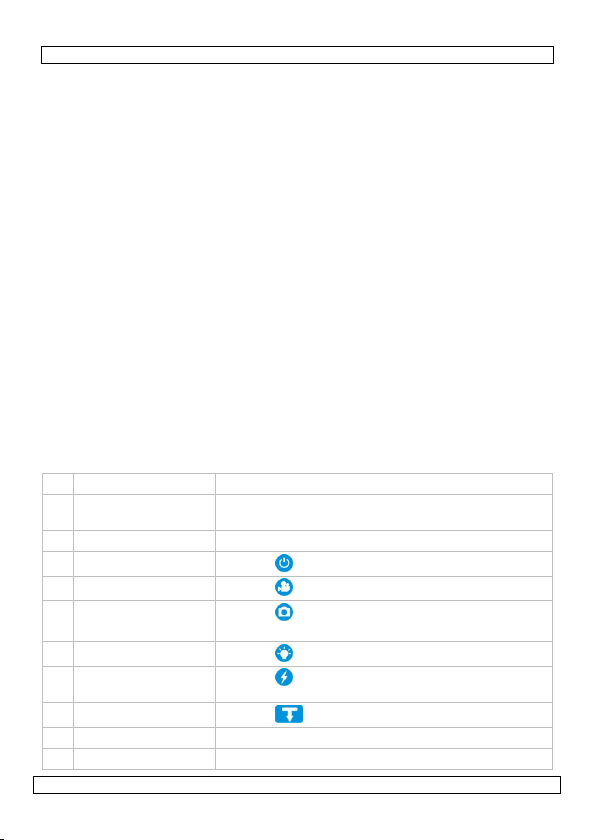
•Druk kort op de aan-uitknop [4] om de camera in stand-by te plaatsen.
Een rode led licht op.
•Sluit de camera [13] aan op de computer via de meegeleverde USB-
kabel. De led licht blauw op. De batterijen worden nu opgeladen. Laad de
batterijen volledig op voor het eerste gebruik. Laadduur via pc: 8 ~ 12 u;
laadduur via adapter: ± 4 u.
•Tijd- en datuminstelling: Dubbelklik op DateTime.exe op de
meegeleverde cd-rom. Wijzig tijd en datum in het pop-upvenster. Klik
daarna op Save en op OK. Ontkoppel de camera op de gepaste manier
van de pc en schakel de camera in (stand-by). Schakel opnieuw uit en
wacht gedurende 1 minuut tot de updateprocedure voltooid is.
Gebruik van de camera
•Druk kort op de aan-uitknop [4] om de camera in stand-by te plaatsen.
Een rode led licht op. Wacht 5 seconden tot de camera gereset is.
•De camera schakelt automatisch uit na 3 minuten.
•Druk op de opnameknop [5] om een opname te starten. De voedingsled
[4] knippert. Druk opnieuw op de opnameknop [5] om een opname te
stoppen.
•Druk in stand-by op de snapshotknop [6] om een snapshot te nemen.
•Bij zwak omgevinglicht kunt u de leds [2] vooraan de camera inschakelen
met de aan-uitknop [7]. Druk op diezelfde knop om de leds uit te
schakelen.
•Druk op de noodknop [8] om de leds [2] te doen flitsen en de camera te
gebruiken als noodsignaal.
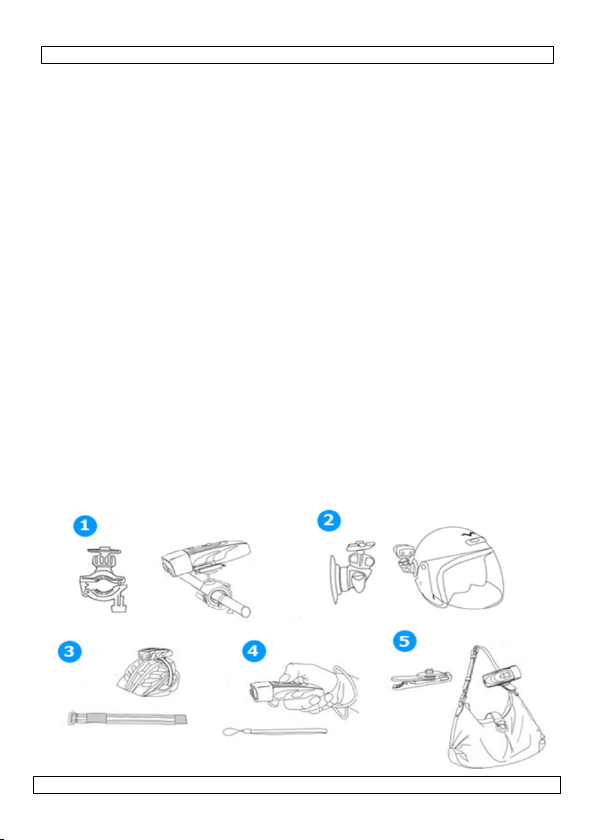
Montage van de camera
•De camera wordt geleverd met verscheidene montagebeugels voor
allerhande toepassingen (zie afbeelding hieronder): montage op fietsstuur
(1), montage op helm (2), elastische band (3), polsband (4) en riemclip
(5).


 User manual")