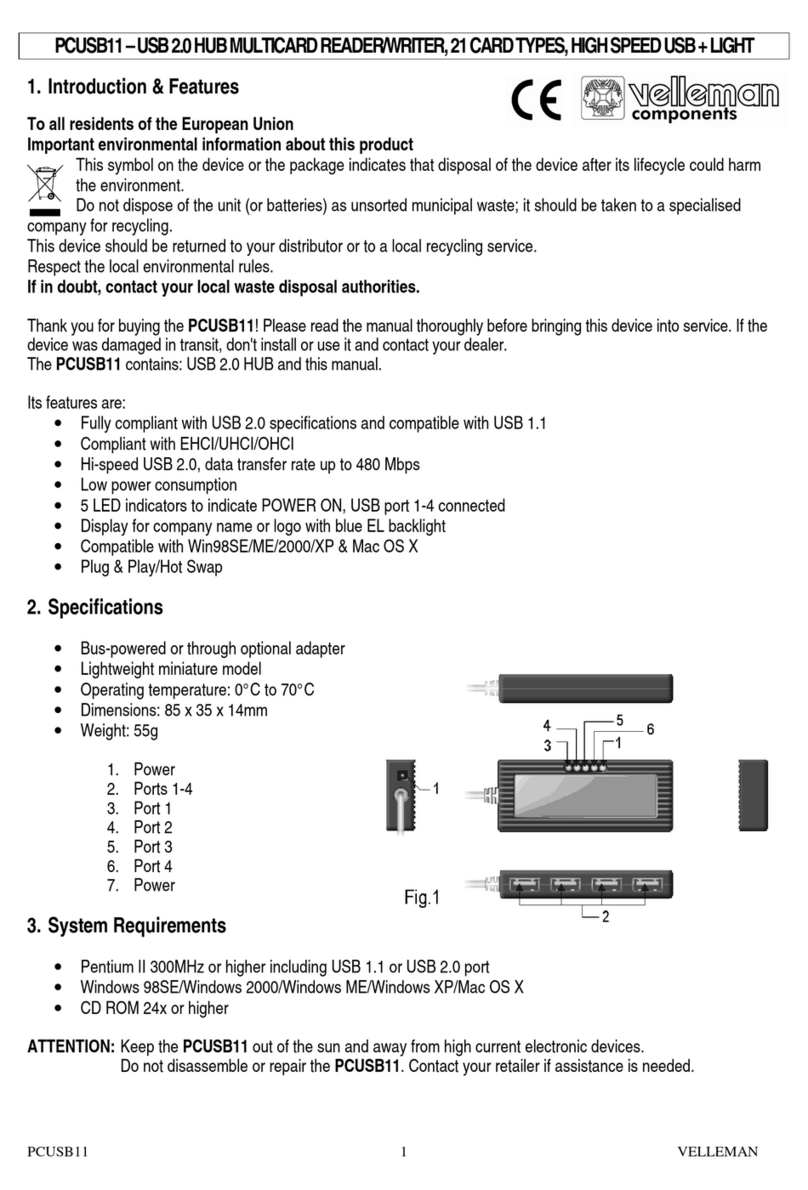
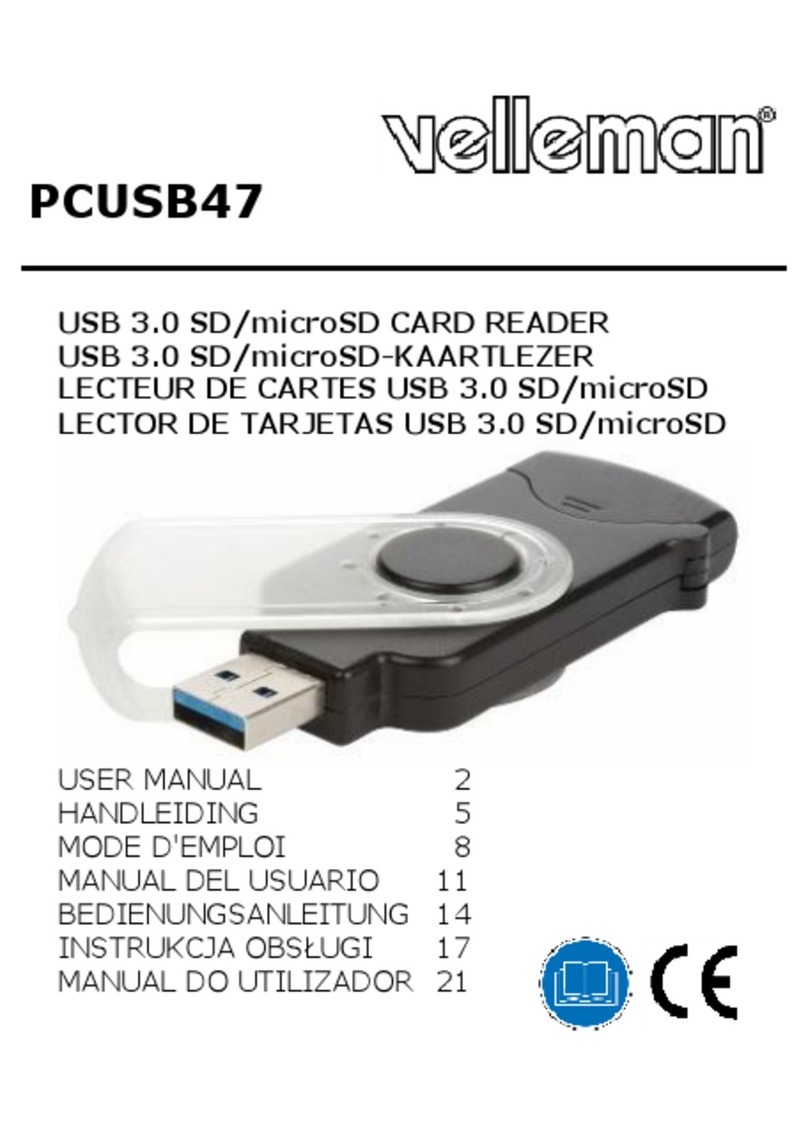
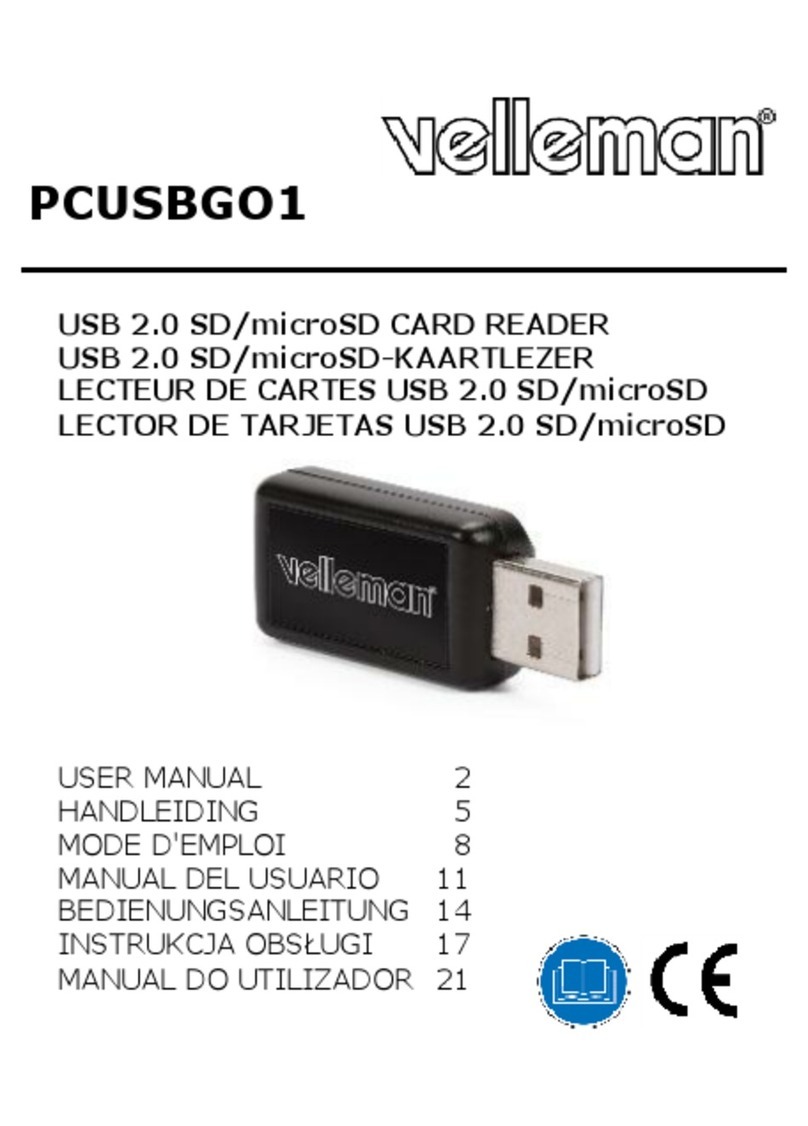
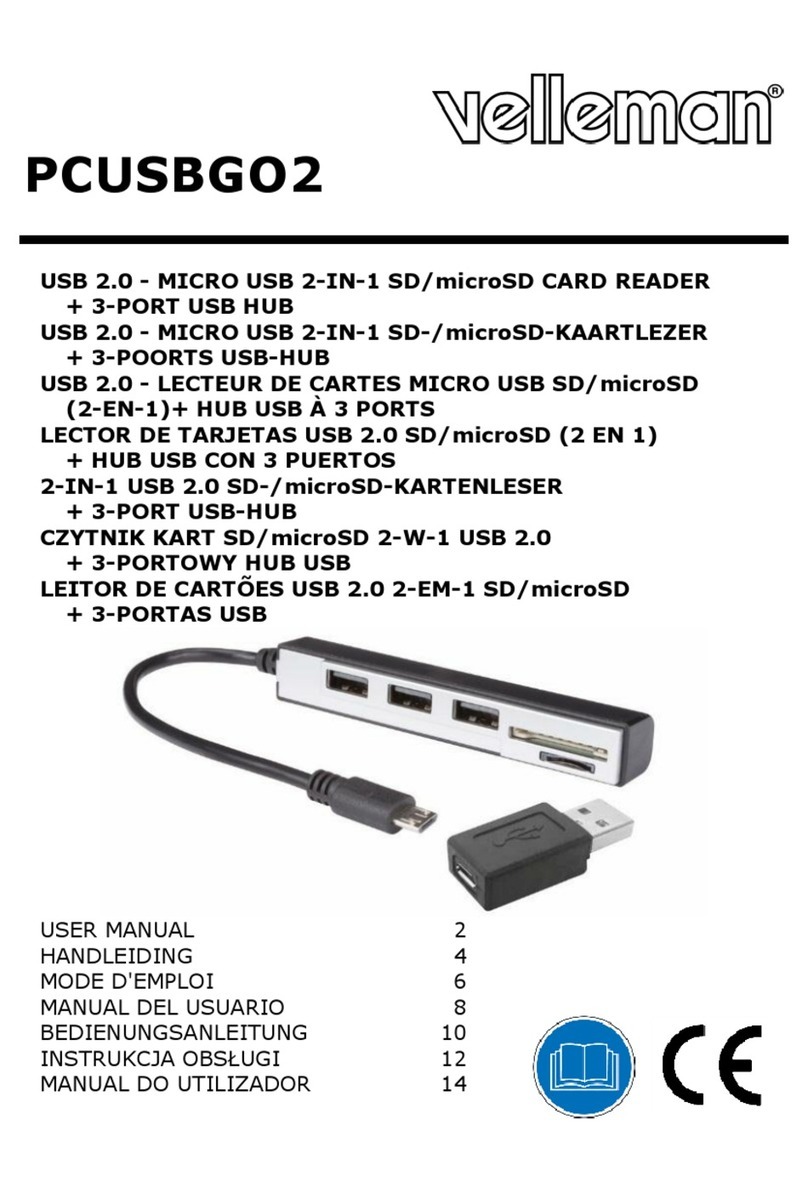
Velleman GSCRU2 User manual

GSCRU2
SUPER GSM CARD READER
SUPER GSM-KAARTLEZER
SUPER LECTEUR DE CARTE GSM
LECTOR PARA TARJETA MÓVIL
SUPER HANDYKARTENLESER
USERMANUAL 3
GEBRUIKERSHANDLEIDING 9
NOTICE D’EMPLOI 15
MANUAL DEL USUARIO 21
BEDIENUNGSANLEITUNG 27


GSCRU2 Rev. 02
08/04/2010 ©Velleman nv.
3
USER MANUAL
1. Introduction
To all residents of the European Union
Important environmental information about this product
This symbol on the device or the package indicates that disposal of the device after its
lifecycle could harm the environment.
Do not dispose of the unit (or batteries) as unsorted municipal waste; it should be taken to a
specialized company for recycling.
This device should be returned to your distributor or to a local recycling service.
Respect the local environmental rules.
If in doubt, contact your local waste disposal authorities.
Thank you for choosing Velleman! Please read the manual thoroughly before bringing this device into
service. If the device was damaged in transit, don't install or use it and contact your dealer.
The Super GSM Card Reader/Editor is a practical hi-tech product. When connected to a PC via a USB
port it can used to read, edit, backup and restore the telephone directory as well as SMS messages
from SIM/R-UIM (Subscriber Identity Module/ Re-Usable Identification Module) through the included
software.
It enables you to back-up your mobile phone numbers and SMS messages that are stored on your
SIM card to your PC, another SIM card or any removable media. E.g. when receiving an empty SIM
card from a new provider, you can copy your data easily to it.
Editing your SIM card entries on your PC is much easier as you are able to do this using your
computer’s keyboard instead of the mobile phone’s keypad.
! Velleman will not be held responsible for damaged or lost data or software when
installing and/or using the included software and/or device.
! Velleman will not be held responsible for damaged hardware when installing and/or
using this device, nor for any damage to connected devices.
2. Safety Instructions
Keep the device away from children and unauthorized users.
Do not attempt to disassemble or change any part of this product.
Dry location use only. Keep this device away from rain, moisture, splashing and
dripping liquids.
Do not submerge the product in water or any other liquid.
Never touch the device with wet hands.
•Damage caused by disregard of certain guidelines in this manual is not covered by the warranty and
the dealer will not accept responsibility for any ensuing defects or problems.
•Note that damage caused by user modifications to the device is not covered by the warranty.
•Should the SIM card reader accidently get wet while connected to the PC, immediately remove it to
avoid short circuit or even fire.
3. General Guidelines
•This device uses 5V DC, which is provided by the USB port connection.
•Protect this device from shocks and abuse. Avoid brute force when operating the device.
•Protect the device against extreme heat, dust and moisture.
•Familiarise yourself with the functions of the device before actually using it.
•All modifications of the device are forbidden.
•Only use the device for its intended purpose. Using the device in an unauthorised way will void the
warranty.
4. Features
•Compatible with Windows®98/2000/ME/XP/Vista
•USB connector to PC, Supports USB1.1/2.0
•LED indicator light
•Power 5V DC provided by USB port
•Save/edit/backup/restore phone book and SMS messages

GSCRU2 Rev. 02
08/04/2010 ©Velleman nv.
4
•Software available in 9 languages: English, German, French, Japanese, Italian, Chinese, Spanish,
Russian and Dutch. (Software installation only in English)
5. Software installation
•Before starting the software installation procedure, close all running windows applications.
•Insert the included CD in the CD-drive of the PC and follow the instructions on the screen. If the
set-up starts automatically, follow the instructions on the screen. If not, navigate to the CD-drive
folder (SIM Card Reader) and double click on the file ‘Setup.exe’.
•Click on the ‘Next >’ button.
•Use the ‘Browse’ button to set the location
where the software should be installed, or use
the default location.
•Choose whether this software is intended for
the installer only, or for everyone using the
computer.
•Click the ‘Next >’ button.

GSCRU2 Rev. 02
08/04/2010 ©Velleman nv.
5
•Wait until the installation is completed
(progress bar completely filled).
•Click the ‘Close’ button. The software has
now been installed on the computer and an
icon has been created on the desktop:
6. Use
•Simply put a SIM card in the device as indicated on the bottom of the housing.
•Remove the protective cap from the USB connector and plug the reader in a free USB port on the PC
containing the USB reader software. The red LED on the device lights up.
•Start the USB reader software on the PC by (double) clicking on the GSimReaderApp icon:
To set the language, press the ‘Ctrl’ and ‘L’-key simultaneously.
•The opening screen appears. The screen has two sections:
•The SIM Operation area is on the left hand side (1).
•The File Operation area is on the right hand side (2).
Note that when a button is greyed out (no colour), its function is not available. An action is required to
make the function available, e.g. data needs to be loaded from the SIM card or from a file on the PC.
The language can be set via the menu ‘Option’ – ‘set language’; the font can be personalized via the
menu ‘Option’ – ‘set font’.
•Below is an overview of the opening screen with indication of the areas and buttons:

GSCRU2 Rev. 02
08/04/2010 ©Velleman nv.
6
1 SIM Operation area 9 File Operation area icon (no function)
2 File Operation area 10 Read data from file
3 SIM Operation area icon (no function) 11 Save data to file
4 Read data from SIM Card 12 Delete selected data
5 Write data to SIM Card 13 Copy selected data to File Operation area
6 Save data to file 14 Exchange selected data
7 Phonebook 15 Copy selected data to SIM Operation area
8 Short Message Service (SMS) 16 Adding selected data from SIM Operation
area to the list
Phonebook
•To get started, click on the ‘Read data from SIM Card’-button (4). When the SIM card has a PIN
protection enabled, a PIN confirmation screen will pop-up. Enter the PIN code associated with the
SIM card and click ‘OK’. When the PIN code is accepted, a PIN verification OK window pops-up.
Click ‘OK’ again.
•During data transfer, the red LED on the reader will flash.
•In the SIM Operation area (1), the list of names, phone numbers and e-mail addresses that are
stored on the SIM card are copied.
•It is possible to edit any of the entries by double clicking on it. Note that changes are made only
locally in the SIM reader software and nothing is written to the SIM card yet.
•To write the (new) data to the SIM-card push the ‘Write data to SIM Card’-button (5).
•To make a backup of the data, push the ‘Save data to file’-button (6). Choose a name and the
location where to store the list. Note that this list is saved as a text-file, which can also be edited
manually.

GSCRU2 Rev. 02
08/04/2010 ©Velleman nv.
7
•To open a previously saved phonebook, click on the ‘Read data from file’-button (10). Go to the
location where the saved phonebook is stored and select it.
•The saved phonebook is shown in the ‘File Operation area’ (2). Again, every entry can be edited
by double clicking on it. Note that changes are made only locally in the SIM reader software and
nothing has changed to the file on PC yet.
•To delete records (lines), select the whole line and click on the ‘Delete selected data’-button (12)
and confirm, or simply push the ‘Delete’-button on the keyboard.
•To save changes made in the ‘File Operation area’ (2), click on the ‘Save data to file’-button and
give the file a name.
•To copy data between the ‘SIM Operation area’ (1) and the ‘File Operation area’ (2), first select
the records to be copied, then use the buttons located between the two areas (13, 14, 15 & 16).
Short Message Service
•Click on the ‘Short Message Service’-button (8) to retrieve all SMS-messages from the SIM-card
memory. See below for an example:
•The phone number and SMS context can be edited by double clicking on the fields.
•The format of the time stamp is ‘yymmddhhmmss’ (year, month, day, hours, minutes, seconds).
•Changes can be sent to the SIM-card with the ‘Write data to SIM Card’-button (5) and/or stored
on PC with the ‘Save data to file’-button (6)
•The data is saved as a text-file, which can be edited manually.
•Note that SMS messages are limited to 159 characters. When limit is exceeded, an error message
is shown.
7. Remove reader from PC
•Before unplugging the SIM card reader from the PC, the application must be stopped.
•Close the SIM reader software by clicking on ‘File’ – ‘Close’ in the menu bar, or simply click on the
cross in the top tight corner. Make sure to save all data to either SIM card or PC before closing,
otherwise it will be lost.
•In the task bar (located at the bottom of the screen, right hand side), look for the ‘Safely remove
hardware’-icon and click on it.
•Stop the USB SIM card reader.

GSCRU2 Rev. 02
08/04/2010 ©Velleman nv.
8
•Verify that the red LED on the reader is off, than remove the USB SIM reader from the USB
connector.
•Remove the SIM card from the reader and place it back in a mobile device. Refer to the user
manual of the mobile device for instructions on how this is done.
Use this device with original accessories only. Velleman nv cannot be held responsible in
the event of damage or injury resulted from (incorrect) use of this device.
For more info concerning this product, please visit our website www.velleman.eu.
The information in this manual is subject to change without prior notice.

GSCRU2 Rev. 02
08/04/2010 ©Velleman nv.
9
GEBRUIKERSHANDLEIDING
1. Inleiding
Aan alle ingezetenen van de Europese Unie
Belangrijke milieu-informatie betreffende dit product
Dit symbool op het toestel of de verpakking geeft aan dat, als het na zijn levenscyclus wordt
weggeworpen, dit toestel schade kan toebrengen aan het milieu. Gooi dit toestel (en
eventuele batterijen) niet bij het gewone huishoudelijke afval; het moet bij een
gespecialiseerd bedrijf terechtkomen voor recyclage. U moet dit toestel naar uw verdeler of
naar een lokaal recyclagepunt brengen. Respecteer de plaatselijke milieuwetgeving.
Hebt u vragen, contacteer dan de plaatselijke autoriteiten inzake verwijdering.
Dank u voor uw aankoop! Lees deze handleiding grondig voor u het toestel in gebruik neemt. Werd
het toestel beschadigd tijdens het transport, installeer het dan niet en raadpleeg uw dealer.
Lees, bewaar en bewerk de gegevens uit het telefoonboek van uw gsm en sms-berichtjes op de
simkaart dankzij deze praktische high-tech kaartlezer en de meegeleverde software. Breng de
telefoonnummers en sms-berichtjes op de simkaart over naar de pc, een extern opslagmedium of
een andere simkaart. Bewerk op een snelle en gemakkelijke manier de gegevens op de simkaart via
het toetsenbord van de pc.
Velleman is niet aansprakelijk voor schade aan of verlies van gegevens of software
tijdens het gebruik en/of de installatie van de software en/of het toestel. Velleman is niet
aansprakelijk voor schade aan hardware tijdens het gebruik en/of de installatie van dit
toestel, noch voor schade aan een aangesloten toestel.
2. Veiligheidsinstructies
Houd dit toestel uit de buurt van kinderen en onbevoegden. Demonteer of
open dit toestel NOOIT.
Enkel voor gebruik in droge ruimtes. Bescherm dit toestel tegen regen,
vochtigheid en opspattende vloeistoffen. Plaats geen objecten gevuld met
vloeistof op het toestel. Dompel dit toestel nooit in een vloeistof. Raak dit
toestel nooit met natte handen.
•De garantie geldt niet voor schade door het negeren van bepaalde richtlijnen in deze handleiding
en uw dealer zal de verantwoordelijkheid afwijzen voor defecten of problemen die hier
rechtstreeks verband mee houden.
•Schade door wijzigingen die de gebruiker heeft aangebracht aan het toestel vallen niet onder de
garantie.
•Ontkoppel een natte kaartlezer onmiddellijk van de pc om kortsluiting te vermijden.
3. Algemene richtlijnen
•Dit toestel wordt gevoed door een spanning van 5 VDC geleverd door de USB-poort.
•Bescherm dit toestel tegen schokken. Vermijd brute kracht tijdens de bediening van dit toestel.
•Bescherm dit toestel tegen extreme temperaturen, stof en vochtigheid.
•Leer eerst de functies van het toestel kennen voor u het gaat gebruiken.
•Om veiligheidsredenen mag de gebruiker geen wijzigingen aanbrengen aan het toestel.
•Gebruik het toestel enkel waarvoor het gemaakt is. Bij onoordeelkundig gebruik vervalt de
garantie.
4. Eigenschappen
•Compatibel met Windows®98/2000/ME/XP/Vista
•USB-aansluiting naar pc, ondersteunt USB 1.1/2.0
•Led
•Voeding: 5 VDC via USB-poort
•lees/bewaar/bewerk de gegevens in het telefoonboek naar de pc
•Software beschikbaar in negen talen: Engels, Duits, Frans, Japans, Italiaans, Chinees, Spaans,
Russisch en Nederlands.
GSCRU2 Rev. 02
08/04/2010 ©Velleman nv.
10
5. Installatie van de software
•Sluit eerst alle Windows®-toepassingen.
•Plaats de meegeleverde cd-rom in de cd-romdrive en volg de instructies op het scherm. Indien de
cd-rom niet automatisch start, ga naar de cd-rom drive (SIM Card Reader) en dubbelklik op het
bestand [Setup.exe].
•Klik op [Next >].
•Bepaal de doelmap via [Browse] of gebruik
de defaultmap.
•Kies of de software bedoeld is voor een of
meerdere gebruikers.
•Klik op [Next >].
•Klik op [Next >].

GSCRU2 Rev. 02
08/04/2010 ©Velleman nv.
11
•Wacht tot het einde van de installatie (volle
balk).
•Klik op [Close]. De software is nu op de pc
geïnstalleerd. Op het bureaublad verschijnt
een icoon:
6. Gebruik
•Plaats een simkaart in de kaartlezer zoals afgebeeld op de behuizing.
•Verwijder de beschermdop van de USB-aansluiting en plug de kaartlezer in een vrije USB-poort. De
rode led licht op.
•Start de software op de pc door te dubbelklikken op de icoon:
Om de taal in te stellen, druk gelijktijdig de ‘Ctrl’- en ‘L’-toets in.
•Het inleidingscherm is ingedeeld in twee delen:
•Het veld met gegevens over de simkaart links op het scherm (1).
•Het veld met gegevens over de bestanden rechts op het scherm (2).
Merk op dat wanneer een knop volledig grijs is, de functie dan niet beschikbaar is. Om een functie
beschikbaar te maken, moet er een actie ondernomen worden, bv. gegevens van of naar de simkaart
overbrengen.
Selecteer de taal via het menu: klik op [Option] > [set language]. Kies de font via [Option] > [set
font].
•Hieronder vindt u een voorbeeld van het introductiescherm met de velden en knoppen:

GSCRU2 Rev. 02
08/04/2010 ©Velleman nv.
12
1 veld voor de data van de simkaart 9 icoon veld voor de data van de bestanden
(geen functie)
2 veld voor de data van de bestanden 10 lees data van het bestand
3 icoon veld voor de data van de simkaart
(geen functie) 11 schrijf data naar het bestand
4 lees data van de simkaart 12 wis geselecteerde data
5 schrijf data naar de simkaart 13 kopieer geselecteerde data naar veld voor
de data van de bestanden
6 bewaar data in bestand 14 wissel geselecteerde data
7 telefoonboek 15 kopieer geselecteerde data naar veld voor
de data van de simkaart
8 Short Message Service (sms) 16 voeg geselecteerde data uit veld voor de
data van de simkaart aan de lijst
Telefoonboek
•Klik op de icoon [Lees data van de simkaart] (4) om te starten. Geef bij het verschijnen van het
venster hieronder de pincode van de simkaart in en klik op [OK]. Een correct ingegeven code
wordt bevestigd door een venster. Klik op [OK].
•Tijdens de dataoverdracht zal de rode led op de kaartlezer knipperen.
•In het veld voor de data van de simkaart (1) worden de bewaarde namenlijst, de
telefoonnummers en de e-mailadressen naar de simkaart gekopieerd.
•Dubbelklik op een item om deze te bewerken. Merk op dat de bewerkte gegevens enkel in de
software van de kaartlezer bewaard worden en de gegevens op de simkaart zelf nog ongewijzigd
blijven.
•Klik op [Schrijf data naar de simkaart] (5) om de bewerkte gegevens effectief naar de simkaart
te schrijven.

GSCRU2 Rev. 02
08/04/2010 ©Velleman nv.
13
•Klik op [Bewaar data in bestand] (6). om de gegevens te back-uppen. Geef nu de doelnaam en
de locatie in. Deze lijst wordt bewaard als een tekstbestand dat u achteraf handmatig kunt
wijzigen en bewerken. Hieronder ziet u een voorbeeld:
•Open een bewaard telefoonboek door op [Lees data van het bestand] (10) te klikken. Ga daar
waar u het telefoonboek hebt bewaard en selecteer.
•Het bewaarde telefoonboek staat in het veld [Veld voor de data van de bestanden] (2). Ook
hier kunt u een item wijzigen door de bubbelklikken. De bewerkte gegevens worden enkel in de
software van de kaartlezer bewaard en de gegevens op de simkaart blijven nog ongewijzigd.
•Wis een record als volgt: Selecteer de gehele lijn, klik op [wis geselecteerde data] (12) en
bevestig, of klik op [Delete] op het toetsenbord van de pc.
•Bewaar wijzigingen uit het veld voor de data van de bestanden (2) door op [Schrijf data naar het
bestand] (11) te klikken. Geef het bestand ook een naam.
•Om bestanden te kopiëren tussen het veld voor de data van de simkaart (1) en het veld voor de
data van de bestanden (2) selecteert u eerst de te kopiëren records. Daarna gebruikt u knoppen
13, 14, 15 en 16.
Short Message Service
•Klik op [Short Message Service] (8) om alle sms-berichten van de simkaart te downloaden. Zie
voorbeeld hieronder:
•Dubbelklik op de inhoud onder [SMSContext] om het veld te wijzigen.
•De tijd wordt aangeduid als volgt: ‘yymmddhhmmss’ (jaar, maand, dag, uur, minuten, seconden).
•Stuur de wijzigingen naar de simkaart door op [Schrijf data naar de simkaart] (5) te drukken
en/of bewaar ze op de pc door op [Bewaar data in bestand] (6) te klikken.

GSCRU2 Rev. 02
08/04/2010 ©Velleman nv.
14
•De data wordt bewaard als een tekstbestand dat u handmatig kunt wijzigen. Hieronder ziet u een
voorbeeld:
•Sms-berichten zijn maximaal 159 karakters lang. Bij overschrijding verschijnt een foutmelding.
7. De kaartlezer van de pc verwijderen
•Sluit de toepassing alvorens de kaartlezer te ontkoppelen. Klik hiervoor op [File] > [Close] in het
menu, of klik op het kruisje rechtsboven. Bewaar eerst alle gegevens op de simkaart of op de pc!
•Klik vervolgens op [Safely remove hardware] onderaan rechts in de takenbalk.
•Ontkoppel de kaartlezer van de pc enkel en alleen de rode led niet meer oplicht.
•Verwijder de simkaart uit de kaartlezer en plaats ze terug in de gsm. Raadpleeg verder de
handleiding van de gsm.
Gebruik dit toestel enkel met originele accessoires. Velleman nv is niet aansprakelijk voor
schade of kwetsuren bij (verkeerd) gebruik van dit toestel. Voor meer informatie over dit
product, zie www.velleman.eu. De informatie in deze handleiding kan te allen tijde
worden gewijzigd zonder voorafgaande kennisgeving.

GSCRU2 Rev. 02
08/04/2010 ©Velleman nv.
15
NOTICE D’EMPLOI
1. Introduction
Aux résidents de l'Union européenne
Des informations environnementales importantes concernant ce produit
Ce symbole sur l'appareil ou l'emballage indique que l’élimination d’un appareil en fin de vie
peut polluer l'environnement. Ne pas jeter un appareil électrique ou électronique (et des piles
éventuelles) parmi les déchets municipaux non sujets au tri sélectif ; une déchèterie traitera
l’appareil en question. Renvoyer les équipements usagés à votre fournisseur ou à un service
de recyclage local. Il convient de respecter la réglementation locale relative à la protection de
l’environnement.
En cas de questions, contacter les autorités locales pour élimination.
Nous vous remercions de votre achat ! Lire la présente notice attentivement avant la mise en
service de l’appareil. Si l’appareil a été endommagé pendant le transport, ne pas l’installer et
consulter votre revendeur.
Ce lecteur de carte pratique permet, avec l’aide du logiciel inclus, la lecture, la sauvegarde et le
traitement des données dans le répertoire et des messages SMS, ainsi que le transfert du répertoire
et de messages SMS du téléphone portable vers l’ordinateur, un support de stockage externe ou une
deuxième carte SIM, et enfin le traitement des données sur la carte à l’aide du clavier de
l’ordinateur.
Velleman ne sera aucunement responsable pour la perte ou l’endommagement de données
ou du logiciel lors de l’installation/l’utilisation du logiciel et/ou de l’appareil. Velleman ne
sera aucunement responsable pour l’endommagement survenu au matériel lors de
l’installation/l’utilisation de l’appareil, ou pour tout endommagement d’un périphérique.
2. Prescriptions de sécurité
Garder votre lecteur de carte hors de la portée de personnes non qualifiées et
de jeunes enfants. Ne jamais ouvrir ou modifier ce produit.
Usage en endroit sec. Protéger l’appareil contre la pluie et l’humidité. Ne jamais
placer d’objet contenant un liquide sur l’appareil. Ne jamais manier le lecteur avec les
mains mouillées.
•La garantie ne s’applique pas aux dommages survenus en négligeant certaines directives de cette
notice et votre revendeur déclinera toute responsabilité pour les problèmes et les défauts qui en
résultent.
•Les dommages occasionnés par des modifications à l’appareil par le client ne tombent pas sous la
garantie.
•Déconnecter immédiatement un lecteur mouillé de l’ordinateur afin d’éviter les courts-circuits.
3. Directives générales
•Ce lecteur est alimenté par une tension de 5 VCC via le port USB.
•Protéger cet appareil contre les chocs et le traiter avec circonspection pendant l’opération.
•Protéger l’appareil contre la pluie, l’humidité et la poussière.
•Se familiariser avec le fonctionnement de l’appareil avant de l’utiliser. Ne pas permettre pas aux
personnes non qualifiées d’opérer cet appareil.
•Toute modification de l’appareil est interdite pour des raisons de sécurité.
•N’utiliser l’alimentation qu’à sa fonction prévue. Un usage impropre annule d'office la garantie.
4. Caractéristiques
•Compatible avec Windows®98/2000/ME/XP/Vista
•Connecteur USB vers PC, supporte le USB 1.1/2.0
•Indicateur DEL
•Alimentation 5 VCC via port USB
•Lecture/édition/sauvegarde des entrées du répertoire et des messages SMS vers l'ordinateur
•Logiciel disponible en 9 langues : anglais, allemand, français, japonais, italien, chinois, espagnol,
russe et néerlandais (logiciel d’installation en anglais uniquement)

GSCRU2 Rev. 02
08/04/2010 ©Velleman nv.
16
5. Installation du logiciel
•Quitter toutes les applications Windows®avant de commencer la procédure d’installation.
•Insérer le cédérom inclus dans le lecteur et suivre les instructions à l’écran. Si le cédérom ne
démarre pas automatiquement, ouvrir le dossier du lecteur (SIM Card Reader) et cliquer double
sur le fichier [Setup.exe].
•Cliquer sur [Next >].
•Sélectionner l’emplacement d’installation du
logiciel avec en cliquant sur [Browse], ou
sélectionner l’emplacement par défaut.
•Déterminer la fréquence d’usage du logiciel :
logiciel réservé à l’installateur uniquement ou
disponible pour tous les utilisateurs.
•Cliquer sur [Next >].

GSCRU2 Rev. 02
08/04/2010 ©Velleman nv.
17
•Patienter jusqu’à ce que la barre de
progression se remplisse.
•Cliquer sur [Close]. Le logiciel est à présent
installé et une icône apparaît sur le bureau de
l’ordinateur :
6. Emploi
•Insérer la carte SIM dans le lecteur comme indiqué au bas du boîtier.
•Retirer le capuchon protecteur du connecteur USB et insérer le lecteur dans un port USB libre de
votre ordinateur. La DEL rouge s’allume.
•Démarrer le logiciel en cliquant double sur l’icône :
Sélectionner la langue en enfonçant simultanément les touches « Ctrl » et « L ».
•Une fenêtre divisée en deux champs apparaît à l’écran :
•le champ de la carte SIM à gauche (1)
•le champ des fichiers à droite (2).
Remarque : Un bouton de couleur grise n’a aucune fonction. La fonction n’est disponible que lorsqu’il y
une action, p.ex. téléchargement de données de la carte SIM vers l’ordinateur.
Paramétrer la langue en cliquant sur le menu [Option] > [Set language]. La police peut être
paramétrée depuis le menu [Option] > [Set font].
•Voir ci-dessous pour un exemple d’une fenêtre typique avec indication des champs et des boutons :

GSCRU2 Rev. 02
08/04/2010 ©Velleman nv.
18
1 champ de la carte SIM 9 icône du champ des fichiers (pas de
fonction)
2 champ des fichiers 10 lecture des données du ficher
3 icône du champ de la carte SIM (pas de
fonction) 11 sauvegarde des données vers fichier
4 lecture des données de la carte SIM 12 effacement des données sélectionnées
5 écriture des données vers la carte SIM 13 copie des données sélectionnées vers
champ des fichiers
6 sauvegarde des données vers fichier 14 transfert des données sélectionnées
7 répertoire 15 copie des données sélectionnées vers
champ de la carte SIM
8 Short Message Service (SMS) 16 rajout des données sélectionnées du
champ de la carte SIM vers la liste
Le répertoire
•Cliquer d’abord sur [Lecture des données de la carte SIM] (4). Saisir le code confidentiel de la
carte SIM et cliquer sur [OK]. Une fenêtre de confirmation apparaît lorsque le code est accepté.
Cliquer sur [OK].
•La DEL rouge sur le lecteur clignote lors du transfert des données.
•Le répertoire et les adresses de courriel sauvegardés sur la carte SIM sont copiés vers le champ de
la carte SIM (1).
•Éditer une entrée en cliquant double sur l’entrée concernée. Les modifications ne seront
sauvegardées que localement dans le logiciel ; elles ne sont pas encore transférées vers la carte
SIM.
•Rajouter des données dans la carte SIM en cliquant sur le bouton [Écriture des données vers la
carte SIM] (5).

GSCRU2 Rev. 02
08/04/2010 ©Velleman nv.
19
•Sauvegarder les données en cliquant sur le bouton [Sauvegarde des données vers fichier](6).
Nommer la liste et déterminer un emplacement de sauvegarde. Cette liste sera sauvegardée
comme un fichier textuel qui pourra être modifiée de manière manuelle. Un exemple ci-dessous :
•Charger un répertoire en cliquant sur le bouton [Lecture des données du ficher] (10). Ouvrir le
dossier et sélectionner le répertoire.
•Le répertoire s’affiche dans le champ des fichiers (2). Éditer une entrée en cliquant double sur
l’entrée concernée. Les modifications ne seront sauvegardées que localement dans le logiciel ;
elles ne sont pas encore transférées vers le ficher.
•Effacer une ligne en la sélectionnant d’abord. Cliquer sur [Effacement des données
sélectionnées] (12) et confirmer, ou cliquer simplement sur la touche [Supprimer] sur le
clavier.
•Sauvegarder les modifications dans le champ des fichiers (2) en cliquant sur [Sauvegarde des
données vers fichier]. Nommer le ficher.
•Copier les données vers les champs de la carte SIM (1) et des fichiers (2) en sélectionnant d’abord
la structure de données à copier. Utiliser ensuite les boutons 13, 14, 15 et 16.
Short Message Service
•Cliquer sur [Short Message Service] (8) pour télécharger tous les messages sauvegardés dans
la carte SIM. Voir l’exemple ci-dessous :
•Modifier le contenu du message et le numéro de téléphone en cliquant double sur le champ
concerné.

GSCRU2 Rev. 02
08/04/2010 ©Velleman nv.
20
•Le format de datation est le suivant : yymmddhhmmss (année, mois, jour, heure, minute,
seconde).
•Cliquer sur [Écriture des données vers la carte SIM] (5) pour transférer les modifications vers
la carte SIM ; cliquer sur [Sauvegarde des données vers fichier] (6) pour sauvegarder ces
modifications dans l’ordinateur.
•Les données sont sauvegardées dans un fichier textuel qui pourra être modifié de manière
manuelle. Un exemple ci-dessous :
•Un message peut contenir un maximum de 159 caractères. Un message d’erreur apparaît une fois
ce maximum atteint.
7. Déconnexion du lecteur de l’ordinateur
•Quitter l’application en cliquant sur [File] > [Close] dans la barre du menu, ou cliquer simplement
sur la croix dans le coin gauche. Sauvegarder les données au préalable sur la carte SIM ou dans
l’ordinateur.
•Cliquer sur [Safely remove hardware] à droite dans la barre de tâche.
•Patienter jusqu’à ce que la DEL s’éteigne et retirer le lecteur de l’ordinateur.
•Retirer la carte SIM du lecteur et la réinsérer dans le portable. Consulter la notice du portable.
N’employer cet appareil qu’avec des accessoires d’origine. SA Velleman ne sera
aucunement responsable de dommages ou lésions survenus à un usage (incorrect) de cet
appareil. Pour plus d’information concernant cet article, visitez notre site web
www.velleman.eu. Toutes les informations présentées dans cette notice peuvent être
modifiées sans notification préalable.
Table of contents
Languages:
Other Velleman Card Reader manuals

Velleman
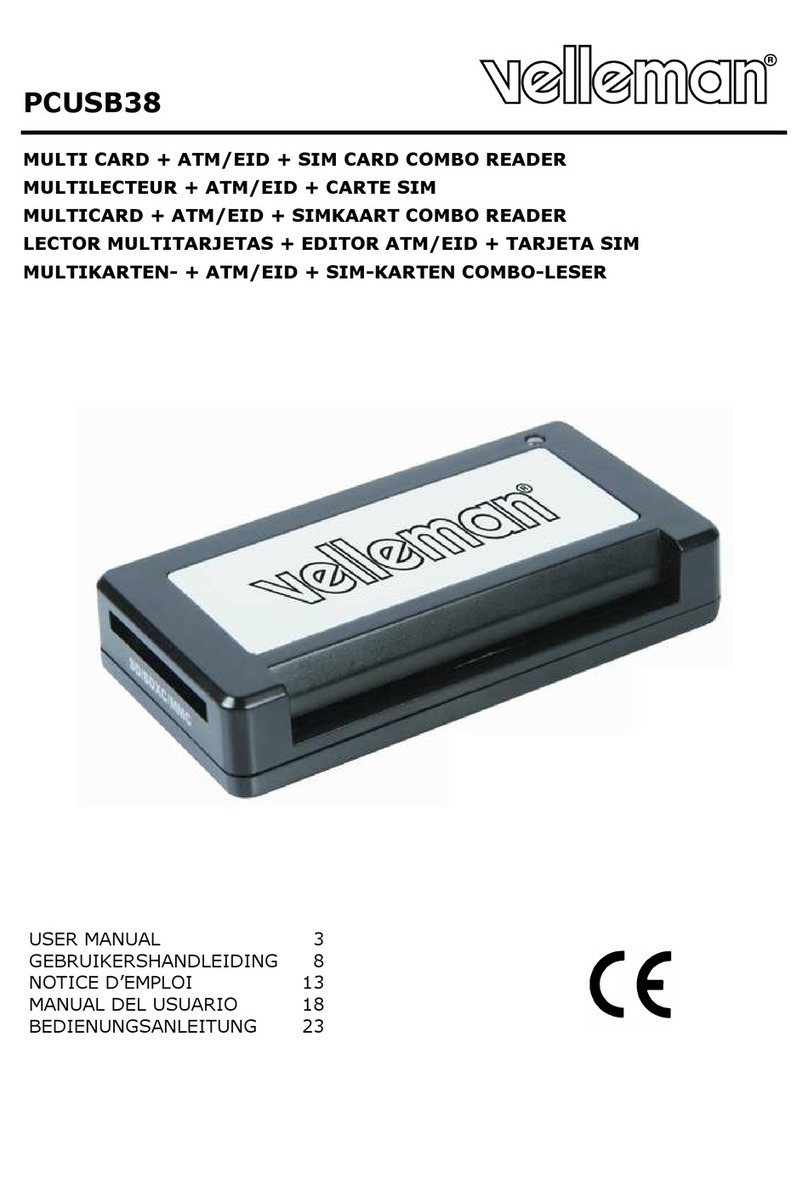
Velleman PCUSB38 User manual

Velleman
Velleman PCUSB11 User manual

Velleman
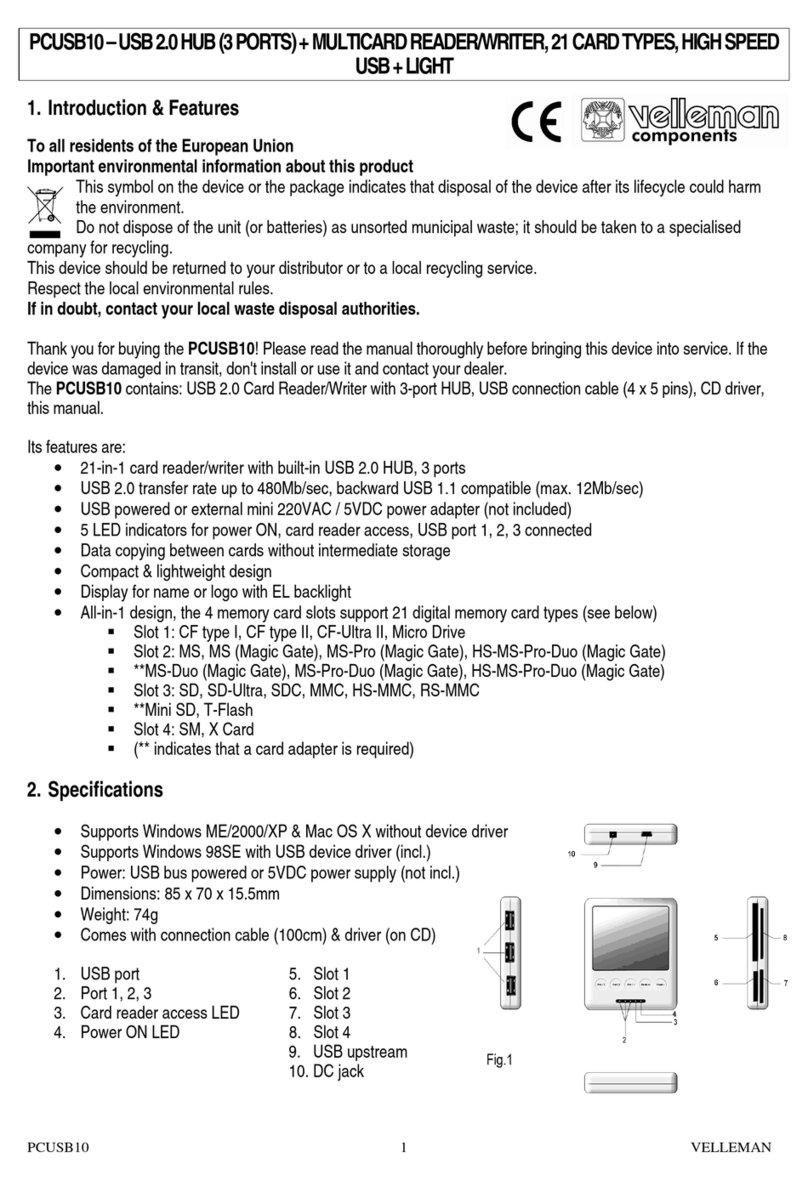
Velleman PCUSB10 User manual

Velleman
Velleman PCUSB16 User manual

Velleman
Velleman PCUSBGO2 User manual

Velleman
Velleman PCUSB9 User manual

Velleman
Velleman HQM122C User manual

Velleman
Velleman PCUSB47 User manual

Velleman
Velleman GSCR User manual

Velleman
Velleman PCUSB38 User manual