GLT-299-7-9 Rev. 0
Mar 23, 2018
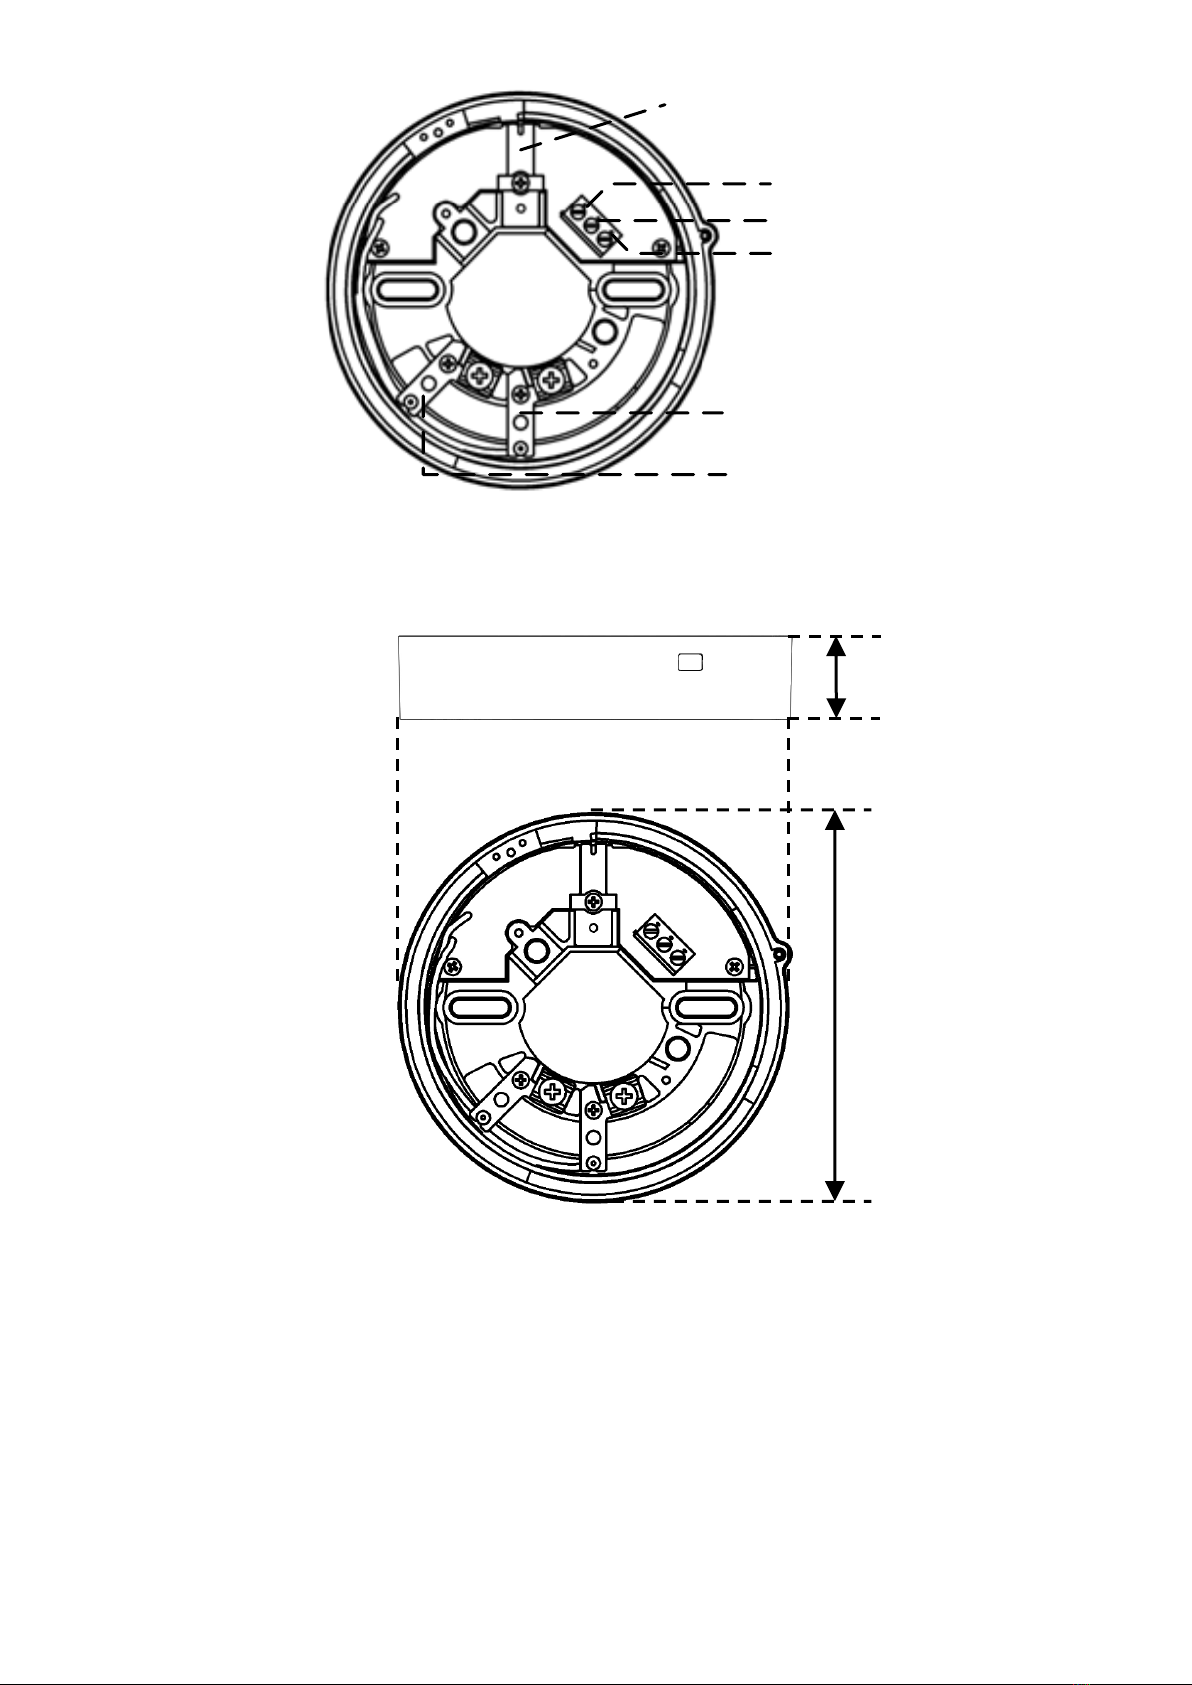
7
FOR WARRANTY SERVICE, RETURN TO:
ZETA ALARMS LIMITED
72-78 MORFA ROAD, SWANSEA, SA1 2EN
http://www.zetaalarmsystems.com
Section 9 – WARRANTIES
1.1 Zeta warrants to the customers that:
(a) all products supplied hereunder will be of merchantable quality and will comply with any specification agreed
between Zeta and customer.
(b) it is not aware of any rights of any third party in the market which would or might render the sale of the
products, or the use of any of the trade marks on or in products, or the use of any of the trade marks on or in
relation to the products, unlawful.
1.2 In the event of any breach of the Zeta's warranty in Clause 1.1(a) whether by reason of defective materials,
production faults or otherwise, Zeta's liability shall be limited to:
(a) replacement of the products in question; or
(b) at the Zeta’s option, repayment of the price where this had been paid.
And the warranty period is three (3) years from the shipment from Zeta’s factory.
1.3 Notwithstanding anything to the contrary in this warranty terms, Zeta shall not be liable to the customer by
reason of any representation or implied warranty, condition or other term or any duty at common law, or
under the express terms of this warranty terms, for any consequential lossor damage whether for loss of
profit or otherwise and whether occasioned by the negligence of Zeta or its employees or agents or
otherwise, arising out of or in connection with any act or omission of Zeta relating to Zeta or supply of the
products, their use by any customer.
1.4 Customer shall indemnify Zeta against all loss, damages, liabilities, costs and expenses which Zeta may
suffer or incur as a result of or in connection with any breach by customer of this warranties terms or any laws
or regulations of any jurisdiction or any rules of any governing authorities.