manuals.online logo
Brands
  1. Home
  2. •
  3. Brands
  4. •
  5. VERITAS
  6. •
  7. Storage
  8. •
  9. VERITAS NetBackup 5240 Manual

VERITAS NetBackup 5240 Manual

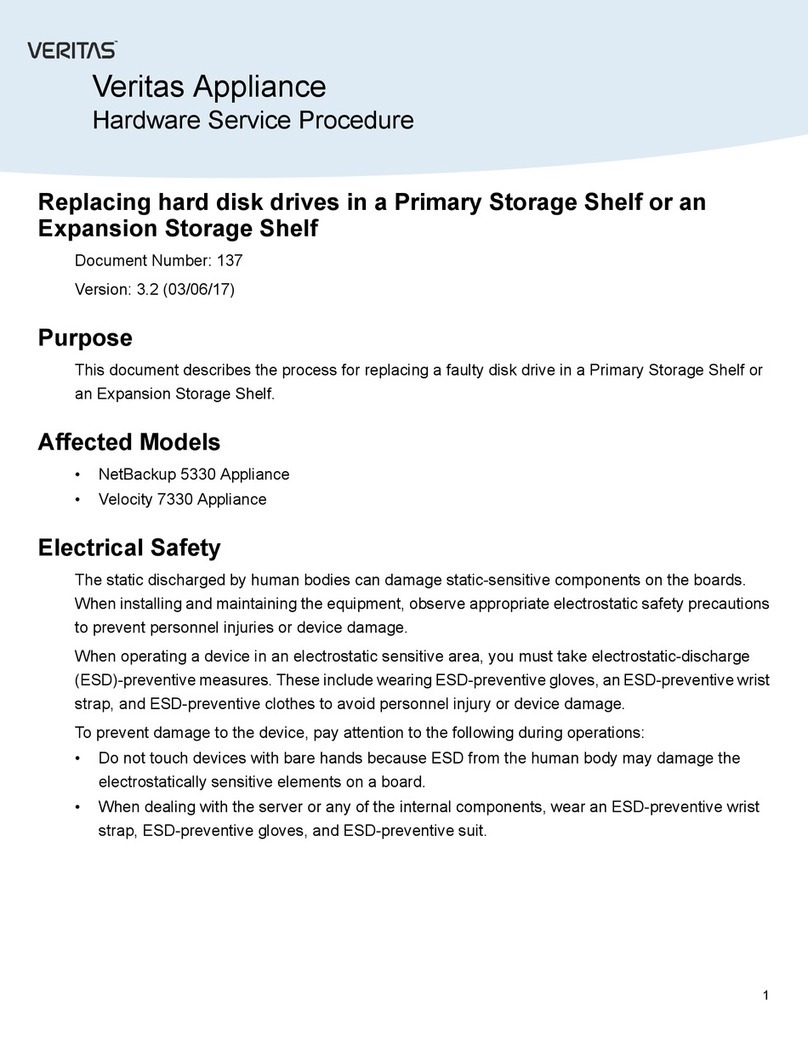
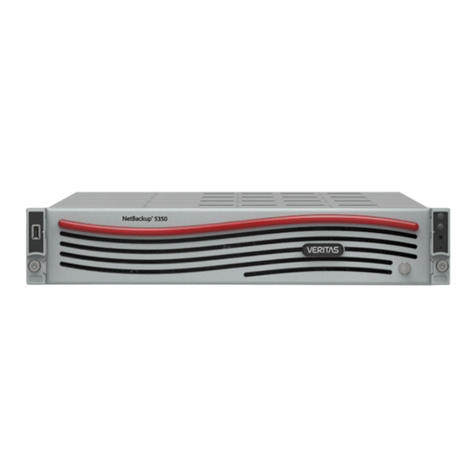
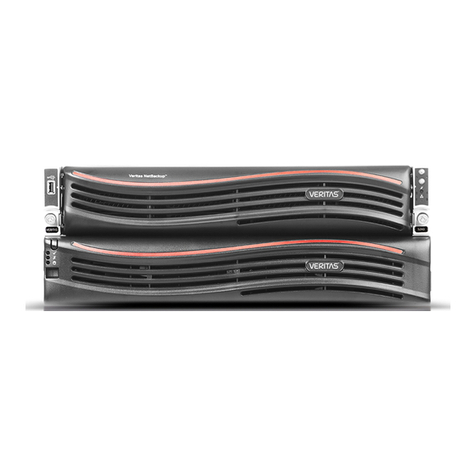
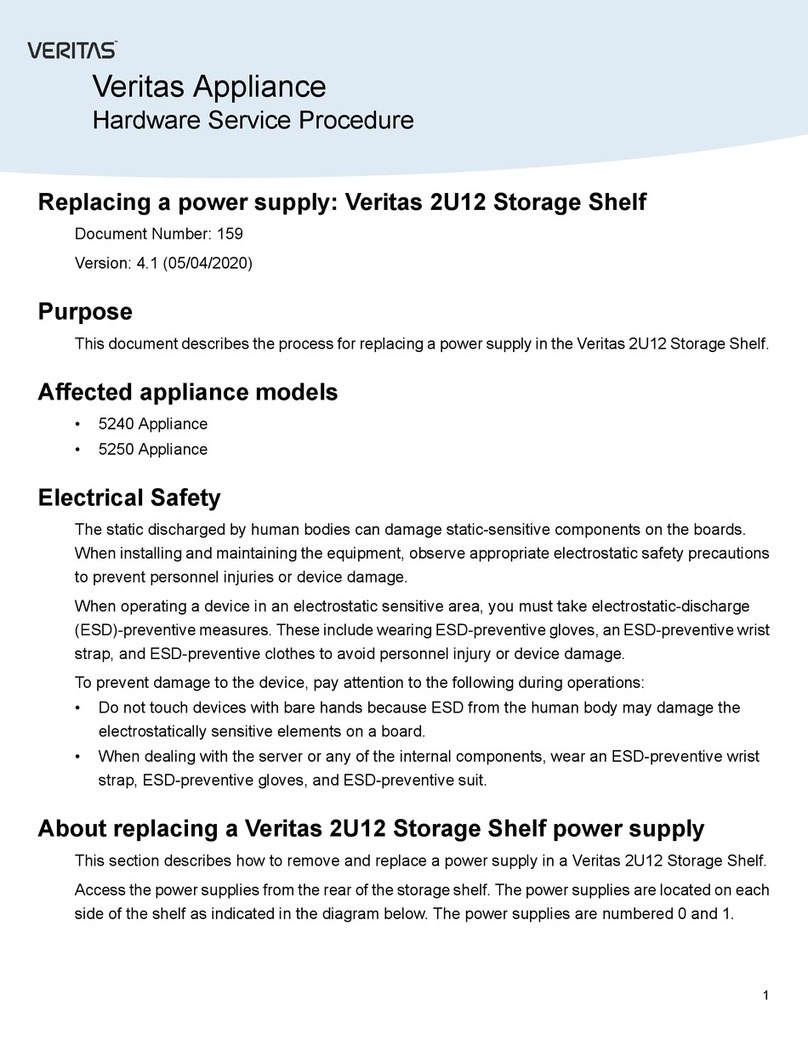
Rail Replacement: 2U12 Storage Shelf
Document Number: 180
Version: 4.1 (05/04/2020)
Purpose
This document describes the process for replacing the rails for a 2U12 Storage Shelf
Affected appliance models
• 5240 2U12 Storage Shelf
• 5250 2U12 Storage Shelf
Electrical Safety
The static discharged by human bodies can damage static-sensitive components on the boards.
When installing and maintaining the equipment, observe appropriate electrostatic safety precautions
to prevent personnel injuries or device damage.
When operating a device in an electrostatic sensitive area, you must take electrostatic-discharge
(ESD)-preventive measures. These include wearing ESD-preventive gloves, an ESD-preventive wrist
strap, and ESD-preventive clothes to avoid personnel injury or device damage.
To prevent damage to the device, pay attention to the following during operations:
• Do not touch devices with bare hands because ESD from the human body may damage the
electrostatically sensitive elements on a board.
• When dealing with the server or any of the internal components, wear an ESD-preventive wrist
strap, ESD-preventive gloves, and ESD-preventive suit.
About replacing the 2U12 Storage Shelf rails
This document describes how to replace the rails that hold the 2U12 Storage Shelf in the rack.
You must remove the storage shelf from the rack to replace the rails. Before the storage shelf can
be removed from the rack, all running programs on the connected appliance must be stopped, and
the appliance and the storage shelf shut down. If there are other connected storage shelves, they
must be turned off as well.
1
Veritas Appliance
Hardware Service Procedure
Make sure that you have a large, level, ESD-compliant work surface on which to set the appliance
and spare parts.
Warning: The storage shelf weighs in excess of 71 lbs (32 kg). Use appropriate tools and techniques
to lift and move the storage shelf.
Requirements
Verify that you have the following items:
• 2U12 Storage Shelf replacement rail kit
• Philips screwdriver
• ESD wrist strap
Removing the storage shelf from the rack
To remove the storage shelf from the rack
1Verify the serial number of the storage shelf or the appliance that the storage shelf is connected
to.
• On the 5240 and 5250 appliance, the serial number begins with the letters VTAS, and is
located on a label on the rear panel of the appliance.
• The storage shelf serial number is located on a white tab on the left side of the rear panel,
between the left-hand power supply and the chassis case. Pull out the tab to display the serial
number.
2
HSP #180 Rail Replacement: 2U12 Storage Shelf
2Before you perform service, the appliance that the storage shelf is attached to needs to be turned
off with a soft shutdown. A soft shutdown informs the NetBackup Appliance operating system to
stop and close all active processes. A soft shutdown also stops all communications to the attached
storage shelf or shelves. After the operating system stops all of the processes, the appliance
powers itself off.
To perform a soft shutdown, use the Support > Shutdown command in the NetBackup Appliance Shell
Menu.
Note: Before performing a soft shutdown, ensure that all backup and restore operations have
been completed.
Warning: You should never perform a hard shutdown by using the power button to turn off the
NetBackup Appliance. Using the power button to turn off the NetBackup Appliance can cause
data corruption to occur.
3After the appliance is shut down, you must turn off the storage shelf and any other storage shelves
that are attached to the appliance. On the rear panel of the storage shelf, turn both power switches
to OFF to turn off the shelf.
4Verify that the appliance and the storage shelf or shelves are shut down.
The following determine if a storage shelf is turned off:
3
HSP #180 Rail Replacement: 2U12 Storage Shelf
• The LED indicators for the disks on the front of the storage shelf are off. The LED indicators
on the rear of the appliance are off.
• There is no active disk or fan noise and no airflow coming out of the rear panel.
The following determine if the appliance is shut down:
• The LED indicators on the control panel are off.
• The LED indicators for the disks on the front of the appliance are off. The LED indicators on
the rear of the appliance are off.
• There is no active disk or fan noise and no airflow coming out of the rear panel.
5Put on an ESD-compliant wrist strap or take other ESD-protective measures.
6Label and disconnect all cables, including the power cords, from the rear panel of the storage
shelf.
Warning: If the data cables are connected to the wrong ports after the repair, data can be
corrupted or lost when the appliance is turned on.
7Remove the front bezel. Grip the bezel on the sides and pull it from the storage shelf.
8Remove the ear caps from both sides of the storage shelf and unscrew the screws that hold it to
the rack. Set the caps and the screws aside in a safe location.
9Slide the storage shelf forward to lift it off of the rails. Set it on a flat, ESD-compliant surface.
4
HSP #180 Rail Replacement: 2U12 Storage Shelf
Warning: The storage shelf weighs in excess of 71 lbs (32 kg). Use appropriate tools and
techniques to lift and move the storage shelf.
Removing the faulty rails
To remove the faulty rails
1Record the position of the rails within the rack so that you can install the new rails in the same
space. Record the rack unit (RU) and the holes in the RU that contain the pins and the screws.
2Remove the screw that connects the rear of the rail to the rack.
3Remove the screw that connects the front of the rail to the rack.
5
HSP #180 Rail Replacement: 2U12 Storage Shelf
4Collapse the rail to remove it from the rack.
Installing the new rails
To install the new rails
1Examine the rack and the storage shelf for any potential damage before you attempt to install
the new rails.
If the rack and the storage shelf are free of damage, continue with the next step.
2Identify the left and the right rails. The rails should be oriented as follows:
6
HSP #180 Rail Replacement: 2U12 Storage Shelf
3Starting with one of the rails, align the pins on the front of the rail with the rack holes that the old
rail was installed in.
4Extend the rail back and fit the pins on the back of the rail in the appropriate rack holes.
7
HSP #180 Rail Replacement: 2U12 Storage Shelf
5Secure the front and the back of the rail with the two screws.
6Repeat the process with the second rail.
7Verify that both rails are parallel and fastened securely.
Reinstalling the storage shelf in the rack
To reinstall the storage shelf in the rack
1Carefully set the rear of the storage shelf on the front ledge of the rails and push the shelf to the
rear of the rack.
Warning: The storage shelf weighs in excess of 71 lbs (32 kg). Use appropriate tools and
techniques to lift and move the storage shelf.
2Replace the screws and the ear caps that hold the storage shelf to the rack.
8
HSP #180 Rail Replacement: 2U12 Storage Shelf
3Reconnect the data cables according to the labels you placed on them earlier.
Warning: If the data cables are connected to the wrong ports, data can be corrupted or lost
when the storage shelf and the appliance are turned on.
4Replace the bezel.
5On the rear panel of the storage shelf, turn both power switches to ON to turn on the shelf. Turn
on any other attached storage shelves and wait for them to initialize. The storage shelves can
take up to 30 seconds to initialize.
6Press the Power button on the front panel of the appliance to start the appliance.
7After the appliance initializes, verify that the System Status LED on the front panel is off.
If the System Status LED is blinking green or is amber, contact Veritas Support.
9
HSP #180 Rail Replacement: 2U12 Storage Shelf

Other manuals for NetBackup 5240

6

This manual suits for next models

1

Other VERITAS Storage manuals

VERITAS 5150 Manual

VERITAS

VERITAS 5150 Manual

VERITAS NetBackup 5330 User manual

VERITAS

VERITAS NetBackup 5330 User manual

VERITAS NetBackup 5240 Use and care manual

VERITAS

VERITAS NetBackup 5240 Use and care manual

VERITAS 2U12 Manual

VERITAS

VERITAS 2U12 Manual

VERITAS 5U84 Manual

VERITAS

VERITAS 5U84 Manual

VERITAS NetBackup 5330 Manual

VERITAS

VERITAS NetBackup 5330 Manual

VERITAS NetBackup 5330 Manual

VERITAS

VERITAS NetBackup 5330 Manual

VERITAS NetBackup 5330 User manual

VERITAS

VERITAS NetBackup 5330 User manual

VERITAS 5U84 Manual

VERITAS

VERITAS 5U84 Manual

VERITAS NetBackup 5240 User manual

VERITAS

VERITAS NetBackup 5240 User manual

VERITAS 3U16 Manual

VERITAS

VERITAS 3U16 Manual

VERITAS 5U84 Manual

VERITAS

VERITAS 5U84 Manual

VERITAS 5250 User manual

VERITAS

VERITAS 5250 User manual

VERITAS NetBackup 5230 Manual

VERITAS

VERITAS NetBackup 5230 Manual

VERITAS 5350 User manual

VERITAS

VERITAS 5350 User manual

VERITAS Access 3340 Manual

VERITAS

VERITAS Access 3340 Manual

VERITAS Access 3340 Manual

VERITAS

VERITAS Access 3340 Manual

VERITAS NetBackup 523 Operating and maintenance instructions

VERITAS

VERITAS NetBackup 523 Operating and maintenance instructions

VERITAS NetBackup 5240 Manual

VERITAS

VERITAS NetBackup 5240 Manual

VERITAS NetBackup 5230 Operating and safety instructions

VERITAS

VERITAS NetBackup 5230 Operating and safety instructions

VERITAS NetBackup 5330 User manual

VERITAS

VERITAS NetBackup 5330 User manual
VERITAS 5350 Manual

VERITAS

VERITAS 5350 Manual

VERITAS Velocity 7330 Manual

VERITAS

VERITAS Velocity 7330 Manual

VERITAS Flex 5150 Reference guide

VERITAS

VERITAS Flex 5150 Reference guide

Popular Storage manuals by other brands

Iomega CD-RW USB 2.0 quick start guide

Iomega

Iomega CD-RW USB 2.0 quick start guide

Synology DiskStation DS216se Quick installation guide

Synology

Synology DiskStation DS216se Quick installation guide

Seagate BARRACUDA COMPUTE ST8000DMZ04 product manual

Seagate

Seagate BARRACUDA COMPUTE ST8000DMZ04 product manual

Quantum FastStor 1 install guide

Quantum

Quantum FastStor 1 install guide

Kanguru QS3 user manual

Kanguru

Kanguru QS3 user manual

Hitachi Virtual Storage Platform G700 Hardware reference guide

Hitachi

Hitachi Virtual Storage Platform G700 Hardware reference guide

Stardom SOHORAID SR8-TB3 user manual

Stardom

Stardom SOHORAID SR8-TB3 user manual

KEHUA TECH iStoragE3 Series user manual

KEHUA TECH

KEHUA TECH iStoragE3 Series user manual

Western Digital My Passport WDBBEP0010BBK Specifications

Western Digital

Western Digital My Passport WDBBEP0010BBK Specifications

Actidata actiNAS SL 1U-4 quick start guide

Actidata

Actidata actiNAS SL 1U-4 quick start guide

Growatt Future-H Series user manual

Growatt

Growatt Future-H Series user manual

Quantum DLT-V4 user guide

Quantum

Quantum DLT-V4 user guide

addlink AddGame SPIDER S Series installation guide

addlink

addlink AddGame SPIDER S Series installation guide

Dell PowerVault ME5 Series owner's manual

Dell

Dell PowerVault ME5 Series owner's manual

Digital Equipment RK05 Series Maintenance manual

Digital Equipment

Digital Equipment RK05 Series Maintenance manual

Sichert UNI 82 Mounting instructions

Sichert

Sichert UNI 82 Mounting instructions

LG XG1 user manual

LG

LG XG1 user manual

HP StorageWorks 4000/6000/8000 - Enterprise Virtual... release note

HP

HP StorageWorks 4000/6000/8000 - Enterprise Virtual... release note

manuals.online logo
manuals.online logoBrands
  • About & Mission
  • Contact us
  • Privacy Policy
  • Terms and Conditions

Copyright 2025 Manuals.Online. All Rights Reserved.