Vermeiren Freedom User manual

VERMEIREN
Freedom - Lagoon - Vintage
Freedom
(2217)
Freedom
(2217)
Lagoon
(2219)
Vintage
(2219)
I N S T R U C T I O N M A N U A L

Instructions to the specialist dealer
This instruction manual is part and parcel of the product and must accompany every product sold.
Version: F, 2015-03
All rights reserved, including translation.
No part of this manual may be reproduced in any form what so ever (print, photocopy, microfilm or any other process) without
written permission of the publisher, or processed, duplicated or distributed by using electronic systems.
© N.V. Vermeiren N.V. 2015

2217, 2219
2015-03
Page1
Contents
Preface ......................................................................................................................................2
1Product description.....................................................................................................3
1.1Intended Use................................................................................................................3
1.2Technical specifications ..............................................................................................4
1.3Drawing.......................................................................................................................5
1.4Location identification plate........................................................................................5
1.5Accessories..................................................................................................................6
1.6Explanation of symbols...............................................................................................6
1.7Safety rules..................................................................................................................6
2Use................................................................................................................................7
2.1Transport the tricycle...................................................................................................7
2.2Operating the brakes....................................................................................................7
2.3Operating the gear shifter............................................................................................8
3Installation and adjustment.......................................................................................8
3.1Tools............................................................................................................................8
3.2Manner of delivery......................................................................................................9
3.3Torque..........................................................................................................................9
3.4Adjust the brakes.........................................................................................................9
3.5Adjusting the chains..................................................................................................10
3.6Adjusting the handlebar ............................................................................................10
3.7Adjusting the saddle..................................................................................................11
3.8Tyre changing............................................................................................................11
4Maintenance..............................................................................................................12

2217, 2219
2015-03
Page2
Preface
First of all we want to thank you for putting your trust in us by selecting one of our tricycles.
The Vermeiren tricycles are the result of many years of research and experience. During the
development, special attention was given to the ease of use and the serviceability of the
tricycles.
The expected lifetime of your tricycle is strongly influenced by the care and maintenance of
the tricycle.
This manual will help you get acquainted with the operation of your tricycle.
Following the user instructions and the maintenance instructions are an essential part of the
warranty.
This manual reflects the latest product developments. Vermeiren has the right to introduce
changes without the obligation to adapt or replace previously delivered models.
For any further questions, please consult your specialist dealer.

2217, 2219
2015-03
Page3
1 Product description
1.1 Intended Use
The tricycle is designed to transport 1 person.
The tricycle is suited for outdoor use.
The user can ride with the tricycle by himself.
The different types of fittings and accessories, and the modular construction allow full use by
persons disabled by:
stiff or damaged joints
heart insuffiencies and poor blood circulation
balance disturbances
cachexia (decrease in muscle)
and also for aged persons.
When providing for individual requirements:
body size and weight (max. 110 kg for 2217 and 125 kg for 2219)
physical and psychological condition
residential circumstances
environment
should be taken into consideration.
The tricycle should not be used to transport heavy objects.
Use only Vermeiren approved accessories.
The manufacturer is not liable for damage caused by the lack of or improper service or as a
result of not following instructions from this manual.
Compliance with the user and maintenance instructions are an essential part of the
guarantee conditions.
Visually impaired people can contact the dealer for the instructions for use.

2217, 2219
2015-03
Page4
1.2 Technical specifications
Technical terms below are valid for the tricycle in standard settings.
Make
V
ermeiren
Address
V
ermeirenplein 1/15, B-2920 Kalmthout
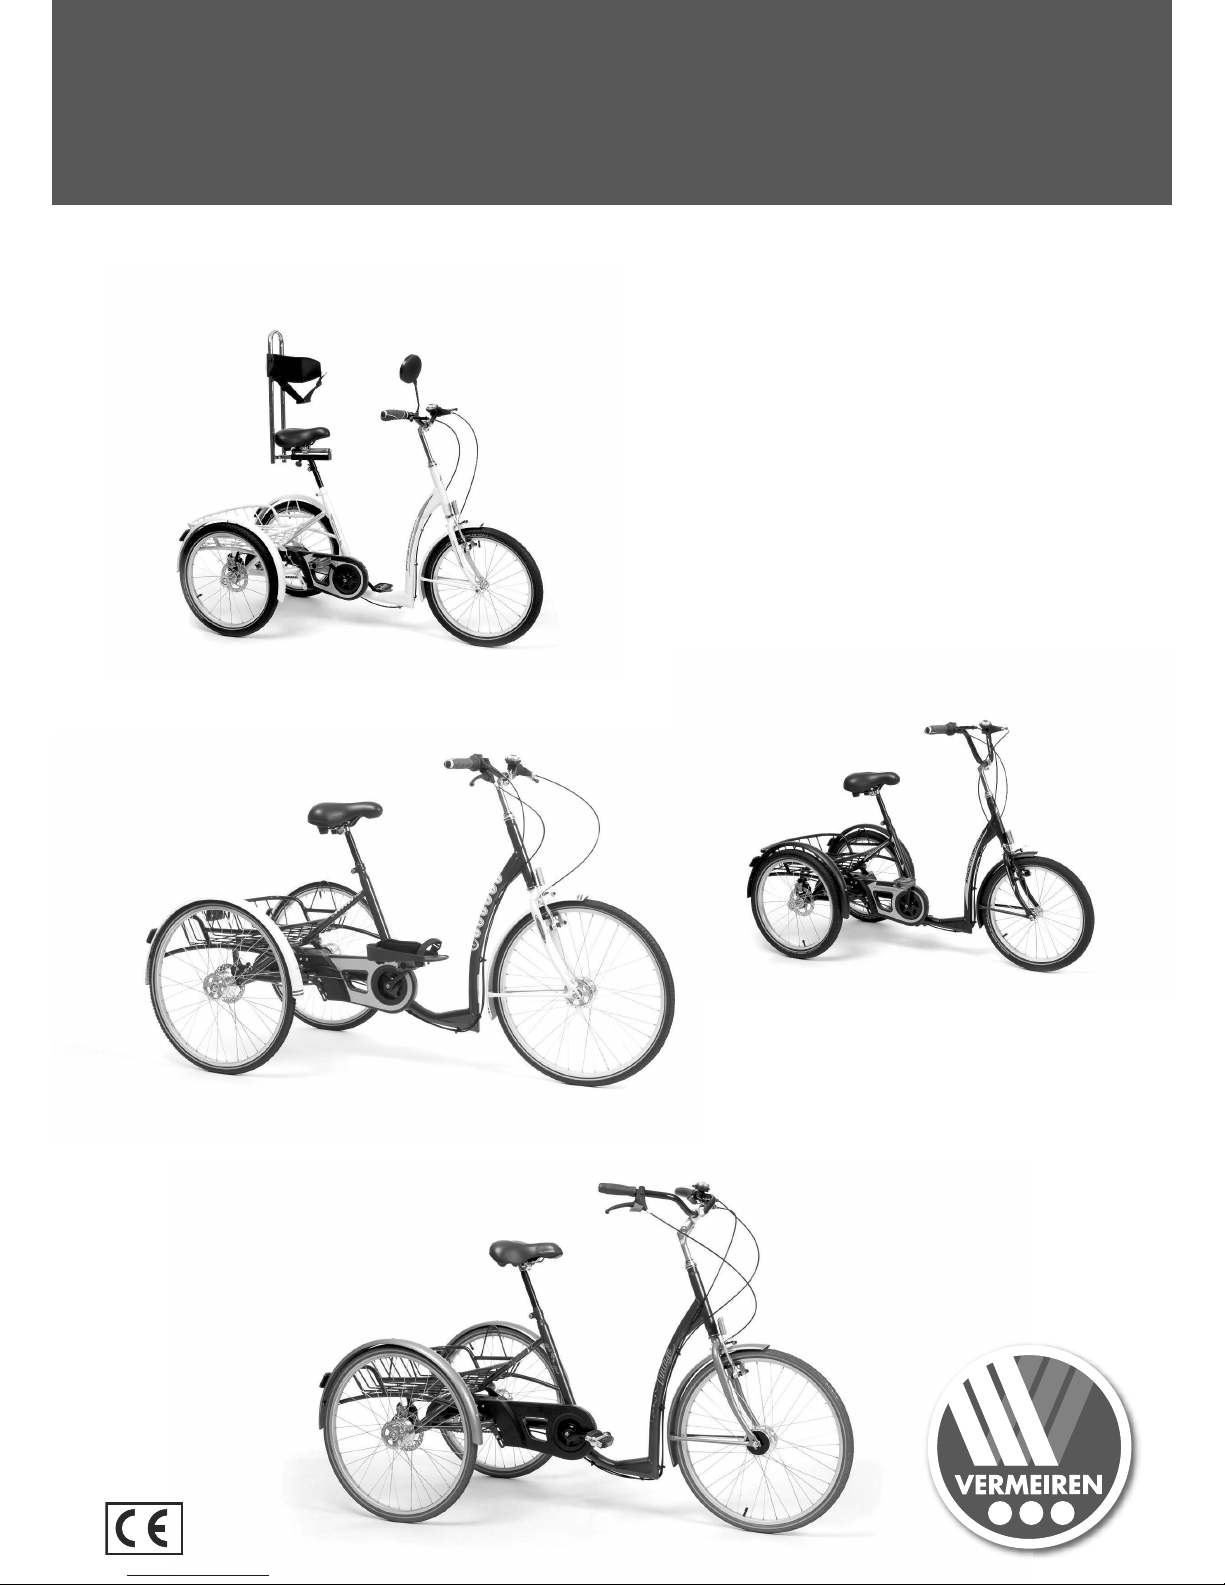
Type Tricycle
Description 2217
Freedom 2219
Lagoon, Vintage
Maximum occupant mass 110 kg 125 kg
Maximum load basket 25 kg 25 kg
Overall width 670 mm 768 mm
Overall length 1600 mm 1808 mm
Overall height 986 mm - 1174 mm 1121 mm - 1309 mm
Total mass 25,5 kg 27,80 kg
Maximum safe slope 7° 7°
Ground clearance 97 mm 125 mm
Height frame tube (entry height) 174 mm 194 mm
Diameter front tires 20`` x 1,75 24" x 1 3/8"
Pressure front tires 2,5 - 5 bar 3,5 bar
Diameter rear tires 20`` x 1,75 24" x 1 3/8"
Pressure rear tires 2,5 - 5 bar 3,5 bar
Height saddle 709 mm - 950 mm 789 mm - 1030 mm
Height handgrips (measured from the
ground) It depends of handlebar model and
stem It depends of handlebar model and
stem
Minimum height pedal 123 mm 150 mm
Maximum height pedal 373 mm 455 mm
Distance between saddle and handlebar 372 mm - 401 mm
Adjustable: -20 mm 417 mm - 446 mm
Adjustable: -20 mm
Turning diameter 2750 mm 3000 mm
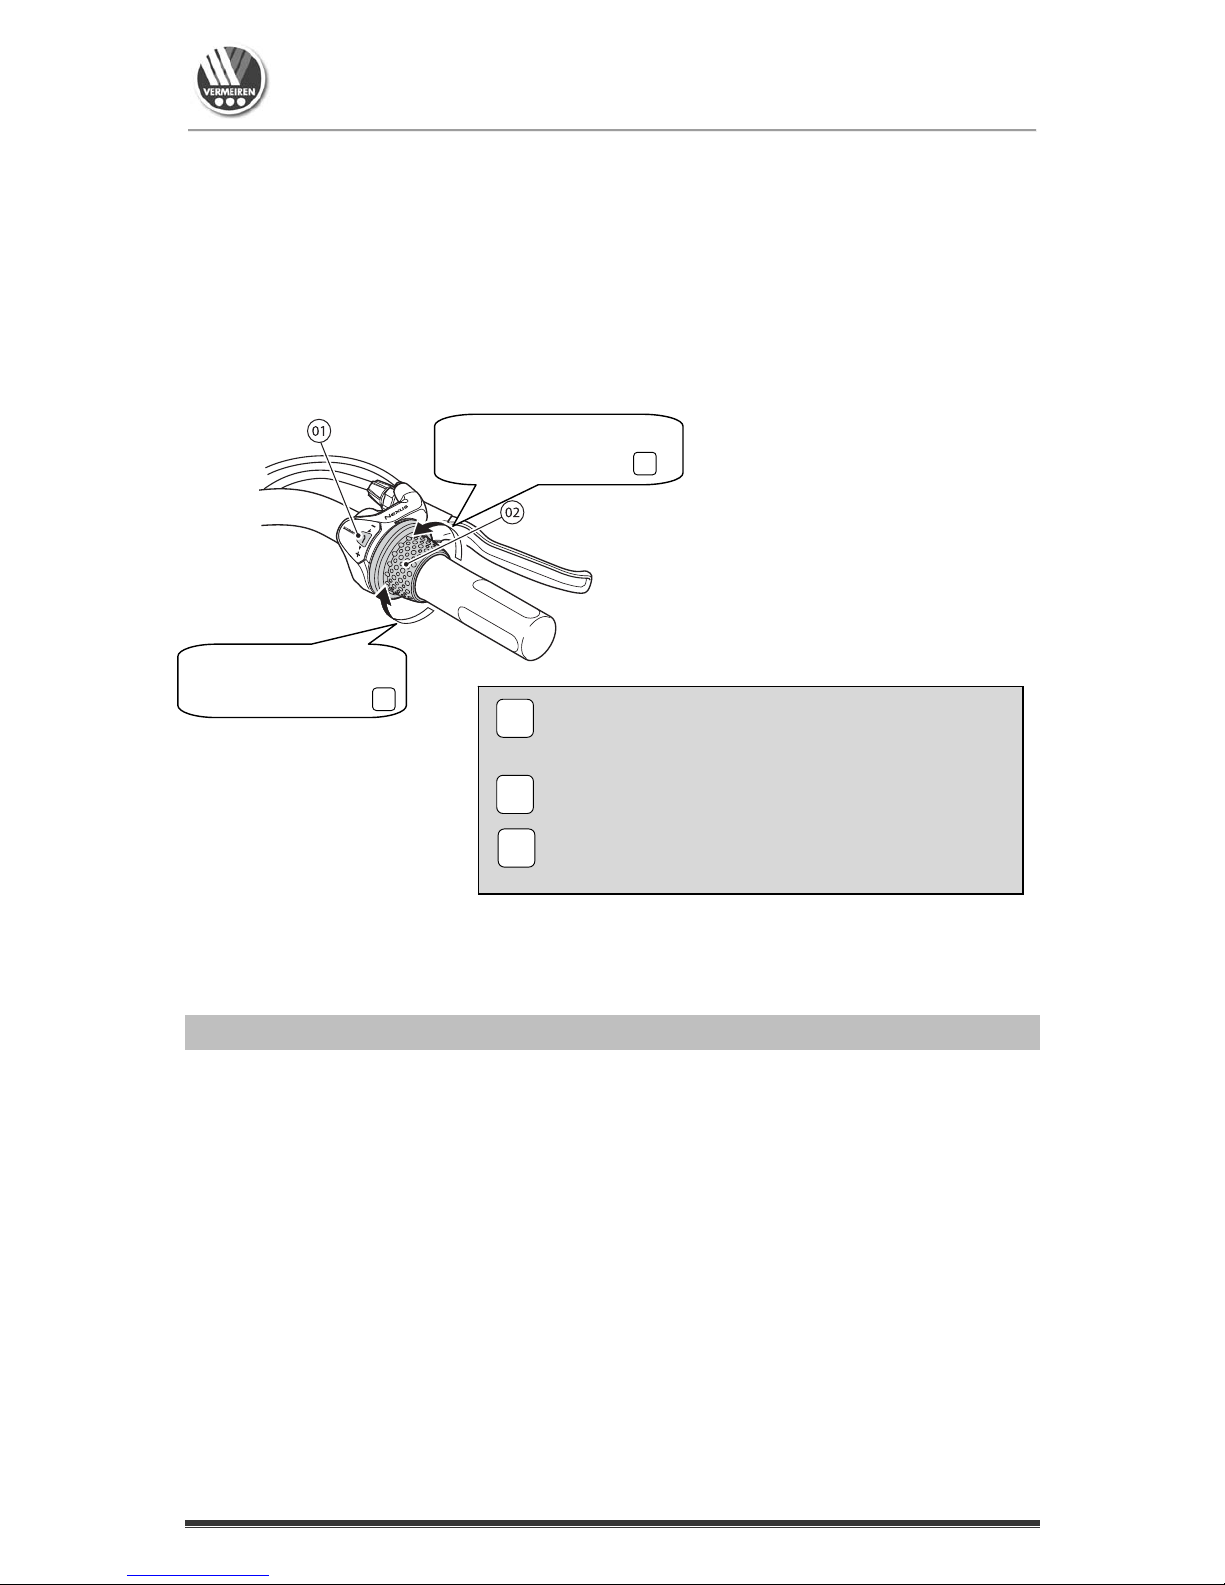
Rear gear 3 3/7
Front gear - -
Gear ratio 184% 184% / 184%
Brakes V-brake-Front
Disc brake - Rear
(torpedo brake available -- disc
brake as option)
V-brake-Front
Disc brake - Rear
(torpedo brake available -- disc
brake as option)
Storage and use temperature + 5 °C - +41°C
Storage and use humidity 30% - 70%
We reserve the right to introduce technical changes. Measurement tolerance ± 15 mm / 1,5 kg
/
°
Table 1: Technical specifications

2217, 2219
2015-03
Page5
1.3 Drawing
1.4 Location identification plate
2217
2219 1 = Handgrips
2 = Bell
3 = Gear shifter
4 = Handlebar
5 = Lever brakes
6 = Front reflector
7 = Mudguards
8 = Front brakes
9 = Front wheels
10 = Frame
11 = Pedals
12 = Chain cover
13 = Rear wheels
14 = Rear reflector
15 = Shopping basket
16 = Saddle
1 = Identification plate
1 = Handgrips
2 = Gear shifter
3 = Handlebar
4 = Lever brakes
5 = Front reflector
6 = Mudguards
7 = Front brakes
8 = Front wheels
9 = Frame
10 = Pedals
11 = Chain cover
12 = Rear wheels
13 = Rear reflector
14 = Shopping basket
15 = Saddle

2217, 2219
2015-03
Page6
1.5 Accessories
Handlebars
Adjustable handlebar bracket
Hand holder / belt
Handlebar lock system
Back support / pelvic support
Adjustable saddles
Saddle tube with shock absorber
Pedals with straps / foot supports
Disc brake on rear wheels
Lights
Speedometer
Vintage basket
Lockable topcase
Crutch holder
Drink holder
Mirror
Contact your specialist dealer about accessories. He will gladly advise you.
1.6 Explanation of symbols
Maximum mass
CE conformity
1.7 Safety rules
L To prevent injury and/or damage to your tricycle, make sure that no objects and/or body
parts are caught in the spokes of the wheels.
L Investigate the effects of shifting the centre of gravity on the behavior of the tricycle, for
example on up or down gradients, on laterally sloping ground, or when overcoming
obstacles.
L The tricycle must be used according the applicable traffic regulations.
L When riding your tricycle, you should not be under the influence of alcohol or
medicine as in the case of riding other vehicles.
L Adapt your riding to weather and traffic conditions.
L To be better visible when riding in the dark, wear the brightest possible clothing or
clothes with reflectors, and check that the reflectors mounted on the front and rear of
the tricycle are clearly visible.
L Never exceed the maximum load of your tricycle.
L Risk of burns – Be careful when riding in hot or cold environments (sunshine,
extreme cold, saunas, etc.) for a sufficient amount of time and when touching -
Surfaces can assume the environment temperatures.
L Be careful when riding in bends the tricycle can loss sideways stability.
Type designation

2217, 2219
2015-03
Page7
2 Use
This chapter describes the everyday use. These instructions are for the user and the
specialist dealer.
The tricycle is delivered fully assembled by your specialist dealer. Only the handlebar needs
to be adjusted upwards. The instructions intended for the specialist dealer on how to set up
the tricycles are given in § 3.
2.1 Transport the tricycle
The best way to move the tricycle is to make use of the wheels and roll the tricycle to the
desired place.
2.2 Operating the brakes
LWARNING: Good operation of the brakes is influenced by wear and
contamination of the tires (water, oil, mud, …) – Check the condition of the tires
before each use.
LWARNING: The brakes are adjustable and can wear – Check the operation of the
brakes before each use.
To apply the front wheel brake:
1. Push the brake lever to the handgrip.
2. The brake shall be pressed against the front
wheel.
To release the front wheel brake:
1. Release the brake lever .
The rear wheel brake can be activated with the same
instructions like the front wheel brake. Left or right side
lever can be chosen with the purchase.
Activating the parking brakes:
Block the brakes by pushing the plate .
To apply the torpedo brake off the rear wheels:
1. Turn the pedals backwards.

2217, 2219
2015-03
Page8
2.3 Operating the gear shifter
The 3 - gear shifter is available for the 2217 and 2219 tricycle.
LCAUTION: Risk of injury - Be sure to shift the lever one gear at a time, and
reduce the force being applied to the pedals during shifting. If you try to force
operation of the shifting lever while the pedals are being turned strongly, your feet
may come off the pedals and the tricycle may topple over.
Turn the shift lever to shift to each of the three gears.
The 7 - gear shifter is only available 2219 tricycle.
3 Installation and adjustment
The instructions in this chapter are for the specialist dealer.
The Vermeiren tricycles 2217, 2219 have been designed entirely for your comfort. This
tricycle can be adjusted to individual requirements as explained below.
To find a service facility or specialist dealer near you, contact the nearest Vermeiren facility.
A list of Vermeiren facilities can be found on the last page.
LWARNING: Risk of unsafe settings - Use only the settings described in this
manual.
LWARNING: Variation of allowed adjustments can still change the stability of your
tricycle (tilt back or sideways).
3.1 Tools
To set up the tricycle the following tools are needed.
Wrench set n° 13
Allen key set n° 5, 6
1 = Indicator
2 = Shift lever
Pedaling becomes heavier
Indicator moves toward 3
Indicator moves toward 1
Pedaling becomes lighter
1
2
3
......
......
......
Starting / Riding on sandy or rough road surfaces /
Riding up slopes / Carrying heavy loads / Riding
into head winds / When the light is illuminated
Riding on flat road surfaces
Riding at high speeds

2217, 2219
2015-03
Page9
3.2 Manner of delivery
The Vermeiren tricycles shall be delivered with:
1 frame with rear and front wheels
pedals
saddle
handlebar + handgrips
bell
basket
instruction manual
accessories
3.3 Torque
3.4 Adjust the brakes
Adjust the brakes according following rules:
1. The brake tightness can be adjusted by the
brake cable adjuster .

2217, 2219
2015-03
Page10
3.5 Adjusting the chains The wheels of the tricycle are driven by a
chain on the rear axle.
For first time use the chains are set in the
factory. After a while it is possible that the
chains runs off the axle.
Tightening torpedo chain :
Loosen the nut . The torpedo system
can now be moved on the frame of the
tricycle.
When the chain between the two chain-
wheels can be moved ± 20 mm, the chain
tension is correct.
Retighten the nut .
Tightening driving chain :
Loosen the nut . The wheel can now be
moved upwards to tighten the chain .
When the chain between the two chain-
wheels can be moved ± 20 mm, the chain
tension is correct.
Retighten the nut .
3.6 Adjusting the handlebar
LCAUTION: Risk of injury – Check that the handlebar is firmly secure before
using the tricycle.
The height and angle of the handlebar can
easily be adjusted.
Adjusting height:
1. Loosen the screw
.
2. Asoftly tap on the head of the cone.
3. Adjust the height of the handlebar to a
comfortable position (stepless --
depends on handlebar model).
4. Tighten the screw
properly.
Adjusting angle:
1. Loosen the screw
.
2. Adjust the angle of the handlebar to a comfortable position (stepless).
3. Tighten the screw
properly.

2217, 2219
2015-03
Page11
3.7 Adjusting the saddle
LCAUTION: Risk of injury - Never adjust the saddle when the user is sitting on the
saddle.
LCAUTION: Risk of injury – Check that the saddle is firmly secure before
using the tricycle.
Adjust the height of the saddle as follow
(stepless):
1. Loosen the screw
.
2. Adjust the height of the saddle to a
comfortable position.
3. Tighten the screw
properly.
The maximum height is indicated with a
straight line .
3.8 Tyre changing
LCAUTION: There must be no air in the tube before it can be removed.
LCAUTION: Risk of damage - If handled improperly, the rim might be damaged.
If you want to change the tyres or inner tubes, you should note the following:
Before you can remove a tyre, you must let all the air out of the tube, and insert a tyre lever
between the tyre and the rim. Then slowly and carefully push the lever downwards. This will
pull the tyre over the edge of the rim. If you then move the lever along the rim, the tyre will
jump out. Now carefully remove the tyre from the rim and then remove the tube.
Note the following before inserting the new tube:
Check the rim bed and the inside wall of the tyre for foreign matter and clean these properly
if necessary. Check the condition of the rim bed, especially around the position of the air
valve. Please use only genuine original replacement parts. No liability is accepted for
damage caused by non-genuine replacement parts. Kindly contact your specialist dealer.
Maximum height
Minimum height

2217, 2219
2015-03
Page12
Assembly:
LWARNING: Risk of injury - Check that the pressure is correct.
LCAUTION: Risk of injury - Make sure that no objects or body parts are pinched between
the tyre and the rim when mounting a tyre.
Place the rim belt in position over the air valve
before inserting it into the rim. Then the rim belt
can be pulled over easily. Check that all spoke
heads are covered (a rim belt is not required in
the case of a plastic rim).
Push the tyre over the edge of the rim, starting
behind the air valve. Inflate the tube slightly until
it is round, and place it inside the tyre.
If the tube fits snugly inside the tyre without any
folds (in the case of folds: let out some air), then
the upper side of the tyre can be pressed lightly
onto the rim with both hands, starting at the air
valve.
Check all around on both sides that the tube is not pinched between the rim and the edge of
the tyre. Lightly push the air valve inwards and pull it out again to make sure that the tyre is
positioned properly in the region of the air valve.
To ensure that the wheel is inflated correctly, admit only so much air initially that the tyre can
still be easily pushed inwards by using your thumbs. If the check-lines are equidistant from
the edge of the rim on both sides of the tyre, then the tyre is centered properly. If not - let out
the air and position the tyre afresh. Now the tyre can be inflated to its full operating pressure
(note the maximum) and the valve cap should be replaced.
Only an expert can guarantee correct assembly. Work not done by your specialist dealer,
would void any warranty claims.
When inflating the tyres, always check that the pressure is correct. The correct pressure is
given on the tyre walls.
Use only inflating equipment which complies with regulations and indicates the pressure in
bar. We do not accept any liability for damage caused by using inflation equipment not
supplied by the manufacturer.
4 Maintenance
For the maintenance manual of the tricycles refer to the Vermeiren website:
www.vermeiren.be.

2217, 2219
2015-03
SERVICE
The tricycle was serviced:
Dealer´s stamp:
Date:
Dealer´s stamp:
Date:
Dealer´s stamp:
Date:
Dealer´s stamp:
Date:
Dealer´s stamp:
Date:
Dealer´s stamp:
Date:
Dealer´s stamp:
Date:
Dealer´s stamp:
Date:
Dealer´s stamp:
Date:
Dealer´s stamp:
Date:
For service checklists an additional technical information, please see our specialist dealers nearest to you.
More information on our website at: www.vermeiren.com.

Belgium
Germany
N.V. Vermeiren N.V. Vermeiren Deutschland GmbH
Vermeirenplein 1 / 15
B-2920 Kalmthout
Tel: +32(0)3 620 20 20
Fax: +32(0)3 666 48 94
website: www.vermeiren.be
e-mail: info@vermeiren.be
Wahlerstraße 12 a
D-40472 Düsseldorf
Tel: +49(0)211 94 2790
Fax: +49(0)211 65 36 00
website: www.vermeiren.de
e-mail: info@vermeiren.de
France
Austria
Vermeiren France S.A. L. Vermeiren Ges. mbH
Z. I., 5, Rue d´Ennevelin
F-59710 Avelin
Tel: +33(0)3 28 55 07 98
Fax: +33(0)3 20 90 28 89
website: www.vermeiren.fr
e-mail:[email protected]
Winetzhammerstraße 10
A-4030 Linz
Tel: +43(0)732 37 13 66
Fax: +43(0)732 37 13 69
website: www.vermeiren.at
e-mail: info@vermeiren.at
Italy Switzerland
Vermeiren Italia Vermeiren Suisse S.A.
Viale delle Industrie 5
I-20020 Arese MI
Tel: +39 02 99 77 07
Fax: +39 02 93 58 56 17
website: www.reatime.it
Hühnerhubelstraße 59
CH-3123 Belp
Tel: +41(0)31 818 40 95
Fax: +41(0)31 818 40 98
website: www.vermeiren.ch
e-mail: info@vermeiren.ch
Poland Spain / Portugal
Vermeiren Polska Sp. z o.o Vermeiren Iberica, S.L.
ul. Łączna 1
PL-55-100 Trzebnica
Tel: +48(0)71 387 42 00
Fax: +48(0)71 387 05 74
website: www.vermeiren.pl
e-mail: info@vermeiren.pl
Carratera de Cartellà, Km 0,5
Sant Gregori Parc Industrial Edifici A
17150 Sant Gregori (Girona)
Tel: +34 972 42 84 33
Fax: +34 972 40 50 54
website: www.vermeiren.es
e-mail: info@vermeiren.es
Czech Republic
Vermeiren ČR S.R.O.
Nadrazni 132
702 00 Ostrava 1
Tel: +420 596 133 923
Fax: +420 596 133 277
website: www.vermeiren.cz
e-mail: info@vermeiren.cz
R.E.: N.V. Vermeiren N.V., Vermeirenplein 1/15 - 2920 Kalmthout - Belgium – 2015-03- Instruction Manual 2217, 2219- vF
Other manuals for Freedom
2
This manual suits for next models
2
Table of contents
Other Vermeiren Bicycle manuals