manuals.online logo
Brands
  1. Home
  2. •
  3. Brands
  4. •
  5. Vermont Castings
  6. •
  7. Grill
  8. •
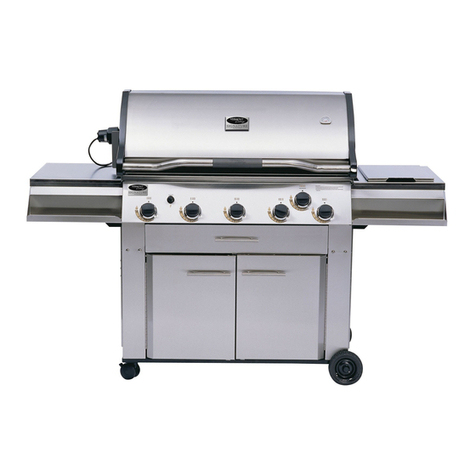
  9. Vermont Castings VCS5008BI Series Manual

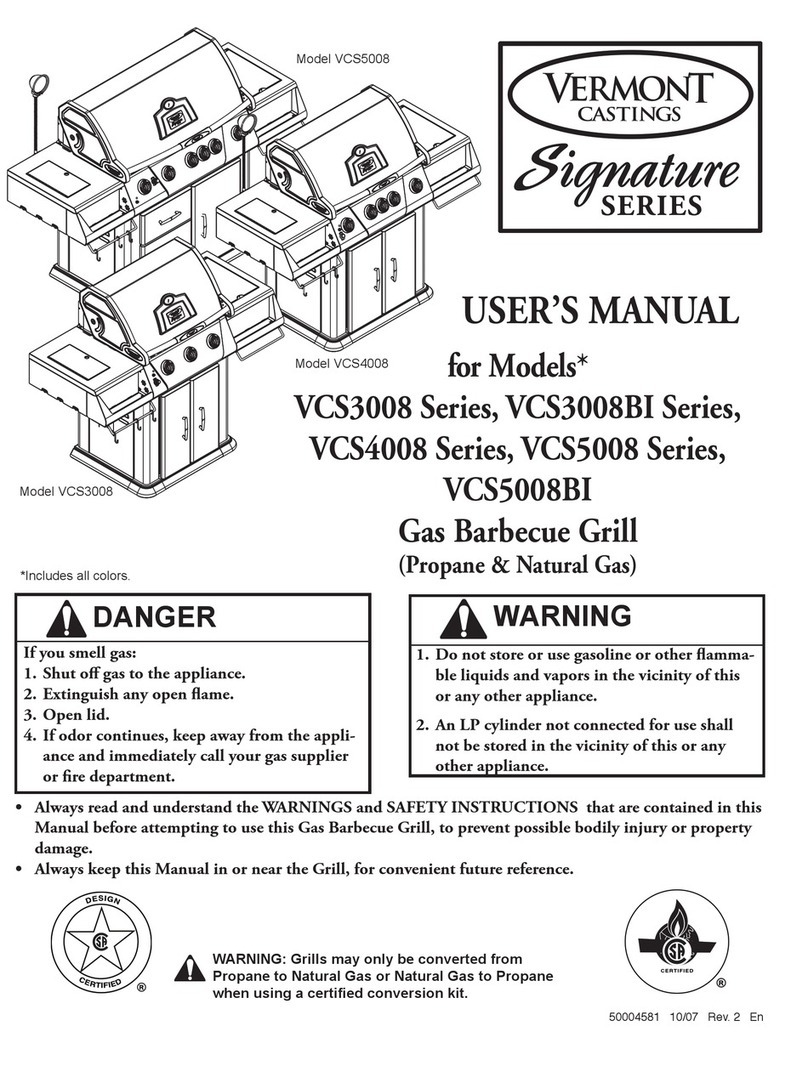
Vermont Castings VCS5008BI Series Manual

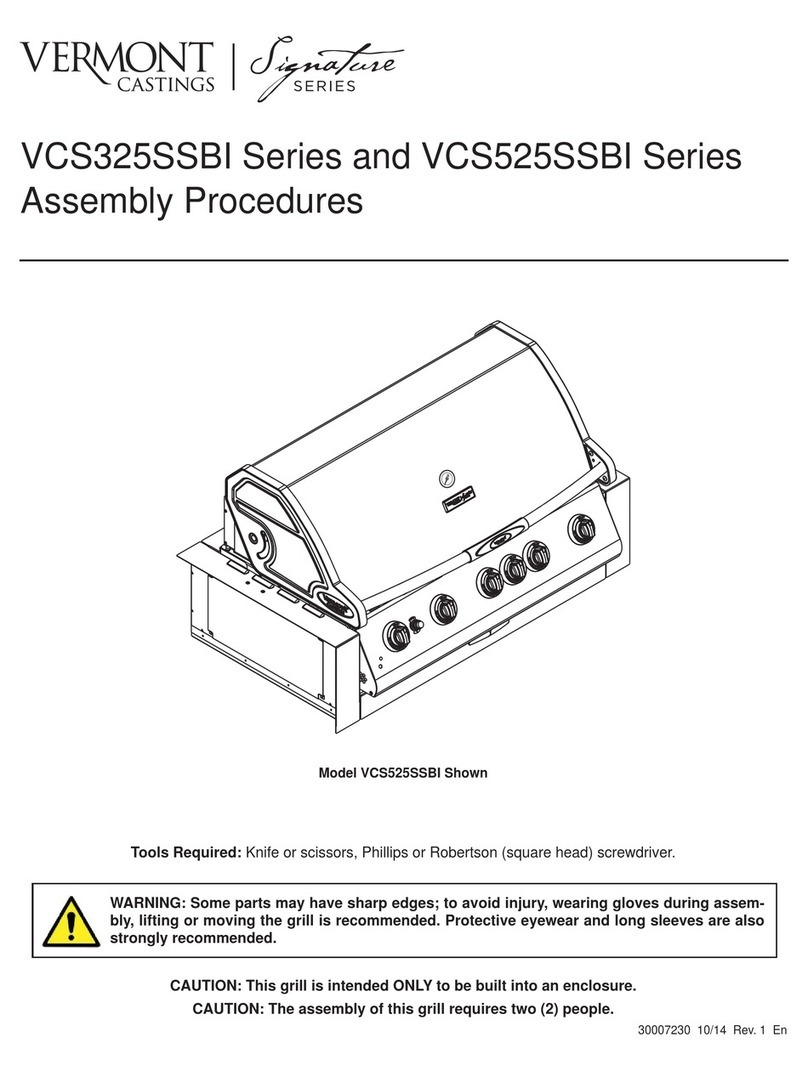
Assembly Procedures
VCS3008BI Series / VCS5008BI Series
Tools Required: Knife or scissors, Phillips or Robertson (square head) screwdriver.
CAUTION: This grill is intended ONLY to be built into an enclosure.
CAUTION: The assembly of this grill requires two (2) people.
WARNING: Some parts may have sharp edges; to avoid injury, wearing gloves during assembly,
lifting or moving the grill is recommended. Protective eyewear and long sleeves are also strongly
recommended.
NOTE: Remove the protective plastic coating from the stainless steel, failure to do so will void the warranty.
50004808 1/08 Rev. 3 En



All manuals and user guides at all-guides.com
all-guides.com
250004808
VCS3008BI/5008BI Series Assembly
CAUTION: Some parts may have sharp edges; to avoid injury, wearing gloves during assembly, lifting or
moving the grill is recommended.
Step 1: Unpack Carton and Verify Contents
Use a sharp cutting tool to cut the straps on the packaging and then lift off the carton top. The sleeve sur-
rounding the barbecue can be removed by lifting it straight up and over the top of the unit. Remove the
protective plastic coverings from the metal parts. Be careful not to scratch or damage the finish of the metal
parts when removing the protective plastic. Compare all contents to the parts list and the carton content
lists below. Refer to the parts list for fastener detail.
CAUTION: Some parts may have sharp edges; to avoid injury, wearing gloves during assembly is strongly
recommended.
8
5
6
34
2
1



9
7
10
VCS3008BI Carton Contents
1. Spit Rod 50001326
2. Grease Tray 50001955
3. Cover Rear 50004739
4. Front Grease Tray Assy 50004823
5. Firebox Assy 50004822
6. Lid Assembly
Box 7 (50004737)
Hardware Bag
Bracket Right
Bracket Left
Handle
Knob Long Stem (4)
Battery “AAA”
Support Battery Holder
Battery Case
Heat Plate (3)
Box 8 (50004564)
Cook Grates (2)
Box 9 (50004801)
Rotisserie Kit
Box 10 (50004555)
Smoker Box
All manuals and user guides at all-guides.com
3
50004808
VCS3008BI/5008BI Series Assembly
CAUTION: Some parts may have sharp edges; to avoid injury, wearing gloves during assembly, lifting or
moving the grill is recommended.
5
8
6
1
7
3
2
4



9
10
VCS5008BI Carton Contents
1. Spit Rod 50000962
2. Front Grease Tray Assy 50004903
3. Cover Rear Burner 50004799
4. Grease Tray 50001950
5. Firebox Assy 50004778
6. Lid Assy
Step 1: Unpack Carton and Verify Contents (continued)
Box 7 (50004789)
Hardware Bag
Bracket Right
Bracket Left
Handle
Knob Long Stem (4)
Knob Short Stem (2)
Battery “AA”
Support Battery Holder
Battery Case
Heat Plate (5)
Box 8 (50004559)(2)
Cook Grates (2)
Box 9 (50004555)
Smoker Box
Box 10 (50004801)
Rotisserie Kit
All manuals and user guides at all-guides.com
450004808
VCS3008BI/5008BI Series Assembly
CAUTION: Some parts may have sharp edges; to avoid injury, wearing gloves during assembly, lifting or
moving the grill is recommended.
G
Q
L
P
F
T
U
V
V
V
R
SS
DE
C
I
A
L
O
G
H
M
N
F
B
J
K
B246
built in specs
11/07
C
L
VCS3008BI / VCS5008 BI Framing Dimensions
Noncombustible Clearances Combustible Clearances with ZC Insulated Jacket
Ref. VCS3008BI VCS5008BI VCS3008BI VCS5008BI
A 24⁵⁄₈” (624 mm) 24⁵⁄₈” (624 mm) 24⁵⁄₈” (624 mm) 24⁵⁄₈” (624 mm)
B 4³⁄₄” (120 mm) 4³⁄₄” (120 mm) 3” (76 mm) 3” (76 mm)
C 2” (51 mm) Dia. 2” (51 mm) Dia. 2” (51 mm) Dia. 2” (51 mm) Dia.
D 3¹⁄₁₆” (78 mm) 3¹⁄₁₆” (78 mm) 3¹⁄₁₆” (78 mm) 3¹⁄₁₆” (78 mm)
E 3” (76 mm) 3” (76 mm) 3” (76 mm) 3” (76 mm)
F 2¹⁄₂” (64 mm) Min. 2¹⁄₂” (64 mm) Min. 2¹⁄₂” (64 mm) Min. 2¹⁄₂” (64 mm) Min.
G 2¹⁄₂” (64 mm) Min. 2¹⁄₂” (64 mm) Min. 2¹⁄₂” (64 mm) Min. 2¹⁄₂” (64 mm) Min.
H 9³⁄₈” (239 mm) 9³⁄₈” (239 mm) 11¹⁄₈” (283 mm) 11¹⁄₈” (283 mm)
I 31³⁄₈” (797 mm) 43³⁄₈” (1102 mm) 31³⁄₈” (797 mm) 43³⁄₈” (1102 mm)
J 12” (305 mm) 12” (305 mm) 12” (305 mm) 12” (305 mm)
K 18” (457 mm) 18” (457 mm) 18” (457 mm) 18” (457 mm)
L 10” (254 mm) 10” (254 mm) 10 (254 mm) 10” (254 mm)
M 18³⁄₄” (476 mm) 18³⁄₄” (476 mm) 18³⁄₄” (476 mm) 18³⁄₄” (476 mm)
N 4” (102 mm) Min. 4” (102 mm) Min. 4” (102 mm) Min. 4” (102 mm) Min.
O 4” (102 mm) Min. 4” (102 mm) Min. 4” (102 mm) Min. 4” (102 mm) Min.
P 8” (203 mm) 8” (203 mm) 8” (203 mm) 8” (203 mm)
Q 13¹³⁄₁₆” (351 mm) 13¹³⁄₁₆” (351 mm) 13¹³⁄₁₆” (351 mm) 13¹³⁄₁₆” (351 mm)
R 33⁵⁄₁₆” (845 mm) 45⁵⁄₁₆” (1150 mm) 33⁵⁄₁₆” (845 mm) 45⁵⁄₁₆” (1150 mm)
S n/a n/a 9⁷⁄₈” (250 mm) 13¹³⁄₁₆” (350 mm)
T n/a n/a 3” (76 mm) 3” (76 mm)
U n/a n/a 4” (102 mm) 4” (102 mm)
V n/a n/a 5¹⁵⁄₁₆” (150 mm) 5¹⁵⁄₁₆” (150 mm)
All manuals and user guides at all-guides.com
5
50004808
VCS3008BI/5008BI Series Assembly
CAUTION: Some parts may have sharp edges; to avoid injury, wearing gloves during assembly, lifting or
moving the grill is recommended.
NOTE: Ensure your grill enclosure has been constructed according to the exact specifications shown in Figure 2. If the enclosure
is constructed of wood or other similar combustible materials, the use of the insulated jacket Model VCS3008IJ or VCS5008IJ is
required.
If you have an LP model with a 20lb cylinder stored in the enclosure, ensure there are at least two (2) air ventilation openings of 10
sq. inches (64.5 cm2) 180 degrees apart and they are level with the cylinder valve. Another two (2) openings with the same dimen-
sions and distance are required to be level with the base of the cylinder. An enclosure for an LP gas cylinder shall be ventilated by
openings at both the upper and lower levels of the enclosure. The effectiveness of the opening(s) for purposes of ventilation shall
be determined with the LP gas supply cylinder in place. This shall be accompanied by one of the following:
a. One side of the enclosure shall be completely open; or
b. For a cylinder enclosure having four (4) sides, a top and a bottom and intended for installation in a built-in enclosure:
1. At least one (1) ventilation opening shall be provided on the exposed exterior side of the enclosure located within 5 in. (127
mm) of the top of the enclosure and unobstructed. The opening(s) shall have a total free area of not less than 1 in2/lb (14.2
cm2/kg) of stored fuel capacity.
2. At least one ventilation opening shall be provide don the exposed, exterior side of the enclosure 1 in (25.4 mm) or less from
the floor level and shall have a total free area of not less than 1/2 in2/lb (7.1 cm /kg) of stored fuel capacity. The upper edge
shall be no more than 5 in (127 mm) above the floor level.
3. Every opening shall have a minimum dimension so as to permit the entrance of a 1/8 in (3.2 mm) rod.
Always confirm the installation of this grill conforms with the requirements of all local codes or, in the absence of any applicable
local codes, with either the National Fuel Gas Code, ANSI Z223.1/NFPA 54, or CSA B149.1, Natural Gas and Propane Installation
Code.
All manuals and user guides at all-guides.com
650004808
VCS3008BI/5008BI Series Assembly
CAUTION: Some parts may have sharp edges; to avoid injury, wearing gloves during assembly, lifting or
moving the grill is recommended.
Step 2: Assemble Fascia Brackets
Parts Required:
(1) Main Grill Unit
(1) Left Fascia Bracket
(1) Right Fascia Bracket
(4) #10 x 1/2” Bolts
(4) #10 Lock Nuts
Figure 1
Prop up the front of the grill unit on a 2” or 3” block of wood or some other similar item. Remove the two (2)
1/4-20 x 3/8” bolts located at the top, right corner on the left and right side of the base assembly and loosen
the two (2) front 1/4-20 x 3/8” bolts as shown.
Attach the right fascia bracket to the grill base by aligning the holes over the loosened bolts and gently
pushing down on the fascia until the bolts settle into the grooves.
NOTE: Ensure the bottom of the flanges on the left and right fascia brackets slide between the flange of
the bottom cover and the console.
Secure the rear of the brackets to the grill unit using the 1/4-20 x 3/8” bolts initially removed. Secure the
brackets to the lower, front of the grill body by inserting two (2) #10 x 1/2” bolts and two (2) #10 nuts as
shown.



Figure 1
1/4-20 x 3/8” Screw
(remove from base as-
sembly)
#10 Bolts
Right Fascia Bracket
1/4-20 x 3/8” Bolt
(remove half way from base assembly)
B262
All manuals and user guides at all-guides.com
all-guides.com
7
50004808
VCS3008BI/5008BI Series Assembly
CAUTION: Some parts may have sharp edges; to avoid injury, wearing gloves during assembly, lifting or
moving the grill is recommended.
Step 3: Assemble the Rear Panel
Parts Required:
(1) Rear Panel
(1) Back Flange
(4) Self-tapping Screws
Figure 2
Attach the back flange of the rear panel to the grill base with two (2) self-tapping screws.
Fasten the ends of the rear panel to the left and right fascia brackets with two (2) self-tapping screws.



Figure 2
Rear Panel
Self-tapping Screws
B263
All manuals and user guides at all-guides.com
850004808
VCS3008BI/5008BI Series Assembly
CAUTION: Some parts may have sharp edges; to avoid injury, wearing gloves during assembly, lifting or
moving the grill is recommended.
Step 4: Assemble the Grease Tray Front and Handle
Parts Required:
(1) Grease Tray Front
(1) Handle (with screws)
(2) #10 Bolts
(2) #10 Nuts
Figure 3
Remove the grease tray from the front of the grill base (below the control console). Remove the protective
plastic from the grease tray front. Attach the grease tray front to the front lip of the grease tray with two (2)
#10 bolts and tighten using two (2) #10 nuts.
Attach the handle to the tray with the two (2) screws supplied with the handle.
NOTE: Do not reinsert the grease tray into the grill base at this time.
SERVICE NOTE: Due to the shallow depth of the grease tray, ensure it is cleaned frequently to avoid a
possible grease fire.



Grease Tray
#10 Nuts
Grease Tray Front
Handle Hardware
Handle
#10 Bolts
B256
Figure 3
All manuals and user guides at all-guides.com
9
50004808
VCS3008BI/5008BI Series Assembly
CAUTION: Some parts may have sharp edges; to avoid injury, wearing gloves during assembly, lifting or
moving the grill is recommended.
Step 5: Assemble the Grill Unit to the Enclosure
NOTE: This step should be performed by two (2) persons wearing gloves.
Figure 4
Before positioning the grill unit into the prepared enclosure or insulated jacket, depending on the available
access, it may be necessary to temporarily disconnect the LP regulator or Natural Gas connector hose
from the steel flex line.
Carefully position the grill unit into the opening from the front and raised slightly, while ensuring the gas
feed tubing is fed through the hole provided in the bottom of the enclosure opening. Push the unit back into
its final position and check for proper fit.
Reattach the LP regulator or Natural Gas connector hose if it was removed and check all connections for
leaks. Reinsert the grease tray into its place.
CAUTION: The end of the steel flex line should be clamped to the surrounding structure to prevent exces-
sive movement.
CAUTION: Do not turn on the grill unit until after performing a leak check at all connection points and fit-
tings. Use a spray solution of 50% dish soap and 50% water onto all connection points and fittings. Forma-
tion of bubbles indicates air leaks.



Figure 4
B257
All manuals and user guides at all-guides.com
10 50004808
VCS3008BI/5008BI Series Assembly
CAUTION: Some parts may have sharp edges; to avoid injury, wearing gloves during assembly, lifting or
moving the grill is recommended.
Step 6: Install Internal Components and Knobs
Parts Required:
VCS3008BI VCS5008BI
(3) Sear Plates (5) Sear Plates
(2) Cooking Grates (4) Cooking Grates
(1) Warming Rack (1) Warming Rack
(4) Knobs (6) Knobs
(1) Smoker Box (1) Smoker Box
Figure 5
Carefully place each of the sear plates side by side inside the grill by making sure the semicircular finger
groove is facing toward the front of the grill. Do the same with the cooking grates, making sure the finger
groove is facing toward the front of the grill. Set the warming rack into the supports located on either side of
the rear lid.
Place the smoker box assembly on any
sear plate by laying the bracket over
the sear plate so the ‘z’ ends of the
bracket fit into the ‘z’ slots of the
sear plate. Slide the smoker box
assembly back into the locked
position. (Fig. 6) Continue placing
the remaining sear plates. The smoker
box may be left in place when not being
used. CAUTION: Only add wood chips
to the smoker box when grill is cool.
Align the knobs on the
valve stems and push in
until the knob sits snugly
on the stem.



Figure 5
Cooking Grates
Finger Hole
Sear Plates
Warming Rack
Finger Hole
Control Knob
(indicator faces up)
B258
Smoker Box
B233



Sear Plate
‘Z’ End
Figure 6
All manuals and user guides at all-guides.com
11
50004808
VCS3008BI/5008BI Series Assembly
CAUTION: Some parts may have sharp edges; to avoid injury, wearing gloves during assembly, lifting or
moving the grill is recommended.
Cooking Tips - Smoker Box
• To produce more smoke and prevent fast burning, pre-soak the wood chips in a separate
bowl of water for at least 20 minutes.
• To add wood chips before cooking, fill the smoker box with your choice of flavored chips
(remove wood chips from water first). The amount and type of wood you use is entirely up
to you. Once the box is filled with the desired amount, close the lid and place the cooking
grids in the proper position on the grill.
• Tips: Small wood chips work best inside the wood chip box.
• Allow grill to heat up before placing your food on the grill. This will allow time for the wood
chips to begin to smoke.
• Do not use resinous woods such as pine or plywood. These will produce an unpleasant
flavor.
• Do not try to add more wood chips while cooking. It is recommended that you allow grill to
cool before replacing wood chips or handling the cooking grates which may still be hot.
All manuals and user guides at all-guides.com
all-guides.com
2695 Meadowvale Blvd. • Mississauga, Ontario, Canada L5N 8A3
800-668-5323 • www.cfmcorp.com
CFM Corporation
All manuals and user guides at all-guides.com

This manual suits for next models

6

Other Vermont Castings Grill manuals

Vermont Castings VANGUARD G53903 User manual
Vermont Castings

Vermont Castings VANGUARD G53903 User manual

Vermont Castings VC750PG1 Installation instructions

Vermont Castings

Vermont Castings VC750PG1 Installation instructions

Vermont Castings Signature VCS501 Series User manual

Vermont Castings

Vermont Castings Signature VCS501 Series User manual

Vermont Castings Signature VCS3006 Manual

Vermont Castings

Vermont Castings Signature VCS3006 Manual

Vermont Castings Signature VCS301 Series Manual

Vermont Castings

Vermont Castings Signature VCS301 Series Manual

Vermont Castings VC400 Manual

Vermont Castings

Vermont Castings VC400 Manual

Vermont Castings VCSeries User manual

Vermont Castings

Vermont Castings VCSeries User manual

Vermont Castings VCS4006 Manual

Vermont Castings

Vermont Castings VCS4006 Manual

Vermont Castings Signature VCS4007 Manual

Vermont Castings

Vermont Castings Signature VCS4007 Manual

Vermont Castings CF9030 Manual

Vermont Castings

Vermont Castings CF9030 Manual

Vermont Castings VC200 User manual

Vermont Castings

Vermont Castings VC200 User manual

Vermont Castings VC50 User manual

Vermont Castings

Vermont Castings VC50 User manual

Vermont Castings VANGUARD G53901 User manual

Vermont Castings

Vermont Castings VANGUARD G53901 User manual

Vermont Castings Signature VCS4027 User manual

Vermont Castings

Vermont Castings Signature VCS4027 User manual

Vermont Castings Signature VCS501 Series User manual

Vermont Castings

Vermont Castings Signature VCS501 Series User manual

Vermont Castings VCS3505 User manual

Vermont Castings

Vermont Castings VCS3505 User manual
Vermont Castings VCS Series User manual

Vermont Castings

Vermont Castings VCS Series User manual

Vermont Castings Signature VCS3507 User manual

Vermont Castings

Vermont Castings Signature VCS3507 User manual

Vermont Castings Signature VCS310 Series User manual

Vermont Castings

Vermont Castings Signature VCS310 Series User manual

Vermont Castings VM400 User manual

Vermont Castings

Vermont Castings VM400 User manual

Vermont Castings VC100 User manual

Vermont Castings

Vermont Castings VC100 User manual

Vermont Castings VANGUARD G54001 User manual

Vermont Castings

Vermont Castings VANGUARD G54001 User manual

Vermont Castings VCS3506BI User manual

Vermont Castings

Vermont Castings VCS3506BI User manual

Vermont Castings VANGUARD G36603 User manual

Vermont Castings

Vermont Castings VANGUARD G36603 User manual

Popular Grill manuals by other brands

Nexgrill G4NEXDX operating instructions

Nexgrill

Nexgrill G4NEXDX operating instructions

KBQ C-60 owner's manual

KBQ

KBQ C-60 owner's manual

Pit Boss PB1100PS1 Assembly and operation

Pit Boss

Pit Boss PB1100PS1 Assembly and operation

Blue Ember BE569s use & care

Blue Ember

Blue Ember BE569s use & care

Aichinger ROG ROLL'N'GRILL manual

Aichinger

Aichinger ROG ROLL'N'GRILL manual

Lynx All-Sear series Use and care guide

Lynx

Lynx All-Sear series Use and care guide

Nexgrill Charcoal - Gas Combo Grill Assembly & operating instructions

Nexgrill

Nexgrill Charcoal - Gas Combo Grill Assembly & operating instructions

Electrolux E51LB60ESS Use & care guide

Electrolux

Electrolux E51LB60ESS Use & care guide

Wells B-40 owner's manual

Wells

Wells B-40 owner's manual

Napoleon PRO22K-CART-3 Assembly guide

Napoleon

Napoleon PRO22K-CART-3 Assembly guide

MHP GJK 36 Series Assembly instructions

MHP

MHP GJK 36 Series Assembly instructions

Kuhn Rikon RACLETTE-GRILL instruction manual

Kuhn Rikon

Kuhn Rikon RACLETTE-GRILL instruction manual

FireMagic Aurora series quick start guide

FireMagic

FireMagic Aurora series quick start guide

Onward Broil King 495051 Assembly manual & parts list

Onward

Onward Broil King 495051 Assembly manual & parts list

Kenmore 415.16106210 Use & care guide

Kenmore

Kenmore 415.16106210 Use & care guide

Kenmore 415.16644900 Use and care guide

Kenmore

Kenmore 415.16644900 Use and care guide

Baumatic BBQ340SS user manual

Baumatic

Baumatic BBQ340SS user manual

Louisiana Grills LG700 owner's manual

Louisiana Grills

Louisiana Grills LG700 owner's manual

manuals.online logo
manuals.online logoBrands
  • About & Mission
  • Contact us
  • Privacy Policy
  • Terms and Conditions

Copyright 2025 Manuals.Online. All Rights Reserved.