Verus Engineering A0105A Manual
Other Verus Engineering Automobile Accessories manuals
Verus Engineering
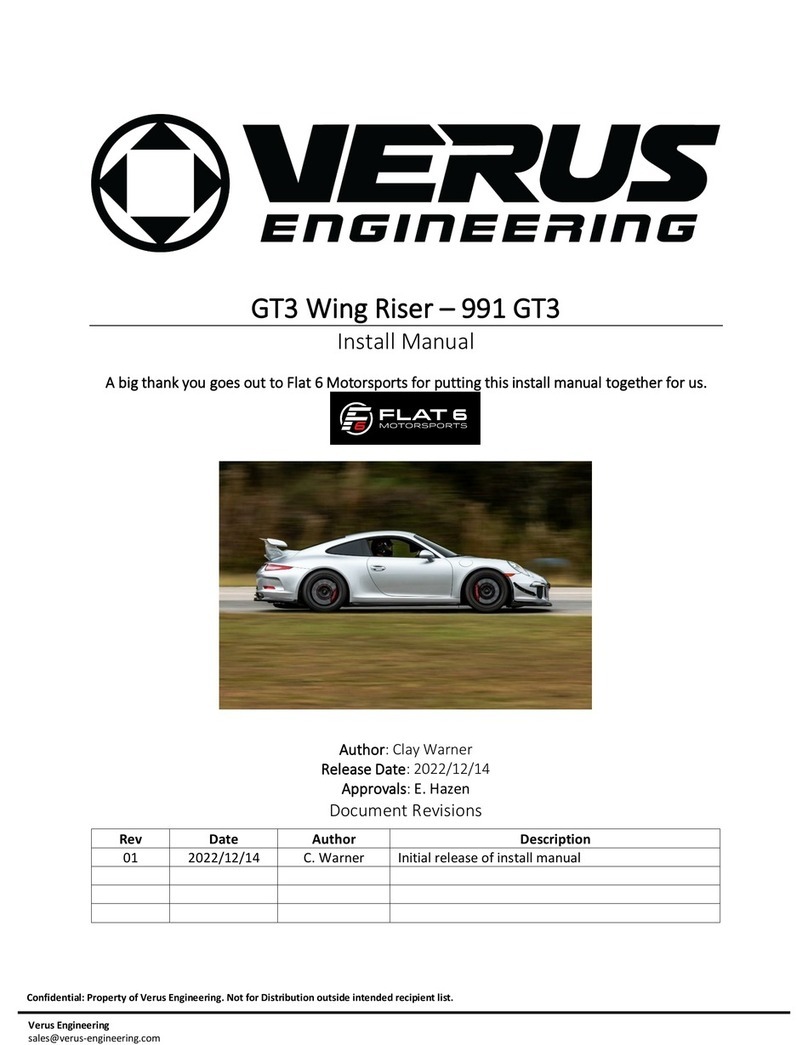
Verus Engineering Wing Riser 991 GT3 Manual
Verus Engineering
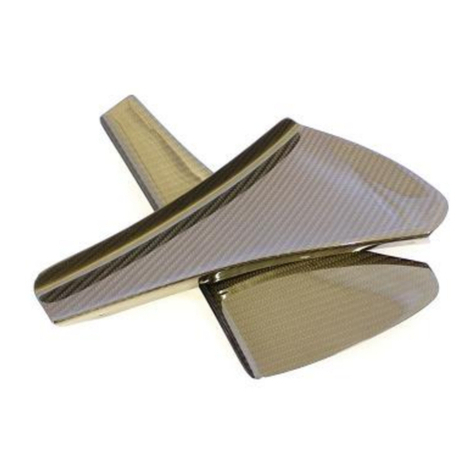
Verus Engineering Dive Plane Manual
Verus Engineering
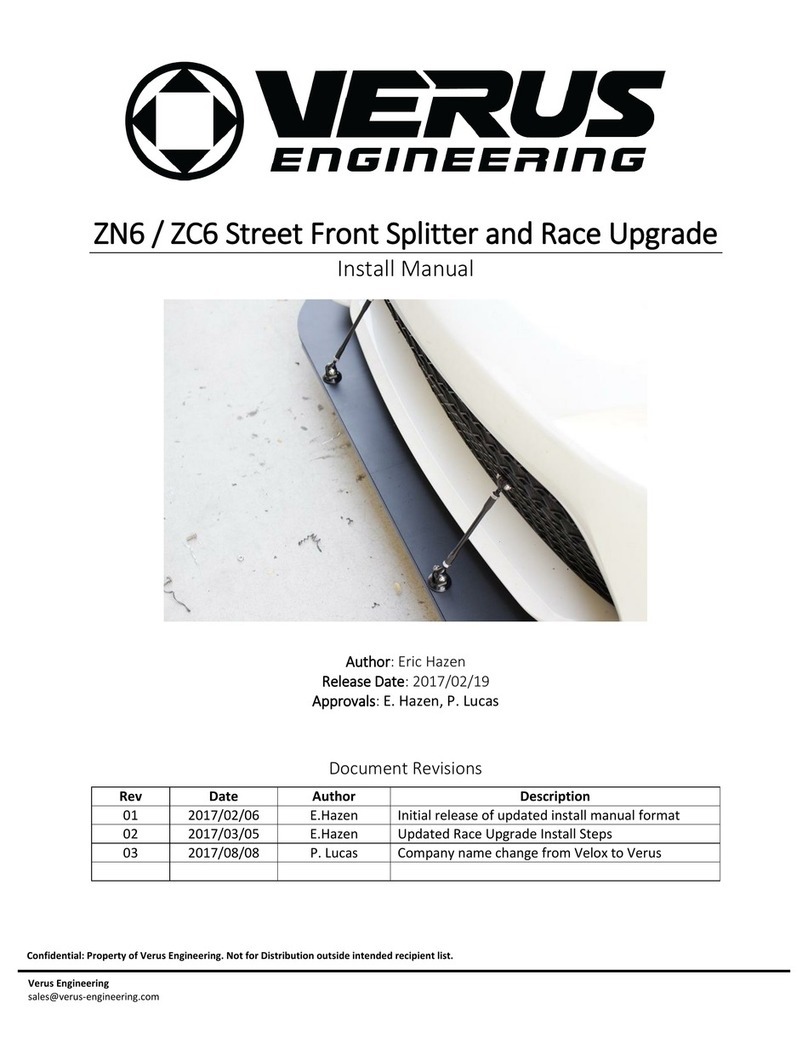
Verus Engineering ZN6 Manual
Verus Engineering
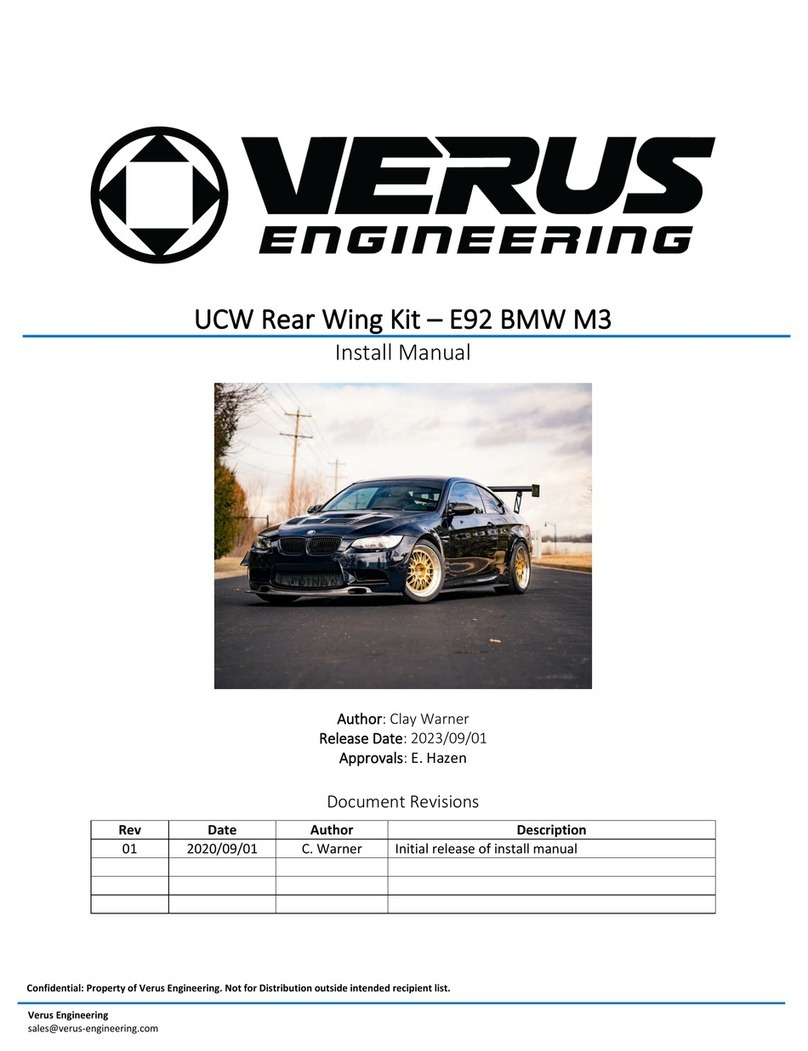
Verus Engineering UCW Rear Wing Kit Manual

Verus Engineering
Verus Engineering ZN6 Manual
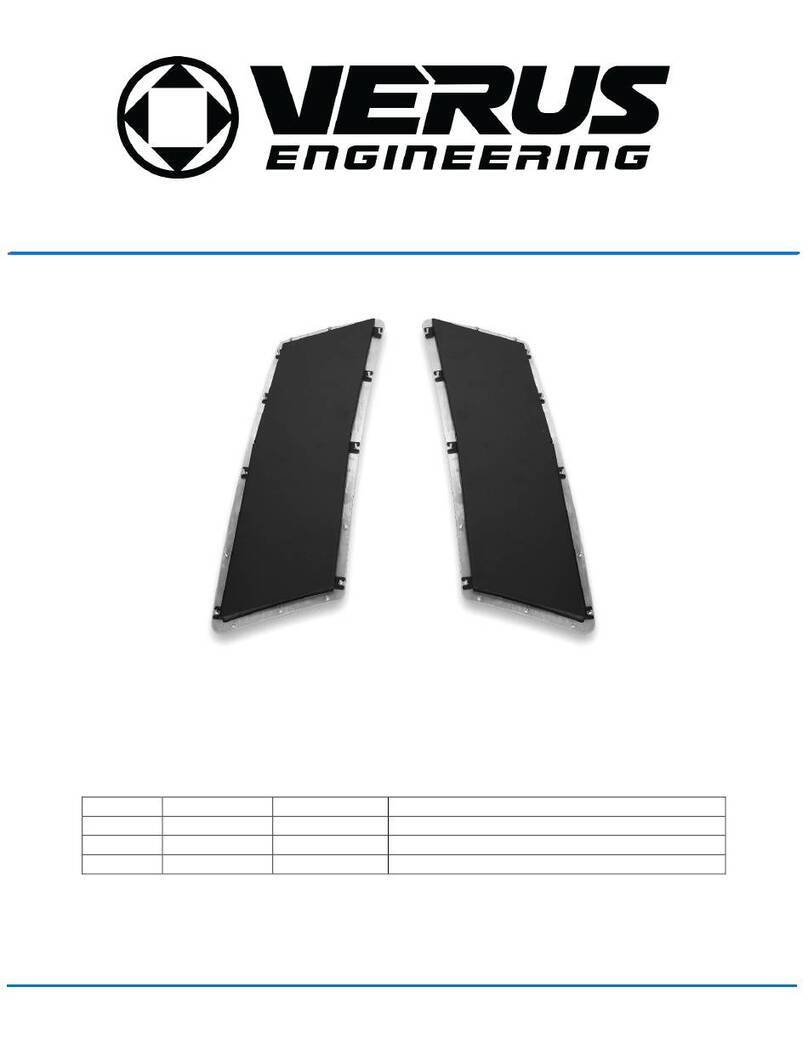
Verus Engineering
Verus Engineering A0158A User manual

Verus Engineering
Verus Engineering ZN6 Manual
Popular Automobile Accessories manuals by other brands

ULTIMATE SPEED
ULTIMATE SPEED 279746 Assembly and Safety Advice

SSV Works
SSV Works DF-F65 manual

ULTIMATE SPEED
ULTIMATE SPEED CARBON Assembly and Safety Advice

Witter
Witter F174 Fitting instructions

WeatherTech
WeatherTech No-Drill installation instructions

TAUBENREUTHER
TAUBENREUTHER 1-336050 Installation instruction


