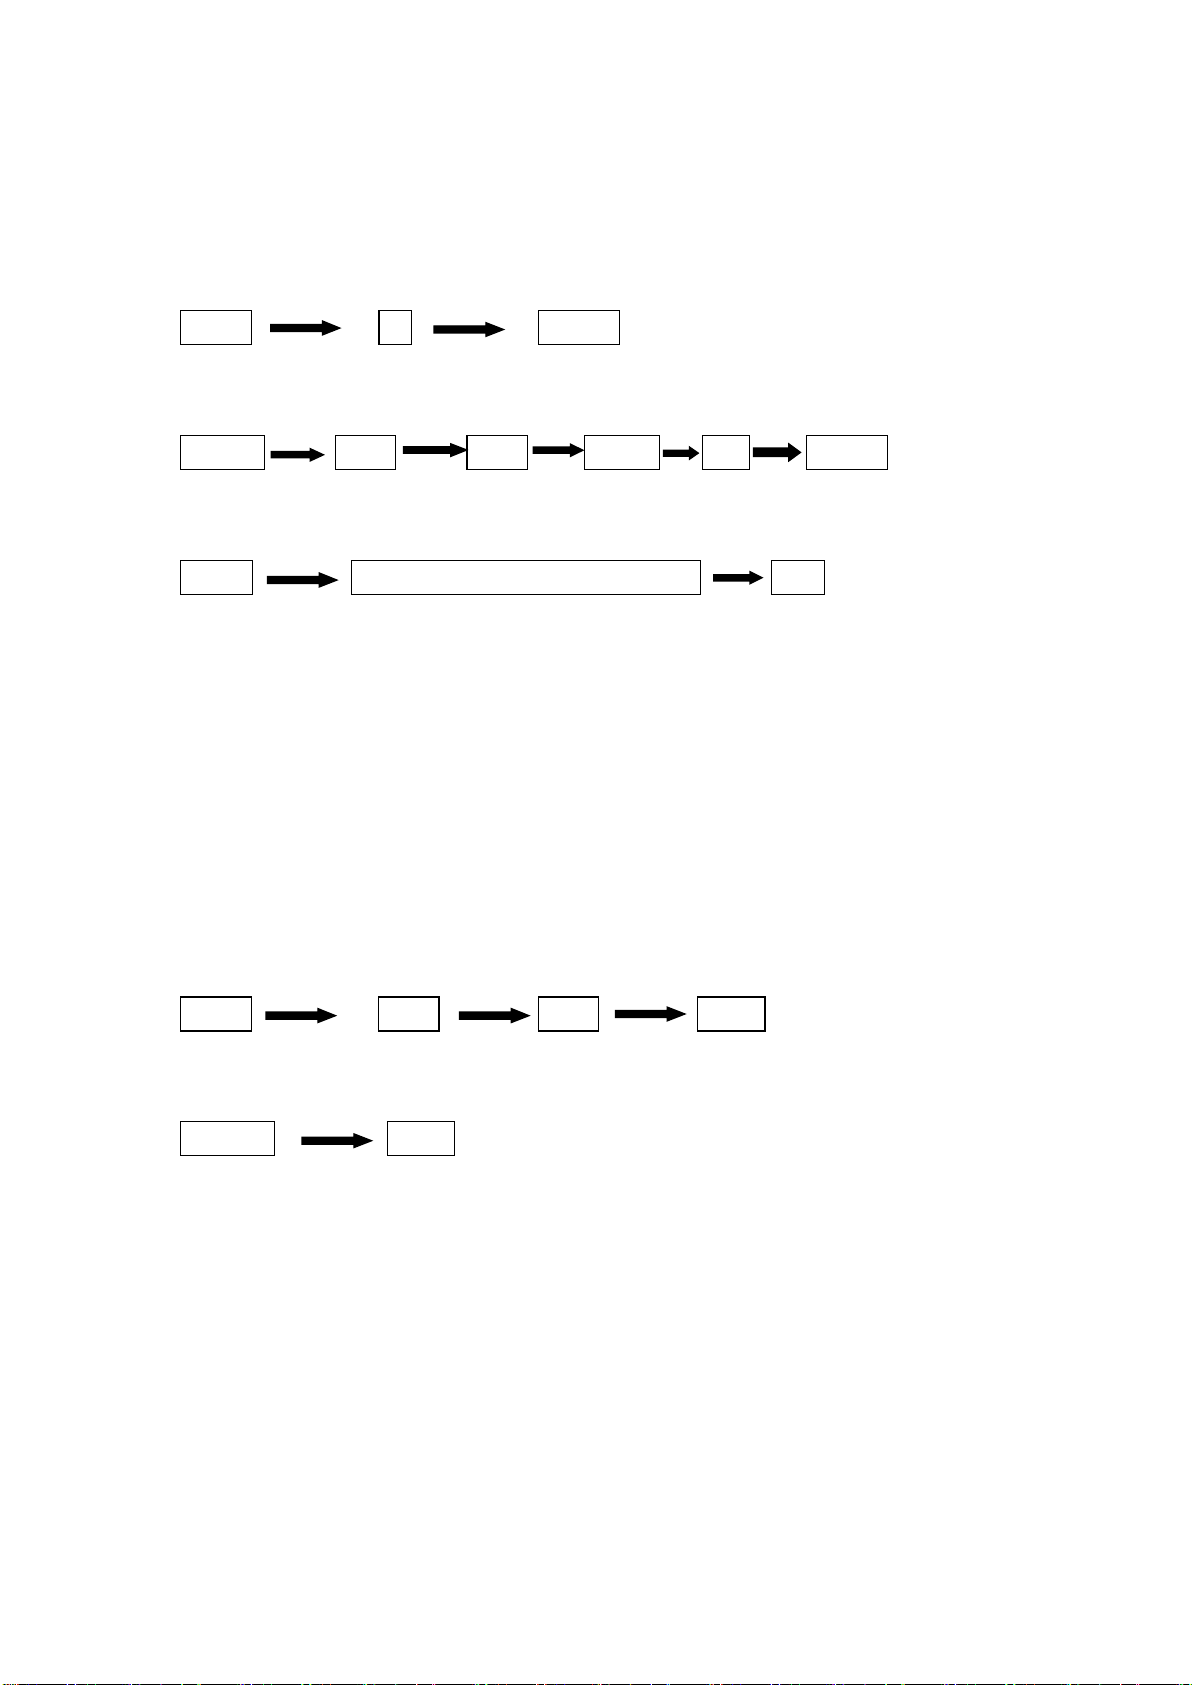
manuals.online logo
Brands
  1. Home
  2. •
  3. Brands
  4. •
  5. VEVOR
  6. •
  7. Cleaning Equipment
  8. •
  9. VEVOR HZX-100D User manual

VEVOR HZX-100D User manual

Popular Cleaning Equipment manuals by other brands

Skov Farm AirClean Technical user guide

Skov

Skov Farm AirClean Technical user guide

Nilfisk-Advance CA 240 operating instructions

Nilfisk-Advance

Nilfisk-Advance CA 240 operating instructions

ORBOT LiO operating manual

ORBOT

ORBOT LiO operating manual

unGer OmniClean Assembly instructions

unGer

unGer OmniClean Assembly instructions

CENTREGO Toucan Eco Bio Carry user manual

CENTREGO

CENTREGO Toucan Eco Bio Carry user manual

BANDELIN SONOREX TECHNIK RM 110 UH Instructions for use

BANDELIN

BANDELIN SONOREX TECHNIK RM 110 UH Instructions for use

Sealey VMA913 instructions

Sealey

Sealey VMA913 instructions

Aztec 520-00 owner's manual

Aztec

Aztec 520-00 owner's manual

BÖWE P25 installation instructions

BÖWE

BÖWE P25 installation instructions

Tunap MF 929 Service information

Tunap

Tunap MF 929 Service information

RIDGID K-45AF-7 manual

RIDGID

RIDGID K-45AF-7 manual

Aircraft POWERGLIDE manual

Aircraft

Aircraft POWERGLIDE manual

Suevia 130.5011 EASYCLEANER Mounting instructions

Suevia

Suevia 130.5011 EASYCLEANER Mounting instructions

i-MO Öko 2000 user guide

i-MO

i-MO Öko 2000 user guide

unGer Hydro Power Ultra UNP01 operating instructions

unGer

unGer Hydro Power Ultra UNP01 operating instructions

Black & Decker BHPC130 Original instructions

Black & Decker

Black & Decker BHPC130 Original instructions

Uni-ram UG5000E operating manual

Uni-ram

Uni-ram UG5000E operating manual

Axi MTC HC-300 Installation, operating and maintenance manual

Axi

Axi MTC HC-300 Installation, operating and maintenance manual

manuals.online logo
manuals.online logoBrands
  • About & Mission
  • Contact us
  • Privacy Policy
  • Terms and Conditions

Copyright 2025 Manuals.Online. All Rights Reserved.

1
CONTENT
Ⅰ. Istruction.............................................................3-4
Ⅱ. Operation Instruction..........................................4-7
Ⅲ. Operation............................................................7-10
Ⅳ. System detection and troubleshooting..............10-12
Ⅴ. After-sale service...................................................12
2
INSTALLED MACHINE
3
Ⅰ. INSTRUCTION
The system is suitable for the electronics industry,
automobile and motorcycle industry, electrical appliances,
electrical appliances, toys, transformers, clothing and other
industries.
1. Components:
Main control board, keypad, 128 * 64 liquid crystal display,
stepper drive, stepper motor, roller.
2. Technical details:
2.1. Model: HZX-100D
2.2. Power: 220V 50/60HZ
2.3. Cutting length: 0.1-----9999.9mm
2.4. Cutting width: 100mm
2.5. Weight: 26KG
2.6. Dimension: L360*W250*H350 mm
3. Character:
3.1. Automatic cutting heat shrink tubing, pvc casing, silicone
tube, wire, cable, cord and so on.
3.2. LED large screen intuitive display in English, can
accurately adjust the length of pipe and pipe cutting speed.
3.3. Cut the knife time protection, the total number of
settings, sub-set, sub-pause time adjustable.
3.4. Cutting width of up to 100mm, while the company
4
produced cutting width of 120mm, 160mm, 200mm, 260mm,
300mm and other pipe cutting machine, more can be
customized according to requirements.
3.5. Lack of material automatically shut down, do not need to
specifically stare., With a variety of manual operation, easy to
debug.
Ⅱ. Operation Instruction:
1. Function of the button:
+
Forward: Press this button to move the normal, if used in
setting the length, can be used to set the decimal point after
the number.
-
Backward: Press this key to reverse the wheel, if used to set
the length, can be used to set the decimal point after the
number.
CLR
Erase/Cut: Press this button to move the tool once, if the
setting screen, can be used to clear the set error value.
LEN
Length A: Press this key, then press the number keys to set
the size of length A.
5
SPD
Speed: Press this key, then press the number keys to set the
speed range between 00-99, the faster the number of the
faster, and vice versa slower.
UNIT
Batch: Press this key, then press the number keys to set the
batch, the position between 0-9999, if the batch is set to 0, it
will not be suspended.
TOL
Sum: After pressing this key, press the number to set the
total number.
CUT
Cut A: Press this key, then press the number keys to set the
number of cutting knife A cutting knife according to the
standard requirements set to 1.
Remarks: After setting the number, you must press SET to
save the settings. If you want to set the settings, to return to
the main screen, press Stop to return.
CMP
Return to zero: Press this key to clear the number of times
you have cut.
RUN
Start: Press this button to start work.
6
FUN
Function: Set the parameters of several special functions.
Remarks: F key: Is the "function" "FUN" key.
F0: Press the "function" and then press the number key "0"
key, the following other key combination operation the same.
F0, [Next knife delay] cutter under a certain delay time and
then on the knife (the default value is 0)
F1, [Next knife interval] Cylinder knife delay time between
each knife (default is 0)
F2, [Batch Pause] The pause time of the unit batch is set to
1-9 seconds. If the set value is 0, it will be cut until the total
number of arrival time, you must press the zero again (CMP)
button, then press the start (RUN) button to start again.
F3, [Length compensation function] This function can be
compensated when there is an error in setting the length and
actual length, X=X+Y*(F3/1000).
Compensation to move to the value of the limit: the
maximum value of +999, the minimum value of -999. Where
Y is compensation for 0, the actual cut out the length; X is
compensated after the cut value. For example, if the length is
100 mm and the compensation is 0, the length cut out is 90
mm
7
Compensation value F3 = (set value - actual value) / actual
value * 1000 = (100-90) /90*1000=111.11
F4, [Pipe cutting speed] set the cutter speed, the initial value
of 18, according to the material hardness adjustment, soft
material can be set to larger.
F5, [Step Length] In the standby mode, press the "Forward"
or "Back" key.
Ⅲ. Operation:
NOTICE: Do not put your hands or hard objects under the
cutter, so as to avoid a safety accident or damage to the knife
edge.
1. Turn on the power and press the switch to enter the
operation screen.
2. Press the "Length" key to set the cutting length; press the
“0-9”enter the length of the required tube, press the "+" or
"-" key to change the number after the decimal point, press
the "SET" button to set the length of the tube to be cut. "Key
to confirm the input, the length of the set value just set, you
can press the" CLR "key to enter the clear, press the" stop
"key to return to the main screen.
3. Press the "Speed" key to set the speed of the trace. The
faster the value, the faster the value is 0 and the maximum is
8
99.
4. Press the "Cutter" button to set the number of times each
cutting tool.
5. Press the "Total" key to set the total number of crop belts.
6. Press the "batch" button, set the number of cut for a batch.
Each time the batch value will be suspended for a certain
time.
7、Press the "function" button, then press the number key "2",
set each time to reach a batch need to pause time. 0-9
seconds, 0 seconds that no pause.
8. Install the tube to be cut.
9. Press the "Start" button to start the crop control.
10. Press the "Stop" button or the "Emergency Stop" button
to stop the cutting operation.
For example:
The length of the cut is 80.5mm, the total is 1500, the number
of each package is 15.
A. Turn on the power and press the switch to enter the
operation screen.
B. Set the cutting length 80.5mm (according to the following
steps once)
Length A 0 8 0 forward Set
LEN 0 8 0 + SET
9
If you press multi-digit, you can press the back (-) key to
return to the previous digit.
Cut A 1 Set
CUT 1 SET
Total 1 5 0 0 Set
TOL 1 5 0 0 SET
Speed 00-99 Set
SPD Press the number keys SET
Select the appropriate speed, the speed from 00-99 points of
the 100 speed section, the greater the value the faster the
faster, when the material is more flexible or the whole roll
material is heavy and no auxiliary feeder with the speed
should be selected the slower.
Batch 1 5 set
UNI 1 5 SET
function set
FU SET
Set the batch pause time (this value is set according to the
actual situation, but if the batch pause is required, the batch
pause time can not be set to 0).
After completing the above settings, press the STOP key to
exit the setting mode. The parameters will be displayed on
the screen.
10
If the setting is wrong, for example, the length is set to
800.5mm, the other is correct, you can repeat the first step to
correct.
Place the material: the material to the upper wheel and the
next wheel contact, press the forward (+) button, so that the
material forward to more than the knife-edge position, adjust
the barrier board, spacer plate fixed material, so that the
material will not left, right But do not grip the material so as
not to affect the accuracy of the material cutting length.
Press the RUN key, then you have implemented the [Tube
Belt Crop Automation]
Ⅳ.System detection and troubleshooting
Problem Test Possible failure Solution
Motor
doesn’t
run
Press the "cutting
knife" button, the
motherboard D8
LED light
The motherboard control signal
is good, the fault is driven
between the AC drive to the
gear motor
Please check the
connection
between the
motherboard and
the motor to start
the capacitor
Press the "cutting
knife" button, the
motherboard D8
LED does not light
Motherboard control, signal
failure
Please contact the
seller
Decelerati
on motor
rotation
Contact the
sensor with a
metal object to
see if the sensor
has an indication
If there is no indication, the
sensor is faulty
Please replace the
new sensor
If the sensor is normal Adjust the
distance between
the sensor and the
induction terminal
of the motor