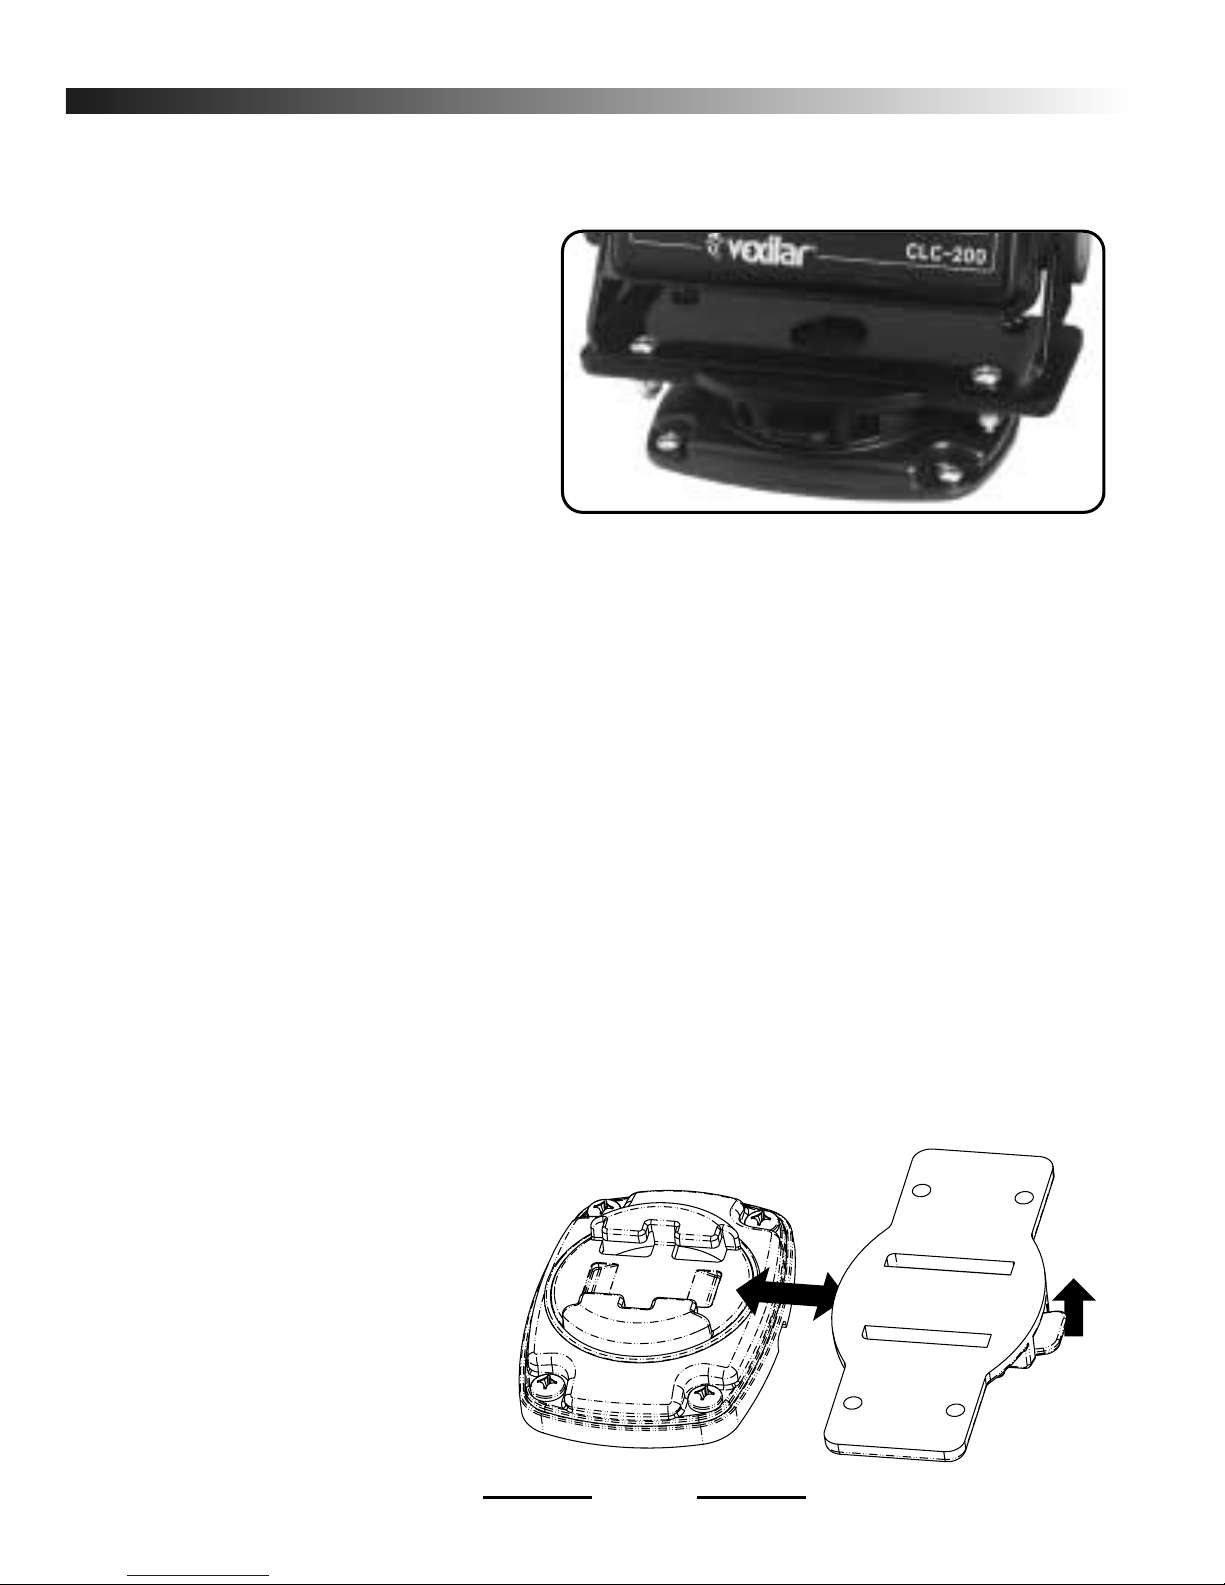
VEXILAR CLC-200 User manual
Other VEXILAR Marine Equipment manuals

VEXILAR
VEXILAR Boundary Waters LC-10 User manual

VEXILAR
VEXILAR EDGE LC-507 User manual

VEXILAR
VEXILAR FL-8 User manual

VEXILAR
VEXILAR FL-8SLT User manual

VEXILAR
VEXILAR LC-8 User manual

VEXILAR
VEXILAR EDGE 3 User manual

VEXILAR
VEXILAR FL-8SE User manual

VEXILAR
VEXILAR FL-18 User manual

VEXILAR
VEXILAR CLC-200 User manual

VEXILAR
VEXILAR FL-8SE User manual
Popular Marine Equipment manuals by other brands


Raymarine
Raymarine Maxiview ST80 Owner's handbook

GUIDANCE MARINE
GUIDANCE MARINE 20- Series Installer's guide

Raymarine
Raymarine ST60 Tridata Owner's handbook

Sonic
Sonic 2024 Operation manual

Quicksilver
Quicksilver 88688A25 Installation, operation and maintenance instructions

Furuno
Furuno Navtex NX-700-A Operator's manual