manuals.online logo
Brands
  1. Home
  2. •
  3. Brands
  4. •
  5. VIBIA
  6. •
  7. Home Lighting
  8. •
  9. VIBIA Wind User manual

VIBIA Wind User manual

SUPPLIED MATERIAL MATERIAL SUMINISTRADO
GELIEFERTES MATERIAL
1.
TECHNICAL SPECIFICATIONS ESPECIFICACIONES TÉCNICAS TECHNISCHE DATEN
Wind
Design by Jordi Vilardell
ASSEMBLY INSTRUCTIONS
INSTRUCCIONES DE MONTAJE
MONTAGEANLEITUNG
4050
1
Shade's screws / Tornillos pantalla / Schrauben für Schirm 4 un.
2
Allen key / Llave allen / Imbußschlüsse 1 un.
3
Lamp structure / Estructura luminaria / Leuchten-Struktur 1 un.
4
Shade / Pantalla / Schirm 1 un.
2.
3.
4.
Before assembling and installing this product,
carefully read the following:
Antes de proceder al montaje e instalación de esta
luminaria, leer detenidamente las siguientes
consideraciones.
Bevor Sie mit der Montage dieser Leuchte beginnen,
sollten Sie die folgenden Hinweise in aller Ruhe
lesen und berücksichtigen.
-Switch of the mains before installing the lamp. -Desconectar el suministro eléctrico antes de proceder a
la instalación de la luminaria.
- Schalten Sie vor dem elektrischen Anschluss den Strom
ab.
-Always use the recommended bulb -Utilizar siempre la bombilla recomendada. -Benutzen Sie immer das empfohlene Leuchtmittel.
-If you wish to fix the lamp to the ground, choose the
most adequate plugs and screws depending on the
surface.
-Si se desea fijar la luminaria al suelo elegir los
elementos de fijación mas adecuados en función del
soporte de instalación.
-Sollten Sie die Leuchte fix auf dem Boden befestigen
wollen, wählen Sie für die vorgesehene Vorrichtung das
dafür geeigneste Begestigungsmaterial.
-Before the installation, make sure the installation surface
will not be damaged. If this happens, it will be the
installator’s responsibility.
-Asegurarse antes de realizar esta operación que no se
producirán daños irreparables en el soporte de
instalación. En caso contrario la responsabilidad será del
instalador.
-Vergewissern Sie sich vor diesem Prozess, dass die
Vorrichtung hierduch nicht dauerhaft beschädigt wird. Im
entgegengesetzten Falle wäre der Installateur hierfür
verantwortlich.
-If the steel cable or the power cord of this lamp is
damaged, it must be replaced only by the manufacturer
or their technical service or by a person capacitated to
this effect to avoid any risk.
-Si el cable flexible o cordón de esta luminaria está
dañado, deberá sustituirse exclusivamente por el
fabricante o su servicio técnico, o por una persona con
cualificación equivalente con objeto de evitar cualquier
riesgo
- Wenn das Kabel dieser Leuchte beschädigt werden
sollte, muss es ausgetauscht werden. Dies darf
ausschliesslich nur durch den Fabrikanten, seinem
Kundendienst oder einer hierfür qualifizierten Person
geschehen, um jegliche Gefahr ausschliessen zu
können.
Caution / Precaución / Vorsicht
EN D
ES
4050.
Net Weight / Peso Neto / Netto-Gewicht 24,3 Kg 1 x 2GX13 230V 40W
(T5C) 50 Hz
Class I. Product with an additional protection cable (grounds).
Clase I. Aparato con un cable protector adicional (toma de tierra).
Klasse I. Apparat mit zusätzlichen Schutzleiter (Erdkabel).
Dust-tight product. Protected against water spray.
Producto totalmente estanco al polvo. Protegido contra las
proyecciones de agua.
Staubdicht. Schutz gegen das Eindringen von Spritzwasser.
Product that CAN be in contact with normally-flammable materials
(wood or others).
Está permitido que producto con este distintivo esté en contacto con
materiales normalmente inflamables (maderas u otros).
Es ist erlaubt Produkte mit diesem Etikett auf normal entflammbaren
Oberflächen (Holz usw.) zu montieren.
Alternating current
Corriente alterna
Wechselstrom
ASSEMBLY INSTRUCTIONS INSTRUCCIONES DE M
ONTAJE MONTAGEANLEITUNG
1.
Si se desea fijar la luminaria al suelo, fijar la estructura (A) con los tornillos y tacos mas
adecuados (no suministrados).
Asegurarse antes de realizar esta operación que no se producirán daños irreparables en el
soporte de instalación. En caso contrario la responsabilidad será del instalador.
2. Montar la bandeja de hormigón (B) en la estructura siguiendo el movimiento que indican las
flechas, con cuidado de no rayar la estructura (A).
3. Después de instalar el fluorescente montar la pantalla (C) con los 4 tornillos (D) (se adjuntan
en una bolsa), con la llave allen suministrada.
GRUPO T DIFFUSION S.A. Barcelona, 72-74. 08820 El Prat de Llobregat (Barcelona - Spain)
Nacional Tel 934 796 970. Fax 934 796 973. Internacional Tel +34 934 796 971. Fax +34 934 782 026
www.vibia.es grupo-t@grupo-t.com
B






C
D
EN
ES
D
1
2
3
1.
If you wish to fix the lamp to the ground, use the most adequate plugs and screws for the fixture
(not supplied).
Before the installation, make sure the installation surface will not be damaged. If this happens, it
will be the installator's responsibility.
2. Place the concrete dish (B) onto the structure as shown by the arrows. Be careful not to scratch
the structure (B).
3. After installing the fluorescent bulb, fix the shade (C) in place using its 4 screws (D) (supllied in
a bag), using the supplied Allen wrench.
-Use a slightly-wet cotton cloth for cleaning.
-Para limpiar la luminaria, usar un paño de algodón
ligeramente humedecido en agua.
-Zur Reinigung der Leuchte nutzen Sie einen leicht
angefeuchteten Baumwoll-Lappen.
-In case of malfunction or damage, please contact
the retailer who sold the lamp.
-En caso de avería o incidente con la luminaria,
contactar directamente con el establecimiento en
que se adquirio.
-Im Falle des Ausfalls oder einer Fehlfunktion der
Leuchte setzen Sie sich direkt mit dem Unternehmen in
Verbindung bei dem Sie die Leuchte bezogen haben.
Maintenance / Mantenimiento / Instandhaltung
EN DES
A
1.
Sollten Sie die Leuchte fix auf dem Boden befestigen wollen, befestigen Sie das
Leuchtengestell (A) mit den dafür geeignesten Schrauben und Dübeln (nicht im Lieferumfang
enthalten).
Vergewissern Sie sich vor diesem Prozess, dass die Vorrichtung hierduch nicht dauerhaft
beschädigt wird. Im entgegengesetzten Falle wäre der Installateur hierfür verantwortlich.
2. Montieren Sie die Betonscheibe (B) auf das Gestell wie mit den Pfeilbewegungen gezeigt.
Seien Sie dabei vorsichtig um nicht das Gestell (A) zu zerkratzen.
3. Befestigen Sie den Schirm (C) nach Einsetzen der Leuchtstofflampe mit den 4 Schrauben (D)
(beigefügt in einem Beutel) und dem Imbußschlüssel.

Other manuals for Wind

2

Other VIBIA Home Lighting manuals

VIBIA Suite 6007 User manual

VIBIA

VIBIA Suite 6007 User manual

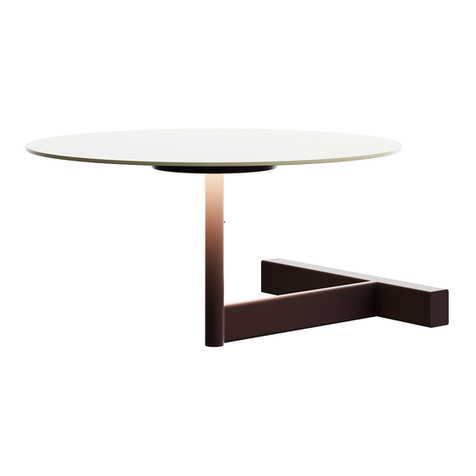
VIBIA Flamingo User manual

VIBIA

VIBIA Flamingo User manual

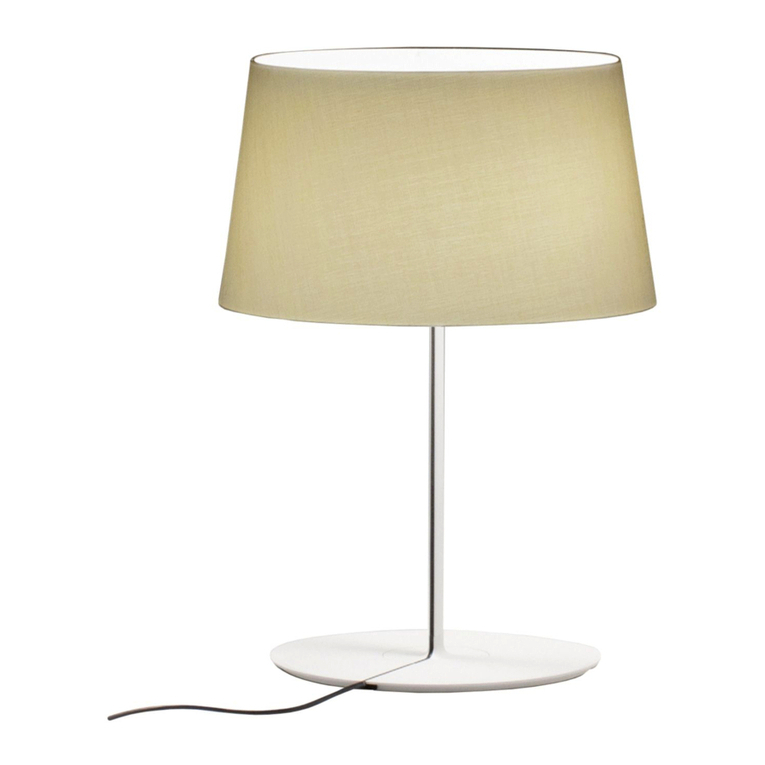
VIBIA Warm 4900 User manual

VIBIA

VIBIA Warm 4900 User manual

VIBIA Knit User manual

VIBIA

VIBIA Knit User manual

VIBIA Mayfair 5500 User manual

VIBIA

VIBIA Mayfair 5500 User manual

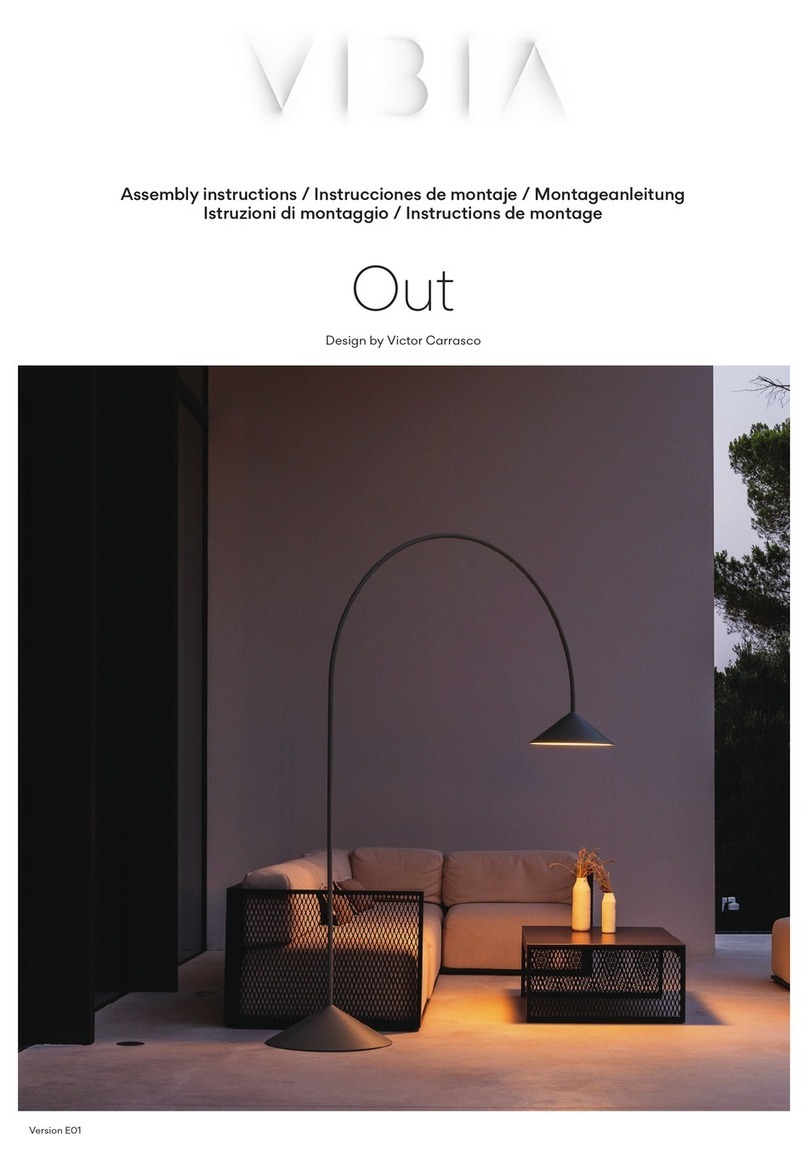
VIBIA Out User manual

VIBIA

VIBIA Out User manual

VIBIA Flat 5950 User manual

VIBIA

VIBIA Flat 5950 User manual

VIBIA Flex User manual

VIBIA

VIBIA Flex User manual

VIBIA Origami User manual

VIBIA

VIBIA Origami User manual

VIBIA Suite 6006 User manual

VIBIA

VIBIA Suite 6006 User manual

VIBIA Flat User manual

VIBIA

VIBIA Flat User manual

VIBIA Suite 6025 User manual

VIBIA

VIBIA Suite 6025 User manual

VIBIA I.Cono 0700 User manual

VIBIA

VIBIA I.Cono 0700 User manual

VIBIA Swing User manual

VIBIA

VIBIA Swing User manual

VIBIA Swing User manual

VIBIA

VIBIA Swing User manual

VIBIA Suite 6007 User manual

VIBIA

VIBIA Suite 6007 User manual

VIBIA Brisa User manual

VIBIA

VIBIA Brisa User manual

VIBIA Jordi Vilardell Join 5068 User manual

VIBIA

VIBIA Jordi Vilardell Join 5068 User manual

VIBIA Victor Carrasco Out 4270 User manual

VIBIA

VIBIA Victor Carrasco Out 4270 User manual

VIBIA Algorithm 0820 User manual

VIBIA

VIBIA Algorithm 0820 User manual

VIBIA Knit User manual

VIBIA

VIBIA Knit User manual

VIBIA Swing 0503 18 User manual

VIBIA

VIBIA Swing 0503 18 User manual

VIBIA Flex User manual

VIBIA

VIBIA Flex User manual

VIBIA Ghost User manual

VIBIA

VIBIA Ghost User manual

Popular Home Lighting manuals by other brands

Safavieh Lighting MARINA TBL4005A manual

Safavieh Lighting

Safavieh Lighting MARINA TBL4005A manual

IKEA KOLDKNAPP 40470353 manual

IKEA

IKEA KOLDKNAPP 40470353 manual

Tornado LT1 quick guide

Tornado

Tornado LT1 quick guide

Safavieh LIT4000A quick start guide

Safavieh

Safavieh LIT4000A quick start guide

IKEA VIRRMO quick start guide

IKEA

IKEA VIRRMO quick start guide

Philips myLiving 56383/48/16 Specification sheet

Philips

Philips myLiving 56383/48/16 Specification sheet

Philips myLiving 37775/17/16 user manual

Philips

Philips myLiving 37775/17/16 user manual

LUTEC noma+ user manual

LUTEC

LUTEC noma+ user manual

Hama SL 102 operating instructions

Hama

Hama SL 102 operating instructions

Philips 70997-30-PU - quick start guide

Philips

Philips 70997-30-PU - quick start guide

Original BTC London US-FW517 instruction manual

Original BTC

Original BTC London US-FW517 instruction manual

Triarch Indoor Lighting 32504 Assembly instructions

Triarch

Triarch Indoor Lighting 32504 Assembly instructions

Philips ecoMOODS 40399/31/16 user manual

Philips

Philips ecoMOODS 40399/31/16 user manual

Philips 45572-06-16 user manual

Philips

Philips 45572-06-16 user manual

Lights LC003448 installation instructions

Lights

Lights LC003448 installation instructions

Dainolite HOL-661F manual

Dainolite

Dainolite HOL-661F manual

JONATHAN Y JYL4046 quick start guide

JONATHAN Y

JONATHAN Y JYL4046 quick start guide

&Tradition Mist AP17 instructions

&Tradition

&Tradition Mist AP17 instructions

manuals.online logo
manuals.online logoBrands
  • About & Mission
  • Contact us
  • Privacy Policy
  • Terms and Conditions

Copyright 2025 Manuals.Online. All Rights Reserved.