manuals.online logo
Brands
  1. Home
  2. •
  3. Brands
  4. •
  5. VIBIA
  6. •
  7. Outdoor Light
  8. •
  9. VIBIA Meridiano User manual

VIBIA Meridiano User manual

TECHNICAL SPECIFICATIONS ESPECIFICACIONES TÉCNICAS
TECHNISCHE DATEN
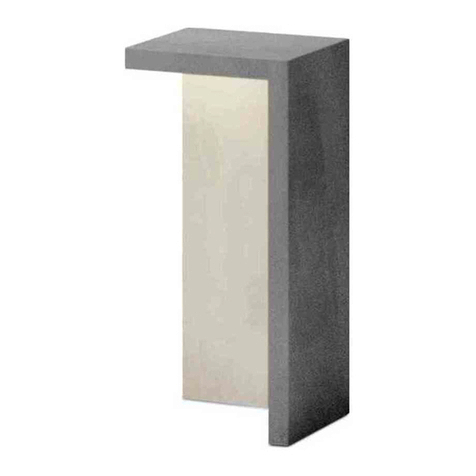
4720
1
Lamp structure / Estructura luminaria / Leuchten-Struktur un.
1.
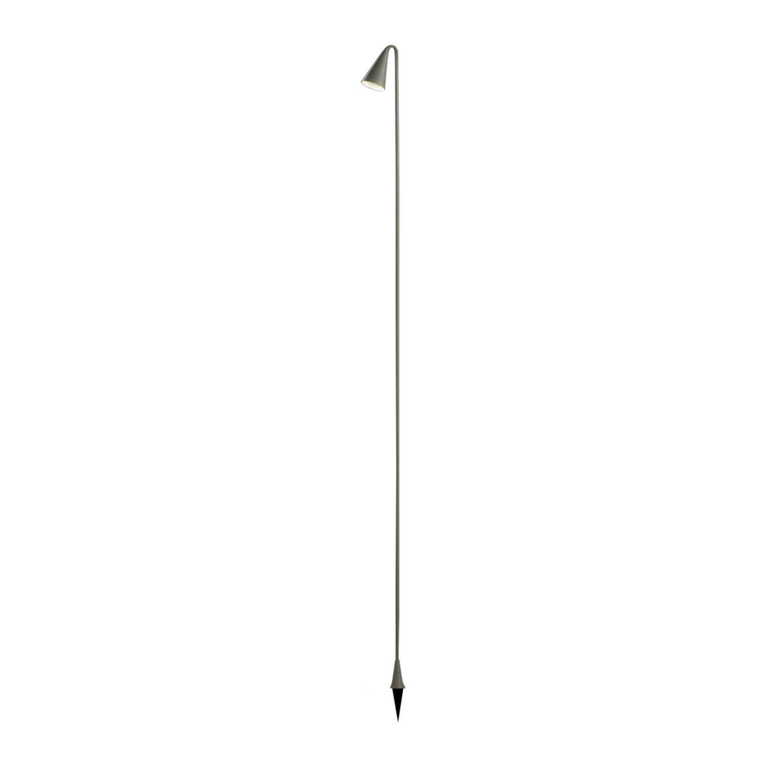
Meridiano
Design by Jordi Vilardell & Meritxell Vidal
ASSEMBLY INSTRUCTIONS
INSTRUCCIONES DE MONTAJE
MONTAGEANLEITUNG
SUPPLIED
MATERIAL MATERIAL SUMINISTRADO
GELIEFERTES MATERIAL
Before assembling and installing this prod ct,
caref lly read the following:
Antes de proceder al montaje e instalación de
esta l minaria, leer detenidamente las sig ientes
consideraciones.
Bevor Sie mit der Montage dieser Le chte
beginnen, sollten Sie die folgenden Hinweise in
aller R he lesen nd berücksichtigen.
-Switch of the mains before installing the lamp.
-Desconectar el suministro eléctrico antes de proceder
a la instalación de la luminaria.
- Schalten Sie vor dem elektrischen Anschluss den
Strom ab.
-To install on the wall, always choose the most
adequate fixing tools for the ceiling material.
-Para el montaje de la luminaria a la pared elegir los
elementos de fijación mas adecuados en función del
soporte de instalación.
-Wählen Sie passend zu der Vorrichtung für die
Wandhalterung montage der Leuchte das dafür
geeigneste Begestigungsmaterial.
-We recommend reading the manual before installaing
the lamp. Keep this instructions for future reference.
-Recomendamos leer el manual antes de iniciar la
instalación de la luminaria. Guardar estas
instrucciones para futuras consultas.
-Wir empfehlen vor Montagebeginn die Anleitung zu
lesen. Bewahren Sie die Anleitung für etwaige
zukünftige Fragen auf.
Ca tion / Preca ción / Vorsicht
EN D
ES
1.
Unscrew the front panel (A) to remove it.
2. Remove the cover (B) by undoing the screws.
3. Remove the body (C) by taking out the 4 screws.
4. Make the hole to run the mains power cable through and fix plate (D) to the wall with
suitable screws and plugs (not supplied).
The body (D) is held together by the power cables; take care not to let it come apart. If
the cables are accidentally pulled out, reconnect them taking their polarity into account.
NOTE: To ensure a seal complying with IP 65, the wire used must be H05 RN-F type
rubber-sheathed outdoor cable or better, between 5 and 0mm. in diameter.
5. Make the connection to the mains power supply: live + neutral in terminal (E) and
earth in terminal (F).
2
1
3
4
5
ASSEMBLY INSTRUCTIONS INSTRUCCIONES DE MONTAJE MONTAGEANLEITUNG
IMPORTANTE:
Desconectar el s ministro eléctrico antes de realizar la instalación de la l minaria.
EN
ES
D
WICHTIG:
Schalten Sie den Strom ab bevor Sie die Le chtenmontage realisieren.
IMPORTANT NOTICE:
Switch of the mains before installing the lamp.
1.
Extraer el frontal (A) desenroscándolo.
2. Quitar la tapa (B) desenroscando los tornillos.
3. Desmontar el cuerpo (C) quitando los 4 tornillos.
4. Perforar el pasacables para pasar el cable de su instalación y fijar la placa (D) a la
pared con los tornillos y tacos mas apropiados (no suministrados).
El cuerpo (D) se mantiene unido mediante los cables de alimentación, tener la
precaución de no desmontar. En caso de que se suelten los cables por algún posible
tirón accidental, volver a conexionar teniendo en cuenta la polaridad de los cables.
NOTA: Para garantizar la estanqueidad cumpliendo un IP 65, el cable utilizado debe
ser manguera de exterior de goma o superior tipo H05 RN-F de entre 5 y 0 mm. de
diámetro.
5. Realizar la conexión a la red eléctrica: fase + neutro en la regleta (E) y la toma tierra
en la regleta (F).
1.
Schrauben Sie die Frontscheibe (A) ab.
2. Nehmen Sie die Abdeckung (B) ab, indem Sie die Schrauben lösen.
3. Demontieren Sie nun den Leuchtenkörper (C), entfernen Sie hierzu die 4 Schrauben.
4. Machen Sie im Kabeldurchlass ein Loch und führen Sie das Stromkabel hindurch.
Befestigen Sie nun mit geeigneten (nicht im Lieferumfang enthaltenen) Schrauben und
Dübeln die Wandplatte (D) an der Wand. Der Körper (D) bleibt mit der Wandplatte
durch die Elektrokabel verbunden. Achten Sie darauf, diese Teile nicht zu trennen.
Sollte aus Versehen am Kabel gezogen werden und es sich dadurch lösen, schließen
Sie es wieder an. Beachten Sie dabei die Polung der Kabel.
HINWEIS: Um zu gewährleisten, dass das Ganze gemäß IP 65 dicht schließt, muss das
verwendete Stromkabel mindestens eine Gummiummantelung des Typs H05 RN-F mit
einem Durchmesser zwischen 5 und 0 mm aufweisen.
5. Führen Sie den Anschluss ans Stromnetz durch: Phase und Nullleiter an
Anschlussklemme (E), Erdkabel an Anschlussklemme (F).
B
C
D
E
F
A
GRUPO T DIFFUSION S.A. Barcelona, 72-74. 08820 El Prat de Llobregat (Barcelona - Spain)
Nacional Tel 934 796 970. Fax 934 796 973. Internacional Tel +34 934 796 97 . Fax +34 934 782 026
www.vibia.com grupo-t@grupo-t.com
-Use a slightly-wet cotton cloth for cleaning.
-Para limpiar la luminaria, usar un paño de algodón
ligeramente humedecido en agua.
-Zur Reinigung der Leuchte nutzen Sie einen leicht
angefeuchteten Baumwoll-Lappen.
-In case of malfunction or damage, please contact
the retailer who sold the lamp.
-En caso de avería o incidente con la luminaria,
contactar directamente con el establecimiento en
que se adquirio.
-Im Falle des Ausfalls oder einer Fehlfunktion der
Leuchte setzen Sie sich direkt mit dem Unternehmen in
Verbindung bei dem Sie die Leuchte bezogen haben.
Maintenance / Mantenimiento / Instandhalt ng
EN DES
6.
Fit the body (C) and secure it with the 4 screws.
7. Fit the cover (B). Screw it in firmly to ensure the piece is properly
watertight, without tightening it too much so as not to damage the
material.
8. Fit the front panel (A), making sure the pin is properly screwed into
the cover (B), without over-tightening it.
8
6
7
ASSEMBLY INSTRUCTIONS
INSTRUCCIONES DE MONTAJE MONTAGEANLEITUNG
EN
ES
D
6.
Montar el cuerpo (C) asegurándolo con los 4 tornillos.
7. Montar la tapa (B). Atornillar firmemente los tornillos con el fin de
asegurar la correcta estanqueidad de la pieza, sin llegar a apretar en
exceso para no reventar el material
8. Montar el frontal (A) asegurándose que la espiga quede bien roscada
en la tapa (B), no apretar en exceso.
6.
Montieren Sie den Leuchtenkörper (C), indem Sie die 4 Schrauben
befestigen.
7. Montieren Sie die Abdeckung (B). Ziehen Sie hierzu die Schrauben
gut fest. Nur so wird gewährleistet, dass das Ganze dicht verschlossen
ist. Um Materialschäden zu vermeiden, jedoch nicht überdrehen.
8. Montieren Sie die Frontscheibe (A). Vergewissern Sie sich davon,
dass die Madenschraube in der Abdeckung (B) gut festsitzt. Nicht
überdrehen.
C
B
B
A
-
Stud
-Espiga
-Madenschraube

Other manuals for Meridiano

1

This manual suits for next models

1

Other VIBIA Outdoor Light manuals

VIBIA Tempo User manual

VIBIA

VIBIA Tempo User manual

VIBIA Palo Alto 4510 User manual

VIBIA

VIBIA Palo Alto 4510 User manual

VIBIA Break User manual

VIBIA

VIBIA Break User manual

VIBIA Break User manual

VIBIA

VIBIA Break User manual

VIBIA Skan 0250 User manual

VIBIA

VIBIA Skan 0250 User manual

VIBIA Break User manual

VIBIA

VIBIA Break User manual

VIBIA Balance 5189 User manual

VIBIA

VIBIA Balance 5189 User manual

VIBIA Tempo 5758 User manual

VIBIA

VIBIA Tempo 5758 User manual

VIBIA 4710 User manual

VIBIA

VIBIA 4710 User manual

VIBIA Jordi Volardell Wind User manual

VIBIA

VIBIA Jordi Volardell Wind User manual

VIBIA Swing User manual

VIBIA

VIBIA Swing User manual

VIBIA Wind User manual

VIBIA

VIBIA Wind User manual

VIBIA June User manual

VIBIA

VIBIA June User manual

VIBIA Warm 4895 User manual

VIBIA

VIBIA Warm 4895 User manual

VIBIA Suite User manual

VIBIA

VIBIA Suite User manual

VIBIA Empty 4125 User manual

VIBIA

VIBIA Empty 4125 User manual

VIBIA Warm 4900-INC User manual

VIBIA

VIBIA Warm 4900-INC User manual

VIBIA Plis Outdoor Quick start guide

VIBIA

VIBIA Plis Outdoor Quick start guide

VIBIA Bamboo User manual

VIBIA

VIBIA Bamboo User manual

VIBIA Alpha 7940 User manual

VIBIA

VIBIA Alpha 7940 User manual

VIBIA Guise 2262 User manual

VIBIA

VIBIA Guise 2262 User manual

VIBIA Suite 6010 User manual

VIBIA

VIBIA Suite 6010 User manual
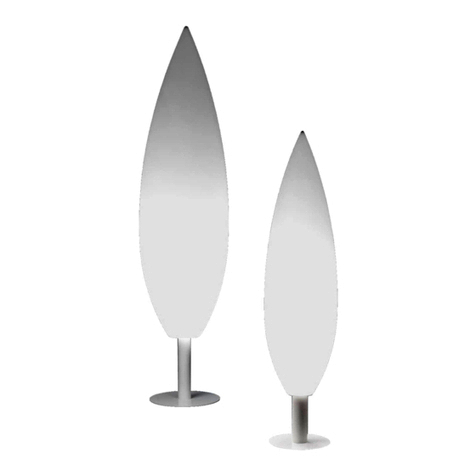
VIBIA Class 2800 User manual

VIBIA

VIBIA Class 2800 User manual

VIBIA Palma User manual

VIBIA

VIBIA Palma User manual

Popular Outdoor Light manuals by other brands

Delta Light WALKER 55 HP quick start guide

Delta Light

Delta Light WALKER 55 HP quick start guide

Inlite LUNA RING 68 installation manual

Inlite

Inlite LUNA RING 68 installation manual

John Lewis DOME TABLE LAMP user guide

John Lewis

John Lewis DOME TABLE LAMP user guide

LIGMAN HAMILTON4 installation manual

LIGMAN

LIGMAN HAMILTON4 installation manual

Hubbell AIRO installation instructions

Hubbell

Hubbell AIRO installation instructions

Clas Ohlson ZK8054 instruction manual

Clas Ohlson

Clas Ohlson ZK8054 instruction manual

Lasvit Tac Tile CL028FA-2CE manual

Lasvit

Lasvit Tac Tile CL028FA-2CE manual

GTV MARINA manual

GTV

GTV MARINA manual

Adam Hall SLED1ULTRAXLR3A quick start guide

Adam Hall

Adam Hall SLED1ULTRAXLR3A quick start guide

Signature Hardware FOXFIELD 440676 Installation

Signature Hardware

Signature Hardware FOXFIELD 440676 Installation

LIGMAN OD-21027 installation manual

LIGMAN

LIGMAN OD-21027 installation manual

JONATHAN Y JYL3048 quick start guide

JONATHAN Y

JONATHAN Y JYL3048 quick start guide

iGuzzini iTEKA manual

iGuzzini

iGuzzini iTEKA manual

Tracon Electric LSJT Series user manual

Tracon Electric

Tracon Electric LSJT Series user manual

Viabizzuno PALO MARTINO Installing instructions

Viabizzuno

Viabizzuno PALO MARTINO Installing instructions

Red Arrow LF13PIR installation instructions

Red Arrow

Red Arrow LF13PIR installation instructions

Thorn AVENUE F2 AVF 18L50-730 RS CL BS 3550 CL2... installation instructions

Thorn

Thorn AVENUE F2 AVF 18L50-730 RS CL BS 3550 CL2... installation instructions

wofi Gloria installation instructions

wofi

wofi Gloria installation instructions

manuals.online logo
manuals.online logoBrands
  • About & Mission
  • Contact us
  • Privacy Policy
  • Terms and Conditions

Copyright 2025 Manuals.Online. All Rights Reserved.