UG:105 vicorpower.com Applications Engineering: 800 927.9474 Page 4
nAvoid running input and output wiring in close proximity as this may cause noise
related problems.
nPFC MegaPACs are NOT user serviceable. Please contact our customer service
department at 1-800-735-6200 for repair assistance. Please be advised that attempts
to repair or modify the power supply will void the warranty.
nA proper fault protection device (fuse or breaker) should be used in series with
the input terminals.
nUse proper size wires to avoid overheating and excessive voltage drop.
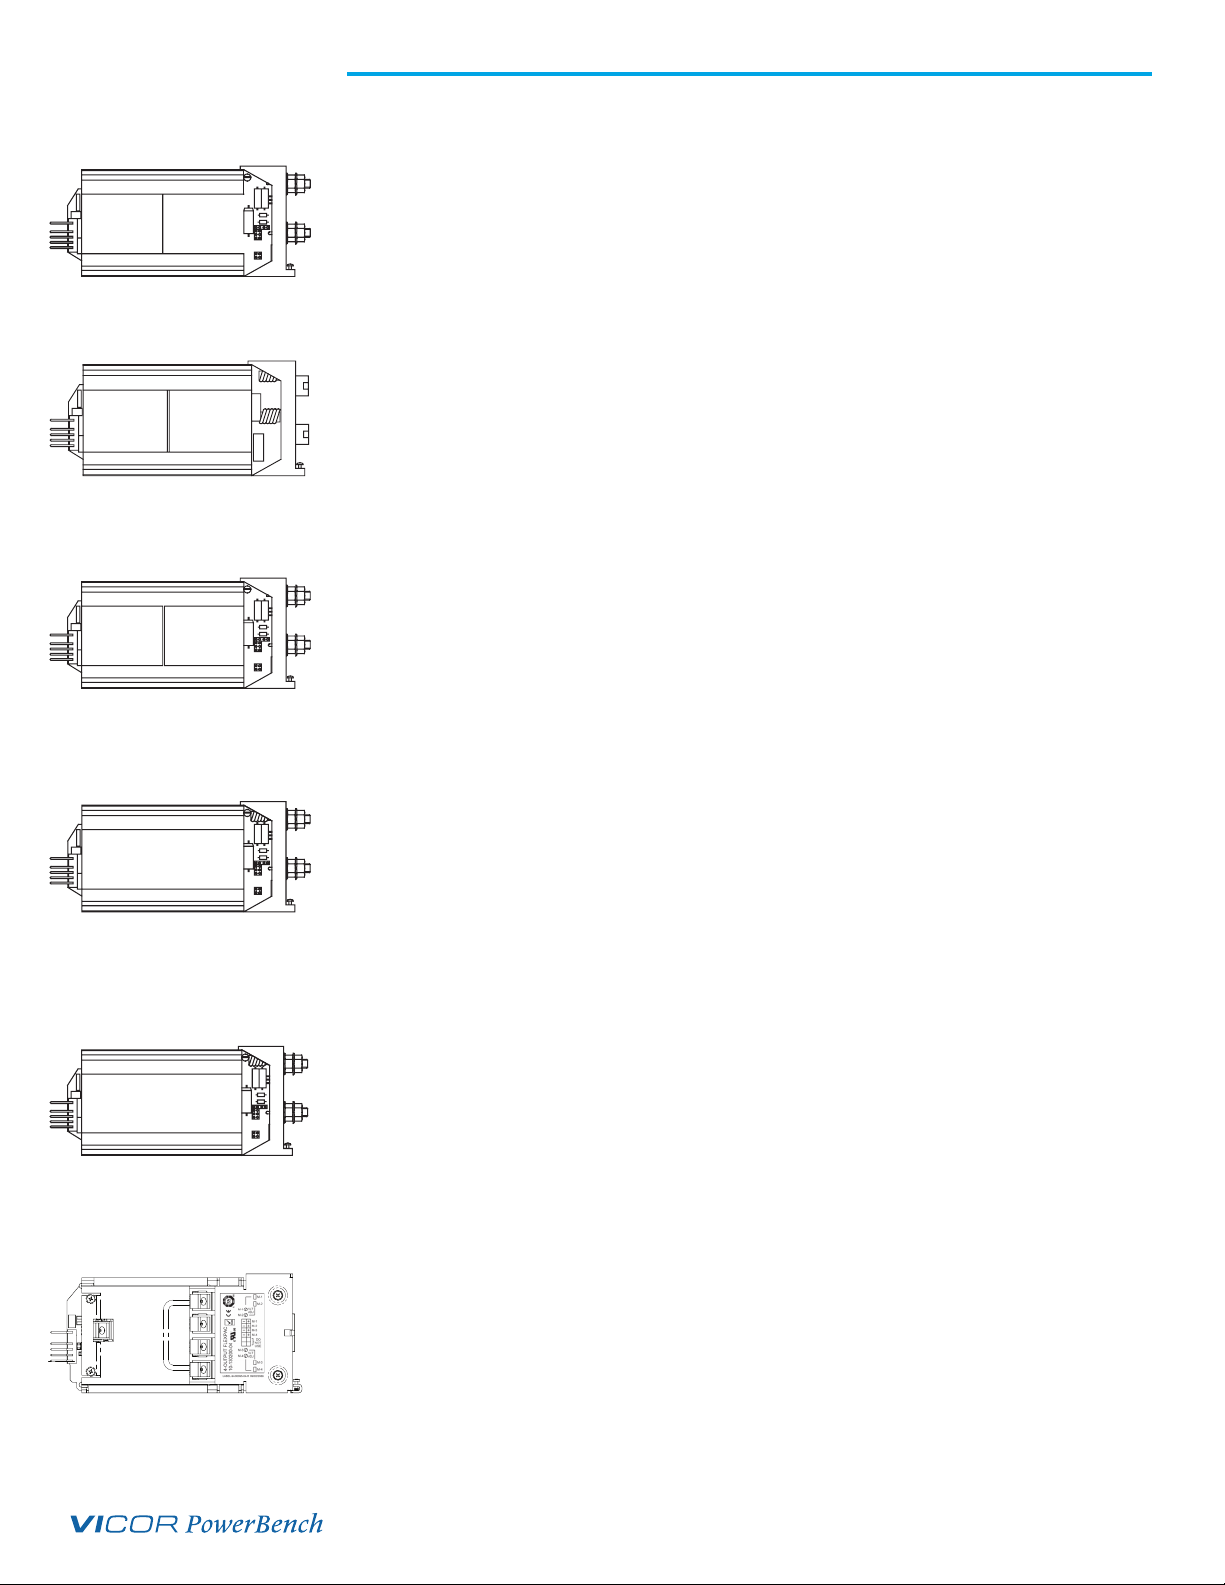
nNEVER loosen the inner nut on a ConverterPAC.
nFinPAC ConverterPACs can only be used with a high power chassis. A high power
chassis is identified by an “MX” prefix code in the specific model number.
nOutput voltages over 60 Vdc, whether from individual modules or series arrays, are
considered as hazardous secondary outputs under UL 60950. Appropriate care must
be taken in design implementation of the supply.
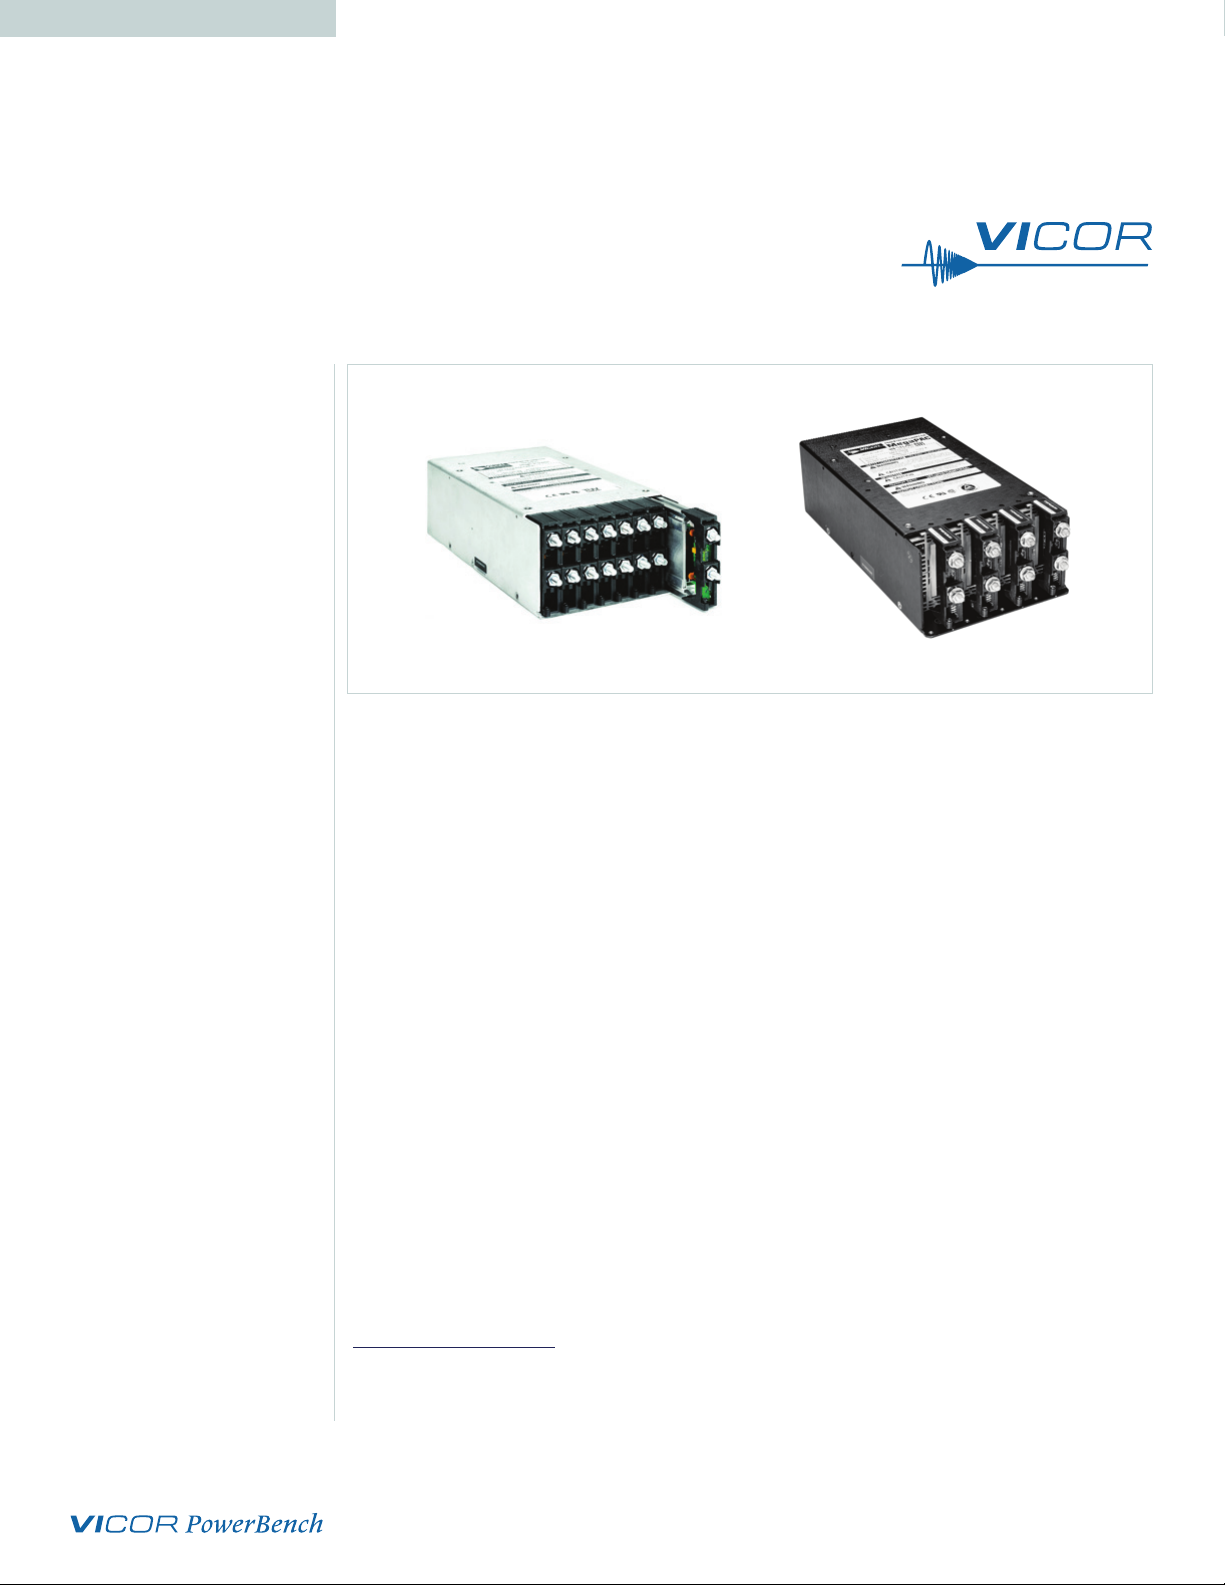
Technical Description
The PFC MegaPAC chassis consists of an o-line single phase, power-factor-corrected
front end, EMI filter, cooling fan, customer interface and associated housekeeping
circuits. Input AC mains voltage (L1, L2 and GND) is applied to a terminal block. The
input current is passed through an EMI filter designed to meet conducted noise limit “B”
specifications of FCC Part 15, VDE 0871, and EN55022 class A At start-up, inrush current
is limited by a PTC thermistor. The PTC is shunted out shortly aer initial power-up by
a DC bus voltage Sense circuit driving a relay. Aer rectification, the input voltage is put
through a boost converter that keeps the AC input current sinusoidal and synchronized
with the AC input voltage (in compliance with EN61000). The boost converter delivers
regulated high voltage DC to the hold-up capacitors and backplane. The backplane
supplies power to a variety of ConverterPAC assemblies that provide the desired
regulated outputs.
Voltage conversion in the output assemblies is achieved by Vicor’s family of
Zero-Current-Switching (ZCS) DC to DC converters. These are forward converters in
which the main switching element switches at zero current. This patented topology has
a number of unique attributes: low switching losses; high frequency operation resulting
in reduced size for magnetics and capacitors; excellent line and load regulation; wide
adjustment range for output; low EMI/RFI emissions and high eciencies.
At initial power-up the PFC MegaPAC outputs are disabled to limit the inrush current
and to allow the DC bus potential to settle out to the correct operating level. A low-
power flyback converter operating with PWM current-mode control converts the
high voltage DC bus into regulated low voltage to power the internal housekeeping
circuits and DC cooling fan. The internal housekeeping Vcc comes up within 2 s aer
the application of input power. Once the high voltage bus is within its limits, the AC
OK signal asserts to a TTL “1” indicating the input power is OK, and enables the power
outputs. An auxiliary Vcc output of 5 Vdc sourcing up to 0.3 A is provided for
peripheral use.
An output Enable/Disable function is provided by using an optocoupler to control
the Gate In pins of the ConverterPAC assemblies. If the Enable/Disable control pin is
pulled low, the optocoupler turns on, pulling the Gate In pin low and disabling the
ConverterPAC output. The nominal delay for an output to come up when measured
from release of the Enable/Disable pin is 10-15 ms. The General Shutdown function
controls all outputs simultaneously and works in a similar manner.