Viper SN18WD-U User manual

9
15
4
8
4 - 5
TABLE OFCONTENTS
SafetyPrecautions
HandleAssembly
Machine Operation
6
MachineMaintenance& Storage
7
PartsLists-1
WiringDiagram

BEFORE USING (THIS MACHINE)
e.
SEFETY PRECAUTIONS
ordinances.
in accordance with all local codes and
that is properly installed and grounded
inserted into an appropriate outlet
! The plug must be
conductor and grounding plug.
!!! This machine must be grounded!
GROUNDING INSTRUCTIONS
Donotremovethegroundpinunder
anycircumstances
If it should malfunction or breakdown,
grounding provides a path of least
resistance for electric current to
reduce the risk of electric shock.
This machine is equipped with a cord
having an equipment-grounding
WARNING – Improper connection of the
equipment-grounding conductor can
result in a risk of electric shock.
Check with a qualified electrician or
service person if you are in doubt as
to whether the outlet is properly
grounded. Do not modify the plug
provided with the machine – if it
will not fit the outlet, have a proper
outlet installed by a qualified
electrician.
This machine is for use on a nominal
120-V circuit and has a grounding
attachment plug that looks like the
plug illustrated as following. Make
sure that the machine is connected to
an outlet having the same configuration
as the plug. No adaptor should be used
with this machine.
IMPORTANT SAFETY INSTRUCTIONS
READ ALL INSTRUCTIONS
Thismachineisintendedforcommercial
use.Itisconstructed foruseinan
indoorenvironmentandisnotintended
foranyotheruse.Useonly
recommendedaccessori
All operatorsshall read, understand
andexercisethefollowingsafety
precautions:
1)Donotoperatemachine:
-Unlesstrained andauthorized
-Unlessyouhavereadand
understandoperatorsmanual
-Inflammableorexplosiveareas.
-Withdamaged cordorplug.
-Ifnotinproperoperatingcondition.
-Inoutdoorareas.
-Instandingwater.
Use only as
described in this manual.
- If machine is not working as it should,
has been dropped, damaged, left outdoors,
or dropped into water, return it to a
service center.
5
4
WARNING – To reduce the risk of fire,
electric shock, or injury:

To unplug,grasp the plug.
use cord as a handle,
close a door on cord.
,
" off "
-
Without
bag
/
filters
in
place.
-
With
the
use
of
extension
cords.
2)
Before
operating
machine:
-Make
sure
all
safety
devices
are
in
place
and
operate
properly.
3)
When
using
machine:
-
Do
not
run
machine
over
cord.
-
Do
not
pull
machine
by
cord
or
plug
-
Do
not
pull
cord
around
sharp
edges
or
corners.
-
Turn
power
switch
to
prior
to
unplugging
machine.
-
Do
not
unplug
by
pulling
on
the
cord.
-
Do
not
stretch
cord.
-
Do
not
handle
plug
with
wet
hands.
-
Keep
cord
away
from
heated
surfaces.
-
Do
not
pick
up
burning
or
smoking
debris
such
as
cigarettes,
matches
or
hot
ashes.
-
Report
machine
damage
or
faulty
operation
immediately.
4)
Before
leaving
or
servicing
machine:
-
Turn
off
machine.
-
Unplug
cord
from
outlet.
5)
When
servicing
machine:
-
Unplug
cord
from
outlet.
-
Use
manufacturer
supplied
or
approved
replacement
parts.
- Do not allow to be used as a toy.
Close attention is necessary when
used by or near children.
- Do not put any object into openings.
Do not use with any opening blocked;
keep free of dust, lint, hair, and
anything that may reduce air flow.
- Keep hair, loose clothing, fingers,
and all parts of body away from
openings and moving parts.
- Use extra care when cleaning on stairs.
- Do not use to pick up flammable
or combustible liquids, such as
gasoline, or use in areas where
they may be present.
- Connect to a properly grounded
outlet only. See Grounding
Instructions.
SAVE THESE INSTRUCTIONS

HANDLEASSEMBLY
Attaching Handle
1]Removehandlefromshippositionandremoveupperhandlemountingscrews
frommachine(Figure1).
2]Realignhandleasshownandreplacescrews&washers (Figure2).
3]Attachrearhosedumpclamp(Figure3).
4]Attachfrontmountsqueegee(Figure4).
HANDLEASSEMBLYINSTRUCTIONS
Figure1
Figure2
Figure3
Figure4
6

OperationofWet&DryVacuum
*Readoperatorsmanualthoroughlypriorto
operatingorservicingthismachine.
WETPICKUP
1]Removevacuumheadandremovethecloth
orpaperfilterfrom vacuum,install the
bubblebuster.
2]Whilevacuumheadisremoved,checkto
makesurethatthefloatshut-offis
unobstructedandfullyfunctional.
3]Replacevacuumheadandlatch itin place.
4]Connectvacuumhosetoinletonthe
machinebody.
5]Attach appropriateaccessorytoolforthe
jobtobecompleted.
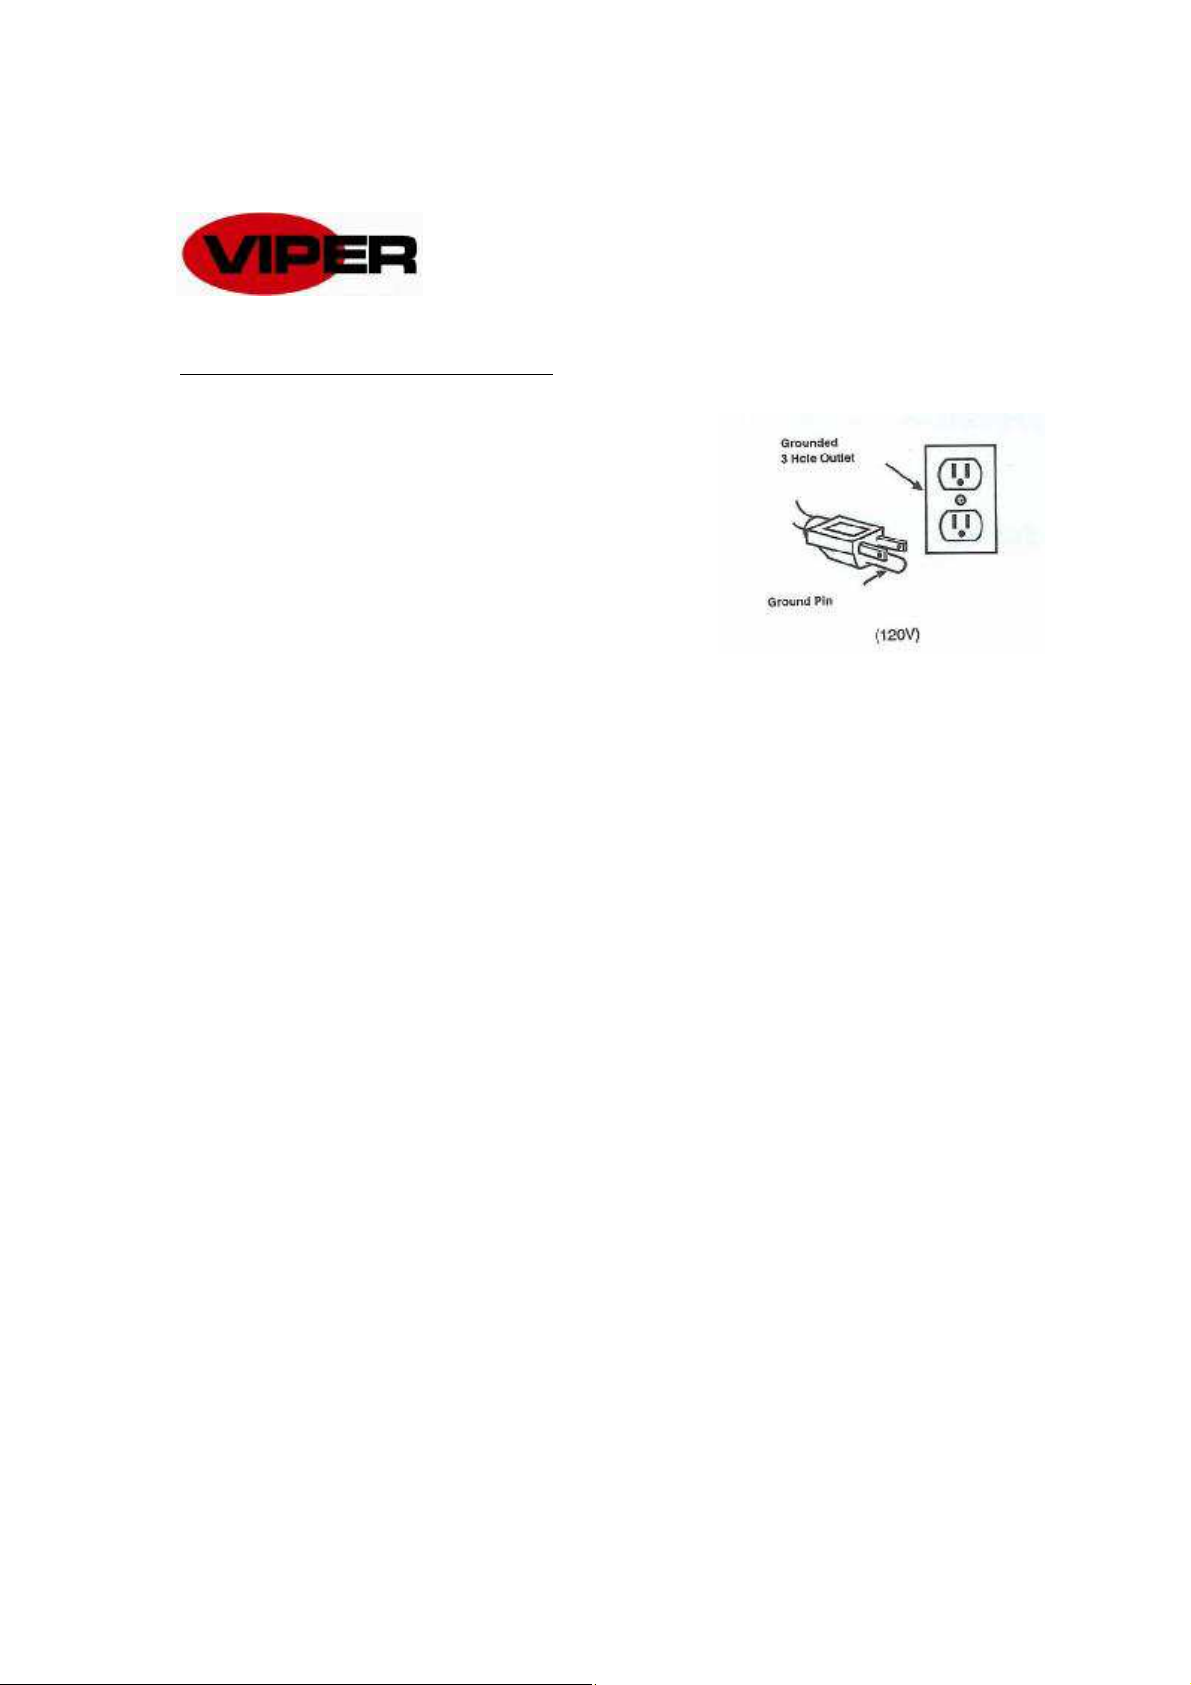
6]Plug powercordintoagroundedoutlet.
*Donotuseanextensioncordin conjunction
withthestandardpowercord.
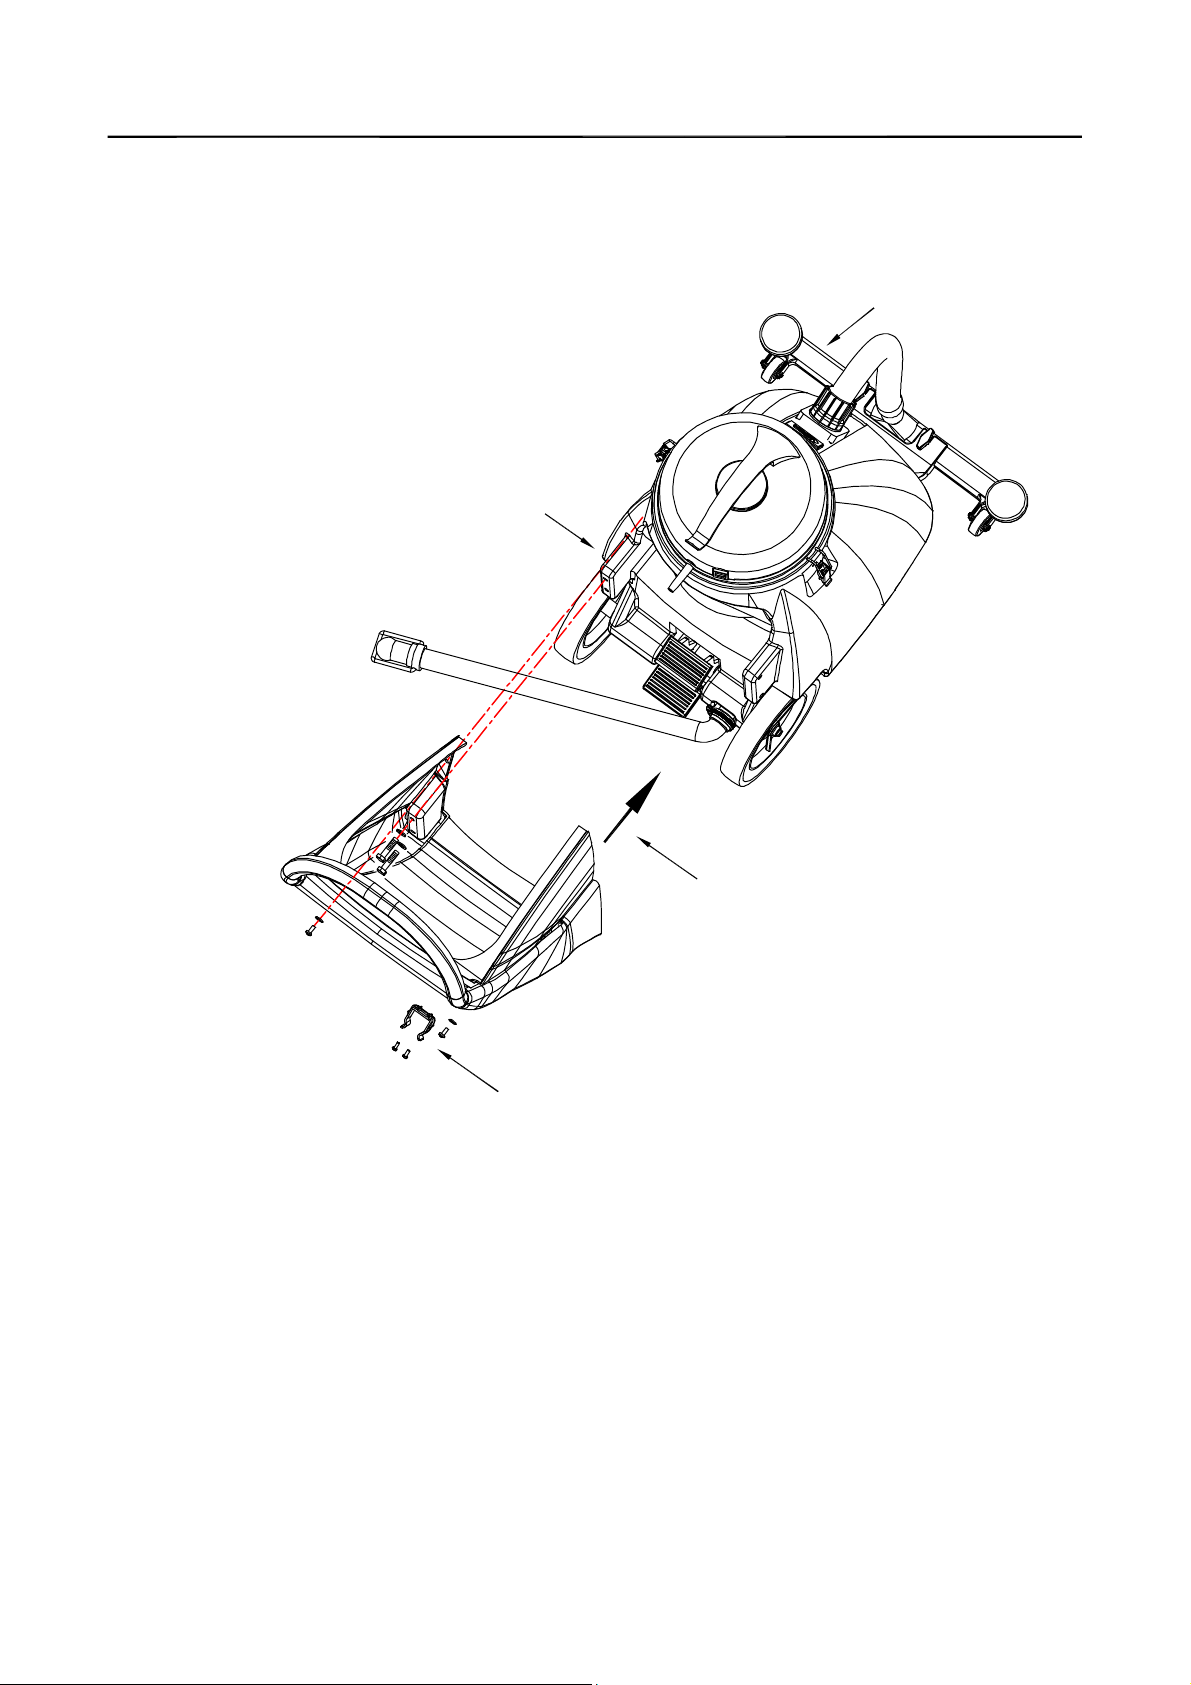
7]Ifusingthefront-mountedsqueegee
assembly,besurethatsqueegee isattached
tofrontofmachine.
8]Ifusingthefront-mountedsqueegee
assembly,lowersqueegee tothefloorby
depressingthetophalfofthepedal[rearof
themachine]forwardwithyourfoot.
9]Turnpowerswitch to on”position.
10]Duringwetpickup,thefloatshut-offwill
automaticallypreventwaterfromentering
therecoverytankoncetherecoverytankis
full.
*Iffoamdevelopsintherecoverytankduring
wetvacuuming,usede-foamerchemicalto
helpeliminatethefoam.Foamwillnotactivate
thefloatshut-off,andtherefore,maycause
vacuummotordamage.
11]Toraisethesqueegee assemblybackto
transport position,depress thebottomhalfof
thepedal[rearofthemachine]downwardwith
yourfoot.
*Besurethatthehandleisproperly
assembled onmachinebodypriortooperating
machine.
*Theshovelnosewet dryvacuumincludes
theGV25014”bubble buster”blue nylonfoam
suppressionbag. Thisbagmustbe used inall
wetpick-upapplications.Failuretousethebag
willvoidthewarrantyonthevacuummotor.
DRY PICKUP
1]Removevacuumheadandbubblebuster,
andbesuretheclothorpaperfilteris
properlyinstalled.
*Donotoperatemachinewithoutbagorfilter
properlyinstalled.
2]Replacevacuumheadandlatch itin place.
3]Connectvacuumhosetoinletonthe
machinebody.
4]Attach appropriateaccessorytoolforthe
jobtobecompleted.
5]Plug powercordintoagroundedoutlet.
*Donotuseanextensioncordin conjunction
withthestandardpowercord.
6]Turnpowerswitch to on”position.
7]Checkthefilterbagperiodicallytosee ifitis
full.Foroptimalperformance,replacebag
whenitis3/4 full.
DRAININGTHERECOVERY TANK
1]Unplug machinefrom poweroutlet.
2]Transport machinetonearestfloordrain or
bucket.
3]Removedrain hosefromrearofmachine.
Removeball plug from drain hose,anddrain
thecontentsofthetank.
4]Afterthecontentshavedrained,remove
thevacuumheadandrinserecoverytank
withcleanwater.
5]Replacetheball plugonthedrain hoseand
hanghosebackontherearofthemachine.
lTopreventodorsintherecoverytank,
removethevacuumheadwhenmachineis
notinoperationtoallowairtocirculate.
7

MAINTENANCE
Tokeepthemachineperformingwell formany
years,pleasefollowthefollowing
maintenanceprocedures.
* Alwaysconfirmthatthemachineis
unpluggedpriortoperformingany
maintenanceorrepairs.
1]Drain andrinserecoverytankaftereach
use.
2]Cleanfloatshut-offaftereach use.
3]Checkbagtosee ifitisfullaftereachuse.
Replacebagwhenitis3/4 full.
4]Cleanoutsideofmachinewithamild
cleaner.
5]Checkpowercordforany damage. Ifany .
6]Cleansqueegee bladeswithacloth.
*Donotuseyourfingerstowipetheblades!
7]Checkvacuumhoseforholesandclogs.
8]Lubricatewheels,castersandaxleswitha
waterresistantlubricanteverymonth.
9]Checkmachineforlooseormissingnuts
andbolts, andreplaceasnecessary.
*Aftereach usein awetpick-upapplication,
removetheGV25014 “Bubble Buster”blue
nylonfoamsuppressionbagandrinseitwith
cleanwater.Thiswillaidinpreventingany
build-upwhichcanreduceairflow.
STORAGE
1]Unplug machinefrom powersource.
2]Storein uprightpositionin adryarea.
3]Storewithsqueegee assemblyoffthe
ground.
4]Storewithvacuumheadoffunitsothat
tankmaybreathe.
8

WDSN18
PARTSLIST
9
-U

-U
18WD
DIA
NO
PA
RT
NUMBER DESCRIPTION NO
REQ'D
1GT10004 HANDLE 1
2VF40994 READMANUALLABEL 1
3VA21544A SERIALTAG 1
4VA20453 DECAL, WARNING 1
5GT10003B COVER, VACHEAD 1
6GT13001 ST5x12 PH 3
7GT10019 UPPERCOVER, MOTOR 1
8GT13004 ST5x20 PH 1
9GT13034 ST5x50 PH 4
10 GT13033 ST5x44 PH 6
11 VA13470 ST3x16 PH 2
12 VA21517 CLAMP, BLOCK 1
13 VA65001 CABLE POWER 1
14 VA21521 GROMMET,POWERCORD 1
15 VA91346 ON/OFF SWITCH 1
16 GV15002 MOUNTINGCOVER, MOTOR 1
17 FC25002A MOUNTINGPLATE MOTOR 1
18 VA41032 GASKET, MOTOR 2
19 ZD49000A VACMOTOR 115V 1
20 GV25002 SEALPLATE 1
21 GV15004A MOUNTINGBASE MOTOR 1
22 GV15006 GASKET, MOUNTINGPLATE 1
23 GV25010 FILTERSCREEN 1
24 GV25013 WATERGUARD 1
25 GV25006 TRUMPET 1
26 GV25003 POLE, BALL 1
27 VF14090 "O" RING 1
28 GV25009 BALL 1
29 GV0014 VACUUMFILTERASSY 1
30 GV25014 BUBBLEBUSTER 1
VACUUMGROUP PARTSLISTFOR SN
10

PARTSLIST
SN18WD
11
-U

DIA
NO
PA
RT
NUMBER DESCRIPTION NO
REQ'D
1VF47035A "VIPER"LOGO 2
2VA75001 TANK 1
3GT13022 NUT, M5, NYLONINSERT 4
4VF13474A WASHER 6
5VA21595 CATCH 2
6VA14010 SCREW, M5x20 4
7VA14004 SELF-TAPPINGSCREW, ST4x20 4
8VA13483 WASHER 4
9VA21514 GASKET 1
10 VA21513A INTAKE 1
11 VA85018 HOSEASSEMBLY 1
12 VA91342 3.5"CASTER 2
13 VF13600 WASHER 10
14 VF13495 SCREW, M6x16 6
15 VA75005 LEAFSPRING 1
16 VA75013 AXLE 1
17 VA85003 KNOB 2
18 VA75006 MOUNTINGPLATE, PICK-UP TOOL 1
19 VA75007 BUMPER 2
VA85002 BODY, PICK-UP TOOL24" 1
VA75008 BODY, PICK-UP TOOL30" 1
21 VA13471 SELF-TAPPINGSCREW, ST5x10 2
VA85001 CLAMP, BLADE, 24" 1
VA75009 CLAMP, BLADE, 30" 1
23 VV20501 SCREW, M5x14, PH 6
VA75021 BLADE, 24" 2
VA75019 BLADE, 30" 2
25 VA13491 SCREW, M8x25 2
26 VA85005 LOCK 4
27 VA85004 AXLE, WHEEL 2
28 VA91345-8 WHEEL, 2" 2
29 VF13516 WASHER 8
30 VA14001 LOCK 4
31 VA75011 AXLE, MOUNTINGPLATE 1
32 VA75012 PEDAL 1
33 VA75003 AXLE, PEDAL 1
34 VV60113S WASHER 2
35 VA75004 10"WHEEL 2
36 VV10011 CAP, AXLE, WHEEL 2
37 VA14002 SCREW, M10 x50 6
38 VA75002 HANDLE 1
39 VV10113 CLAMP 2" 1
40 VA93208A DRAINHOSE 1
41 GV70034 CLAMP, DRAINHOSE 1
42 VA20104A PLUGDRAINHOSE 1
24
20
22
12
-U
18WDVACUUMGROUP PARTSLISTFOR SN

ACCESSORIES
13

DIA
NO
PA
RT
NUMBER DESCRIPTION NO
REQ'D
1VA20803 DUSTINGTOOL 1
2VA20248 TUBE 2
3VA20209 WAND 1
4GV0040-D DRYPICK-UP TOOL 1
5GV0040-W WETPICK-UP TOOL 1
6VA20207-8 RUBBERBLADES, 400mm 2
7VA20207-5A SEAT, BLADE, 400mm 2
8VA20413 PIN, WHEEL 2
9VA20207-4 SEAT, WHEEL 2
10 VA20207-3 CLIP, FLOORTOOLADAPTER 1
11 VA20207-2 FLOORTOOLADAPTER(38mm) 1
12 VA20806 CREVICETOOL 1
13 VA20201 MACHINEEND 1
14 VA20202 THREADEDINSERT 2
15 VA20203 CLIP RING 2
16 VA20206 ANGLEDHOSEEND, 38mm 1
17 VA20288 HOSEASSY 1
VA00001A 24"FRONT MOUNT SQUEEGEE ASSY 1
VA00002A30"FRONT MOUNT SQUEEGEE(OPTIONAL)ASSY 1
VA00005 24"DRYPICK-UP TOOLASSY(OPTIONAL) 1
19 VA75020 CLOTHBAG,DUST(OPTIONAL) 1
20 VA75020-1 CLIP, CLOTHBAG(OPTIONAL) 1
18
14
-U
18WDVACUUMGROUP PARTSLISTFOR SN

-U
8WD
15
Black
White
Green
WiringDiagram
Power
Supply
Cord
SJT16/3C
SN1
Blue
White
Switch
G/Y
Motor
Table of contents
Other Viper Vacuum Cleaner manuals

Viper
Viper SL1610SE User manual

Viper
Viper BARRACUDA User manual

Viper
Viper WOLF130 User manual

Viper
Viper FANG 20-EU User manual

Viper
Viper BARRACUDA CUDA26 User manual

Viper
Viper SHOVELNOSE SN18WD User manual

Viper
Viper Shovelnose User manual

Viper
Viper AS4325B User manual

Viper
Viper SD 18 User manual

Viper
Viper 75L User manual

Viper
Viper GV35-EU User manual

Viper
Viper LSU135 User manual

Viper
Viper CAR275 User manual

Viper
Viper GV25 User manual

Viper
Viper MAMBA Series User manual

Viper
Viper LSU135 User manual

Viper
Viper MAMBA MB53CV User manual

Viper
Viper LSU135 User manual

Viper
Viper GTR1500-EU User manual

Viper
Viper GVD10-EU User manual