1
01 Safety Precautions
General Disclaimer
Safety Disclaimer
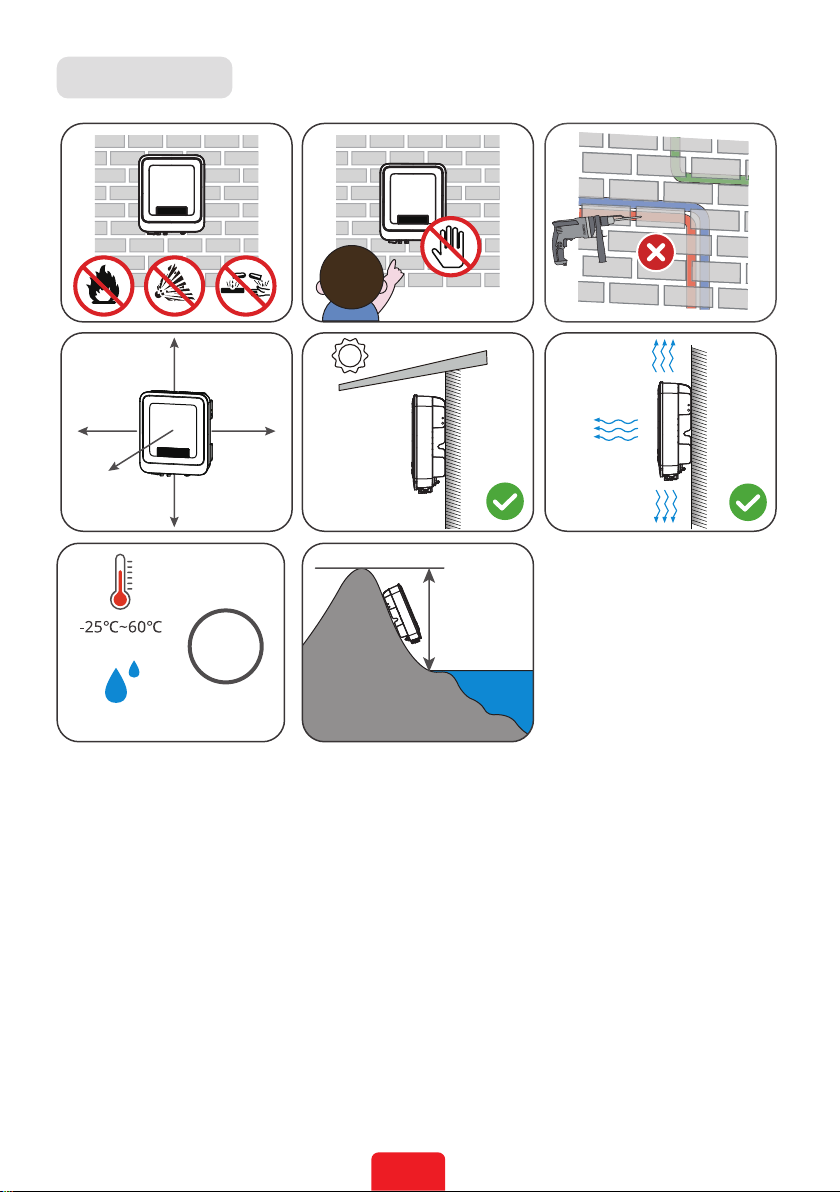
Warning
DC Side:
1. Ensure the component frames and the bracket system are securely grounded.
2. Connect the DC cables using the delivered PV connectors. The manufacturer shall not be
liable for equipment damage if other connectors are used.
3. Ensure the DC cables are connected tightly, securely, and correctly. Inappropriate wiring
may cause poor contacts or high impedances, and damage the inverter.
4. Measure the DC cable using the multimeter to avoid reverse polarity connection. Also, the
voltage should be under the max DC input voltage. The manufacturer shall not be liable for
the damage caused by reverse connection and extremely high voltage.
5. The PV modules used with the inverter must have an IEC61730 class A rating.
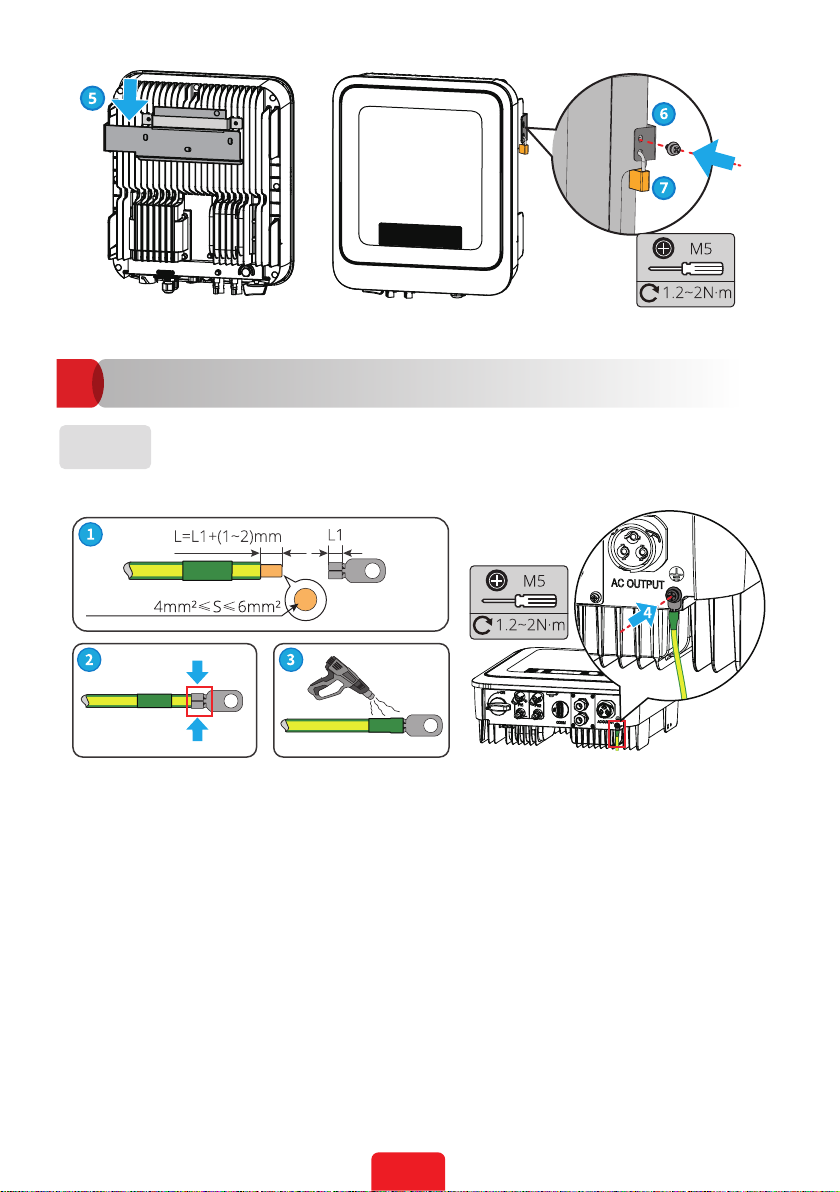
AC Side:
1. The voltage and frequency at the connecting point should meet the on-grid requirements.
2. Additional protective devices like circuit breakers or fuses are recommended on the AC
side. Specication of the protective device should be at least 1.25 times the rated AC output
rated current.
3. PE cable of the inverter must be connected rmly.
4. You are recommended to use copper cables as AC output cables. If you prefer aluminum
cables, remember to use copper to aluminum adapter terminals.
EN
• The information in this quick installation guide is subject to change due to product updates
or other reasons. This guide cannot replace the product labels or the safety precautions in
the user manual unless otherwise specied. All descriptions here are for guidance only.
• Before installations, read through the quick installation guide. For additional information,
please see the user manual.
• All operations should be performed by trained and knowledgeable technicians who are
familiar with local standards and safety regulations.
• Check the deliverables for correct model, complete contents, and intact appearance. Contact
the manufacturer if any damage is found or any component is missing.
• Use insulating tools and wear personal protective equipment when operating the equipment
to ensure personal safety. Wear anti-static gloves, clothes, and wrist strip when touching
electronic components to protect the inverter from damage. The manufacturer shall not be
liable for any damage caused by static electricity.
• Strictly follow the installation, operation, and conguration instructions in this guide and user
manual. The manufacturer shall not be liable for equipment damage or personal injury if you
do not follow the instructions.