2 3
If you do not understand these directions, or if you have any doubts about the safety of the
installation, please call a qualied technician. Check carefully to make sure there are no missing or
defective parts. Improper installation may cause damage or serious injury. Do not use this product
for any purpose that is not explicitly specied in this manual and do not exceed weight capacity.
We cannot be liable for damage or injury caused by improper mounting, incorrect assembly, or
inappropriate use.
PACKAGE CONTENTS
33 lbs
(14.97kg)
DO NOT EXCEED WEIGHT CAPACITY.
Failure to do so may result in serious injury.
ASSEMBLY STEPS
STEP 1
Separate the sleeve nut (D) into D1 and D2.
STEP 2
Press D1 into holes on top of keyboard tray (B).
Apply pads (F) to underside of keyboard tray.
WARNING!
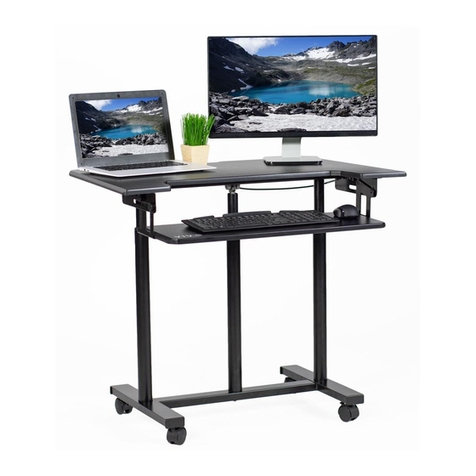
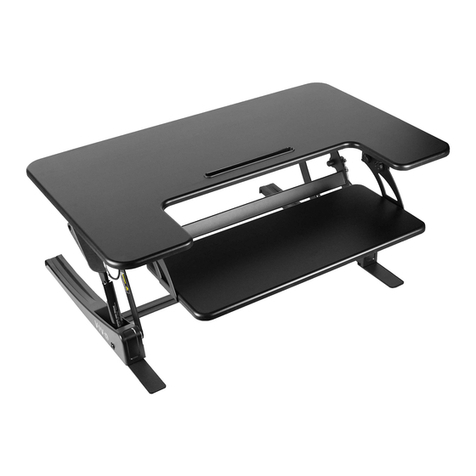
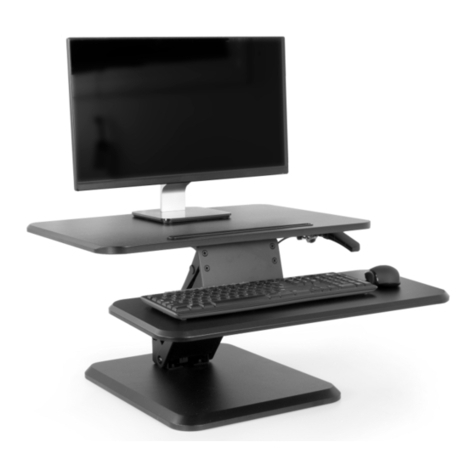
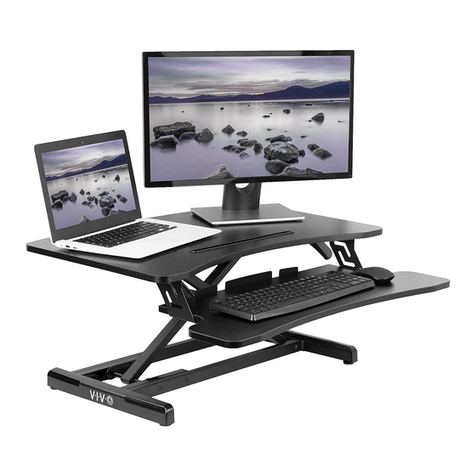
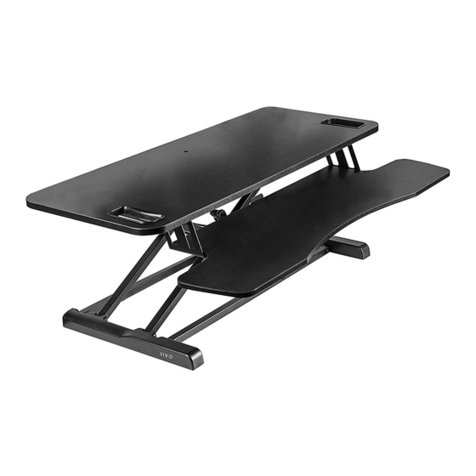
A (x1)
Adjustable
Desk
B(x1)
Keyboard
Tray
C(x3)
Cable Tie
D (x4)
Sleeve Nut
E (x2)
Cable Clip
F (x3)
Pad
G (x1)
Screwdriver
STEP 3
Apply cable clips (E) to underside of desk and manage cables using
cable ties (C).
STEP 4
Cut the large plastic tie beneath desk
(A). Raise the desk by squeezing the
handles underneath the desk. Cut the
four plastic ties on the base of the desk.
STEP 5
Place keyboard tray (B) on metal brackets on desk
(A). Secure keyboard tray to brackets using screws
(D2) and screwdriver (G).
TOOLS NEEDED
Scissors
D1
D2
13
2
A
BD2
G
E
C
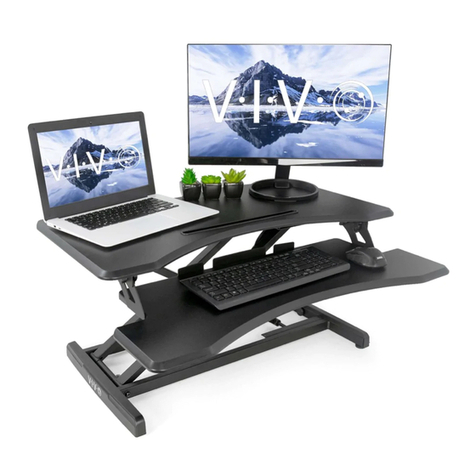
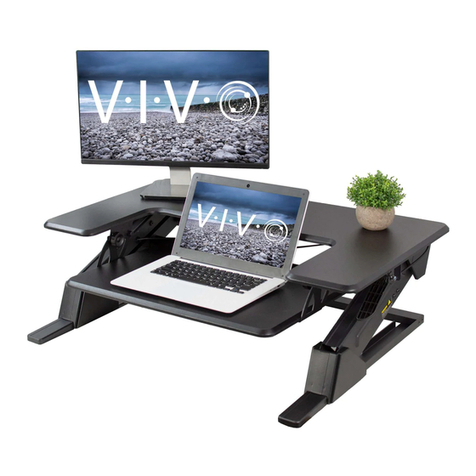
Raise desktop
slowly to keep
items stable.
Keep monitor and
laptop base fully on
the desktop.
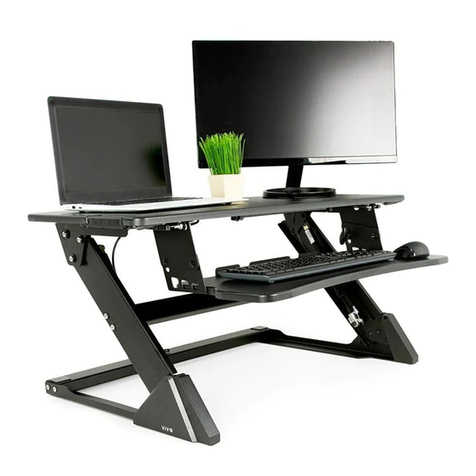
Leave enough slack
in cable to allow for
full range of vertical
motion (15” / 38 cm).
Follow the cable
routing instructions to
avoid the potential to
pinch cables.
CAUTION!
Failure to follow these instructions may result in property damage and/or personal injury.
