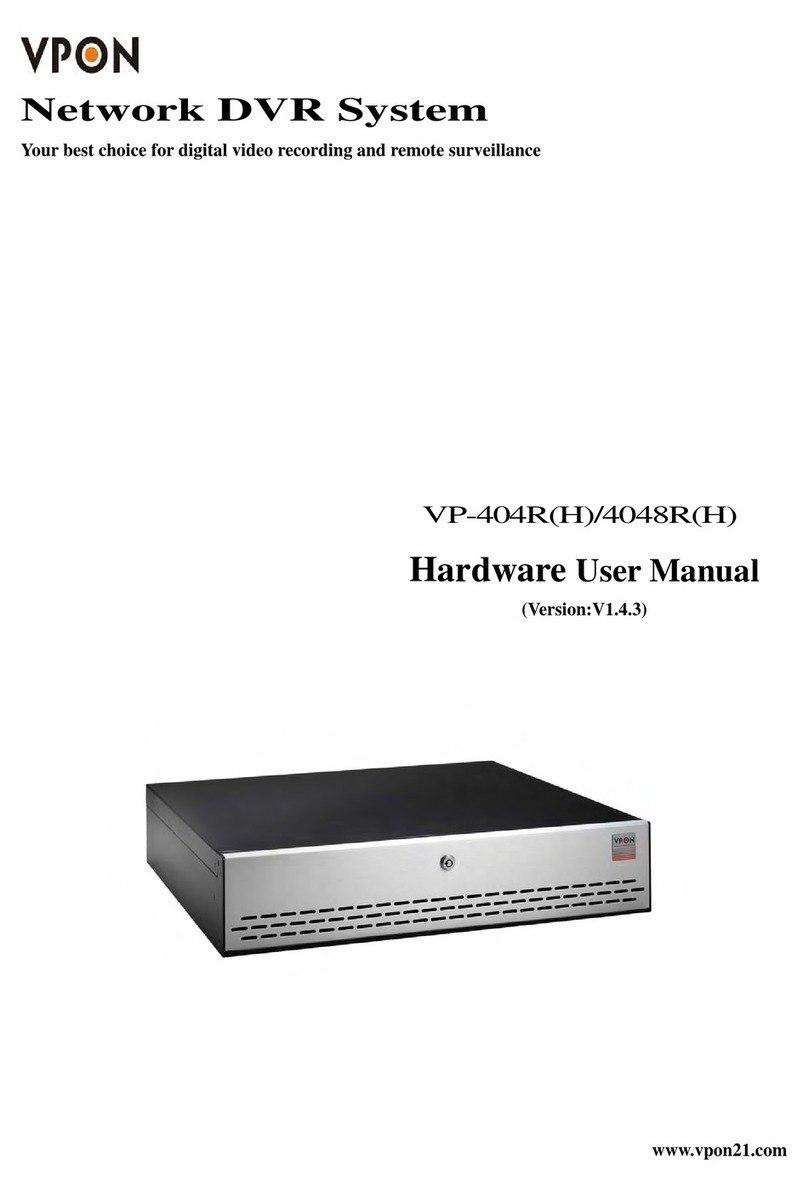
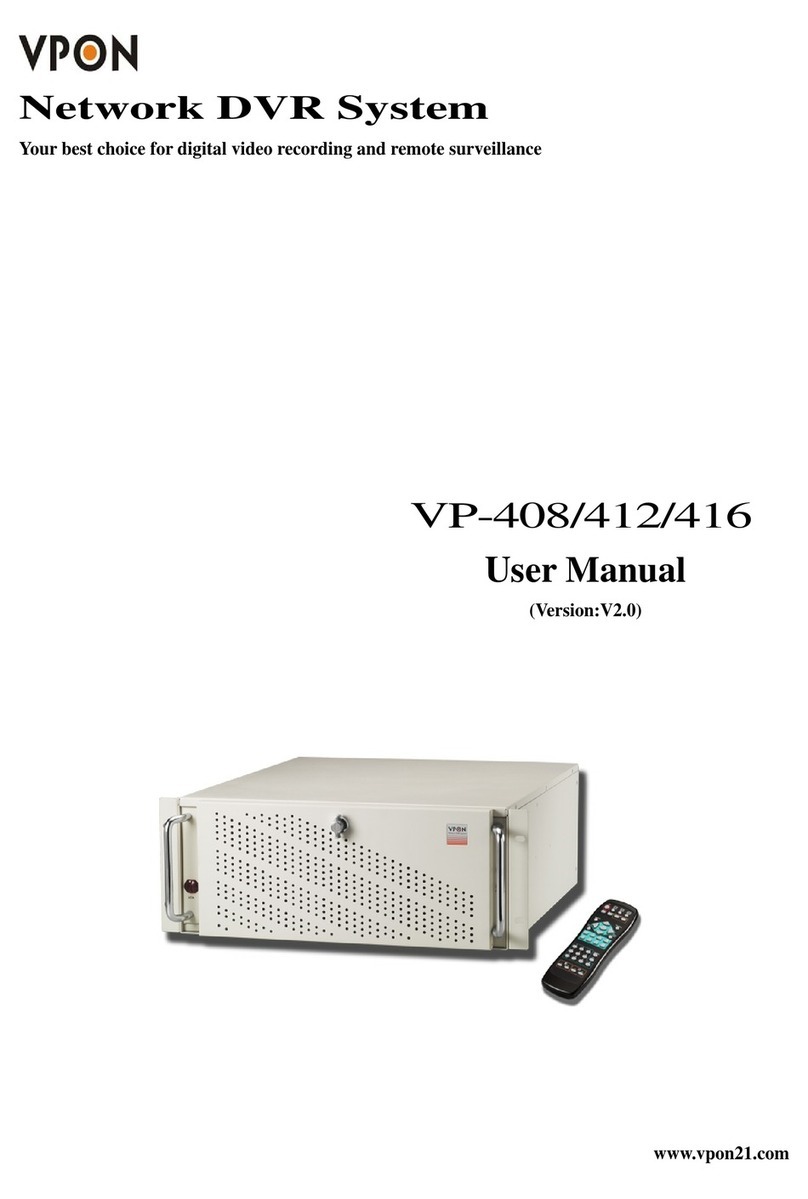
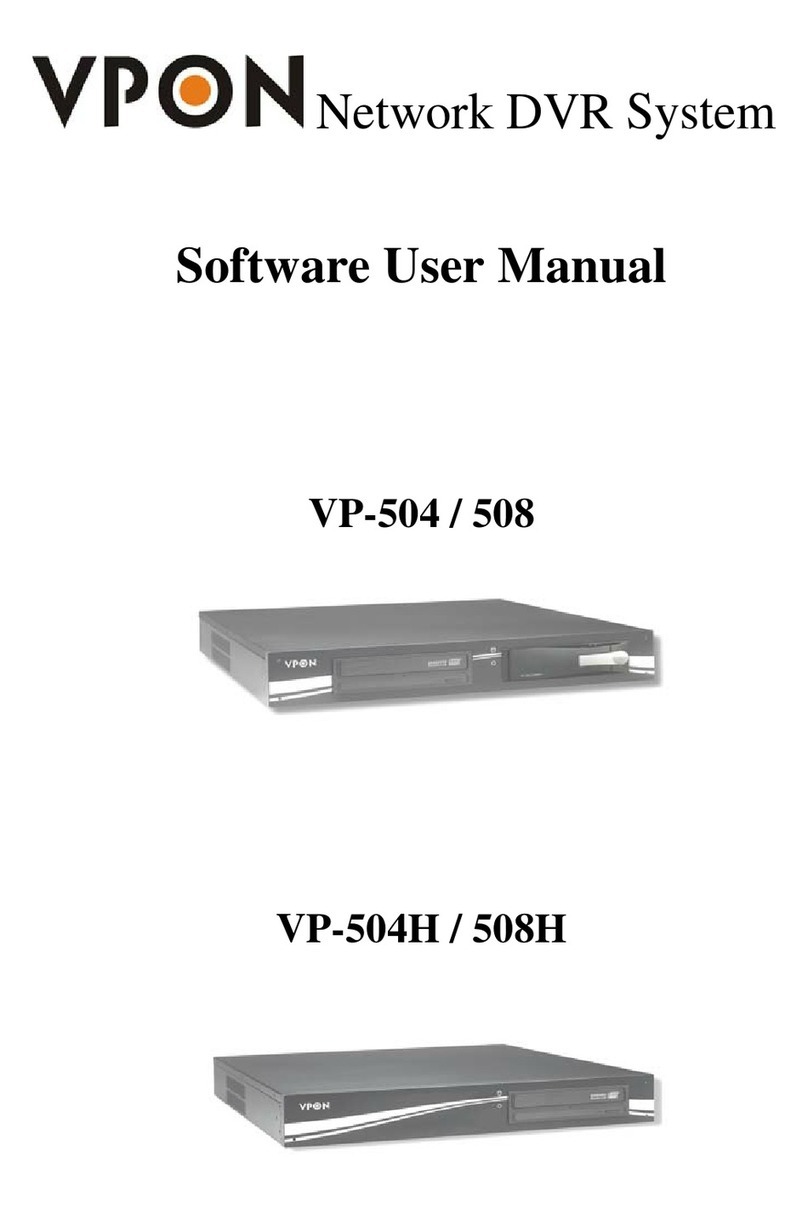
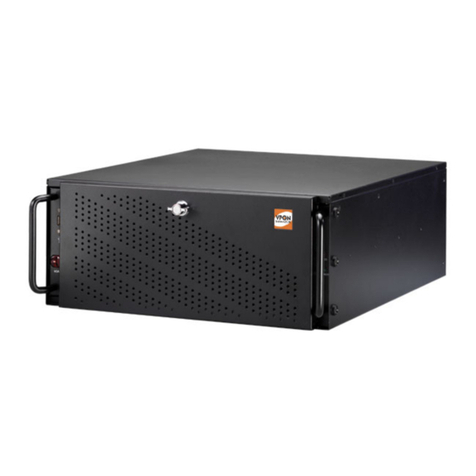
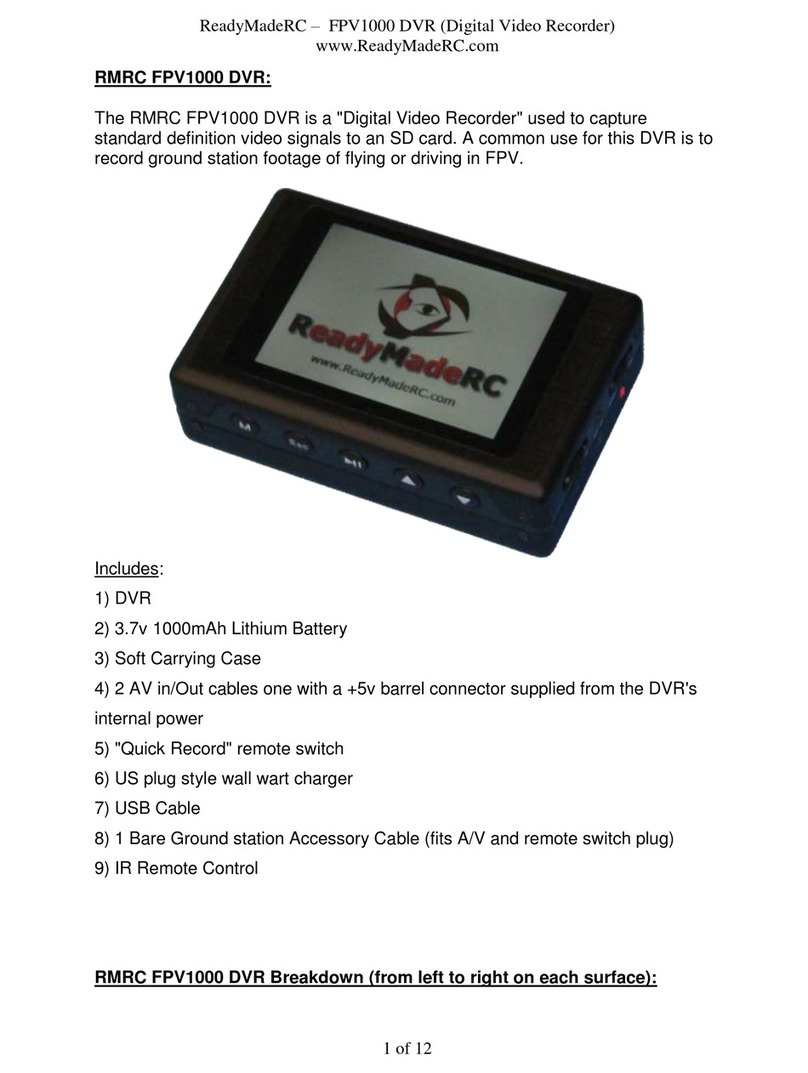
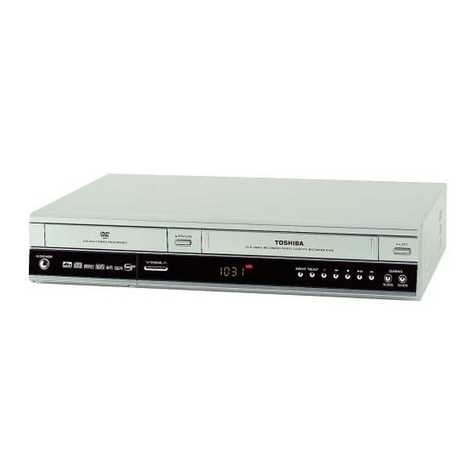
Vpon VP-580 User manual

VP - 580
Digital Video Recorder
Software User Manual


Overview .....................................1
Introduction ........................................... 1
System requirements .............................. 2
Features ................................................. 2
About theGUI........................................ 4
ThelocalGUI ................................ 4
The networkGUI ........................... 4
GettingStarted ...........................5
Running modes ...................................... 5
Viewing live images on theVP- 580........... 8
IR remote control operation .......11
Introduction ........................................... 11
Main menu ............................................. 11
System setup.......................................... 12
Password protect .......................... 13
Video ............................................. 15
Disks ............................................. 17
TV output...................................... 18
OSDtext ........................................ 18
PTZ setup ..................................... 20
TCP/IP........................................... 21
Account........................................ 22
Audio............................................ 24
Serial ports .................................... 25
System information ....................... 26
Date/Time ...................................... 26
Alarm ............................................ 27
ISP................................................. 33
Registry server.............................. 34
Running mode............................... 35
Algorithm ...................................... 35
NTP setup ..................................... 35
Default settings............................. 36
Revisefirmware ............................. 37
Record setup.......................................... 37
DVR ............................................... 37
Record schedule ........................... 37
Motion detection .......................... 39
Pre-Alarm ...................................... 40
Playback ................................................. 39
Playback list .................................. 40
Table of Contents
Searching for a file ........................ 42
Locking files.................................. 43
Backing the data........................... 44
System Shutdown .................................. 45
The LocalGUI ............................46
Introduction ........................................... 46
Surveillance screen panel ....................... 46
PLAYbutton .......................................... 46
LIVEbutton............................................ 47
I/O button .............................................. 47
GO TO button ........................................ 48
STATUS button ..................................... 48
VIDEO .................................................... 49
PTZ panel ............................................... 50
Play panel ............................................... 51
Setup...................................................... 52
System setup ................................ 52
Record Setup ................................ 65
Alarm ............................................ 67
Motion detection .......................... 73
DVRnetworkoperation ...........74
Introduction ........................................... 74
Connecting ............................................ 74
Surveillance screen panel ....................... 76
Play button ............................................ 77
PTZ panel ............................................... 78
System Setup ......................................... 78
System information ....................... 79
Camera setting .............................. 79
Audio setting................................ 80
Set time and date ........................... 81
SetNTP server .............................. 81
System configuration .................... 82
Set names and on-screen display .. 82
Set user’s authority....................... 83
DVR setup ..................................... 84
Record schedule ........................... 84
Motion detection .......................... 85
Setpre-alarm ................................. 85
Playback........................................ 86
Sendmail ....................................... 87
FTP upload .................................... 88
Back to home page ................................. 88
View video without plug-ins .................. 89
Appendix .....................................90

This manual will guide you through the features and functions of the VP-
580 Network Digital Video Recorder (DVR) system. Read this section to get
an overview of the product.
1.1 Introduction
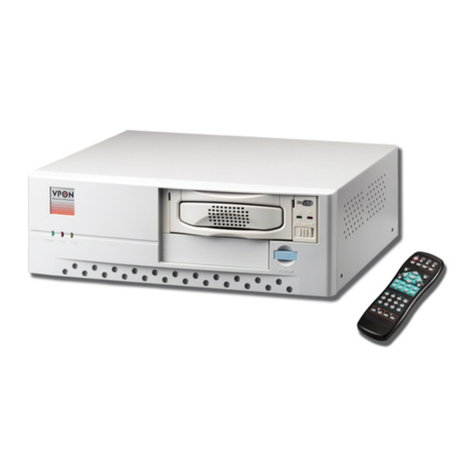
The FORMOSA21 VP-580 Network DVR System is a high performance digital
video recorder and web server all in one. Features include a real time video
capture utility, and video compression that allows efficient transmission of
moving images over a network.Video can also be displayed on a local VGA
monitor.The VP- 580 can record and play back digital video simultaneously
while continuing to display livevideo. Video footage is saved to a removable
hard disk.
Up to 8 cameras can be connected to a single VP- 580 unit. Full motion
video with audio over Internet or intranet is supported. Video output can be
viewed using a standard PC and web browser with custom plug-in software.
Camera pan, tilt, zoom, and focus functions can be controlled over the
network, and the unit can be configured to react a particular way to when
certain events occur. An IR remote control unit is included to make setup
and operation as trouble free as possible.
1.2 System requirements
Cameras
Composite CCD, V8, or camcorder
NTSC or PAL standard
1. Overview

2
Network equipment
RJ-45 Ethernet port and connection to Internet or intranet
(network mode)
Public or private IP address (Network mode and Internet access)
VGA monitor for local display
PC for configuration for remote viewing
Pentium IV 1.7GHz CPU or better
256MB RAM or more
AGP VGA card
Microsoft Windows XP/2000/ME/98 operating system
Standard Internet browser such as Internet Explorer
1.3 Features
Video and audio recording:
Up to 8 black and white, or color cameras
Up to 30 fps for each camera (local monitoring)
Record, playback and, display simultaneously
Built-in QUAD/multiplexor functions (local monitoring)
Local playback of recorded footage on VGA or TV monitor
Remote playback in PC browser
Query recorded data referenced by date, time, and event
Support for popular PTZ cameras
High video quality and low data rate
Up to 200:1 video compression
Multiple video compression engines including, H.263, JPEG,
M-JPEG, and MPEG4
System repuirements

3
Network
Dynamic IP support for Internet access
Direct dial-up support
Data storage and backup
Removable hard disk
Optional CD writer
Easy to use
Plug and play, non Windows embedded real-time OS
Easy configuration using either keyboard, mouse, IR remote
control, home page, or RS-232 terminal
The only client application required is a standard web browser
Alarm functions
Motion detection, event trigger, schedule, pre alarm recording
E-mail ,Voice Call and FTP alarm notification
Optional GPI/O for alarm control
Customization
HTML file upload support for home page customization
FTP server upload support for customization
1.4 About the GUI
The VP- 580 can be configured and operated using either the local GUI, or
over a network.
Features

4
1.4.1 The local GUI
1.4.2 The network GUI
About the GUI

2. Getting Started
Read this section to get your VP- 580 up and running. This section assumes
that the VP- 580 is already connected and cameras are attached. For more
information, see the user manual supplied with the unit.
Live footage can be viewed either on the local screen connected to the VP-
580 or over a network if a connection exists.
2.1 Running modes
Images can be viewed on the screen attached to the VP- 580. You can
control the number of images displayed on the screen and configure the VP-
580 using either mouse control, or IR remote controller.
Turn the VP- 580 on using the power switch on the rear of the unit and the
switch on the front panel.
The VP- 580 will boot up in either IR control or mouse control running
mode.
Note: The default startup mode for the VP- 580
is IR control mode. This can be changed by
setting the Running Mode option as described
later in this section.
Depending on how the VP- 580 is configured, you will see images from the
attached cameras on the screen.
If the VP- 580 is in mouse running mode, a graphical user interface (GUI)
with clickable buttons will be displayed on screen as shown below. In this
running mode, the IR remote control will not function. When the VP- 580 is
in IR remote control running mode, no GUI is displayed, only feeds from
the connected cameras.

6
Follow these instructions to switch from mouse running mode to IR remote
control running mode.
1.Click the SET UP button on the GUI to display the setup menu.
2. From the list on the left of the screen, click the Running Mode
heading to display the running mode menu.
Running modes

7
3. From the Control dropdown box, choose IR Control.
4. From the Mode dropdown box, choose either ISP mode if you are
connected using an ISP type connection, or Network Mode, if
you are connected to a network.
5. Click OK.
The system will automatically reboot in IR remote control mode.
Follow these instructions to switch from IR remote control running mode to
mouse running mode.
1. Press the Menu button on the remote control to display the setup
menu on screen.
Cancel
Menu
TV
Remote
Playback
Local
Key Pad
Next
Page
Prev
Page
Menu
button
Upand
Down
arrow
buttons
OK
button
Running modes

8
2. Use the up and down arrow buttons to highlight the Running
Mode option and press the OK button to confirm your choice.
The running mode menu will be displayed on screen.
3. Use the up and down arrow buttons to highlight the Control – IR
Control field.
4. Use the left and right arrow buttons to toggle between Control – IR
and Control – mouse.
5. Press the OK button when the control field is set to mouse.
Cancel
Menu
TV
Remote
Playback
Local
Key Pad
Next
Page
Prev
Page
The unit will reboot when the OK button is pressed. It will restart in
mouse running mode.
Leftand
Right
buttons
OKbutton
Running modes

9
2.2 Viewing live images on the VP- 580
Images from the VP- 580 can be viewed locally with the machine in either
mouse running mode, or in IR remote control running mode. See Run-
ning modes on page 5 for more information. Up to 16 cameras can be
connected to the VP- 580. All cameras can be displayed on the screen at the
same time, or just a selection of your choice. A single camera image can also
be displayed on the screen or images from all connected cameras can be
displayed in sequence.
When in IR remote control running mode, use the buttons on the remote
control to alter the display.
Cancel
Menu
TV
Remote
Playback
Local
Key Pad
Next
Page
Prev
Page
• Press button Ato display a single image on screen and use the
Up, Down, Left, or Right arrow buttons, Dto cycle through
video inputs from all the connected cameras. Alternatively, use
the Prev Page and Next Page buttons, F, to cycle through all the
connected cameras. You can also press a number button to view
the corresponding camera.
• Press button Bto select Single (1 image), Quad (4 images),
9 splits (9 images), 16 splits (16 images), or sequence (all or
selected images automatically in sequence) from the Display
setting menu on screen. Use the Up and Down arrow buttons, D
to highlight a selection. Press the OK button, Eto confirm. Use
the Up, Down, Left, or Right arrow buttons, Dto cycle through
all the connected cameras.
• Press button Cto cycle automatically through video inputs from
all or selected cameras.
Viewing live images on the VP-404/4048
A
B
C
DE
F

10
When in mouse running mode, equivalent buttons exist on the screen to
select images.
• Use buttons A, B, C, or D to select 1, 4, 9, or 16 images on
screen.
• Use the arrow buttons, E to cycle through all connected cameras.
• Use the sequence button, F to automatically cycle through all the
connected cameras.
• Use the numbered buttons from 1 through 8 to select an individ-
ual camera.
ABCD EF
Viewing live images on the VP-5804/5808

3. IR remote control operation
3.1 Introduction
The VP-580 can be used and configured with either the supplied remote
control unit or with a keyboard and mouse. This chapter covers remote
control operation. The VP-580 must be in IR remote controlrunning
mode for remote control operation to function.
3.2 Main menu
Press the Menu button on the remote control to display the main menu on
screen.
Cancel
Menu
TV
Remote
Playback
Local
Key Pad
Next
Page
Prev
Page
Use the Up and Down arrow buttons to select one of the four options and
press the OK button to confirm your choice.
Menu
button

12
3.3 System setup
The System Setup menu enables you to change many different parameters
of the VP- 580. This section describes each option in the System Setup
menu.
Use the Up and Down arrow buttons to highlight an option, and use the
OK button to confirm your choice. You can move between pages using the
Prev Page and Next Page buttons on the remote control.
Cancel
Menu
TV
Remote
Playback
Local
Key Pad
Next
Page
Prev
Page
Upand
Down
arrow
buttons
Prev
Page Next
Page
OK
button
System setup

13
3.3.1 Password protect
Use the Password Protect option to enable password protection, set
administrator and user passwords, set the autolock period and lock the
system immediately. Enabling password protection prevents unwanted users
from accessing or configuring the VP- 580. The Password Protect menu
has the following choices:
• Enable – enables password protection.
• Admin Pass – sets the admin password.
• User Pass – sets the user password.
• Autolock After – enables password protection after the specified
time interval.
• Lock Now! – enables password protection immediately.
To set the user or admin password:
1. Use the Up and Down arrow buttons on the remote control to
highlight the Admin Pass option to set the administrator password
or the User Pass option to set the user password.
2. Press the Right arrow button to display the password entry screen.
3. Press the keypad button on the remote control to display the on-
screen keyboard.
Cancel
Menu
TV
Remote
Playback
Local
Key Pad
Next
Page
Prev
Page
Keypad
button
System setup

14
4. Use the Arrow buttons on the remote control to choose a letter
and use the OK button to confirm you choice.
5. When the new password has been entered correctly, press the
keypad button on the remote control to turn off the on-screen
keyboard.
6. Press the OK button to confirm the new password.
When user or admin passwords are set and enabled, you will be prompted
for a password when they attempt certain functions. Use the on-screen
keyboard to set user or admin passwords as described.
To set the password protect function:
1. Select the Enable option from the Password Protect menu.
2. Use the Left and Right arrow buttons to toggle between Yes and
No.
3. Press the OK button to confirm your choice.
The autolock function in the Password Protect menu will lock the system
after the specified period of inactivity.
To set the period of inactivity before the system is locked:
1. Highlight the autolock option in the Password Protect menu.
2. Use the Left and Right arrow buttons to increase or decrease the
period of inactivity.
3. Press the OK button to confirm your choice.
To lock the system immediately:
1. Highlight the Lock Now! function in the Password Protect menu.
2. Use the Left or Right arrow buttons to confirm the operation.
System setup

15
3.3.2 Video
Use the Video menu to set all the video parameters for the cameras con-
nected to the VP-580. There is one video screen for each camera with
the following parameters:
• Standard – sets the video signal format. Choose NTSC in the
US, or PAL in Europe and most Asian countries. If you are not
sure about this option, select Auto. VP-580 will detect the video
standard automatically.
• Brightness – adjusts the amount of light or brightness for the
selected camera according to your preference.
• Contrast – adjusts the difference between light and dark areas or
contrast for the selected camera according to your preference.
• Saturation – adjusts the amount of color for the selected camera.
• Hue – adjusts the dominant color for the selected camera.
• Quality (All) – adjusts the video quality for all cameras. The
default setting is 80. We recommend that you do not set this to
100 to avoid a slower rate of video transmission and using up a
significant amount of hard disk space.
• Compression Boost – enables you to compress the video signal
to save disk space and thus extend recording time. It is recom-
mended to keep this setting to None. The higher the compression
boost, the lower the video data rate.For a significantly lower data
rate, we recommend you use the H.263 algorithm (see Algorithm
on page 35).
• Auto Gain Control – enables automatic gain control to adjust
the video signal strength.
• Mirror Horizontal – flips the video signal from the selected
camera along the horizontal axis.
• Mirror Vertical – flips the video signal from the selected camera
along the vertical axis.(Live video only)
• Max Connection – limits the maximum number of connections
allowed to access the VP- 580 over the Internet. Set to zero to
allow the maximum number of connections.
• Max Bandwidth – sets the maximum bandwidth in bytes/second
that can be used byusers connecting to the VP-580 over the
internet.
System setup

16
• Max Conn. Bandwidth – sets the maximum bandwidth allo-
cated for each connection to the VP-580. This is the maximum
bandwidth divided by the maximum connections.
• Video Input – sets the position of the camera input displayed on
your local screen. Changes to this setting will take effect only
after the system is rebooted.
• Water Mark – Sets a water mark on the video image. This option
is available only for JPEG and MJPEG algorithms (see Algo-
rithm on page 35).
• Local Display – enables viewing the selected camera video
signal on the local display. If this option is set to Off, the camera
is still optional and its video can be recorded if needed.
To change the video parameters:
1. Use the Up and Down arrow buttons on the remote control to
highlight the option.
2. Use the Left and Right arrow buttons to change the value assigned
to the setting.
3. Press the OK button to confirm the new settings.
Each camera has its own video screen. To move between the screens for
each camera, use the Prev Page and Next Page buttons on the remote
control.
System setup
Other manuals for VP-580
1
Table of contents
Other Vpon DVR manuals

Vpon
Vpon VP-580 Instructions for use

Vpon
Vpon VP-404R User manual

Vpon
Vpon VP-102 Instructions for use

Vpon
Vpon VP-404 User manual

Vpon
Vpon VP-101 User manual

Vpon
Vpon VP-504 User manual

Vpon
Vpon VP-408 User manual

Vpon
Vpon VP-4108 User manual

Vpon
Vpon VP-9008 Instructions for use

Vpon
Vpon VP-504 User manual
Popular DVR manuals by other brands

Soniclear
Soniclear Gov Video Recorder 9 Operation guide

Guangzhou Liwei
Guangzhou Liwei Stand-alone Type user manual

Grundig
Grundig VIVANCE GV 3242 NIC/1 user manual

FLIR
FLIR Lorex LNR400 Series instruction manual

Moxi
Moxi BMC9012 BROADBAND MEDIA CENTER - MOXI VIEWER'S... user guide

Tablo
Tablo DUAL quick start guide