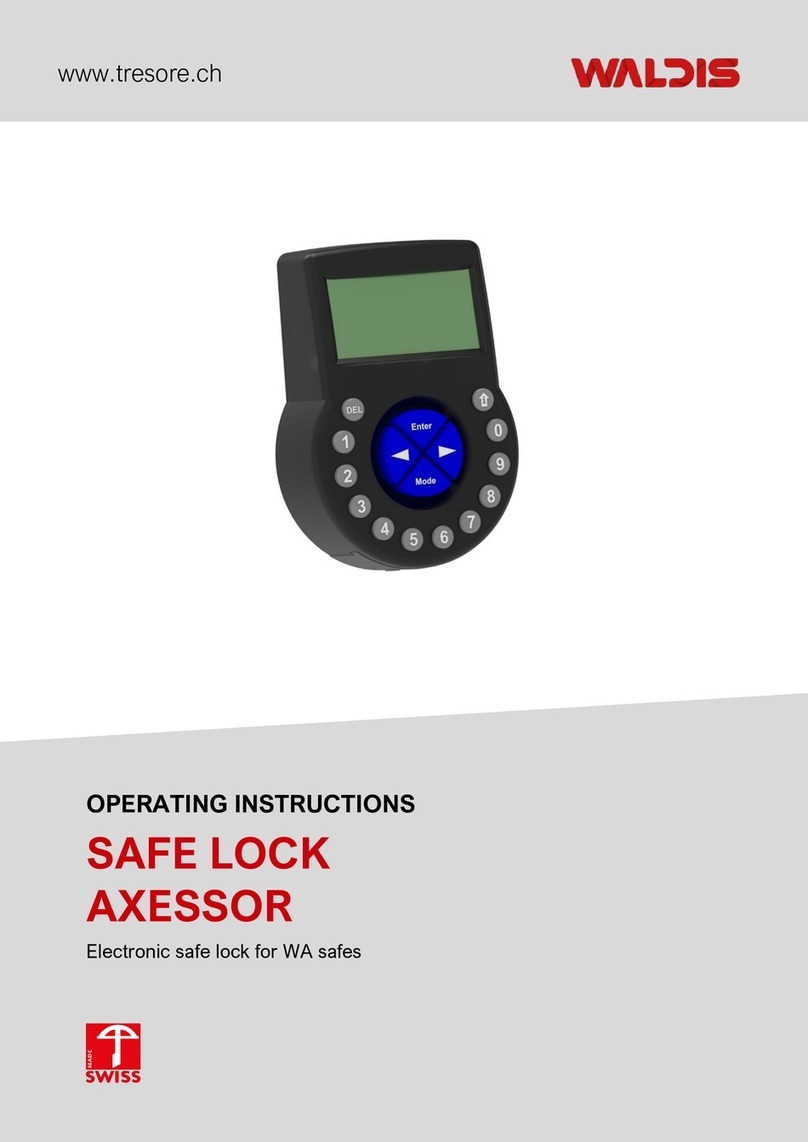
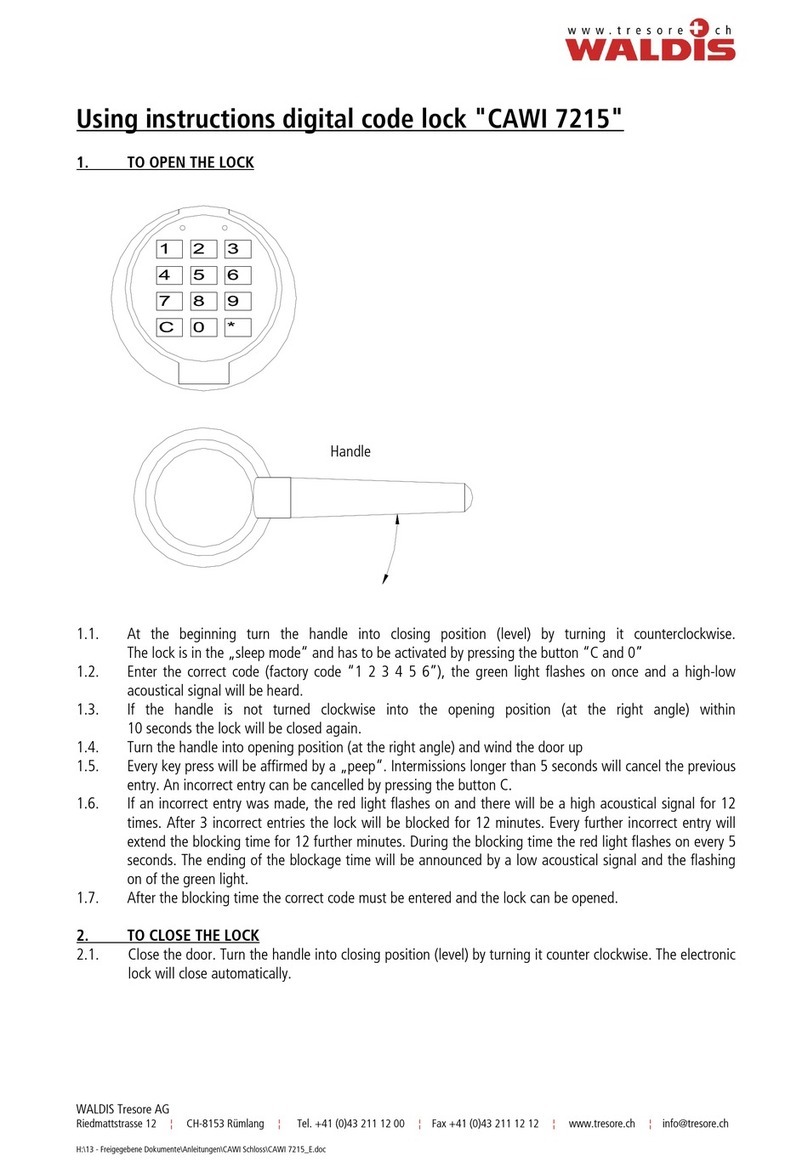
WALDIS Tresore AXESSOR USB User manual

www.tresore.ch
OPERATING INSTRUCTIONS
KEYPAD LOCK
AXESSOR USB
Electronic door lock for WA safes
Issue 08.2020

Thank you very much ❤
We would like to thank you for choosing Waldis when it comes to safety.
When buying a safe, you have chosen a product tested according to EN1143-1. A
Swiss quality product with VdS - tested security.
Please read these instructions carefully before commissioning your safe!
Your contact for questions
WALDIS Tresore AG
Hofwisenstrasse 20
CH-8153 Rümlang
Phone: +41 43 211 12 00
Fax: +41 43 211 12 12
E-Mail: info@tresore.ch

Table of contents
Safe lock ................................................................................................................ 1
1.1. General notes.................................................................................................. 1
1.1.1. Closed position ......................................................................................... 1
1.1.2. Opening the lock ....................................................................................... 1
1.1.3. Closing the lock......................................................................................... 2
1.1.4. Code structure .......................................................................................... 2
Code Programming ................................................................................................ 3
1.2. Code programming menu................................................................................ 3
1.2.1. Master code .............................................................................................. 3
1.2.2. Manager code 10 or 20............................................................................. 4
1.2.3. Operator code 11-19 or 21-29................................................................... 4
1.2.4. Deleting an OPERATOR code .................................................................. 5
1.2.5. Deleting a MANAGER code ...................................................................... 5
1.2.6. Time menu (setting time and date) ........................................................... 5
1.2.7. Manipulation lock ...................................................................................... 6
1.3. Power supply................................................................................................... 6
1.3.1. Opening the battery compartment............................................................. 6
1.3.2. Pin assignment ......................................................................................... 7
1.4. Password......................................................................................................... 8
1.4.1. Basic rules when choosing a password .................................................... 8

1
Safe lock
1.1. General notes
1.1.1. Closed position
= Move to the "OPEN" position. (Turn in the direction of the arrow to open
the safe).
1.1.2. Opening the lock
First turn the opening rotary handle to the closed position. This relieves the load
on the lock bolt.
Procedure
1. Wake up the lock by pressing a key. Lock status is displayed.
2. Enter the correct opening code (for initial start-up 0 0 1 2 3 4 5 6), confirm
with "Enter" key.
3. The lock bolt is opened.
4. Turn the opening rotary handle to the open position within 5 seconds and pull
the door open. This is signaled with a beep every 20 seconds
5. Each keystroke is acknowledged with a "beep", pauses longer than 5
seconds delete the previous entry; or if an incorrect code entry is made, the
entry can be deleted with the "DEL" key.
6. After 4 incorrect entries, the lock is blocked for 5 minutes (display shows
"Penalty"). After another incorrect entry, the locking time is extended by 5
minutes. After any blocking time has elapsed, the correct code must be
entered and the lock can be opened.

2
1.1.3. Closing the lock
Close the safe door. Turn the rotary opening handle to the closed position. The
lock closes automatically and is thus secured.
Description:
In the AXESSOR USB lock, 1 master, 2 manager and up to 18 user codes can be
programmed.
DEL delete
MODE Access Programming mode
ENTER Confirm input
INF/ESC lock Information / one menu level back
1.1.4. Code structure
Master 00 (for safety officer)
00 XXXXXX
Manager 10
10 XXXXXX
Manager 20
20 XXXXXX
User group 10
Operator 11
11 XXXXXX
User group 20
Operator 21
21 XXXXXX
Operator 12
12 XXXXXX
Operator 22
22 XXXXXX
Operator 13
13 XXXXXX
Operator 23
23 XXXXXX
Operator 14
14 XXXXXX
Operator 24
24 XXXXXX
Operator 15
15 XXXXXX
Operator 25
25 XXXXXX
Operator 16
16 XXXXXX
Operator 26
26 XXXXXX
Operator 17
17 XXXXXX
Operator 27
27 XXXXXX
Operator 18
18 XXXXXX
Operator 28
28 XXXXXX
Operator 19
19 XXXXXX
Operator 29
29 XXXXXX
Courier 90
90 XXXXXX

3
Code Programming
1.2. Code programming menu
Attention: It is essential to reprogram the original opening code (master code 1)
0 0 1 2 3 4 5 6, as a third party may know this factory code and
open the safe.
All code reprogramming must be performed with the door open.
1.2.1. Master code
Procedure
1. open the lock with previous code (for first time programming 0 0 1 2 3 4 5 6).
2. turn the opening rotary handle to the open position and open the safe door.
3. with the lock open, press the MODE key, PRG-MOD appears on the display.
4. Enter existing MASTER-CODE (for initial programming 0 0 1 2 3 4 5 6),
confirm with ENTER, TIME appears in the display.
5. Press arrow key until CODE appears, confirm with ENTER.
6. MASTER appears in the display, confirm with ENTER.
7. AENDERN? appears in the display. YES, confirm with ENTER.
8. Enter new master code 00 X X X X X Confirm with ENTER.
9. BESTAET appears in the display.
10. Enter new code 00 X X X X again and confirm with ENTER.
11. ACCEPT appears in the display. Exit the menu by pressing the i key 2-3
times.
12. with the door open, turn the opening rotary handle to the closed position, the
lock closes immediately, test the new code at least 3 times with the door
open.

4
1.2.2. Manager code 10 or 20
Procedure
1. With the lock open and the opening handle in the open position, press the
MODE key; PRG-MOD appears in the display.
2. Enter existing MASTER-CODE (for initial programming 0 0 1 2 3 4 5 6),
confirm with ENTER, TIME appears in the display.
3. Press arrow key until CODE appears, confirm with ENTER.
4. MASTER appears in the display, press arrow key until Manager appears,
confirm with ENTER.
5. Select Manager 1 or Manager 2 with the arrow key and confirm with ENTER.
6. AENDERN? appears in the display. YES, confirm with ENTER.
7. Enter new manager code 10 or 20 X X X X X Confirm with ENTER.
8. BESTAET appears in the display.
9. Enter the new code 10 or 20 X X X X again and confirm with ENTER.
13. ACCEPT appears in the display. ACCEPT appears in the display. Exit the
menu by pressing the i key 2-3 times.
10. With the door open, turn the opening rotary handle to the closed position, the
lock closes immediately, test the new code at least 3 times with the door
open.
1.2.3. Operator code 11-19 or 21-29
Procedure
1. With the lock open and the opening handle in the open position, press the
MODE key; PRG-MOD appears in the display.
2. Enter existing MASTER-CODE (for initial programming 0 0 1 2 3 4 5 6),
confirm with ENTER, TIME appears in the display.
3. Press arrow key until CODE appears, confirm with ENTER.
4. MASTER appears on the display, press arrow key until BENUZTER appears,
confirm with ENTER.
5. Select OPERATION 11-19 or OPERATION 21-29 with the arrow key and
confirm with ENTER.
6. AENDERN? appears in the display. YES, confirm with ENTER.
7. Enter new OPERATOR code 11-19 or 21-29 X X X X X Confirm with ENTER.
8. BESTAET appears in the display.
9. Enter the new code 11-19 or 21-29 X X X X again and confirm with ENTER.
14. ACCEPT appears in the display. Exit the menu by pressing the i key 2-3
times.
10. With the door open, turn the opening rotary handle to the closed position, the
lock closes immediately, test the new code at least 3 times with the door
open.

5
1.2.4. Deleting an OPERATOR code
Procedure
1. With the lock open and the opening handle in the open position, press the
MODE key; PRG-MOD appears in the display.
2. Enter existing MASTER-CODE (for initial programming 0 0 1 2 3 4 5 6),
confirm with ENTER, TIME appears in the display.
3. Press arrow key until CODE appears, confirm with ENTER.
4. MASTER appears in the display, press the arrow key until BEDIENR
appears, confirm with ENTER.
5. Select OPERATION 11-19 or OPERATION 21-29 with the arrow key.
6. Press DEL key, the display shows DELETE, select YES with arrow key and
confirm with ENTER.
15. ACCEPT appears in the display and the respective opening code is deleted.
exit the menu by pressing the i key 2-3 times.
1.2.5. Deleting a MANAGER code
Procedure
1. With the lock open and the opening handle in the open position, press the
MODE key; PRG-MOD appears in the display.
2. Enter existing MASTER-CODE (for initial programming 0 0 1 2 3 4 5 6),
confirm with ENTER, TIME appears in the display.
3. Press arrow key until CODE appears, confirm with ENTER.
4. MASTER appears in the display, press arrow key until MANAGER appears,
confirm with ENTER.
5. Select MANAGER 1 or MANAGER 2 with the arrow key.
6. Press the DEL key, the display shows DELETE Select YES with the arrow
key and confirm with ENTER.
7. ACCEPT appears in the display and the respective opening code is deleted.
exit the menu by pressing the i key 2-3 times.
1.2.6. Time menu (setting time and date)
Procedure
1. With the lock open and the opening handle in the open position, press the
MODE key; PRG-MOD appears in the display.
2. Enter master code (for initial start-up 0 0 1 2 3 4 5 6) and confirm with
ENTER.
3. TIME appears in the display, confirm with ENTER.
4. With digits enter current time and confirm with Enter.
5. SAVE, YES? Confirm with ENTER and AKEZPT is displayed.
6. Jump to DATE with right arrow key, confirm with ENTER.
7. Enter the date with digits, confirm with ENTER and ACCEPT is displayed.
Exit the menu by pressing the i key 2-3 times.
6
1.2.7. Manipulation lock
After four incorrect code entries, the lock enters a locking period of 5 minutes
(penalty appears on the display). The remaining locking time is shown on the
display. This locking period cannot be bypassed. After the time has elapsed, a
new opening attempt can be made.
1.3. Power supply
The electronic lock is operated with 3 batteries (1.5 volt alkaline, type UM3 or
LR6), which have a service life of approx. 3 - 4 years or approx. 5,000 openings.
The batteries must be replaced as soon as the display shows "Battery empty". The
codes and the programming are not deleted by this.
Do not use rechargeable batteries (rechargeable), as their capacity is not sufficient
for trouble-free operation.
1.3.1. Opening the battery compartment
The battery compartment is located on the
underside of the input unit. Use the supplied Allen
key to loosen the locking screw and carefully pull
the battery compartment down. Replace all 3
batteries. Observe the polarity when inserting the
batteries. Push the battery compartment back in
and secure it with the screw. A BEEP signal
sounds. Confirm or delete the displayed message
"BATCH OPEN" by entering the master or
manager code.
ATTENTION: If the lock remains without power for
more than 5 minutes, the internal clock stops and
falls back to the last full hour. All other
programming is retained.

7
1.3.2. Pin assignment
Terminal assignment
No.
Clamp
Color
Event
8
IN2
white
Door / bolt position contact internal
7
GND
white
Door / bolt position contact internal
6
IN1 +
red
Remote lock
5
IN1 -
blue
Remote lock
4
OUT1 A
black
Silent alarm
3
OUT1 B
white
Silent alarm
2
OUT2 A
brown
Door/lock position
1
OUT2 B
green
Door/lock position

8
1.4. Password
1.4.1. Basic rules when choosing a password
1.4.1.1. Avoid the obvious passwords
•No trivial values like 000000, 000815, 123456
•Do not use your own birthday, car license plate, phone number or name (your
own, wife/husband, children, pets, company, place of residence, etc.) as
password. No standard passwords like: "safe". Writing backwards is also too
easy.
•Important passwords should be reconstructable
1.4.1.2. How to create a secure password?
•The first rule: A password is only secure if it remains secret!
•Remember passwords - do not write them down anywhere!
•Consider all keys if possible (wear marks on the keyboard betray the individual
numbers over time)
1.4.1.3. Last but not least
Consider how the password will still be retained if the owner can no longer
disclose the password (e.g., in the event of death). Leave a sealed envelope with
your notary.

Notes
_______________________________________________________________________________
_______________________________________________________________________________
_______________________________________________________________________________
_______________________________________________________________________________
_______________________________________________________________________________
_______________________________________________________________________________
_______________________________________________________________________________
_______________________________________________________________________________
_______________________________________________________________________________
_______________________________________________________________________________
_______________________________________________________________________________
_______________________________________________________________________________
_______________________________________________________________________________
_______________________________________________________________________________
_______________________________________________________________________________
_______________________________________________________________________________
_______________________________________________________________________________
_______________________________________________________________________________
_______________________________________________________________________________
_______________________________________________________________________________
_______________________________________________________________________________
_______________________________________________________________________________
_______________________________________________________________________________
Table of contents
Other WALDIS Lock manuals

WALDIS
WALDIS CAWI BLUECAM User manual

WALDIS
WALDIS PAXOS ADVANCE DUAL LOCK User manual

WALDIS
WALDIS CAWI 7215 Manual

WALDIS
WALDIS AXESSOR User manual

WALDIS
WALDIS COMBI B 30 User manual

WALDIS
WALDIS PRIMOR 1000 User manual

WALDIS
WALDIS CAWI 7215 User manual

WALDIS
WALDIS PAXOS ADVANCE User manual

WALDIS
WALDIS CAWI EVO User manual

WALDIS
WALDIS PAXOS ADVANCE User manual
Popular Lock manuals by other brands

Abus
Abus DF 88 Installation and operation instructions

Pauli + Sohn
Pauli + Sohn 3441ZN-SAG Assembly instructions

wink haus
wink haus panicLock 179 Installation, Operating and Maintenance Instructions for the Installer and the User

Kaba
Kaba 5402 Series Technical manual

Securam
Securam SH-TB01 quick start guide

NCR
NCR 7360-K105 Kit instructions