manuals.online logo
Brands
  1. Home
  2. •
  3. Brands
  4. •
  5. Securam
  6. •
  7. Lock
  8. •
  9. Securam SH-TB01 User manual

Securam SH-TB01 User manual

SECURAM Touch
Model: SH-TB01
Doc.No.: SH-TB01-191011
Version No.: V1.00
Date:2019-10-11
Congratulations on your purchase of the SECURAM Touch, the smart fingerprint deadbolt lock.
Quick Tour of the Touch
•The Touch has 30 user capacity
oEach user can register 2 fingerprints
•Users can be set as Owners or Visitors
oOwners can unlock using fingerprint or code
oVisitors can unlock using fingerprint or code, provided the visitor switch is set to green
•The first user added is the Administrator
oAdministrator can:
▪unlock using fingerprint or code
▪manage all users
▪access all programming menus
Installation:
Download the app from the App Store or Google Play Store. Follow the instructions in the app to install
the SECURAM Touch.
To open the lock with the default Administrator code:
The default Administrator code is 123456.
Enter 123456 then button, to open the lock using the default Administrators code.
Set Up:
The easiest way to set up your SECURAM Touch is to follow the voice guidance.
Press the Function button to begin:
•Add User Press 2 - To add the first user –Administrator
oAdd User
oEnter code –enter the admin code –the default is 123456
oVerified Successfully
oEnroll the Administrator first
oPlace first finger –place finger on fingerprint reader on the top of the touchpad
oPlace finger and Lift finger as instructed
NOTE: if you do not want to add a fingerprint for a user, press to skip
oFingerprint enrolled successfully
oPlace second finger –place a second finger on the fingerprint reader
oPlace finger and Lift finger as instructed
oFingerprint enrolled successfully
oEnter new code followed by check mark–enter a unique code between 4 and 8 digits in
length, followed by button
NOTE: if you do not want to add a code for this user, press to skip
oRepeat new code –enter the same code again followed by the button
oOperation successful
IMPORTANT: this new code is the Administrator code. It replaces the default Administrator
code 123456.
oTo add other users, follow the same process as above.
oYou can categorize users as either owners (by selecting 1) or visitors (by selecting 0)
▪Visitor access can be disabled at any time by toggling the visitor access button
above the thumbturn.
Masking Codes: Valid codes can be 4-8 digits in length. We have added the ability to mask your
code by adding extra digits to your valid code. Masking can be used in case someone is watching
as you enter your code and you don’t want them to know your code. To mask your code, enter a
maximum of 9 digits where your code is entered as consecutive digits. For example,
oValid code is 9876
oTo mask your code, you could enter 789876824 (9 digits)
oLikewise, you could enter 1987688 plus the button (less than 9 digits)
oThe lock will open
•Delete User press 3
oDelete User
oPlease login as Administrator –enter the Administrator code or fingerprint
oVerified Successfully
oPress 1 for Owners; 0 for Visitors
▪1 = Would you like to delete all owners?
•Press –to delete all owners
•Press  –cancel operation
•Owner(s) deleted successfully –All Owners will be deleted except for the
Administrator
▪0 = Would you like to delete all visitors?
•Press 
•Press  –cancel operation
•Visitor(s) deleted successfully
Note: Individual Owners/Visitors can be deleted in the SECURAM app.
•Set Volume press 6
oPress 6 to adjust volume
▪Press 6 - Volume High
•Press to confirm
▪Press 6 - Volume Off
•Press to confirm
▪Press 6 - Volume Low
•Press to confirm
▪Operation Successful
•Pair phone press 8
oPairing Mode
oPlease log in as Administrator
oVerified successfully
oNow please follow the instructions on the app to complete the setup
Lock Operation
•Unlocking
oPlace fingerprint on sensor
or
oEnter code and press 
•Locking
oPress SECURAM or any number on the touchpad
•Auto Lock –the lock can be set up to automatically lock after opening. This feature can be set up
in the app.
oWhen the prescribed auto lock time elapses, the system extends the lock bolt
Restricting Visitor Access
The Visitor switch can be set to green or red by manually sliding the switch.
▪Green = visitor access allowed
▪Red = visitor access restricted, and upon entry of a visitor code or fingerprint,
the lock will remain locked.
•Voice: Visitor access restricted
Integrated door sensor
The SECURAM Touch is equipped with an optional integrated door sensor to detect door open/closed
position. To set up the door sensor, rotate the sensor arm from the back of interior assembly. You may
need to remove the interior assembly from the door to rotate the sensor arm.
Then secure the sensor magnet to the door frame with the included two-sided tape. The distance
between the sensor magnet and the sensor arm should be no more than ½”.
The sensor will then report to the app the door position.
Resetting to default
The lock can be reset to default by pressing the reset button on the back of the interior assembly.
•Open the battery compartment
•Raise the latch to release the interior assembly from the mounting plate
•Slide away from the spindle
•Rotate the integrated door sensor arm to access the reset hole
•Using a paper clip press and hold the reset button inside the reset hole for approximately 5
seconds. You will hear “Reset to Factory Default”
•All user codes and fingerprints will be deleted and the Administrator code will be reset to
123456
Arming the system
After locking the door, press then 0button within 10 seconds. This will arm the system by turning on
all notifications for all connected SECURAM devices.
Repeated invalid code entry –Lock Out Mode
After entering 5 invalid codes, the touchpad is disabled for 3 minutes –Lock out mode. Even though the
touchpad is disabled, fingerprints or the app can still open the lock.
Low Battery
Low battery voltage: 4.6 to 5.0 volts
Under a low battery condition, the SECURAM Touch will provide a low battery warning upon code or
fingerprint entry. The lock will unlock with the voice warning “Low Battery”, and the low battery
indicator flashes red. Please change battery.
NOTE: Lock programming cannot be performed with a low battery.
Emergency 9V Jumper
In the event that low batteries have not been replaced and the batteries are completely dead, the
Emergency 9V Jumper can be used to power the lock to open. Contact the jumper with a 9V battery
(polarity does not matter) and enter code or verify fingerprint to unlock.
High Security Key
The SECURAM Touch is equipped with a mechanical override key to open the lock. Insert the key and
turn to unlock.
Strike Plate & Security Box (Optional)
Inside the package you will find the Strike Plate and Security box. Install the strike plate on the jamb of
the door to receive the deadbolt. The Security box can be installed behind the strike plate as necessary.
Specifications
Rated Voltage: DC 6V
Working Temperature: -10 °C- 60°C
-14 °F - 140 °F
Working Humidity (max): <95% RH
Password Length: 4-8 Digits
14. Safety Information
Safety instructions for batteries with battery products:
•Use Two CR2 type batteries;
•Non-rechargeable batteries cannot be charged;
•The battery should be placed with the correct polarity (+, -);
•The used battery should be taken out of the product;
•The battery port must not be short-circuited;
•When not in use for a long time, please remove the battery to prevent leakage;
•Do not throw the battery into fire.
•Do not discard used batteries.
Operating environment
•Keep away from strong magnetic appliances or objects when installing equipment.
•Install the device on the outside and inside of the door.
•Use this product within the temperature range of -10°C~60°C.
•Avoid rain or moisture on the device, otherwise it may cause damage to the device.
Children Safety
•This device and its accessories may contain small parts. Keep the device and its accessories out
of the reach of children.
•This device is not a toy. Children should use the device under adult supervision.
•Keep away from children and pets.
Maintenance and maintenance
•Do not step on or hit the device to avoid damage to the device.
•Equipment damage caused by human factors is not covered by the warranty.
•When the battery is too low, please replace the battery in time to prevent the device from
working improperly due to low battery.
•Clean the device with a dry towel.
15. Warranty
SECURAM Touch is protected by a 12-month warranty against Manufacturer’s defects. This warranty is
applicable for 12 months from the Date of Manufacture or 12 months from the Date of Consumer
Purchase, if the product has been registered for the Consumer Purchase Warranty. Customers are
invited to register their product for this 12-month Consumer Purchase Warranty upon installation or
receipt of their safe lock. The Consumer Purchase Warranty Registration form is packaged with each
product.
16. FCC WARNING
This device complies with part 15 of the FCC Rules. Operation is subject to the following two conditions:
(1) this device may not cause harmful interference, and (2) this device must accept any interference
received, including interference that may cause undesired operation.
Any changes or modifications not expressly approved by the party responsible for compliance could void
the user's authority to operate the equipment.
NOTE: This equipment has been tested and found to comply with the limits for a Class B digital device,
pursuant to Part 15 of the FCC Rules. These limits are designed to provide reasonable protection against
harmful interference in a residential installation. This equipment generates, uses and can radiate radio
frequency energy and, if not installed and used in accordance with the instructions, may cause harmful
interference to radio communications. However, there is no guarantee that interference will not occur
in a particular installation.
If this equipment does cause harmful interference to radio or television reception, which can be
determined by turning the equipment off and on, the user is encouraged to try to correct the
interference by one or more of the following measures:
•Reorient or relocate the receiving antenna.
•Increase the separation between the equipment and receiver.
•Connect the equipment into an outlet on a circuit different from that to which the receiver is
connected.
•Consult the dealer or an experienced radio/TV technician for help.
The device has been evaluated to meet general RF exposure requirement.
The device can be used in portable exposure condition without restriction.
FCC ID: 2AT86-SHTB01
What’s included in the package

Other Securam Lock manuals

Securam D Series User manual

Securam

Securam D Series User manual

Securam ScanLogic D66 User manual

Securam

Securam ScanLogic D66 User manual

Securam ProLogic B01 User manual

Securam

Securam ProLogic B01 User manual

Securam SafeLogic Basic User manual

Securam

Securam SafeLogic Basic User manual

Securam ProLogic L66 User manual

Securam

Securam ProLogic L66 User manual

Securam ScanLogic B22 User manual

Securam

Securam ScanLogic B22 User manual

Securam ProLogic L22 User manual

Securam

Securam ProLogic L22 User manual
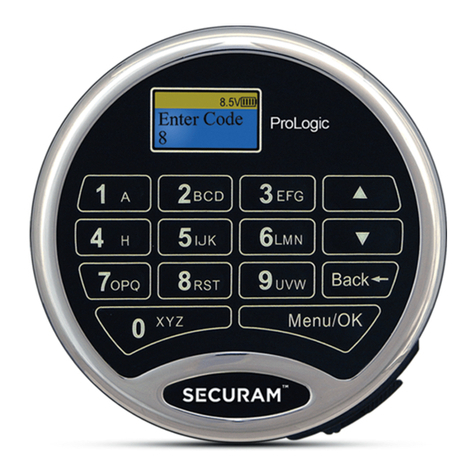
Securam EM-1701A-R User manual

Securam

Securam EM-1701A-R User manual

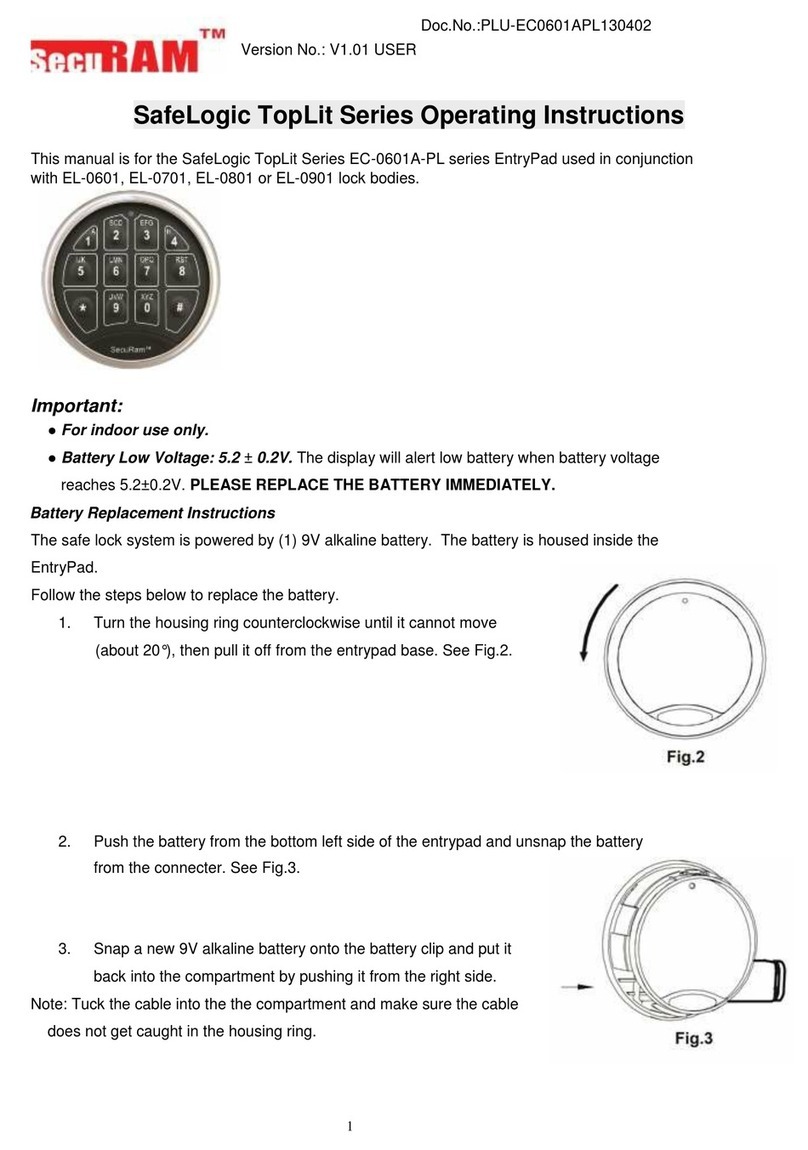
Securam SafeLogic TopLit Series User manual

Securam

Securam SafeLogic TopLit Series User manual

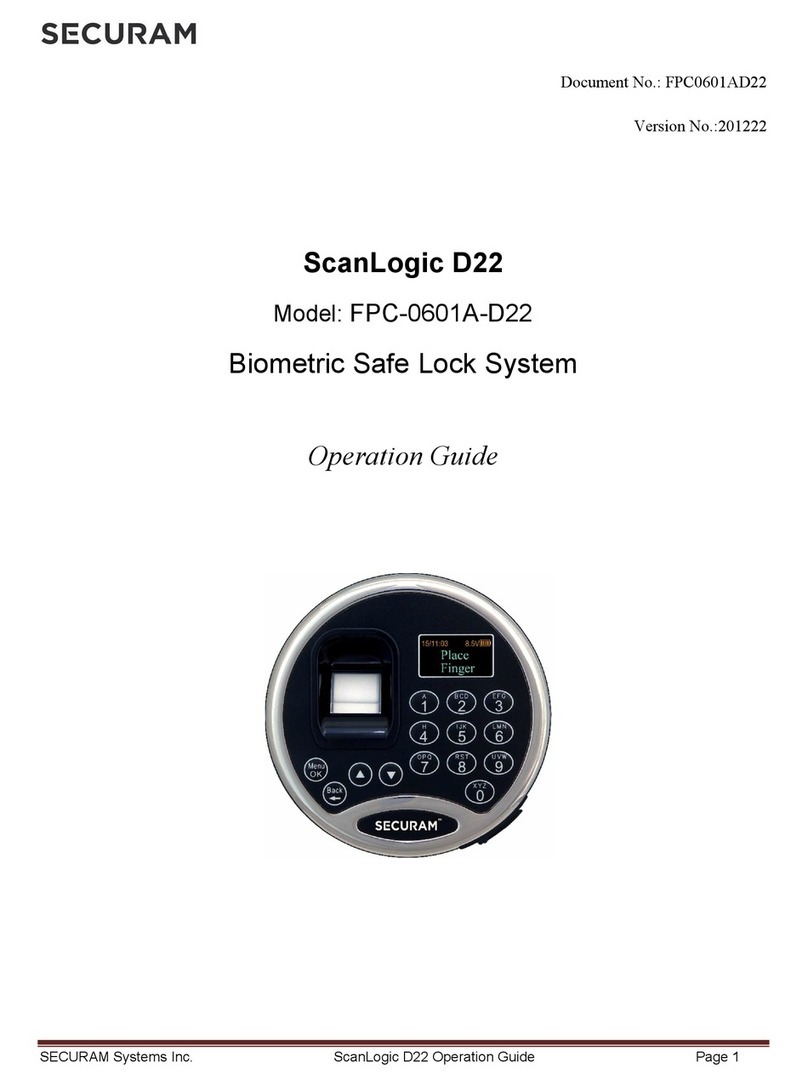
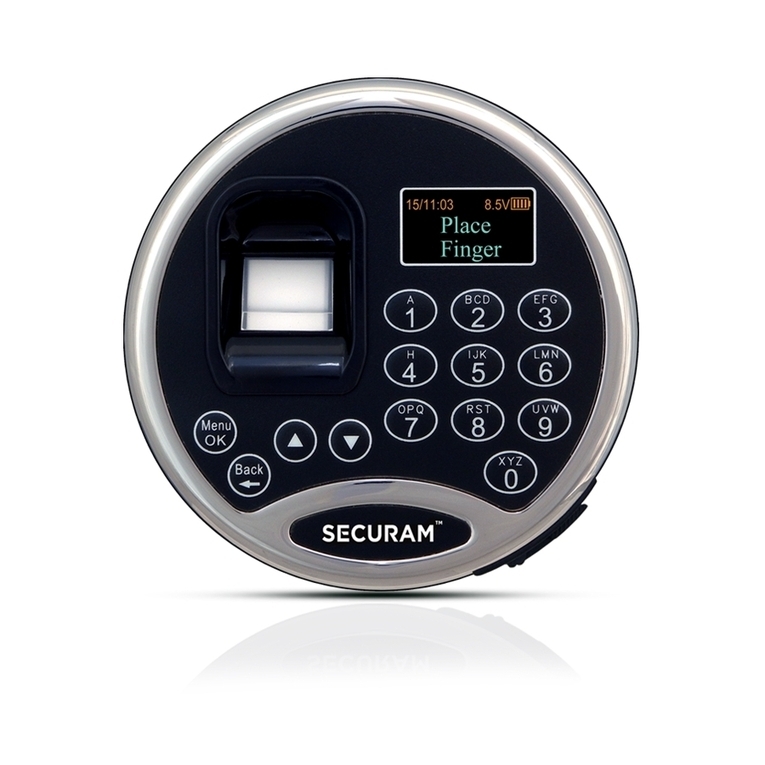
Securam FPC-0601A-D22 User manual

Securam

Securam FPC-0601A-D22 User manual

Securam V8 Technical manual

Securam

Securam V8 Technical manual

Securam SCANLOGIC FPC-1808-II-MB User manual

Securam

Securam SCANLOGIC FPC-1808-II-MB User manual

Securam MANAGER Series User manual

Securam

Securam MANAGER Series User manual

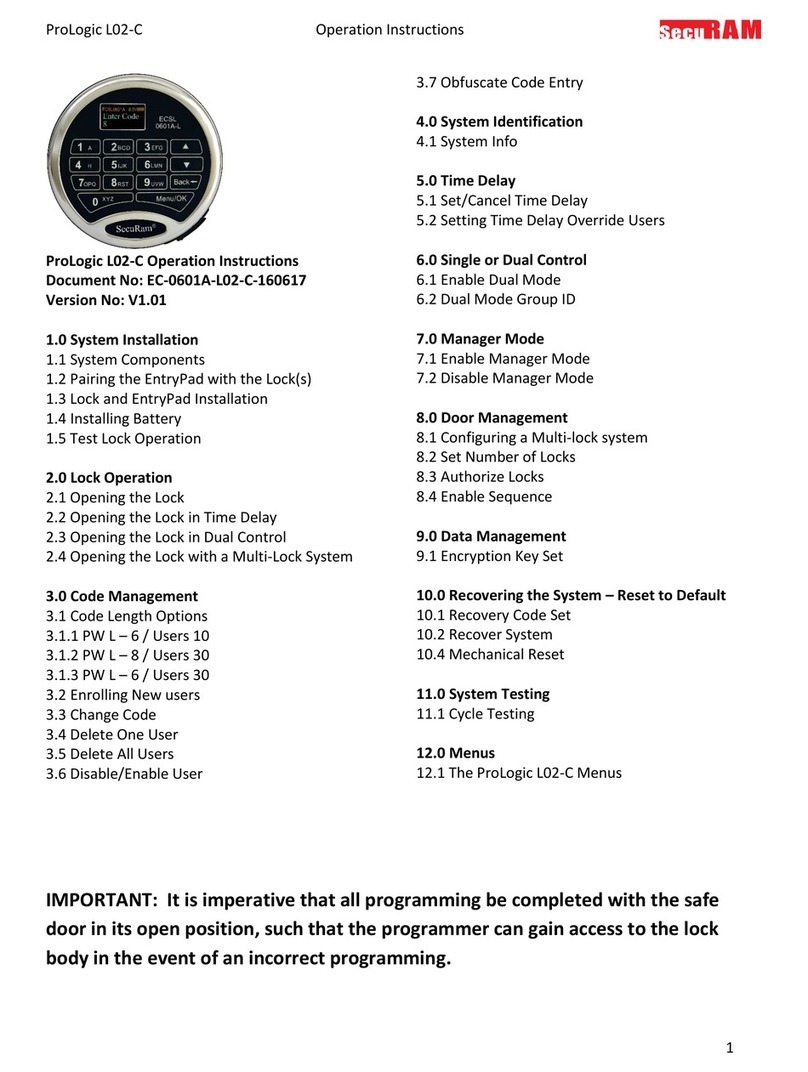
Securam ProLogic L02-C User manual

Securam

Securam ProLogic L02-C User manual

Securam SafeLogic Xtreme Owner's manual

Securam

Securam SafeLogic Xtreme Owner's manual

Securam SafeLogic Basic Series User manual

Securam

Securam SafeLogic Basic Series User manual

Securam SafeLogic C10 D-Drive User manual

Securam

Securam SafeLogic C10 D-Drive User manual

Securam ECSL-601 User manual

Securam

Securam ECSL-601 User manual
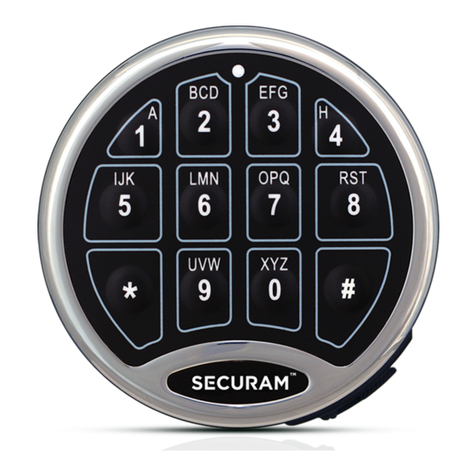
Securam ScanLogic Optical Installation manual

Securam

Securam ScanLogic Optical Installation manual

Securam ProLogic L22 User manual

Securam

Securam ProLogic L22 User manual

Securam SH-WB01 User manual

Securam

Securam SH-WB01 User manual

Securam SafeLogic Basic User manual

Securam

Securam SafeLogic Basic User manual
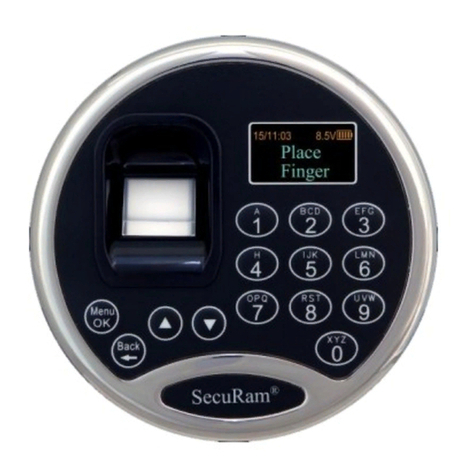
Securam SafeLogic Basic User manual

Securam

Securam SafeLogic Basic User manual
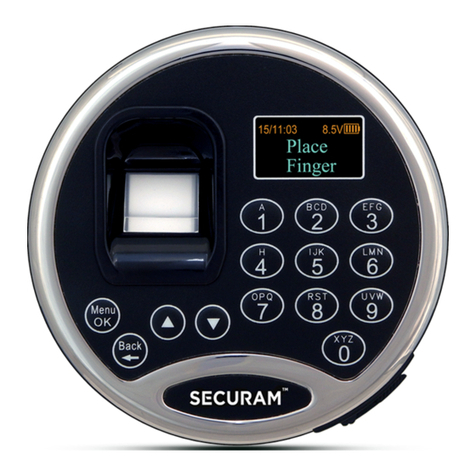
Securam SafeLogic Xtreme User manual

Securam

Securam SafeLogic Xtreme User manual

Popular Lock manuals by other brands

Turbolock tl-200 user manual

Turbolock

Turbolock tl-200 user manual

Hafele Sola operating instructions

Hafele

Hafele Sola operating instructions

Vanderbilt CD30 Codoor Configuration manual

Vanderbilt

Vanderbilt CD30 Codoor Configuration manual

CODELOCKS CL4510 installation instructions

CODELOCKS

CODELOCKS CL4510 installation instructions

SECO-LARM E-942FC-600AR installation manual

SECO-LARM

SECO-LARM E-942FC-600AR installation manual

Stock Loks CB-191 instruction sheet

Stock Loks

Stock Loks CB-191 instruction sheet

MeiTrack K211G user guide

MeiTrack

MeiTrack K211G user guide

AmazonBasics B07TDT1D5S manual

AmazonBasics

AmazonBasics B07TDT1D5S manual

Turbolock SmartLOCK TL111WM manual

Turbolock

Turbolock SmartLOCK TL111WM manual

Secu E4000R operating instructions

Secu

Secu E4000R operating instructions

Kaba LA GARD 1947 operating instructions

Kaba

Kaba LA GARD 1947 operating instructions

Kaba E-Plex 5000 Operation manual

Kaba

Kaba E-Plex 5000 Operation manual

LockMasters X-Lock X-O7 instructions

LockMasters

LockMasters X-Lock X-O7 instructions

CDVI V3E35R quick start guide

CDVI

CDVI V3E35R quick start guide

XLOCK MifareFlex 40 instruction manual

XLOCK

XLOCK MifareFlex 40 instruction manual

FA Parkes 60117 instruction manual

FA Parkes

FA Parkes 60117 instruction manual

D+H LAH 65-K-BSY+ manual

D+H

D+H LAH 65-K-BSY+ manual

Ingersoll-Rand Falcon RU Series installation instructions

Ingersoll-Rand

Ingersoll-Rand Falcon RU Series installation instructions

manuals.online logo
manuals.online logoBrands
  • About & Mission
  • Contact us
  • Privacy Policy
  • Terms and Conditions

Copyright 2025 Manuals.Online. All Rights Reserved.