7
NOTE: If pairing was successful, the LED (D) will turn green. The device is
now ready for use. If the LED turns red you will have to try pairing the device
again.
You can manually start pairing mode for another 3 minutes by
pressing the system button (D) once.
Once the thermostat has successfully paired to the Smart Hub,
programming of the device or changes to device settings must be
done through the konekt app.
Ifrequired,youcanquicklyswitchbetweenmanualorprogram
mode on the thermostat by pressing and holding the Rotary button
(E) for 2 seconds.
5.2 Mounting
5.2.1 Adhesive strip mounting
5.2.2 Mounting with screws
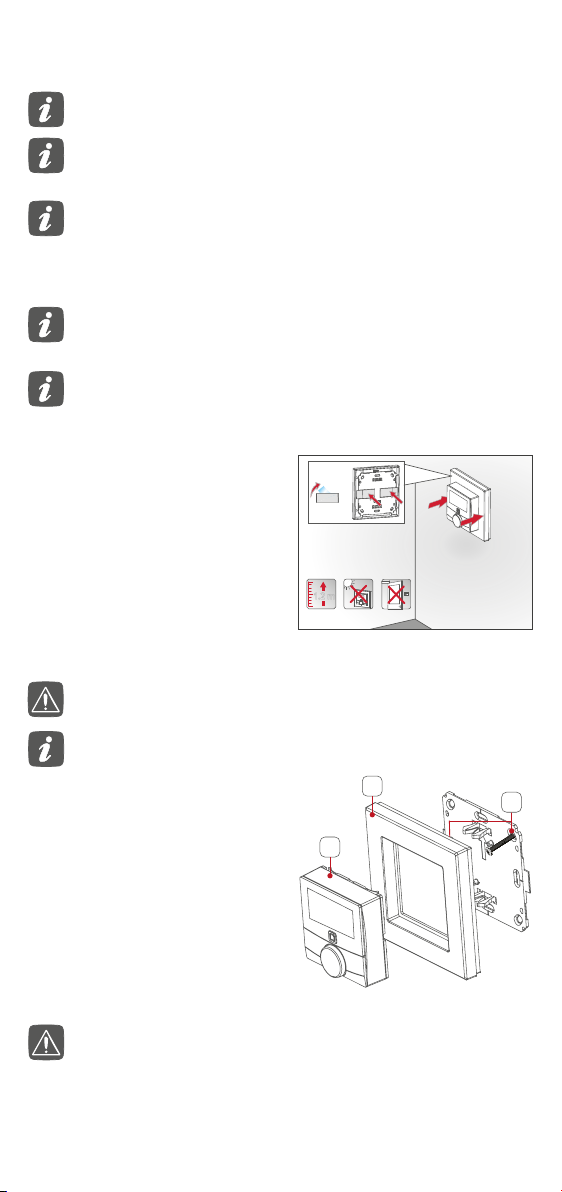
• Fix the adhesive strips (G) to
the back of the mounting plate
(F). Ensure that the clips on
the mounting plate can clip
into the openings on the wall
thermostat.
• Removetheprotectivelm
from the adhesive strips and
press the thermostat into the
wall plate.
• Use screws and plugs (K) to
fasten the mounting plate to
the wall
• Attach the clip-on frame (A) to
the mounting plate.
• Push the thermostat (B) into
the clip on frame. Ensure the
arrow on the plate is pointing
upwards.
Choose a location for the thermostat. It should not be beside a
window/door, in direct sunlight or above another heat generating
device (e.g. radiator or TV).
The surface the thermostat is being applied to should be clean and
dust free to ensure long term adherence.
Make sure that there are no electrical cables or pipes at the chosen
thermostat location.
For masonry walls, drill two 5 mm holes and insert the wall plugs
provided.Forstudwalls,drill1.5mmpilotholes.
The thermostat can be mounted onto new or existing back boxes
using the screws provided. If installing onto an existing back box
theremaystillbeexistingcableswhichmustbemadesaferst.
Thismustbedonebyaqualiedelectrician.
If the back box is metallic it will reduce RF signal strength passing
through it. Such a back box must not be connected to earth.
5.2.3 Mounting on back boxes