manuals.online logo
Brands
  1. Home
  2. •
  3. Brands
  4. •
  5. Wasserstein
  6. •
  7. Floodlight
  8. •
  9. Wasserstein Solar Floodlight & Charger with Micro USB... User manual

Wasserstein Solar Floodlight & Charger with Micro USB... User manual

™
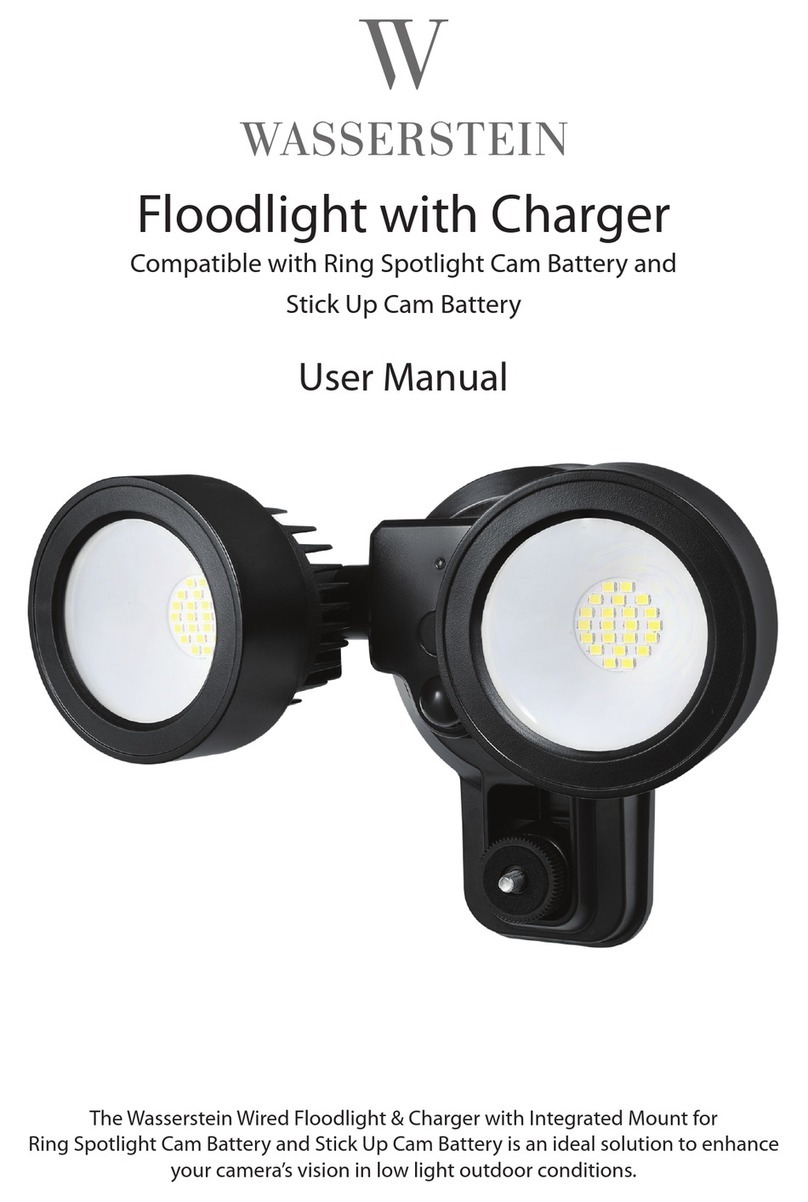
Solar Floodlight & Charger
with Micro USB Connector
User Manual
Page - 01
        
∙    ™
∙     ™
Warning
Page - 06
1. Read the entire manual before using the product.
3. Disassembling the light head is NOT recommended.
4. The packaging materials should be kept away from children, as these materials could
pose a hazard.
5. Do not leave the device unattended when it is on.
6. Do not clean the device with strong cleaning agents, solvents, or similar substances.
For more information, please visit:
www.wassers tein-hom e.com
Or contact us via email:
conta ct@wassers tein-hom e.com
Battery Replacement
Attention!
∙ When inserting a new battery, pay attention to the polarity marking (+/-).
∙ Use the batteries of the type recommended for this device.
∙ Do not dispose of spent batteries with municipal waste. Put them into special containers
for spent batteries.
∙ Do not recharge batteries not designed for that purpose (non-rechargeable batteries).
∙ Do not short-circuit battery terminals.
∙Never expose batteries to direct heat sources, such as excessive sunlight, radiators, or
re.
∙ Explosion hazard! Batteries cannot be dismantled, thrown into the re, or short-circuited.
∙ Remove the battery from the device when it is not to be used for some longer time.
∙ Electrolyte may leak out of depleted batteries, causing damage to the device.
∙ If any acid from the battery comes into contact with your hands, rinse them under running
water. If acid gets into your eyes, contact a doctor. The acid contained in the battery may
cause irritation or burns.
∙Swallowing a battery may have fatal consequences! Keep batteries away from children
and pets. Seek medical assistance immediately if you swallow a battery.
Cleaning and Care
∙ Wipe the device with a dry cloth.
∙ Do not clean the device with corrosive cleaning agents.
Blink Cameras not included.
Wasserstein is a trademark of Dropcases Ltd.
Blink Cameras is a trademark of Immedia Semiconductor, Inc.
Page - 02
Overview
1.
2. 3.
4.
5. 6. 7.
1. Solar Panel
2. Motion Sensor
3. Floodlight
4. Power Switch
5. Sensing Distance Detection Dial
6. Light Time Setting Knob
7. Light Intensity Setting Knob
Package Includes:
1 x Solar Light
2 x Screws and Wall Anchor
Page - 03
Battery Parameters : Li-Ion 3.7 V ; 4000mAh
Rated Power : 10 W
Luminous Flux : 600 lm
Solar Panel Parameters : 5 V ; 4 W ; 800 mA
Charging Cable : 13Ft / 4m
Motion Sensor Distance : 13 - 33Ft / 4 - 10 m (Adjustable)
Adjustable Lighting Time : 10 - 60 s
Materials : Plastic
The device is equipped with a dusk sensor. When the
device is activated (I/O switch is in the position I), the
battery will be automatically recharged during the
daytime, and the light will turn on at night. The device
will automatically switch to battery recharging mode
during daytime.
To deactivate the device and prevent the battery from
recharging, set the switch I/O to the position of O.
On the motion sensor there are three knobs which you
can set:
SENS: Sensitivity to movement, the sensor detects
movement within a radius of maximum 10 meters.
TIME: Lighting time from the moment of motion
detection (from 10 to 60 seconds).Suggest to set at 60
seconds if your camera's video clip is longer than 20
seconds.
LUX: Sensitivity to the brightness of the twilight
sensor’s surroundings.
How it Works
Installation
Page - 04
1. When positioning your solar light, keep the
direction into the detection zone. Position your solar
light so that the space that you want to monitor is
within the motion detection zone.
2. Mount your solar light at least 7 ft/2m above the
direction of the sunlight for maximum charging.
3. Connect the solar panel cable onto the camera to
keep it charged all day.
15° angle
7 ft / 2m high
Position the solar light and camera on the same wall
Make sure that the light is 1 ft/30cm higher than the
camera.
Position the solar light at 90 degree to the camera.
Do not position the solar light directly towards the
camera.
1ft / 30cm
Page - 05
Mounting your Solar Light
1. Unscrew the installation plate
from the Solar Light.
2. Install the plate onto the wall
with the screw provided.
3. Clip the Light to the installation
plate.
4. Fix the plate and light with
the small screw.

Other Wasserstein Floodlight manuals

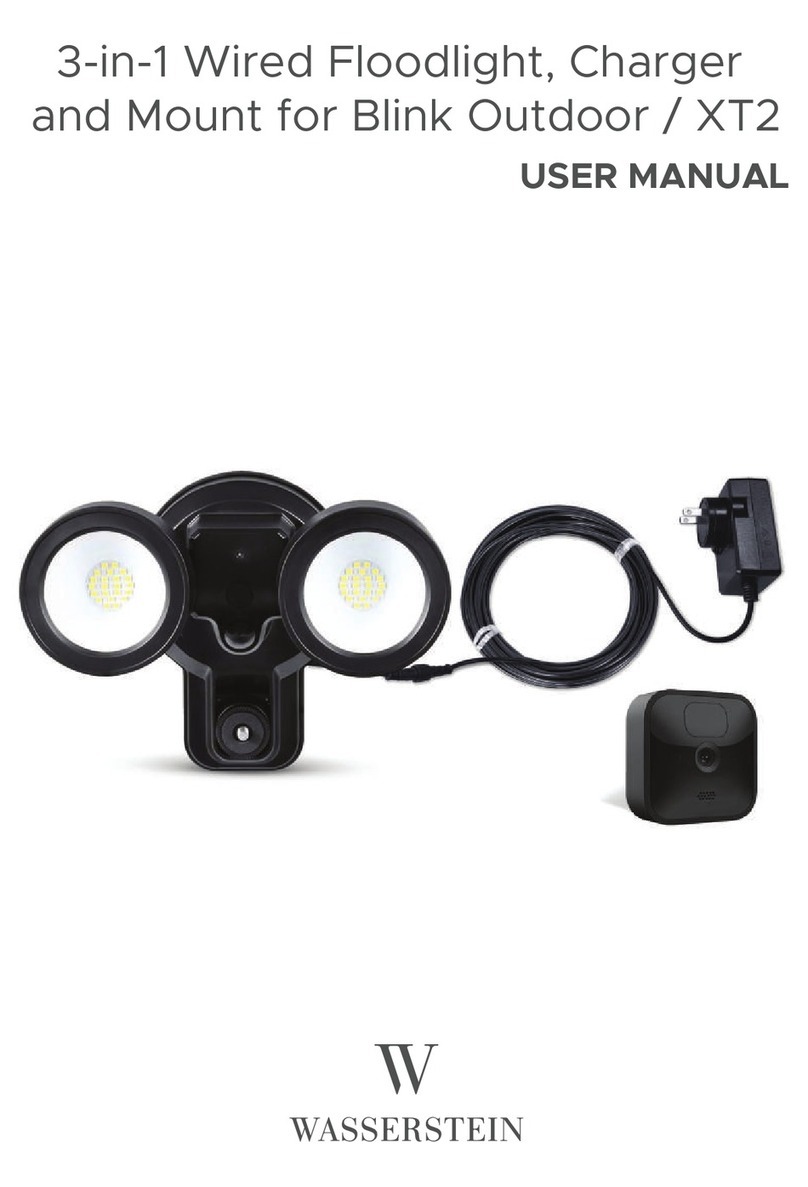
Wasserstein 3-in-1 Wired Floodlight, Charger and Mount for Blink Outdoor /... User manual

Wasserstein

Wasserstein 3-in-1 Wired Floodlight, Charger and Mount for Blink Outdoor /... User manual

Wasserstein Noorio Spotlight Cam B210 User manual

Wasserstein

Wasserstein Noorio Spotlight Cam B210 User manual

Wasserstein Smart Floodlight User manual

Wasserstein

Wasserstein Smart Floodlight User manual

Wasserstein 3-in-1 Smart Plug-in Floodlight for Blink... User manual

Wasserstein

Wasserstein 3-in-1 Smart Plug-in Floodlight for Blink... User manual

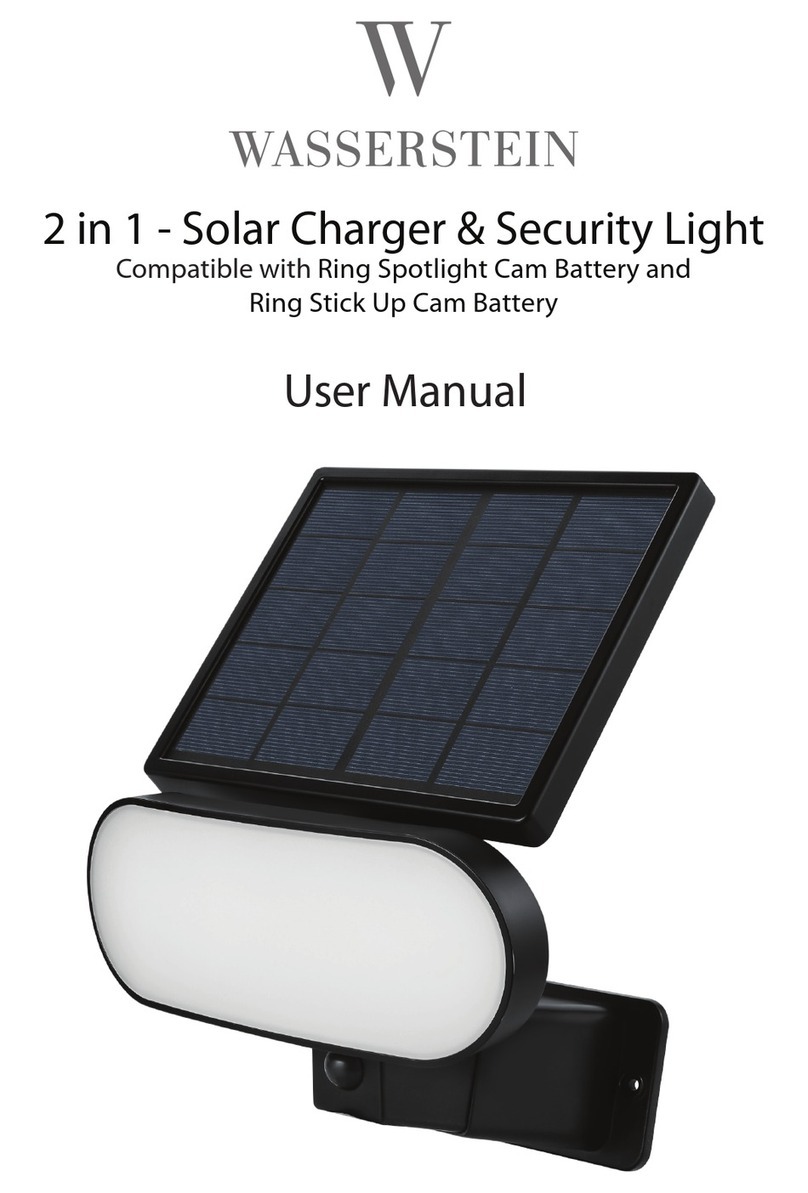
Wasserstein 2 in 1 - Solar Charger & Security Light User manual

Wasserstein

Wasserstein 2 in 1 - Solar Charger & Security Light User manual

Wasserstein Floodlight with Charger User manual

Wasserstein

Wasserstein Floodlight with Charger User manual

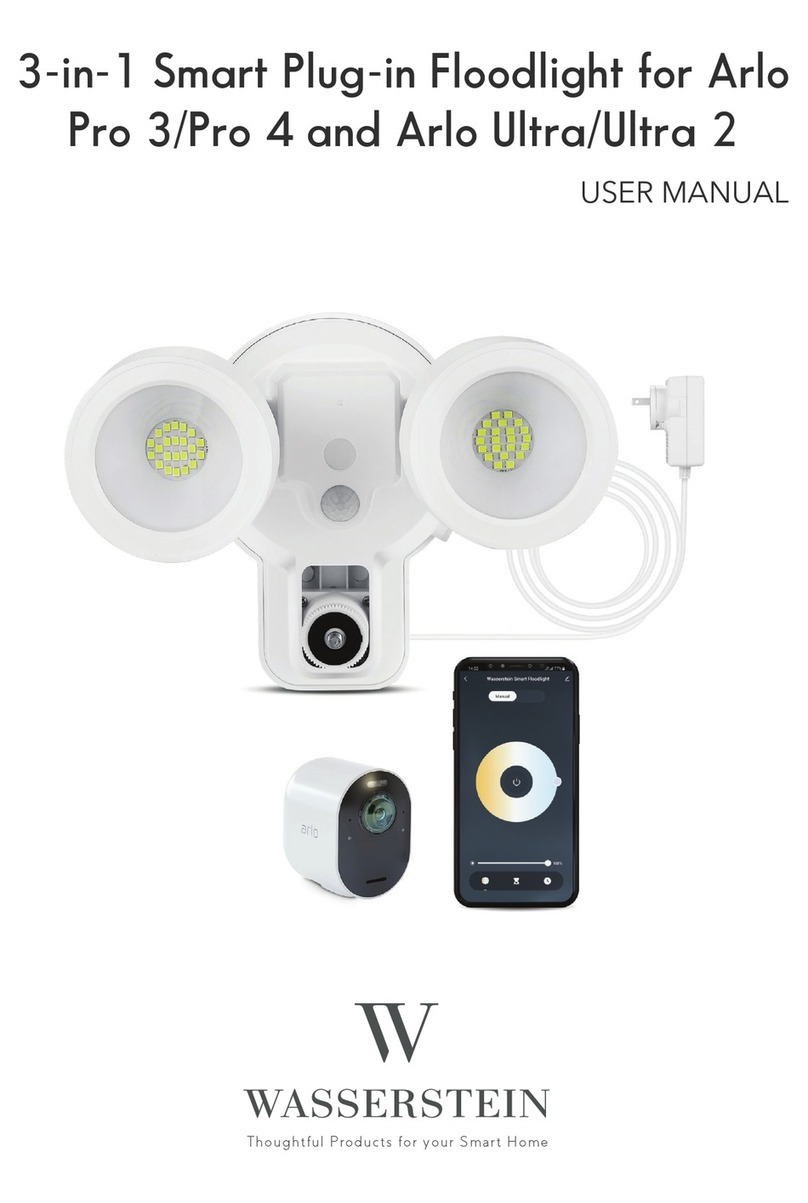
Wasserstein 3-in-1 Smart Plug-in Floodlight for Arlo Pro 3/Pro 4 and Arlo Ultra/Ultra... User manual

Wasserstein

Wasserstein 3-in-1 Smart Plug-in Floodlight for Arlo Pro 3/Pro 4 and Arlo Ultra/Ultra... User manual

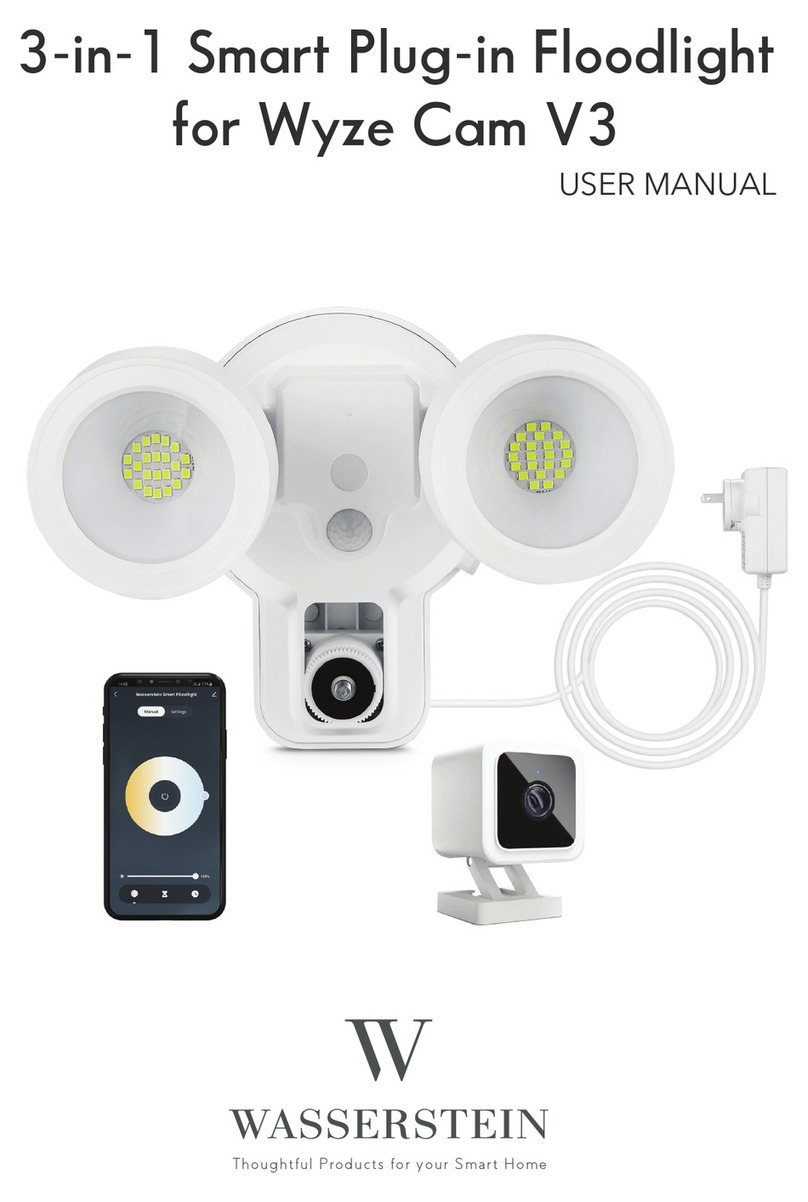
Wasserstein 3-in-1 Smart Floodlight, Charger & Mount for Wyze Cam... User manual

Wasserstein

Wasserstein 3-in-1 Smart Floodlight, Charger & Mount for Wyze Cam... User manual

Wasserstein Floodlight For Google Nest Cam User manual

Wasserstein

Wasserstein Floodlight For Google Nest Cam User manual

Wasserstein 3-in-1 Smart Floodlight, Charger & Mount for Blink Outdoor & Blink XT... User manual

Wasserstein

Wasserstein 3-in-1 Smart Floodlight, Charger & Mount for Blink Outdoor & Blink XT... User manual

Popular Floodlight manuals by other brands

Eagle L320DG manual

Eagle

Eagle L320DG manual

Anslut 427-630 User instructions

Anslut

Anslut 427-630 User instructions

EuroLite AKKU TL-3 TCL user manual

EuroLite

EuroLite AKKU TL-3 TCL user manual

SImx LHT0277 installation instructions

SImx

SImx LHT0277 installation instructions

Eagle L325A quick start guide

Eagle

Eagle L325A quick start guide

American DJ QUAD PHASE User instructions

American DJ

American DJ QUAD PHASE User instructions

Lorex W452AJ Series manual

Lorex

Lorex W452AJ Series manual

DTS XR3000 SPOT CMY user manual

DTS

DTS XR3000 SPOT CMY user manual

NightSearcher PANTHER HID User instruction manual

NightSearcher

NightSearcher PANTHER HID User instruction manual

LIVARNO LAH 55 A1 operating instructions

LIVARNO

LIVARNO LAH 55 A1 operating instructions

Milwaukee M18 SLED Operator's manual

Milwaukee

Milwaukee M18 SLED Operator's manual

Sealey LED111C instructions

Sealey

Sealey LED111C instructions

Sealey LED3000PB quick start guide

Sealey

Sealey LED3000PB quick start guide

Velleman COPERNICUS III VDPL300MF5 user manual

Velleman

Velleman COPERNICUS III VDPL300MF5 user manual

SGM G-SPOT user manual

SGM

SGM G-SPOT user manual

Hugo Lahme VitaLight 4240020 user manual

Hugo Lahme

Hugo Lahme VitaLight 4240020 user manual

Gama Sonic 203001 instruction manual

Gama Sonic

Gama Sonic 203001 instruction manual

EuroLite LED IP FL-30 Floodlight MD user manual

EuroLite

EuroLite LED IP FL-30 Floodlight MD user manual

manuals.online logo
manuals.online logoBrands
  • About & Mission
  • Contact us
  • Privacy Policy
  • Terms and Conditions

Copyright 2025 Manuals.Online. All Rights Reserved.