manuals.online logo
Brands
  1. Home
  2. •
  3. Brands
  4. •
  5. water saver
  6. •
  7. Toilet
  8. •
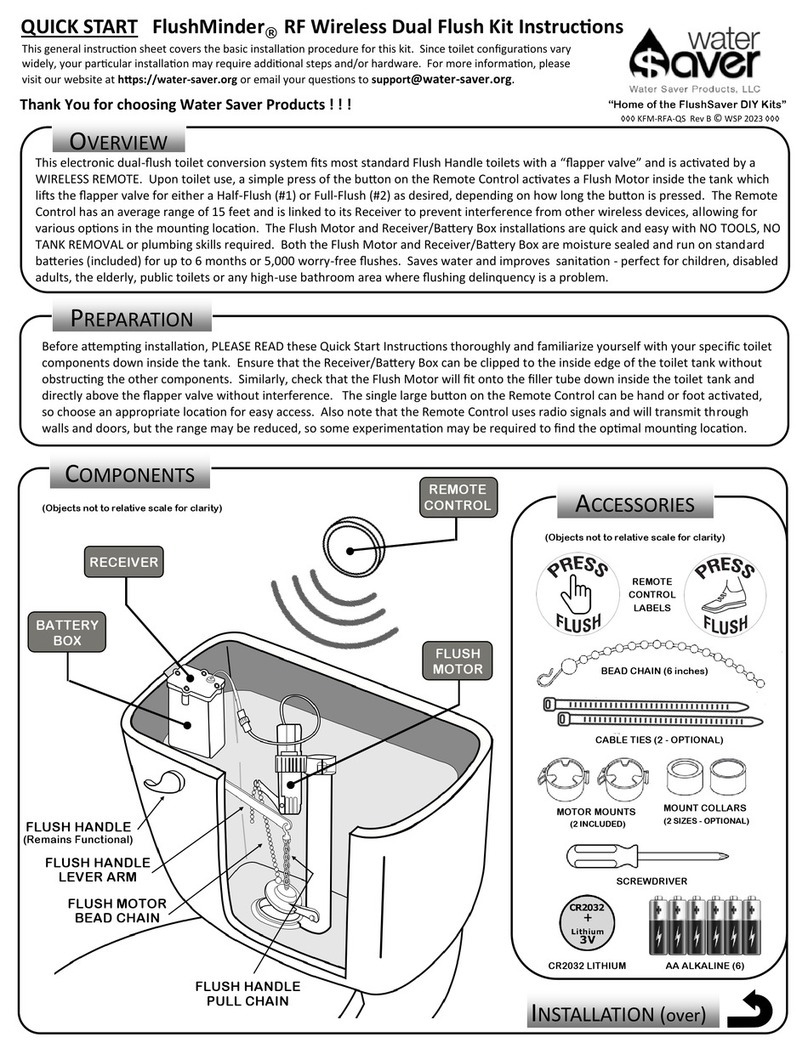
  9. water saver FlushMinder G3 User manual

water saver FlushMinder G3 User manual

OVERVIEW
This electronic dual-ush toilet conversion system ts most standard Flush Handle toilets and is FULLY AUTOMATIC. Upon toilet use, a
computerized human-presence Sensor measures the "me-at-the-toilet" and then acvates a Flush Motor inside the tank which lis the
apper valve for either a half-ush (#1) or full-ush (#2) as required. The presence detecon is self-calibrang and the half and full ush
cycles are programmable with a simple Magnec Wand and Flapper Chain (both included). The Sensor and Flush Motor installaon and
setup are quick and easy with minimal tools, NO TANK REMOVAL or plumbing skills required. Both Sensor and Flush Motor are moisture
sealed and run on 6 standard AA alkaline baeries (included) for up to 1 year or 10,000 worry-free ushes. Saves water and improves
sanitaon - perfect for children, the elderly, public toilets or any high-use bathroom area where ushing delinquency is a problem.
PREPARATION
Before aempng installaon, please read these Quick Start Instrucons thoroughly, familiarize yourself with your specic toilet
conguraon and gather any required tools. Ensure that the Sensor can be mounted just above the toilet tank with no frontal
obstrucons within a range of 4 ¼ feet and that the Flush Motor will t down inside the toilet tank roughly above the apper valve
without interference. The baery compartment inside the Sensor requires a small Philips screwdriver to open since the cover is
ghtly sealed against moisture with a silicon gasket. The Sensor unit itself can be mounted with either its aached double-sided tape
or by using the included wall fasteners or other similar fasteners as desired, so a drill and appropriate bit may be required as well.
MAGNETIC TARGET
LED INDICATORS
FLUSH CYCLE
SETUP MODE
PRESENCE
DETECTION
LOW BATTERIES
DETECTION BEAM
SENSOR
FLUSH HANDLE
LEVER ARM
FLUSH MOTOR
LEVER ARM
FLUSH
MOTOR
COMPONENTS
QUICK START FlushMinder G3 Automac Dual Flush Kit
Thank You for choosing Water Saver Products ! ! ! ◊◊◊ AFM3TA1QS Rev A © WSP 2017
ACCESSORIES
INSTALLATION (over)
This general instrucon sheet covers the basic installaon procedure for this kit. Since toilet conguraons vary
widely, your parcular installaon may require addional steps and/or hardware. For more informaon, please
visit our website at hp://www.water-saver.org or email your quesons to support@water-saver.org.
DETECTION EYE
BEAD CHAIN (6 inches)
MOUNT COLLARS
MAGNETIC WAND
MOTOR MOUNT (2 SIZES - OPTIONAL)
(Objects not to relative scale for clarity)
AA BATTERIES (6)
WALL MOUNT SET
(OPTIONAL)
FLUSH HANDLE
(Remains Functional)
“Home of the FlushSaver DIY Kits”
FLUSH MOTOR
BEAD CHAIN
Mount the Sensor using
the aached foam tape on
the back plate or remove
the back plate by sliding
downward and mount
using the appropriate wall
anchors, then place the
Sensor back on the wall.
INSTALLATION 1
Posion the Sensor on the
wall behind the tank such
that it is high enough to
“see” above any obstacles,
yet low enough to detect a
person sing on the toilet.
DO NOT INSTALL BATTERIES YET ! ! !
TAPE MOUNT SCREW MOUNT
FOAM
SLIDE OFF
-or -
2
Remove the Sensor from its wall plate by sliding
upward and o, then remove the baery cover with a
small Philips screwdriver. Install the 6 AA baeries
and immediately hold the unit back against its mount
while standing to the side (out of the detecon beam)
unl the Presence Detecon LED stops ashing.
4
Now check that the
silicone gasket inside the
baery compartment is in
posion, replace the
baery cover and then
reinstall the Sensor unit
back onto its wall mount.
Stand in front of the Sensor unl the Detecon
LED ashes for about 15 secs and then step aside
to acvate a test Half Flush. Observe the
mechanics and alignment of the Flush Motor as it
cycles and make any further adjustments.
Stand to the right out
of the detecon beam
and adjust the Half
Flush cycle me by
holding the Magnec
Wand against the right side
Magnec Target unl the desired
water release is achieved.
Note the speed and distance of
the Flush Motor up/down cycle
and adjust accordingly. The Full
Flush cycle will then be set
automacally in relaon to the
Half Flush cycle.
NOTE: Anyme the baeries are replaced or the Sensor
range needs to be recalibrated, simply repeat steps 5 & 6.
To prevent false detecon and random ushes, keep any
obstacles or mirrored surfaces out of the Detecon Beam.
5 TESTING
ADJUSTMENTS 6
FLUSH MOTOR MAY CYCLE
ANYTIME DURING THIS STEP
SNAP CLIP
MOUNT COLLAR
PRESS
HERE
Also ensure that the Flush
Handle can sll be
operated normally without
interference so that the
toilet can sll be ushed
normally as before.
GASKET
BATTERY
COVER
Half Flush Timer: 10 - 60 secs
Full Flush Timer: > 60 secs
Maximum Flush Cycle: 10 secs
Autoush: 1 per week
Sensor: 4.75Lx2.75Wx2.55D inches (120x70x65 mm)
Detecon Range: 0 - 31.5 +/- 4.0 inches (80 +/- 10 cm)
Detecon Clearance: 51 inches (130 cm)
Flush Motor: Servo Jackscrew (stall protected)
SPECIFICATIONS
Power: 6 AA Baeries
Type: Alkaline, Lithium, Rechargeable Lithium
Protecon: Moisture Sealed
Life: 1 Year or 10,000 ushes (approximate)
FLAPPER VALVE SHOULD NOT FULLY OPEN ON EITHER CYCLE
FLASHING
FLASHING
Posion the ush motor (D) so
that the lever arm is over top of
the apper valve area but does
not interfere with the exisng
ush handle assembly.
Now slide the motor down onto
the motor mount tab (A) using
the closest motor mount slot.
Unclip and t the motor
mount (A) onto the bowl ll
tube (C) using one of the
mount collars (B) if required.
A
B
C
(2 SIZES - OPTIONAL)
LEVER ARM
MOTOR MOUNT
D
3
Now snap the upper end of the
bead chain into the lever arm
groove (B), leaving a lile slack
in the chain.
Clip the lower end of the bead
chain to the top of the apper
valve (A) at the same aach
point as the exisng lever
handle chain.
Check the relave alignment of
both lever arms and chains to
ensure there is no interference,
adjust as necessary, then secure
the motor mount snap clip.
B
A
SNAP CLIP
TAPE
INSTALLATION AND SETUP COMPLETE!
MAGNETIC
WAND
AUTO
CALIBRATED
Other water saver Toilet manuals

water saver PaperSaver Slimline Programming manual

water saver

water saver PaperSaver Slimline Programming manual

water saver FlushMinder RF Wireless Dual Flush Kit User manual

water saver

water saver FlushMinder RF Wireless Dual Flush Kit User manual

Popular Toilet manuals by other brands

Bassini Harmony Series installation instructions

Bassini

Bassini Harmony Series installation instructions

Kohler K-25042-SS-0 installation guide

Kohler

Kohler K-25042-SS-0 installation guide

SFA Sanicompact comfort instructions

SFA

SFA Sanicompact comfort instructions

OVE E323 installation manual

OVE

OVE E323 installation manual

Toto NEOREST DH TCF9575 Series instruction manual

Toto

Toto NEOREST DH TCF9575 Series instruction manual

Woodbridge T-0042 Installation and care guide

Woodbridge

Woodbridge T-0042 Installation and care guide

Kohler K-45363R Installation and care guide

Kohler

Kohler K-45363R Installation and care guide

American Standard Vormax 7381426-100.0070A instructions

American Standard

American Standard Vormax 7381426-100.0070A instructions

Separett VILLA 9011 Technical data

Separett

Separett VILLA 9011 Technical data

Toto AP WASHLET CWT4263084CMFG quick start guide

Toto

Toto AP WASHLET CWT4263084CMFG quick start guide

Globo FOS11.BI Assembly instructions

Globo

Globo FOS11.BI Assembly instructions

Kohler K-3588 installation guide

Kohler

Kohler K-3588 installation guide

Lippert Flow Max RV installation guide

Lippert

Lippert Flow Max RV installation guide

Karat CEDAR K-31147X quick start guide

Karat

Karat CEDAR K-31147X quick start guide

La Playa 1510 operating instructions

La Playa

La Playa 1510 operating instructions

Swiss Madison SM-2T130 installation instructions

Swiss Madison

Swiss Madison SM-2T130 installation instructions

Kogan KAPWDBIDETA quick start guide

Kogan

Kogan KAPWDBIDETA quick start guide

brondell Swash T44 owner's manual

brondell

brondell Swash T44 owner's manual

manuals.online logo
manuals.online logoBrands
  • About & Mission
  • Contact us
  • Privacy Policy
  • Terms and Conditions

Copyright 2025 Manuals.Online. All Rights Reserved.