manuals.online logo
Brands
  1. Home
  2. •
  3. Brands
  4. •
  5. Water Street Brass
  6. •
  7. Door Lock
  8. •
  9. Water Street Brass Privacy Escutcheon User manual

Water Street Brass Privacy Escutcheon User manual

Privacy Escutcheon Set
Tubular Latch x Mortise Bolt Installation
41020 - 2015 ©Water Street Brass - All rights reserved
Prepare the Door
1. Establish the desired latch height on your door.
Using the provided templates for your lock or latch,
mark hole locations on the door.
It is a good idea to lightly pencil a backset line on
the interior side of the door, parallel to the door edge.
Your spindle, thumb turn and through bolt holes will
all fall on this line.
2. Using the drill & bore sizes specied on the tem-
plate, carefully drill the door. On the door edge, mark
and drill two pilot holes for the installation screws.
Install the Latch
3. Install the latch body and face plate into the door
and secure loosely with the screws provided. Do not
tighten completely at this time. You will need to check
alignment and function after the mortise bolt has been
installed.
Install the Mortise Bolt
4. In the same manner as the latch, install the mortise
bolt and face plate into the door and secure with the
screws available.
Face Plate
Latch Body
Face Plate
Screws
Backset
Pilot Holes
Check alignment and function
5. Begin by inserting the spindle into the latch body.
You will begin with the interior plate assembly, which
should have the knob/lever and thumb turn attached.
Make sure the spindle is centered in the latch
body. To prevent binding, we recommend the
grooves in the spindle be facing up, away from the
set screws.
While holding the spindle in place, slide the interior
plate assembly onto spindle. The thumb turn stem
should t into the mortise bolt body.
NOTE: The thumb turn stem is designed to t doors in
excess of 4” thick. Measure and cut this stem so that it
reaches to the approximate center of the mortise bolt
body.
You may want to tighten the interior knob/lever
set screw at this time.
(Through bolt locations)
If your plates are using through bolts instead of
surface mount screws, you will need to mark the loca-
tion for the screws and drill two 9/32” holes in the door.
Use the screw holes in the interior plate to determine
the location. These holes will be centered on the back-
set line.
6. Carefully slide the exterior plate assembly onto the
exterior side of the door. With both plates in place, you
can now test that the latch does not bind and that the
mortise bolt functions with the thumb turn.
Once satised that the alignment is proper, you
can now tighten the face plate screws on the latch and
mortise bolt.
Attach the plates to the door
7. If the plates are surface mounted, mark the screw
hole locations. Punch and drill pilot holes for all the
surface mount screws and carefully install the screws.
If through bolted, carefully tighten the through
bolts until the plates sit rmly in place.
NOTE: Never use power tools to tighten the through
bolts! Too much torque will strip the mounting attach-
ments from the exterior plate!
Using the Allen Wrench provided, tighten the set
screws on the knobs/levers rmly.
Face Plate
Face Plate
Screws
Mortise Bolt Body
Backset
1
41020 - 2015 ©Water Street Brass - All rights reserved
Door Jamb
8. Carefully measure the jamb to determine the exact
location that the latch strike and lock bolt land when
the door is fully closed. Mark the locations. Using the
strike plate as a template, outline the shape and begin
to mortise the door jamb to accept the strike.
Mortise the dust box cavity as shown here. If using
a full lip strike, the dust box will be smaller; measure
carefully and install.
After installation, if the latch does not fully engage
with the strike, loosen the screws and adjust slightly.
2
Strike
Screws
3/32”
Dust Box
Strike Plate
Door Jamb
1-3/8”
7/8”
7/8”
Lever
or Knob
Exterior
Nylatron Washer
Set Screw
Mortise Bolt
Thumb Turn
1-3/4” Door
Escutcheon
Plate
Interior
Emergency Egress
Access Button
Spindle
(Groove Up)
Stem
(Cut to size)
Allen Wrench
Undermount
Attachment
(Optional)
Through Bolt
(Optional )
Illustrations not to scale; for reference only.
*Note: The mortise bolt may be
located above or below latch.
The spacing may vary from the
template so conrm the latch
placement and all measurements
before preparing the door.

Other Water Street Brass Door Lock manuals

Water Street Brass Mortise Entry Handle Set User manual

Water Street Brass

Water Street Brass Mortise Entry Handle Set User manual

Water Street Brass 41035 User manual

Water Street Brass

Water Street Brass 41035 User manual

Water Street Brass 41015 User manual

Water Street Brass

Water Street Brass 41015 User manual

Popular Door Lock manuals by other brands

Locstar 8105-FMT manual

Locstar

Locstar 8105-FMT manual

ZKTeco TL300Z installation guide

ZKTeco

ZKTeco TL300Z installation guide

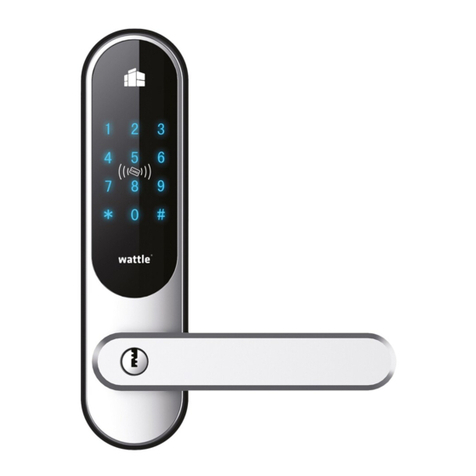
Wattle TOUCH manual

Wattle

Wattle TOUCH manual

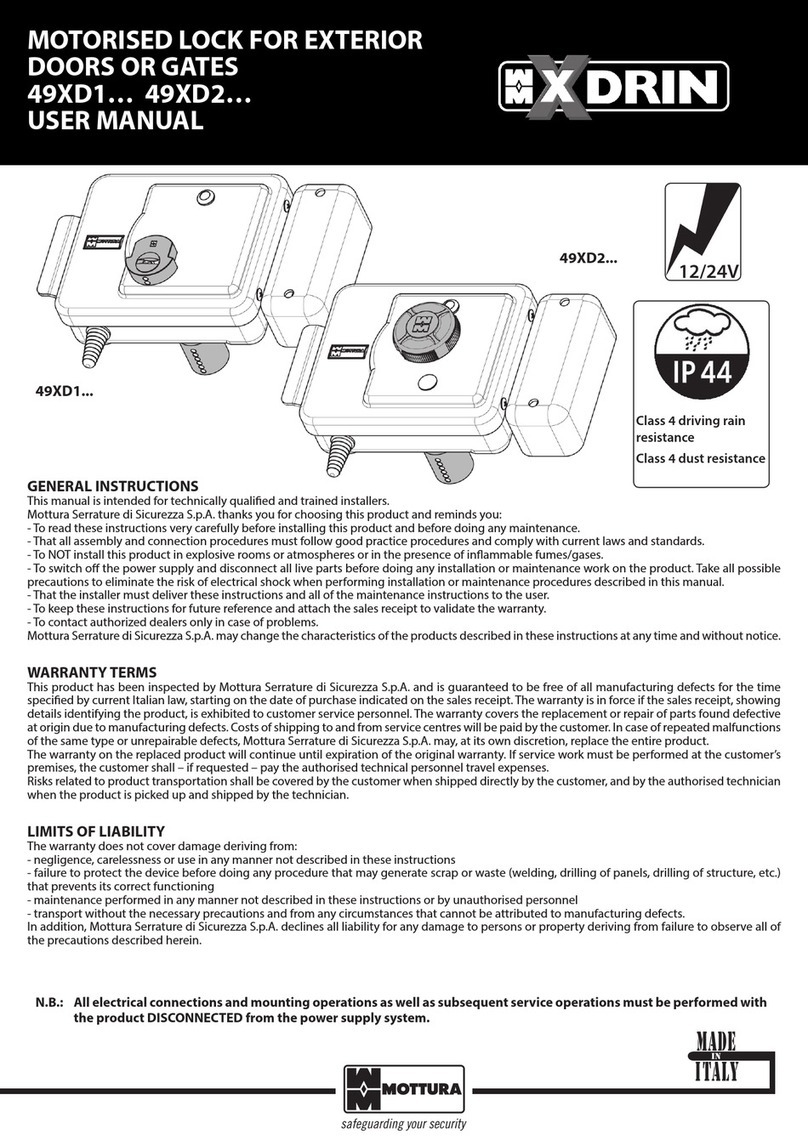
Mottura XDRIN 49XD1 Series user manual

Mottura

Mottura XDRIN 49XD1 Series user manual

Hafele ER5000 user manual

Hafele

Hafele ER5000 user manual

Denler DFLv3 user manual

Denler

Denler DFLv3 user manual

Simpled VF-YP user manual

Simpled

Simpled VF-YP user manual

Digilock Australia DL880 user manual

Digilock Australia

Digilock Australia DL880 user manual

Fistech I & C Co., Ltd. FD-4000/R operating instructions

Fistech I & C Co., Ltd.

Fistech I & C Co., Ltd. FD-4000/R operating instructions

Kaba SIMPLEX 900 Series installation instructions

Kaba

Kaba SIMPLEX 900 Series installation instructions

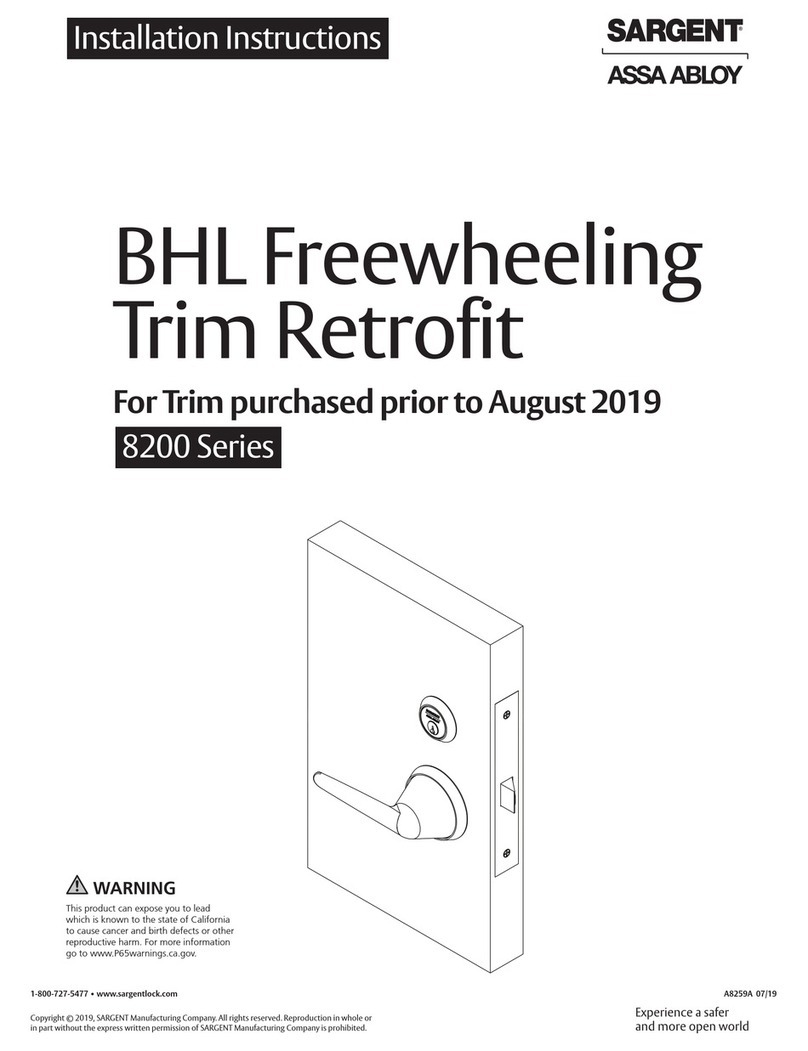
Assa Abloy Sargent BHL 8200 Series installation instructions

Assa Abloy

Assa Abloy Sargent BHL 8200 Series installation instructions

Assa Abloy Emtek F20 installation guide

Assa Abloy

Assa Abloy Emtek F20 installation guide

MIWA ALV2 Tablet Quick reference manual

MIWA

MIWA ALV2 Tablet Quick reference manual

Weiser 28721 instructions

Weiser

Weiser 28721 instructions

LCN 4110 Series Peel-N-Stick installation instructions

LCN

LCN 4110 Series Peel-N-Stick installation instructions

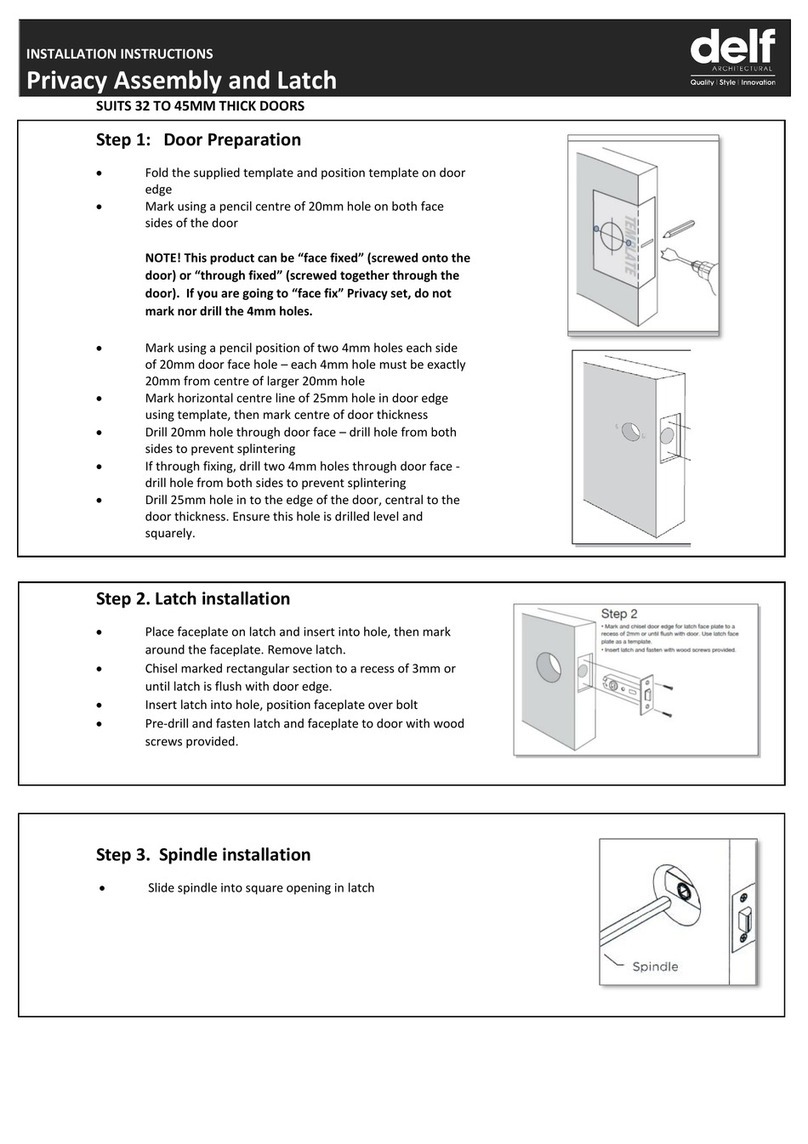
Delf Architectural Privacy installation instructions

Delf Architectural

Delf Architectural Privacy installation instructions

Hoppe ConnectSense Installation & user manual

Hoppe

Hoppe ConnectSense Installation & user manual

Amadas ADSL-0101T Operation manual

Amadas

Amadas ADSL-0101T Operation manual

manuals.online logo
manuals.online logoBrands
  • About & Mission
  • Contact us
  • Privacy Policy
  • Terms and Conditions

Copyright 2025 Manuals.Online. All Rights Reserved.