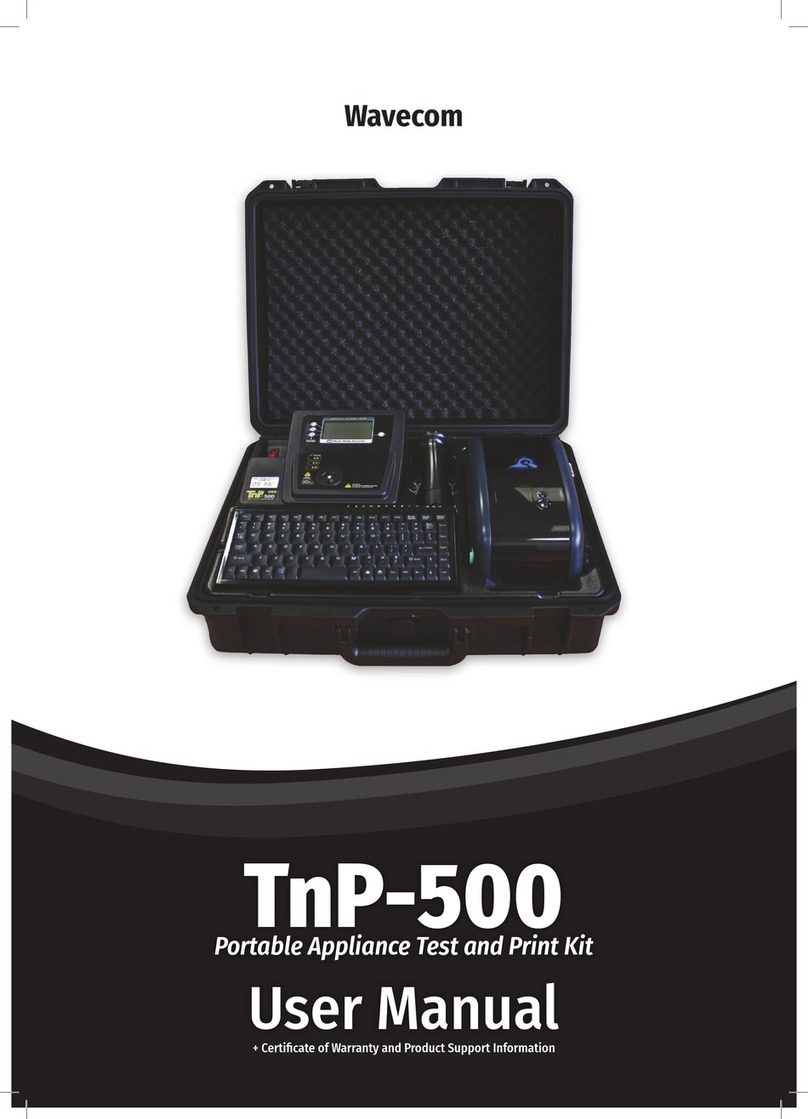
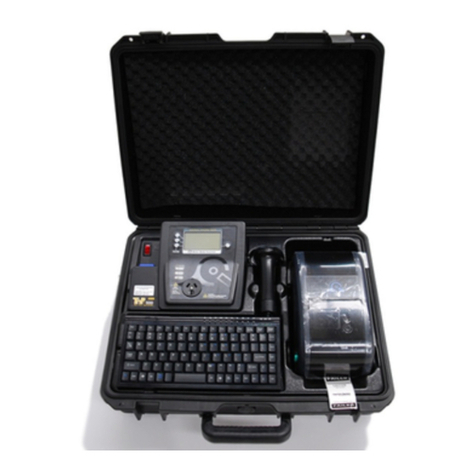
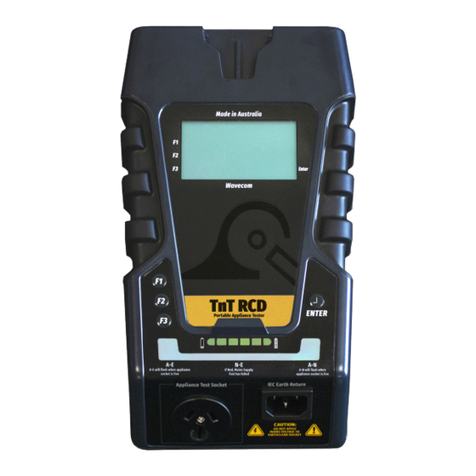
Wavecom TnP Prime User manual

Wavecom
Quick Start Guide
TnP Prime
Portable Appliance Test and Print Kit

Safety Recommendations
The TnP Prime has been designed to meet stringent safety requirements, however no device can
completely protect you from the consequences of incorrect use. The testing of electrical appliances
requires that extra care and caution is taken at all times to ensure personal safety.
The Manufacturer also advises that appliance testing should be conducted by a Competent Person
who is suitably trained (see P.5 AS/NZ 3760:2010 for the definition of Competent Person), as well as any
additional legislation or rulings in different states. If in doubt, the manufacturer suggests the user
contact their responsible authority.
For maximum safety, always ensure that the following advice is followed:
• The equipment being tested is in good condition and passes a visual check.
• All instructions are read, understood and followed.
• The power supply connections are always checked - if the N-E (middle) LED Indicator flashes red,
do not proceed before consulting the manual.
• Always use specified fuses and protection devices.
• Do not use leads that require repair or are damaged.
• If you are unsure, call a licensed Engineer/Electrician.
Kit Overview
TnP Prime Quick Start Guide Wavecom
Thermal Transfer
Printer
TnP Appliance
Tester
Storage
Compartment
Power Button
Port Panel

Tester Diagram
Tester Rear Panel Diagram
Storage Compartment Port Panel Diagram
TnP Prime Quick Start Guide Wavecom
Function Buttons
Indicator LEDs
Appliance Test Socket
Bluetooth Indicator Enter/Power Button
Power Button
Battery Indicator
IEC Test Socket
LCD Screen
Tablet Dock
Battery Isolation
Switch
IEC Power Input
16A Thermal Circuit Breaker
(20A Version Only)
Serial Port
(Wavecom Scanner Port)
USB-B Port
(Data Only)
USB-A Port
(Wavecom Keyboard Port)
USB-A Ports
(Charging Ports Only)
Power Button

Using your TnP Prime
This section will give you the basics you need to operate your TnP Prime. For in depth walkthroughs and
more detailed information, please refer to the user manual.
To power on your TnP Prime, first ensure the Isolation Switch (in the storage compartment) is turned
on. Press and hold the small power button above the power socket (on the rear panel of the tester)
or the Enter button on the head unit of the tester until the screen comes on and you hear a beep. To
power off your tester, hold the same button until your tester beeps and the screen goes dark. If your
tester does not turn on, check that the isolation switch on the rear of the tester is switched on. If you
are connecting your TnP Prime to mains power, it will turn on automatically.
If you are using your TnP Prime with the WinPATS App, you will control the tester directly from the app,
and you won’t need to use the controls on the tester. If you choose to use your TnP Prime without the
WinPATS App, you will use the Function buttons (F1, F2 and F3) as well as the Enter button to control
the tester.
When testing, use the ports on the front of the unit (Appliance Test Socket and the IEC Earth Return).
Do not use the rear IEC power socket for testing, this port is only for charging the TnP Prime.
During testing, you will see the Indicator LEDs flash. The Indicator LEDs will flash during testing when
the Appliance Test Socket is live, then turn green or red to denote a pass or fail. Consult the manual
for further information about what the indicator LEDs mean.
When your TnP Prime is connected to mains power, the N-E (middle LED) indicator may turn red. If so,
the Mains Supply Test has failed, and you should not proceed. If this occurs consult the manual for
further information.
Ensure the battery isolation switch is turned on when unit is in use or connected to mains power.
Never turn off the battery isolation switch unless transporting your TnP Prime.
Setting up the Barcode Scanner
To use the supplied Bluetooth 1662 BT scanner you will need your tablet and Bluetooth scanner
in front of you. Your Bluetooth scanner comes with a quick start guide which may be useful for
troubleshooting, but you can set up your scanner using the following instructions. We recommend that
you ensure the scanner is fully charged before using it onsite.
First, ensure the battery is in installed in your barcode scanner. The LED on your scanner should begin
flashing blue, indicating it is ready to be paired to your tablet.
TnP Prime Quick Start Guide Wavecom

Now, open the Bluetooth Settings menu of your tablet and turn Bluetooth on (if it is not already on).
Tap ‘Pair New Device’ to begin scanning for Bluetooth devices.
Your scanner should appear in the list - you can identify your scanner by the first 4 numbers “1662”
followed by the serial number (e.g 1662CFJ000123). The serial number of your scanner is located on the
label of your scanner box. Tap your scanner in the list to pair it with your tablet. If you see a prompt to
enter a PIN code, simply tap ‘Pair’ without entering anything - the PIN setting is disabled by default on
the scanner and is not required.
Your scanner should now be paired with your TnP Prime. To test your scanner, open the WinPATS App
and return to the Home screen. Scan one of the barcodes on the outside of the scanner box, and you
should see the barcode appear in the ‘Search Barcode’ field on screen.
Important: After pairing the barcode scanner, you may find that the on screen keyboard of your tablet
no longer appears when you tap a text field. To fix this, tap any text field (such as the ‘Search Barcode’
field on the WinPATS home screen). You will see a keyboard icon appear in the bottom right corner of
your screen. Tap this icon, then turn ‘Show Virtual Keyboard’ on. Your tablet will remember this setting
and will display the keyboard from now on.
If you encounter any issues consult the quick start guide included with the scanner, or contact us for
support.
Setting up the WinPATS App
Setting up the new WinPATS App is simple, but can take some time. We recommend setting up WinPATS
before you need to use it on site. You will need to download “WinPATS Pro” from the Google Play Store
onto your Android tablet. On our website, you can find a set of videos that will guide you through
the various functions and features of the new WinPATS App. This guide will walk through setting up
WinPATS and connecting to your tester.
Once you have downloaded the WinPATS App, open it and create up a 4 digit pin code. This will help
keep your data secure.
Next, it’s time to set up your Company Account. If your employer or organisation has an account
already, you can log in now using the details provided to you. Otherwise, tap Register Company to set
up your Company Account - you will be prompted to enable WinPATS’ permissions - this allows you to
use the full set of WinPATS features.
Now, fill in your details - a valid ABN is required to register a new company. You should use the
address and contact details of your head office. Once your details are entered, check they are correct,
then tap Register.
TnP Prime Quick Start Guide Wavecom

You will be sent a One Time Password (OTP) to the email you entered in the previous step. This is used
to verify your email address - enter the OTP to continue. This OTP is only valid for 10 minutes - if your
OTP expires, simply go back and then tap ‘Register’ again. If you don’t see your OTP email, check your
spam folder.
Now you can pay for your WinPATS License - you should have a coupon code on the rear of your
TnP Prime manual which provides you with one free license for the WinPATS App. Your coupon
code is linked to your tester, and you will need to connect your Android tablet to your TnP Prime to
authenticate your code. Using the USB-OTG cable supplied with your tester, connect your tablet to
your tester in the following chain: Tablet > USB-OTG > USB-A to USB B Cable > USB B port of your TnP
Prime (located inside the storage compartment). Then, enter your coupon code and tap APPLY. You
should see the Total Amount number drop to zero. Tap PAY to proceed.
Once you have entered your code or paid, you can now Log In and set up your password. Enter the
Company ID and temporary Password which was emailed to you, which will enable you to log in for the
first time. You will now be prompted to set up a new password.
You can now set up your User Account - this is your individual profile. If you are the first or the only
Test and Tag technician at your organisation, you should set yourself as an ‘ADMIN’ user, which will
allow you to use the full features of WinPATS. Technician users have reduced access to features - this is
designed for organisations with multiple technicians and/or multiple sites.
Once your details are complete, tap ADD to create your account. Confirm your details are correct, then
tap CONFIRM to finish registering your user account.
When you start WinPATS for the first time you’ll be required to perform a data sync. This creates a new
cloud database for you, or connects your WinPATS App to your company’s existing database. If your
database has many items, this may take up to 5 minutes, but usually only takes a few seconds.
Connecting via Bluetooth
To control your TnP Prime via Bluetooth, you will need to perform a short setup procedure. Ensure you
have both your tablet with WinPATS installed, and your TnP Prime in front of you.
Go to the Bluetooth settings in your Tablet’s settings menu
Ensure that Bluetooth is enabled, then select your TnP Prime from the list of available devices (ensure
you select the correct tester by referring to the serial number. Your TnP Prime’s serial number is
located on the side of your tester, and on the rear cover of the TnP Prime manual).
You may now be prompted to pair your two devices using a PIN code. If so, your TnP Prime will display
TnP Prime Quick Start Guide Wavecom
a code on the screen. Enter this code into WinPATS and tap OK. You will be asked to confirm the
connection - tap Confirm after checking the details are correct. If you have any issues with the PIN
code entry, consult the manual.
Go to the WinPATS App
To connect your TnP Prime, go to the Test menu in the WinPATS App (at the top of the screen). You
should be prompted to connect a Wavecom Appliance Tester as soon as you open the Test Menu for
the first time. Tap ‘BLUETOOTH’ to begin the Bluetooth setup process.
WinPATS will scan for any available TnT or TnP testers and display them in a list - select your tester
from the list by tapping it. If you see multiple TnT or TnP products in the list, use the serial number of
your TnP to identify your tester.
You will now be asked to register your TnP Prime - this allows you to receive product support, service
and calibration reminders from Wavecom. Once complete, tap Register. You’re now ready to start
testing with WinPATS!
For more information and step by step guides for using WinPATS, consult your manual, or visit our
website: www.wavecom.com.au/winpats.php
Using your TnP Prime without the WinPATS App
Your TnP Prime can be used without connecting it to the WinPATS App, though this will limit the
features available to you.
In Tester Mode, you will be able to use your TnP Prime as a simple appliance tester. In this mode,
results will not be recorded.
Once your tester is on, you will see Main Menu A on your screen. You can navigate between Main Menu
A and B using the Enter Button, and select a test to run using the F1, F2 or F3 buttons.
To run a test, you should first set up the item to be tested. When ready, select a test from Main Menu
A or B using the corresponding button (F1, F2 or F3). If you are conducting a Leakage or RCD, you will be
taken to a sub-menu where you can select which Leakage or RCD test to run.
Follow the on screen prompts to begin the test. Your test will be conducted automatically in stages. If
the test requires your item to be powered, a warning will display on screen so you can ensure the item
can be powered on safely before proceeding. During the test, the indicator LEDs will flash to indicate a
test is underway.
Once your test is complete, the indicator LEDs will flash green (for Pass) or red (for Fail), and your
results will be displayed on screen. You will then be returned to the Main Menu.
TnP Prime Quick Start Guide Wavecom
TnP Prime Quick Start Guide Wavecom
Wavecom SA
257 Grange Road,
Findon SA, 5023
08 8243 3500
service@wavecom.com.au
Wavecom WA
Unit 2/17 Casino Street,
Welshpool WA, 6106
08 9353 1943
saleswa@wavecom.com.au
Wavecom VIC
Mark Kennedy
M: 0430 299 164
03 9897 4711
service@wavecom.com.au
The TnP Prime is proudly designed and manufactured in
Australia by Wavecom.
Other manuals for TnP Prime
1
Table of contents
Other Wavecom Test Equipment manuals

Wavecom
Wavecom TnP 3PLM 20A User manual

Wavecom
Wavecom WCM-RCD User manual

Wavecom
Wavecom TnT RCD User manual

Wavecom
Wavecom TnP Prime User manual

Wavecom
Wavecom TnP-500X User manual

Wavecom
Wavecom ET-809 User manual

Wavecom
Wavecom TnT Titan 20A User manual

Wavecom
Wavecom TnP-500 User manual

Wavecom
Wavecom TnT Titan User manual