2© wePresent 2016
WIPG-1600-USER-GUIDE-01
1Overview
• High performance screen/audio projection
for Windows/Mac/Chromebook.
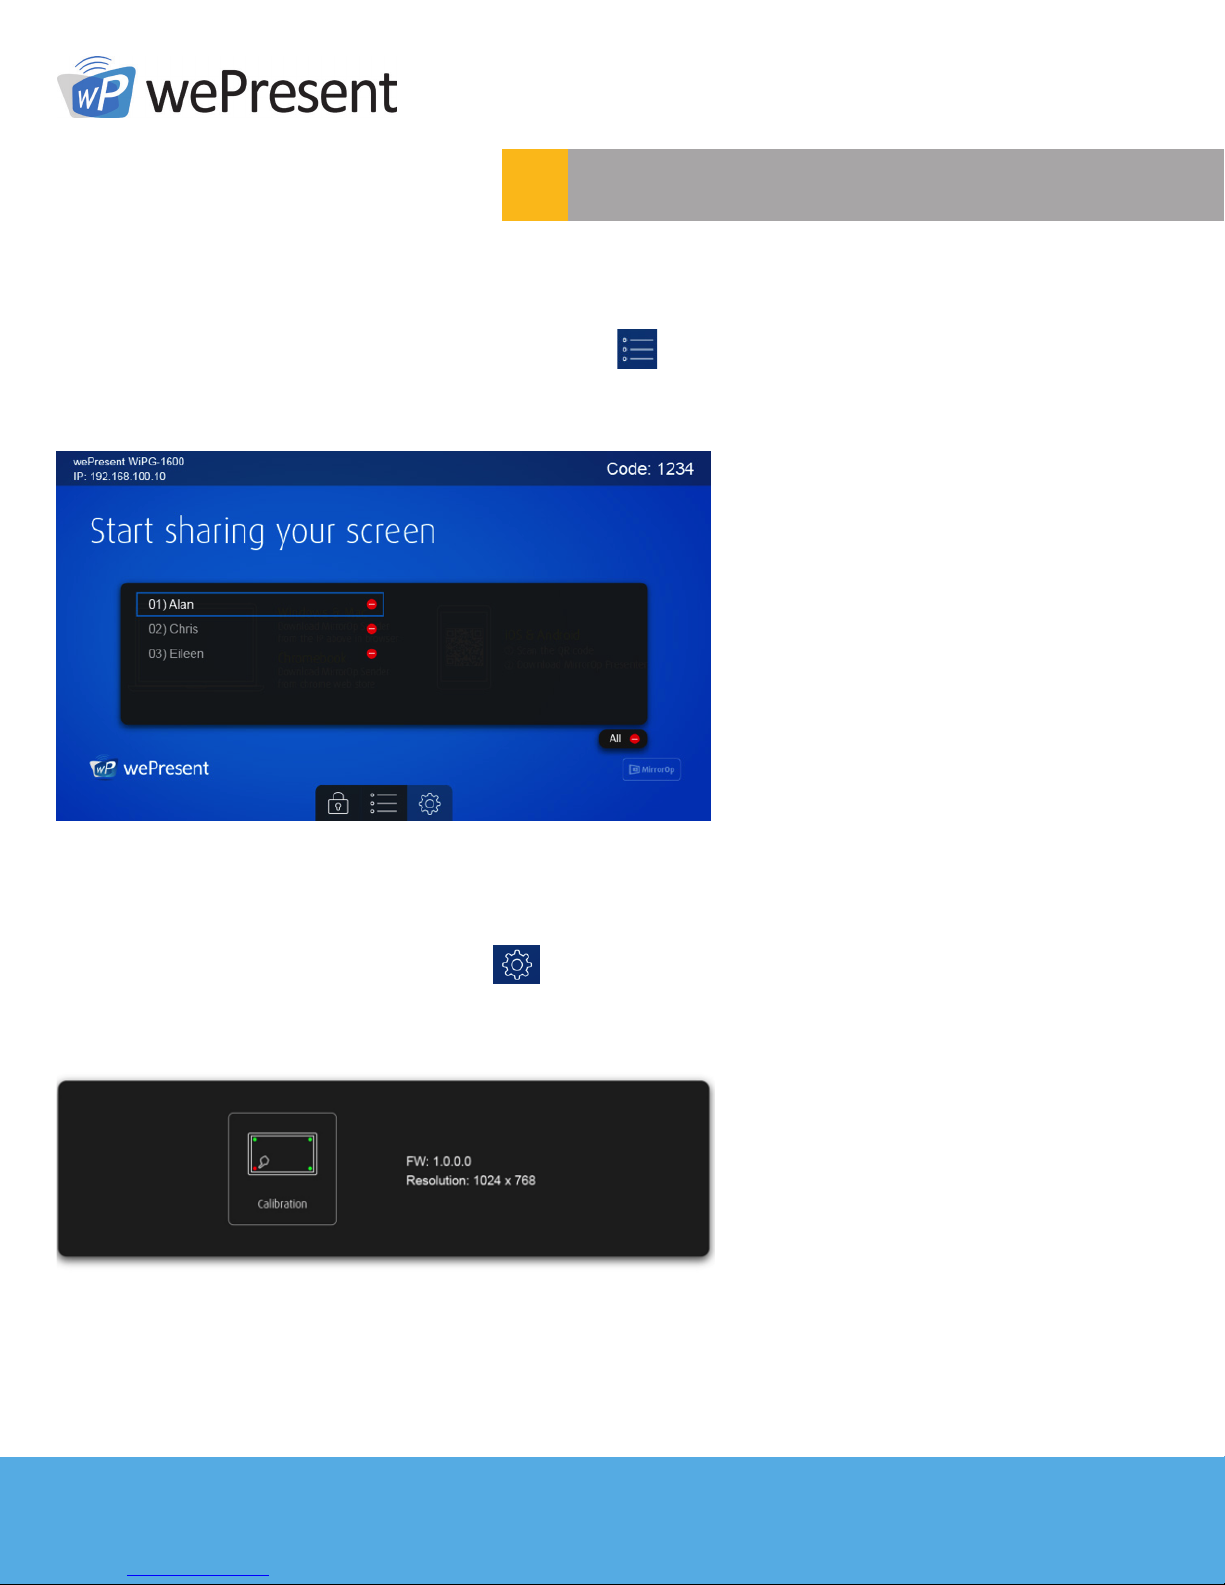
• Remote desktop control from Touch Screen
or Mouse/Keyboard for Windows/Mac.
• High performance 4-to-1 Quadrant Screen Projection.
• Supports up to 64 concurrent users.
• Conference Control: Teacher/ Mediator function
through the device web Admin or standby screen.
• Supports Wireless Multi-touch control
(Win7/8 standard HID compatible device).
• Customize standby and startup screens.
• Manage/conguremultiplewePresentdevicesthroughSNMPv3
protocol,includingdevicermwareupgradesviaFTP.
• Supports MSI installation and allows command-line
execution of applications on Windows.
• Extended desktop support for both Windows and Mac
• Security features such as a randomized 4-digit login code,
HTTPS and AES 128-Bit data encryption.
• Supports both HDMI and VGA for single or concurrent video output.
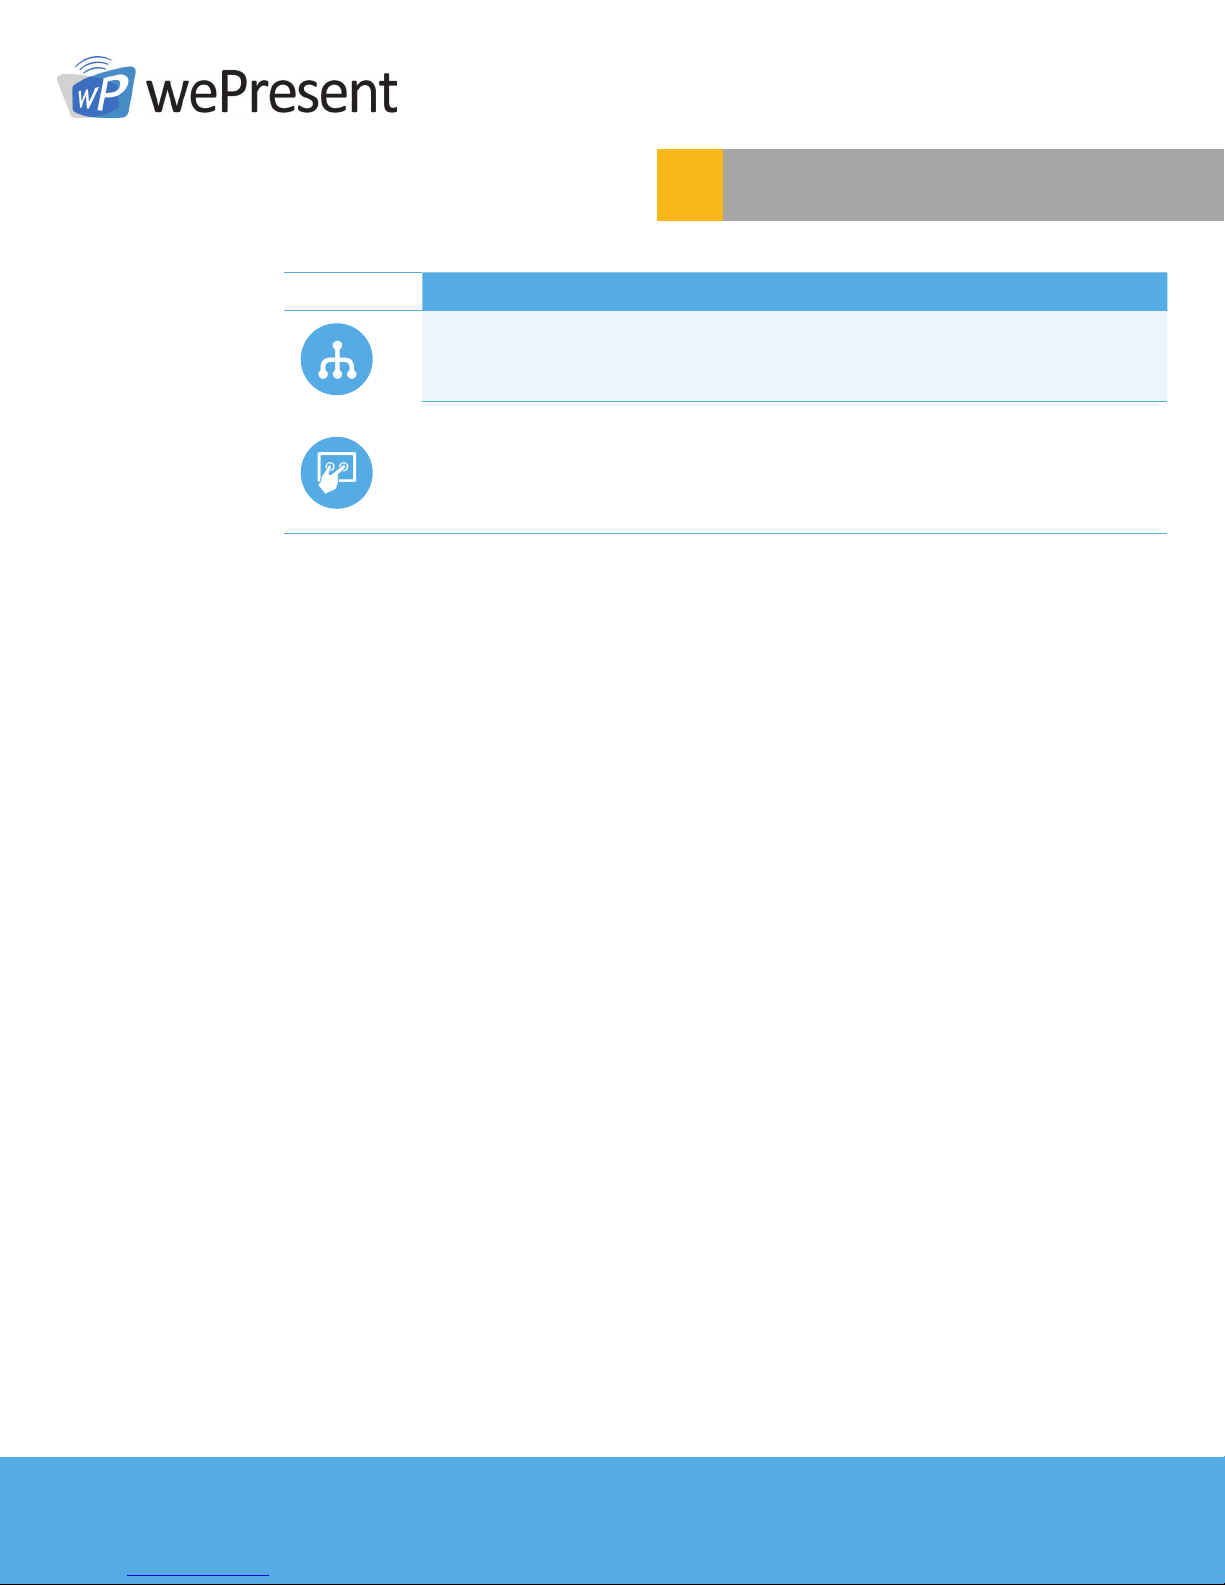
ICON FEATURE DESCRIPTION
SNMP V3 Manage WiPG devices across the network
through enhanced SNMP V3 protocol
UMT
Driverless remote touch control through network.
(Support standard Win 7/8 compatible USB HID
touch device)
Key Features