manuals.online logo
Brands
  1. Home
  2. •
  3. Brands
  4. •
  5. Westcott
  6. •
  7. Lighting Equipment
  8. •
  9. Westcott Eyelighter 3 User manual

Westcott Eyelighter 3 User manual

Register your new gear online at
FJWESTCOTT.COM/REGISTER
Quick Start Guide
Visit WESTCOTTU.COM for instructional
videos, pro tips, inspiration, and more!
Westcott products are made to the company’s traditionally high
standards of quality and comply with all applicable government safety
regulations and requirements. In an eort to provide the best quality
products possible, we periodically make product modifications. Actual
products may not be identical to items pictured. Designed in Ohio, USA.
Assembled in China. © F.J. Westcott Co. All rights reserved. EA0722
Common Questions
How do I know if the Eyelighter 3 is placed in
the correct position?
A good way to check the placement of both
the light and the Eyelighter 3 is to place
yourself in the position of the model. The
reflection coming from the Eyelighter 3 should
be evenly lit. If the reflection is not even,
experiment with moving the Eyelighter 3 either
closer to or further away from your subject.
When the reflection from the Eyelighter 3 is
equal throughout, the Eyelighter 3 is in the
correct position. As your experience with the
Eyelighter 3 grows, you may experiment with
other positions that work well for you.
Are there signs that the Eyelighter 3 is
positioned incorrectly?
The Eyelighter 3 should appear as a narrow
curved reflection below your subject’s pupil.
If the reflection cuts into the pupil of your
subject’s eye, it is in the wrong location.
What modifiers should I use with the
Eyelighter 3?
We recommend using a light with a modifier
large enough to completely illuminate the
Eyelighter 3. A light modifier approximately
24" is the smallest modifier suggested to use.
A larger modifier is appropriate to use as long
as you have enough vertical room to have the
modifier correctly positioned at a 45˚ angle.
Two years against manufacturing defect.
Westcott’s warranty obligations for this product are
limited to the following terms. The F.J. Westcott Co.
(“Westcott”) warrants this Westcott branded product
against defects in materials and workmanship under
normal use for a period of TWO (2) YEARS from
the date of retail purchase by the original end-user
purchaser (“Warranty Period”). If a defect arises and
a valid claim is received within the Warranty Period,
at its option and to the extent permitted by law,
Westcott will either (1) repair the defect at no charge,
using new or refurbished replacement parts, or (2)
exchange the product with a product that is new or
which has been manufactured from new or serviceable
used parts and is at least functionally equivalent to the
original product. This Limited Warranty applies only to
products manufactured by or for Westcott that can be
identified by the “Westcott” trademark, trade name, or
logo axed to them.
This warranty does not apply: (a) to damage caused
by accident, abuse, misuse, flood, fire, earthquake
or other external causes; (b) to damage caused
by operating the product outside the permitted or
intended uses described by Westcott; (c) to a product
or part that has been modified to alter functionality or
capability without the written permission of Westcott;
or (d) to cosmetic damage, including but not limited
to scratches, dents and broken plastic.
Please contact Westcott’s Repair Department for
a Return Authorization Number “RMA” prior to
requesting warranty service. This RMA must be clearly
written on the outside of the box to the left of the
shipping label. Items sent in without pre-authorization
or that do not fall under the TWO (2) YEARS limited
warranty will be returned at the expense of the sender.
Repair Department: 800-886-1689 / 419-243-7311 (Int.)
Email: info@fjwestcott.com Subject: Attn: Repair Dept.
Shipping: F.J. Westcott Co, 1425-B Holland Rd,
Maumee, OH 43537
Warranty
7. Locate the remaining curved
tubes. Slide one curved tube
into the full-length pocket
on the edge of the fabric
starting in the middle of the
fabric. Once fully inserted,
lock the curved tube into the
spine’s hub as mentioned in Step 4. Repeat for
the other bar.
8. Slide one tension rod
through one of the short
pockets on the end of the
silver fabric. Secure each end
of the tension rod into the
rod receptacles located on
the ends of the curved tubes.
Repeat with the remaining tension rod on the
opposite side. The silver
Eyelighter 3 fabric should
now appear taut.
9. The White/Sunlight fabric is
equipped with loop tape for
axing to the silver side of
the fabric.
Included in this Box
Assembly Instructions
Disassembly Instructions
Achieving the Perfect Look
1. Loosen the light stand
receptacle knob located on
the support spine.
2. Place the support spine on
the light stand spigot and
tighten knob to secure.
3. Loosen the spine’s tilter
bracket knob and adjust the tilt to the desired
position.
4. Locate one of the curved
tubes with a positive-locking
button and insert it into one
of the spine’s mounting hubs.
(Note: Each receptacle on
the hub is designed with a
small indentation to guide the positive locking
button into place. Once inserted, gently rotate
the curved bar to ensure it
“clicks” into place.)
5. Repeat this process for the
curved tube that mounts on
the same side and into the
opposite hub.
6. With the silver side facing
upwards, thread both
mounted curved bars into
the full-length pocket on the
edge of the fabric starting
in the middle of the fabric.
Drape the remaining fabric
over the spine.
1. Securely grasp one tension rod and gently lift
one end away from the curved bar. Repeat
for the opposite end of the same tension rod.
Remove the rod from the fabric pocket. Repeat
for the remaining tension rod.
2. Grasp one curved tube near
the hub mounting position
and press the release block
while gently pulling the
curved tube away from the
hub. Remove the curved
tube from the fabric pocket.
Repeat for the remaining curved tubes.
3. Loosen the light stand receptacle knob located
on the support spine to remove the Eyelighter.
4. Roll the fabrics independently for storage.
The Eyelighter 3 features an integrated locking-
tilter, providing the ability to adjust and maintain a
desired reflection angle. This is particularly useful
when shooting with sunlight, ambient light, or
when experimenting with dierent styles of studio
lighting.
To achieve the traditional results, we recommend
taking these steps to ensure that the Eyelighter is
positioned at the ideal angle:
1. Place the center of the Eyelighter 3
approximately 30" from your subject’s face.
2. Place your light facing slightly downward
approximately 30" from your subject at a 45˚
angle from the Eyelighter 3.
3. When positioned correctly, the subject should
have a thin catchlight just below the pupil that
follows the curvature of the eye.
1 x White/Sunlight Fabric
1 x Silver/Black Fabric
1 x Spine with Tilter
4 x Support Bars
2 x Tension Bars
1 x Travel Case
Step 2, Assembly
Step 7, Assembly
Step 8, Assembly
Step 9, Assembly
Step 2, Disassembly
Step 4, Assembly
Step 5, Assembly
Step 6, Assembly
Shown with Eyelighter 2

Other Westcott Lighting Equipment manuals

Westcott Micro Apollo User manual

Westcott

Westcott Micro Apollo User manual

Westcott FJ80 II User manual

Westcott

Westcott FJ80 II User manual

Westcott L60-B User manual

Westcott

Westcott L60-B User manual

Westcott Lunagrip User manual

Westcott

Westcott Lunagrip User manual

Westcott Basics D5 User manual

Westcott

Westcott Basics D5 User manual

Westcott Stripbank User manual

Westcott

Westcott Stripbank User manual

Westcott FJ80 II User manual

Westcott

Westcott FJ80 II User manual

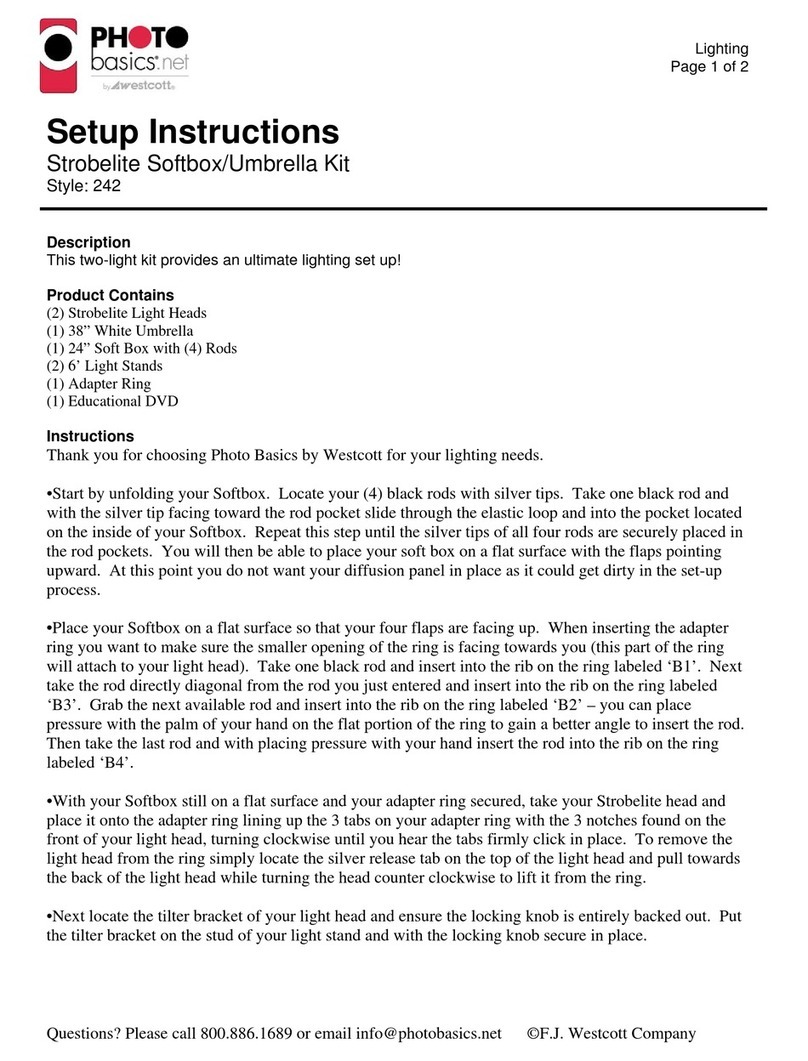
Westcott Photo Basics 242 Manual

Westcott

Westcott Photo Basics 242 Manual

Westcott FJ80 User manual

Westcott

Westcott FJ80 User manual

Westcott 4893 Manual

Westcott

Westcott 4893 Manual

Westcott 4892 Manual

Westcott

Westcott 4892 Manual

Westcott 4899 Manual

Westcott

Westcott 4899 Manual

Westcott U60-B Bi-color LED User manual

Westcott

Westcott U60-B Bi-color LED User manual

Westcott 4896 Manual

Westcott

Westcott 4896 Manual

Westcott 4820 Manual

Westcott

Westcott 4820 Manual

Westcott uLite User manual

Westcott

Westcott uLite User manual

Westcott RING LIGHT KIT User manual

Westcott

Westcott RING LIGHT KIT User manual

Westcott L60-B User manual

Westcott

Westcott L60-B User manual

Westcott 4898 Manual

Westcott

Westcott 4898 Manual

Westcott RAPID BOX User manual

Westcott

Westcott RAPID BOX User manual

Westcott Zeppelin Para-35 User manual

Westcott

Westcott Zeppelin Para-35 User manual

Westcott IceLight PowerPack User manual

Westcott

Westcott IceLight PowerPack User manual

Westcott U60-B Bi-color LED User manual

Westcott

Westcott U60-B Bi-color LED User manual

Popular Lighting Equipment manuals by other brands

MADRIX LUNA Series Quick start guide & technical manual

MADRIX

MADRIX LUNA Series Quick start guide & technical manual

Seamaid 500699 quick guide

Seamaid

Seamaid 500699 quick guide

Electus Distribution KJ-8910 Assembly and instruction manual

Electus Distribution

Electus Distribution KJ-8910 Assembly and instruction manual

Harman Martin ELP WW IP user manual

Harman

Harman Martin ELP WW IP user manual

Sunny TM Series user manual

Sunny

Sunny TM Series user manual

iGuzzini LIGHT UP - WALK instruction sheet

iGuzzini

iGuzzini LIGHT UP - WALK instruction sheet

Bionizer Spa Star Instruction book

Bionizer

Bionizer Spa Star Instruction book

Klus Sepod Mounting instructions

Klus

Klus Sepod Mounting instructions

ProLights Z390LED user manual

ProLights

ProLights Z390LED user manual

ProLights LEDCOMPASS8 user manual

ProLights

ProLights LEDCOMPASS8 user manual

Clevertronics L10 LWFLED 2IPREM Series Installation & Maintenance Instruction Manual

Clevertronics

Clevertronics L10 LWFLED 2IPREM Series Installation & Maintenance Instruction Manual

Gama Sonic 20B50033 instruction manual

Gama Sonic

Gama Sonic 20B50033 instruction manual

XAL BASO 1.5 Mounting instructions

XAL

XAL BASO 1.5 Mounting instructions

Lumitec Poco quick start guide

Lumitec

Lumitec Poco quick start guide

Oase Water Jet Lightning operating instructions

Oase

Oase Water Jet Lightning operating instructions

Wenglor LMDX Series operating instructions

Wenglor

Wenglor LMDX Series operating instructions

BoomToneDJ Starlight-LZR user manual

BoomToneDJ

BoomToneDJ Starlight-LZR user manual

Mosaic BWL-0625 operating instructions

Mosaic

Mosaic BWL-0625 operating instructions

manuals.online logo
manuals.online logoBrands
  • About & Mission
  • Contact us
  • Privacy Policy
  • Terms and Conditions

Copyright 2025 Manuals.Online. All Rights Reserved.